
To quickly sharpen your images and achieve crisp edges within 15 minutes, start by setting your camera to the appropriate focus mode, preferably manual focus for more control. Use live view to zoom in on your main subject and fine-tune the focus carefully, ensuring the edges are sharp. Adjust your zoom level to frame your shot precisely and recheck focus as needed. With these swift tweaks, you’ll notice immediate improvements, and discovering additional tips can help perfect your results.
Key Takeaways
- Use high-contrast test charts and a tripod to quickly check and fine-tune lens calibration for sharp edges.
- Select the optimal aperture (f/8 to f/11) to maintain clarity across the frame without sacrificing depth of field.
- Switch to manual focus and zoom in on test targets for precise focus adjustments around edges.
- Review images on a high-resolution screen, zoom in to assess edge sharpness, and make small focus or calibration tweaks.
- Allocate 15 minutes to systematically adjust focus, aperture, and calibration, ensuring crisp edges in final images.
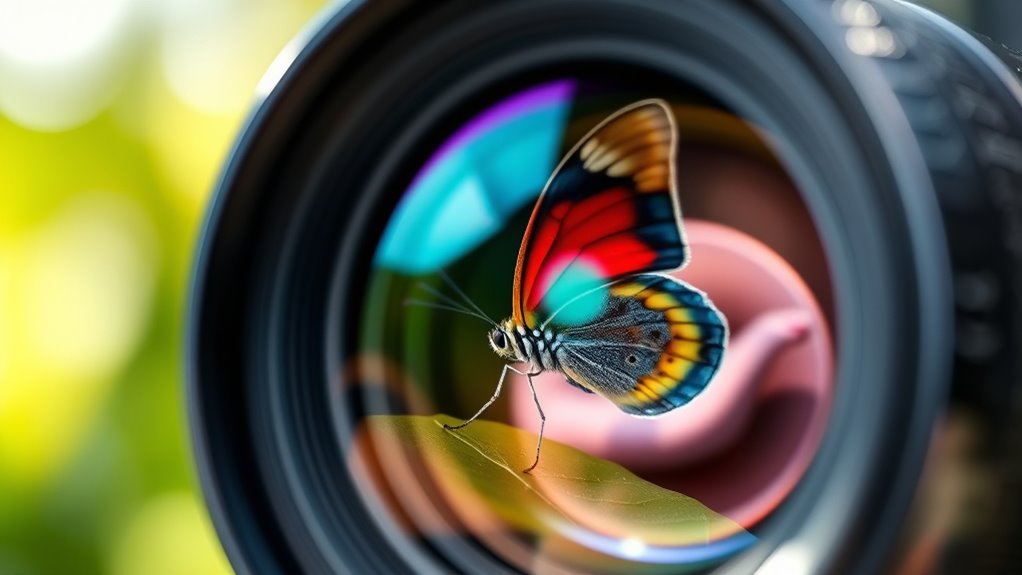
Achieving sharp, crisp edges in your photos doesn’t have to take hours; with a few quick adjustments to your zoom and focus, you can dramatically improve image quality in just 15 minutes. The first step is guaranteeing your lens calibration is spot-on. Over time, lenses can drift out of alignment, leading to soft or distorted edges. To fix this, set your camera to a tripod or stable surface, then use a high-contrast target or test chart. Autofocus can sometimes misalign the lens elements, so manually calibrate your lens if your camera offers this feature. Many cameras allow micro-adjustments for each lens, so take the time to fine-tune until the edges of your test image are as sharp as the center. This simple calibration process guarantees that your lens performs at its best across the entire frame, preventing blurry edges that can ruin an otherwise perfect shot. Proper calibration is essential for achieving consistent sharpness across your images.
Calibrate your lens to ensure sharp, clear edges across the entire frame.
Next, pay attention to your aperture settings. The aperture controls the depth of field and sharpness across your image. For crisp edges, you generally want a smaller aperture—think around f/8 to f/11—since these settings often provide the best sharpness due to the lens’s optical sweet spot. Avoid the extremes like wide-open apertures (f/1.4, f/2.8), which can introduce softness and aberrations, especially at the edges. By adjusting your aperture to these mid-range settings, you ensure more of your scene remains in focus with sharper edges. Combine this with proper focus and calibration, and the overall clarity of your images skyrockets.
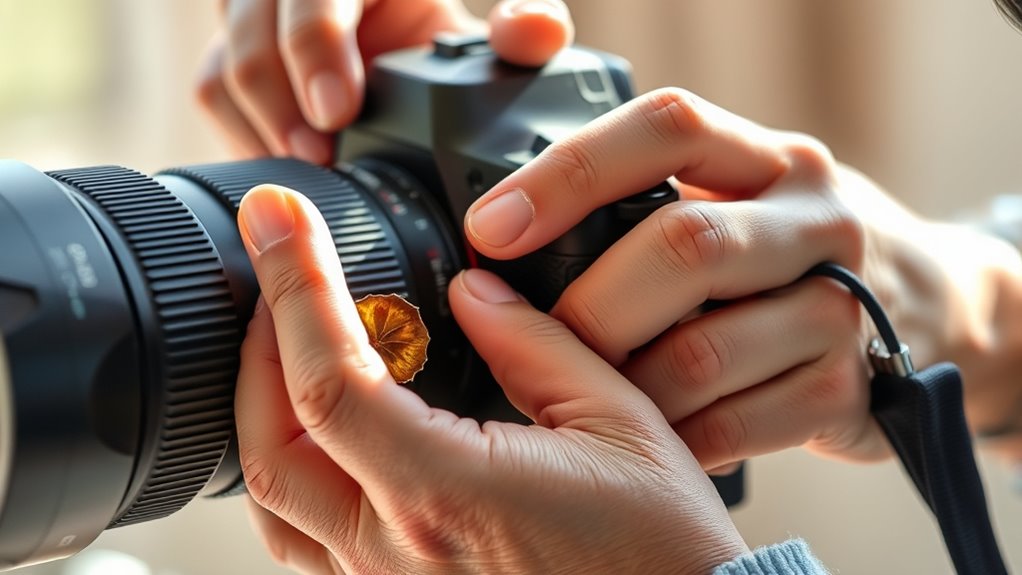
Another quick tip is to double-check your focus points. Many cameras allow you to manually select focus areas. Use these to target the main subject precisely, especially if you want crisp edges around the subject’s outline. When focusing, consider using live view mode and zooming in on your image on the LCD screen. This allows you to fine-tune your focus more accurately than through the viewfinder alone. Small tweaks here can make a noticeable difference in edge sharpness.
Finally, after making these adjustments, review your images on a computer or high-resolution screen. Zoom in to examine the edges carefully. If you notice softness, revisit your calibration or tweak your aperture slightly. These quick but targeted tweaks take minimal time but dramatically enhance your image quality. With just a few minutes spent on lens calibration and aperture settings, you’ll be capturing photos with crisp, professional-looking edges that truly stand out.

DGK Color Tools High Resolution 8.5×11 Chrome SD Professional Lens Test Chart, 3-Pack
SUPERIOR IMAGE QUALITY – Achieve optimal lens performance with these high-resolution charts, ensuring your photos and videos are…
As an affiliate, we earn on qualifying purchases.
As an affiliate, we earn on qualifying purchases.
Frequently Asked Questions
Can These Techniques Be Applied to All Types of Cameras?
Yes, you can apply these techniques to all types of cameras, but you might need to adjust for sensor calibration and aperture settings. Different cameras have unique sensors, so calibration guarantees ideal focus and sharpness. Also, tweaking aperture settings helps control depth of field, impacting edge crispness. By understanding each camera’s specifications and experimenting with these adjustments, you’ll achieve better focus and sharper edges across various devices.
What Tools or Accessories Are Recommended for Better Focus?
If you want sharper focus, skip the magic and try practical tools instead. Lens filters can reduce glare and improve clarity, while autofocus accessories like focus peaking or remote triggers guarantee precision without fumbling. These accessories give you control, making your shots crisper and more professional. Forget wishful thinking—invest in these essentials to turn blurry messes into stunning images that demand admiration.
How Often Should I Re-Adjust Zoom and Focus During a Shoot?
You should re-adjust zoom and focus during a shoot at regular interval adjustments, especially if lighting or subject distance changes. Keep an eye on autofocus recalibration, and perform quick checks every 15-30 minutes to maintain crisp edges. Use your camera’s autofocus assist features, and don’t hesitate to fine-tune manually if needed. Regular adjustments guarantee your images stay sharp and professional throughout the session.
Are There Specific Lighting Conditions That Affect Focusing Accuracy?
Lighting impact and environmental factors definitely influence focusing accuracy. Bright, even lighting makes it easier to lock focus precisely, while low or uneven light can cause your camera to struggle or hunt for focus points. Changes in ambient light, reflections, or shadows also impact focus, so you should monitor these conditions and adjust your focus settings accordingly. Staying aware of environmental factors helps you achieve sharper, more consistent images.
Can These Methods Improve Video Quality as Well as Photos?
Think of your camera as a painter’s brush, capable of creating sharp, vivid images. Yes, adjusting zoom and focus can substantially improve both video quality and photos. By enhancing the depth of field, you keep your subject crisp against a beautifully blurred background. Image stabilization ensures smooth motion, reducing shakiness. Together, these methods sharpen your visuals, making your videos and photos more professional and eye-catching.
YONGNUO YN50mm F1.8N Standard Prime Lens, Large Aperture Auto Manual Focus AF MF for Nikon DSLR Cameras
A great 50mm prime lens, and this is an excellent addition to the Nikon 12-50mm kit lens;
As an affiliate, we earn on qualifying purchases.
As an affiliate, we earn on qualifying purchases.
Conclusion
Think of your camera as a painter’s brush—every adjustment sharpens the masterpiece. In just 15 minutes, you’ve learned to fine-tune your zoom and focus, transforming blurry edges into crisp details. Like a skilled artist bringing a canvas to life, your quick tweaks reveal clarity and precision in your shots. Embrace this simple ritual, and watch your images become vivid stories that captivate and inspire—proof that small changes can create masterpiece moments.
VICTIV 74” Camera Tripod, Tripod for Camera and Phone, Aluminum Professional Tripod Stand for Canon Nikon with Carry Bag and Phone Holder, Compatible with DSLR, iPhone, Spotting Scopes, Max Load 9.5Lb
【74 Inch Tall Tripod and Compact Tripod】 This tall camera tripod has a height adjustment range of 19-74…
As an affiliate, we earn on qualifying purchases.
As an affiliate, we earn on qualifying purchases.

Philips 34E1C5600HE 34" UltraWide QHD 21:9 Monitor with Built-in Windows Hello Webcam & Noise Canceling Mic, USB-C Docking, Stereo Speakers, 100Hz, 4-Year Advance Replacement,Black
EXPAND YOUR HORIZONS: 3440 x1440 UltraWide QHD (WQHD) resolution with 21:9 aspect ratio for efficient productivity
As an affiliate, we earn on qualifying purchases.
As an affiliate, we earn on qualifying purchases.