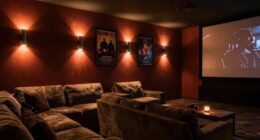

To align your projector with the screen center, start by ensuring the projector is level using a bubble or laser level. Position it at the correct distance based on the throw ratio, and adjust its height and tilt so the lens lines up with the screen’s center. Use keystone correction sparingly to fix distorted edges. After making these adjustments, verify with test patterns. Keep going to discover all the tips for perfect alignment.
Key Takeaways
- Position the projector directly in front of the screen, aligning the lens horizontally with the center of the display area.
- Use a level tool across the projector’s top or bottom edge to ensure it’s perfectly horizontal and centered.
- Adjust the projector’s mounting height or tilt to align the projected image’s center with the screen’s midpoint.
- Apply keystone correction digitally if needed, but ensure physical positioning is as accurate as possible first.
- Verify the alignment using test patterns or grids to confirm the image is centered and symmetrical on the screen.

VIVO Universal Adjustable Ceiling Projector, Projection Mount Extending Arms Mounting Bracket, White, MOUNT-VP01W
Universal Projector Mount: Fits most projectors on the market, including mini projectors. Sturdy steel design supports up to…
As an affiliate, we earn on qualifying purchases.
As an affiliate, we earn on qualifying purchases.
Preparing Your Workspace for Accurate Alignment
Before you begin aligning your projector, it’s essential to prepare a clean and level workspace. Start by clearing the area of clutter and ensuring the surface is flat. Proper mounting hardware is vital for stable installation, so check that your brackets and screws are secure. A level surface helps prevent skewed calibration and uneven image projection. Once mounted, perform projector calibration to fine-tune image settings, which guarantees your projector displays correctly aligned visuals. Use a level tool if necessary to verify the projector’s positioning. Keeping your workspace organized and stable minimizes the risk of misalignment later on. Additionally, incorporating natural elements into your setup can promote a calming environment conducive to precise adjustments. This preparation creates a solid foundation for accurate projector alignment, making the entire process smoother and more precise.

Huepar Laser Level, 100Ft Self Leveling Green Cross Line Laser for Picture Hanging, Tile, Decoration & DIY Construction – 360° Magnetic Base & AA Battery, Indoor Use
【2 Way to Turn ON】When the pendulum is in the locked position, press the power button to enter…
As an affiliate, we earn on qualifying purchases.
As an affiliate, we earn on qualifying purchases.
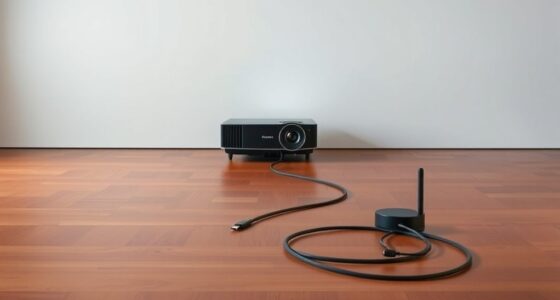
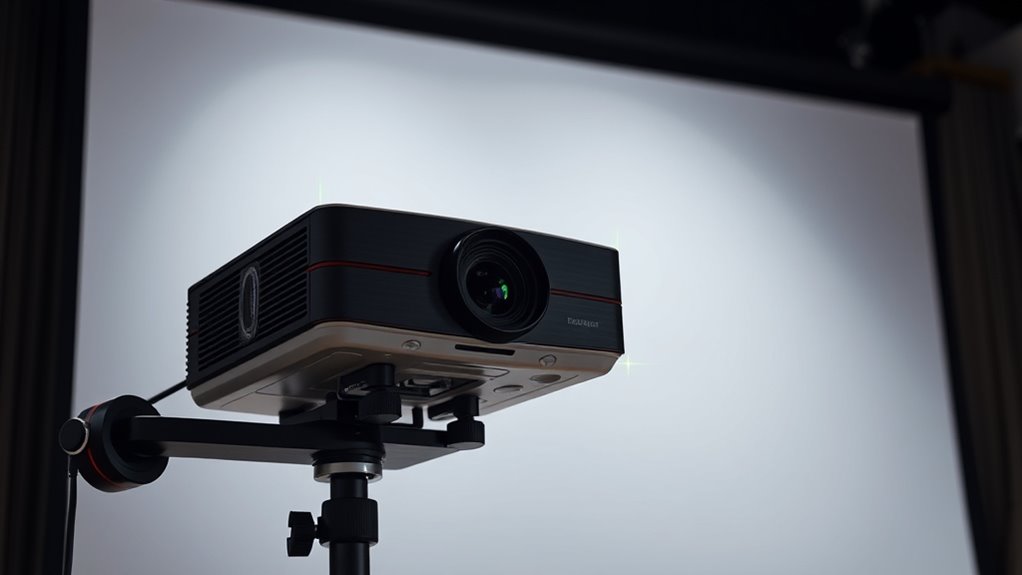
Positioning Your Projector at the Correct Distance
To get a clear image, you need to position your projector at the right distance from the screen. Measure the ideal distance based on your projector’s specifications, and adjust for the image size you want. Keep room dimensions in mind to guarantee your setup remains practical and aligned. Additionally, ensure your projector is installed in a location with minimal vibrations to prevent image distortion caused by vibration dampening.
Measure Optimal Distance
Finding the ideal distance for your projector is essential to guarantee a clear and properly proportioned image. The most suitable distance depends on your screen material, as some surfaces reflect light differently, affecting image clarity. Measure from the projector lens to the screen’s surface, ensuring it matches the manufacturer’s recommended throw ratio. Keep ambient lighting in mind because excessive light can wash out the image if the projector is too close or too far. A proper distance will produce sharp details and accurate proportions without distortion. Use a tape measure or laser distance meter for precision. Adjust the projector’s placement gradually, checking the image quality at each step. This careful measurement ensures your setup delivers the best picture quality tailored to your specific environment. Additionally, understanding the throw ratio helps you calculate the optimal distance based on your screen size and projector capabilities.
Adjust for Image Size
Once you’ve measured the ideal distance for your projector, you can modify its placement to achieve the desired image size. Move the projector back or forward until the image fills your screen comfortably. Use the following table to visualize different distances and their effects:
| Distance from Screen | Image Size |
|---|---|
| Closer | Smaller image |
| Ideal (measured) | Perfect size |
| Further | Larger image |
| Excessively far | Oversized, blurry |
As you adjust, also check color calibration to ensure vibrant visuals and verify speaker placement to optimize audio quality. Proper positioning ensures your image is sharp, correctly sized, and visually balanced, creating an immersive viewing experience. Additionally, understanding content placement can help you fine-tune the overall setup for maximum impact.
Consider Room Dimensions
Room dimensions play a crucial role in accurately positioning your projector. The size and shape of your space influence how far your projector should be from the screen to achieve ideal image size and clarity. When wall mounting, verify the projector’s distance aligns with the projector’s throw ratio and your screen materials, whether matte or glossy. Consider these factors:
- The room’s length and width impact projector placement.
- Wall mounting height affects image alignment and keystone correction.
- Screen materials can influence brightness and contrast, affecting placement.
- Obstructions or furniture may limit distance choices.
- Adjusting for projector brightness and ambient light conditions can also help optimize image quality and positioning.

Realistic Discs – Discs for Ainael Galaxy Projector, 5k Ultra HD Slide for Home Planetarium, 6 Discs Set Without Projector (Nebula 2)
PACKING LIST & WARRANTY: Includes 6 slides: Trifid Nebula M20, Helix Nebula NGC 7293, Crab Nebula M1, Scorpius…
As an affiliate, we earn on qualifying purchases.
As an affiliate, we earn on qualifying purchases.
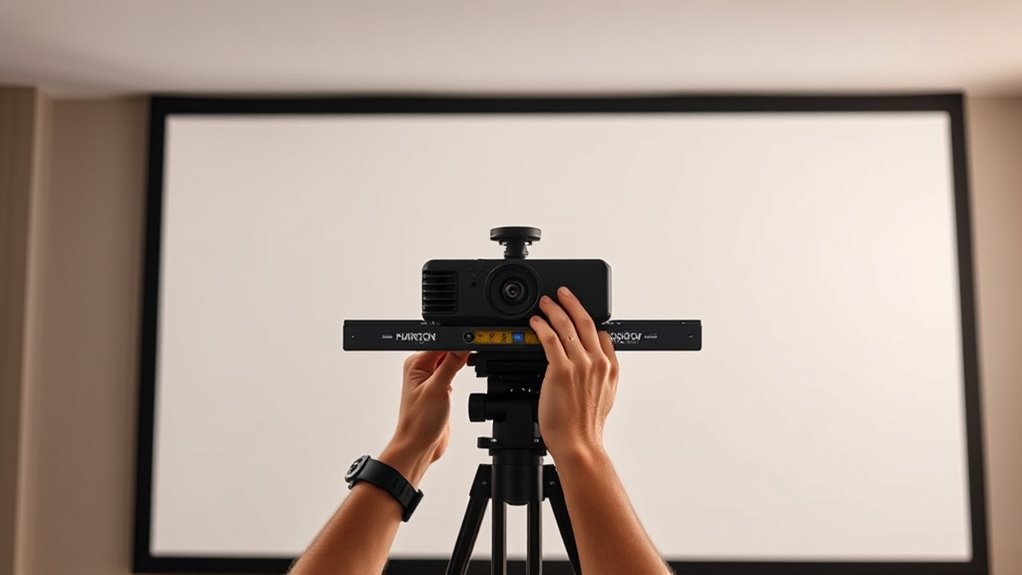
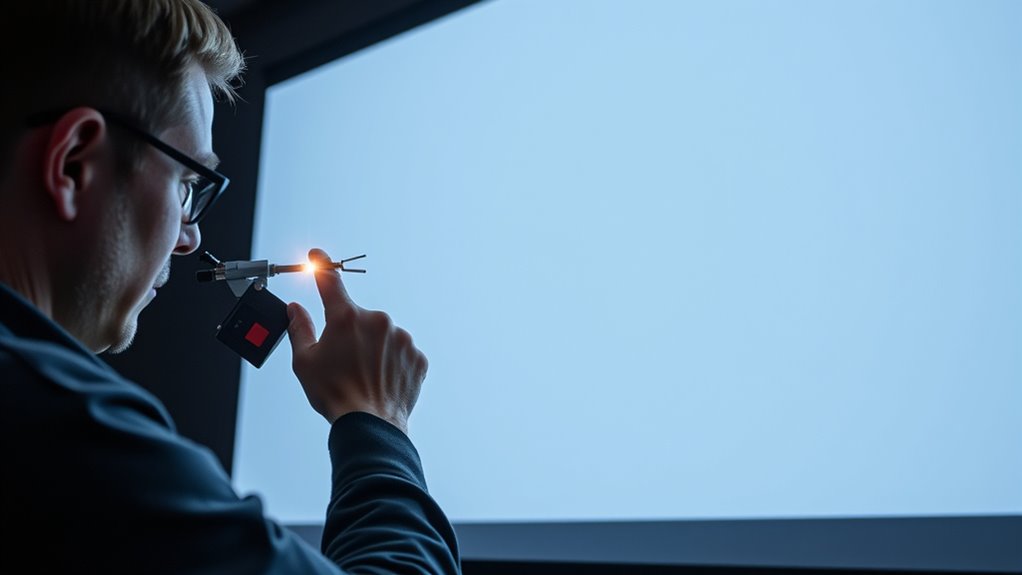
Using a Level to Ensure the Projector Is Horizontally Even
To guarantee your projector is perfectly level, start by selecting a reliable level. Position the level properly across the top or bottom edge of the projector, making sure it’s centered. Then, verify the horizontal alignment and make adjustments until the bubble stays centered. Ensuring that you take into account proper campsite setup can help prevent uneven surfaces from affecting your equipment.
Selecting the Right Level
Using a level is essential for guaranteeing your projector is perfectly horizontal. When selecting a level, choose one suited for your mounting options and projector calibration needs. Look for a sturdy, precise tool that provides clear bubble readings. Consider these options:
- Carpenter’s level for general use
- Laser level for more accurate alignment over larger distances
- Digital level for quick, precise readings
- Small bubble level for tight spaces and quick checks
Pick a level that matches your setup complexity and ensures accurate horizontal positioning. Proper selection helps avoid uneven images and reduces the need for frequent adjustments later. A reliable level makes calibration easier and ensures your projector stays aligned with the screen center, regardless of your mounting options.
Positioning the Level Properly
Ensuring the level is properly positioned on your projector is essential for accurate horizontal alignment. First, choose the right mounting options—whether ceiling, wall, or tabletop—that provide a stable base for the level. Place the level directly on top of the projector or along its housing, ensuring it’s centered and balanced. Pay attention to aesthetic considerations; a neatly mounted projector with a level will look cleaner and more professional. Use the bubble in the level to adjust the projector’s position until it’s perfectly horizontal. Avoid tilting or uneven placement, as this can cause distortion in your projection. Proper positioning of the level guarantees a straight, even image, setting a solid foundation for subsequent alignment steps. Additionally, verifying product quality and calibration ensures the accuracy of your leveling process.
Verifying Horizontal Alignment
How can you confirm that your projector is perfectly level after initial positioning? Use a bubble level placed on top of the projector to check its horizontal alignment. Guarantee the bubble stays centered, indicating the projector isn’t tilted. Keep in mind that wall texture can influence shadow casting, so verify from different angles. Adjust the projector until the bubble remains steady. Consider these tips:
- Check the level at multiple points to confirm consistency.
- Watch for uneven shadow casting on textured walls.
- Ensure the projector’s horizontal lines align with the wall features.
- Re-verify after minor adjustments, as wall texture may cause visual illusions.
- Remember that airless paint sprayers offer precise control, which can be a helpful analogy when adjusting hardware to achieve evenness.
This process helps prevent skewed images, ensuring a clear, balanced projection without distracting distortions caused by uneven wall surfaces or misaligned hardware.

Laser Measure 50M/165ft,RockSeed Digital Laser Distance Meter with 2 Bubble Levels,Portable M/in/Ft Unit Switching Backlit LCD and Measuring Distance/Area/Volume/Pythagorean
★ HIGH ACCURACY & UNIT SWITCHABLE ★ With unique 2 Bubble Levels, providing more precise measurement compared to…
As an affiliate, we earn on qualifying purchases.
As an affiliate, we earn on qualifying purchases.
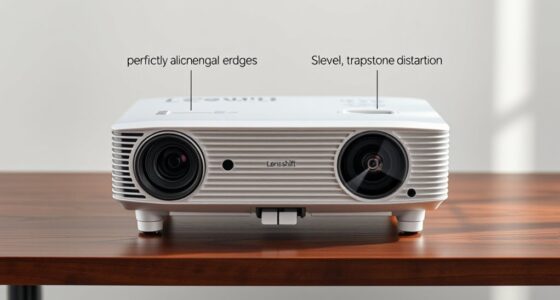
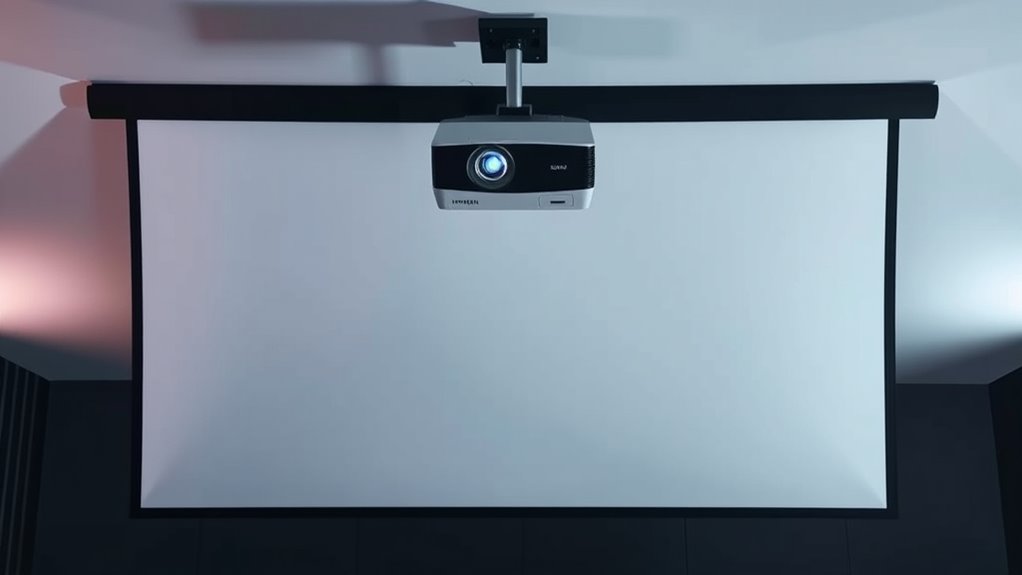
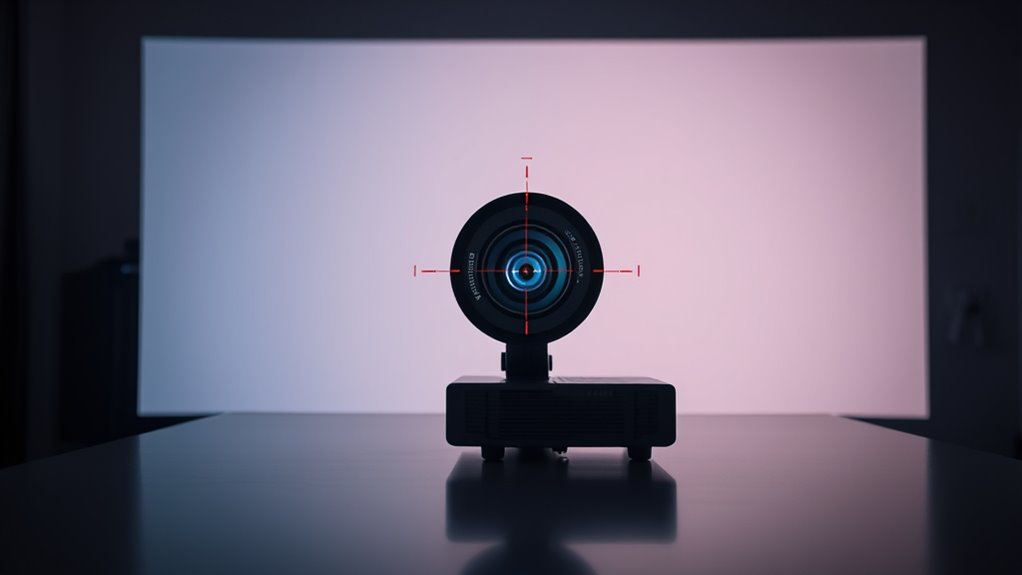
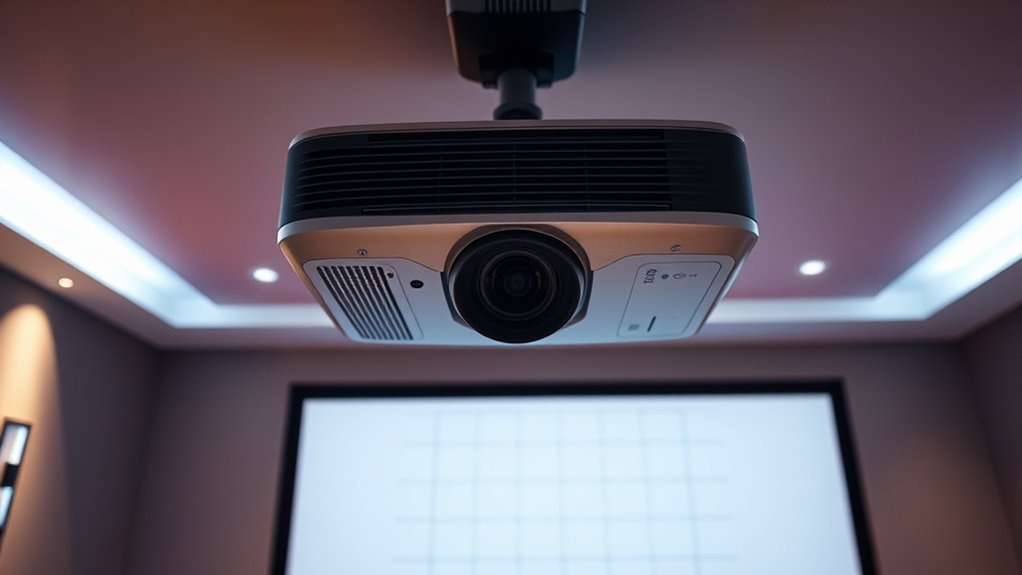
Aligning the Projector’s Lens With the Screen Center
To get the projector’s lens properly aligned with the screen center, start by positioning the projector so that its lens is roughly directly in front of the screen. Next, focus on lens calibration by adjusting the lens settings to ensure the image is sharp and centered. Pay attention to the projection angle, making sure the lens points straight at the screen without tilting up or down. A misaligned projection angle can cause keystone distortion or off-center images. Use alignment markers or a level to verify the lens is centered horizontally. Fine-tune the lens position until the projected image appears symmetrical and centered on the screen. Proper lens calibration combined with a correct projection angle ensures a clear, centered picture without distortion. Additionally, understanding the projector’s specifications can help you achieve more precise alignment and optimal image quality.
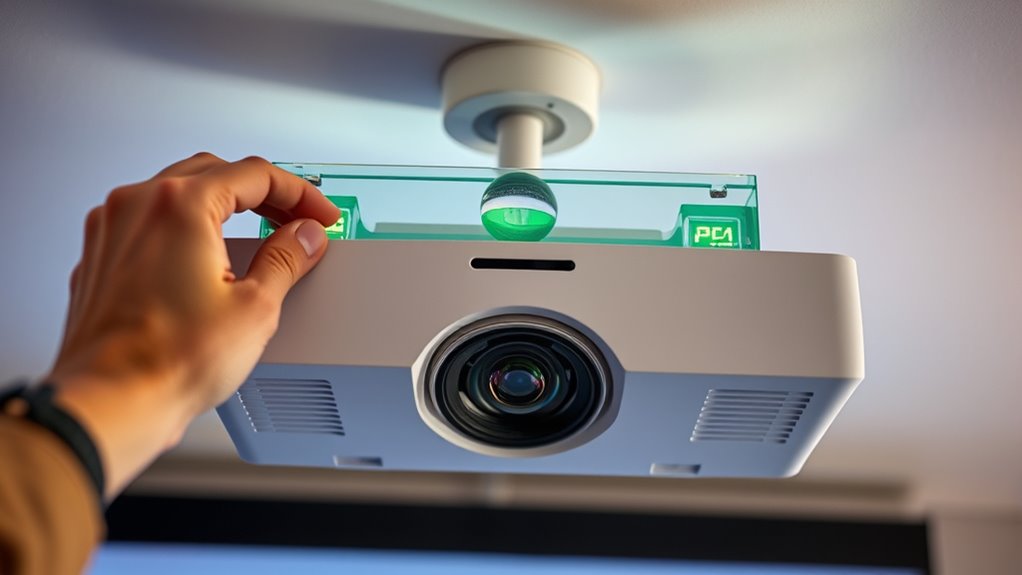
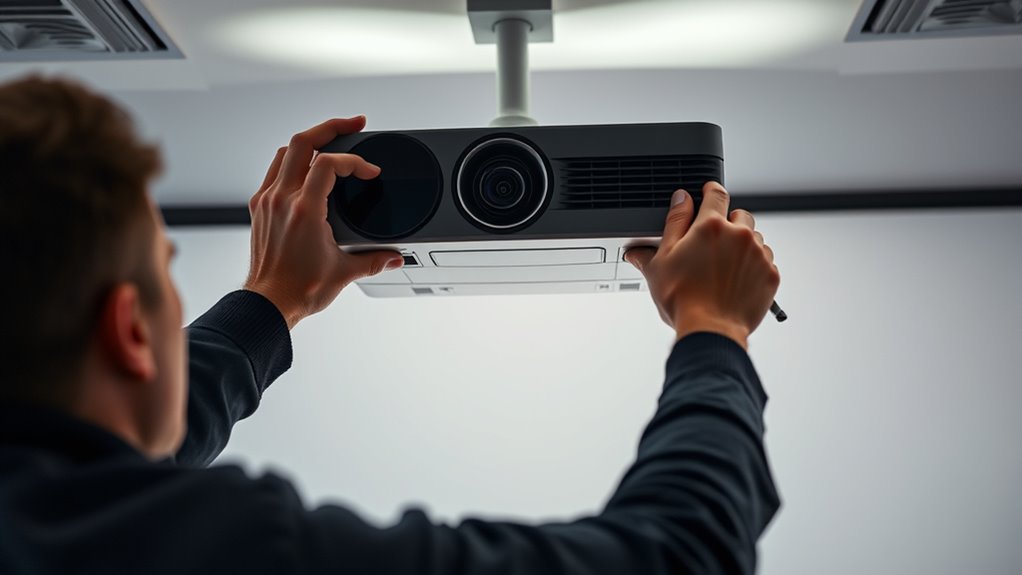
Adjusting the Projector’s Tilt and Height for Symmetry
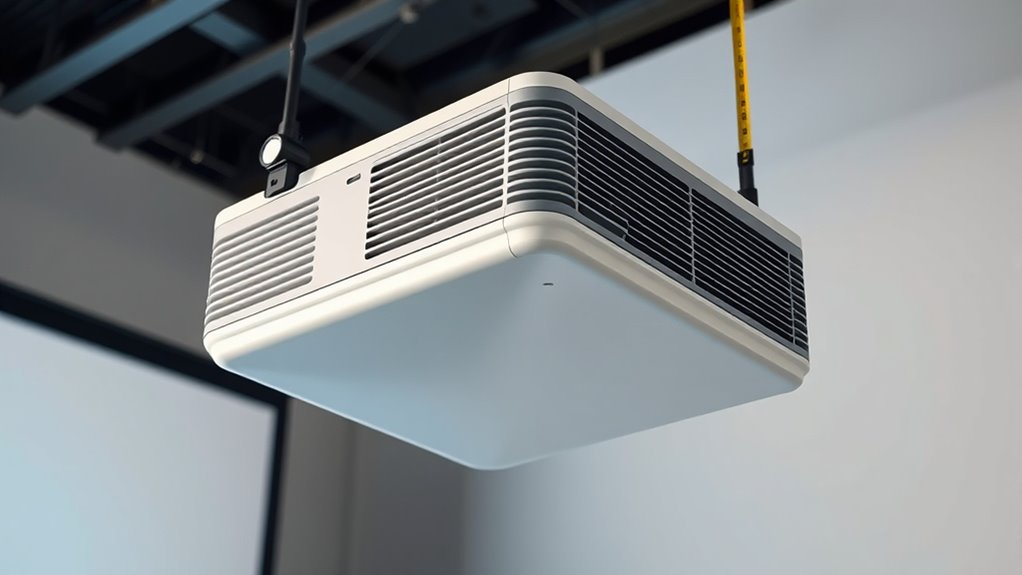
Adjusting the projector’s tilt and height is essential for achieving a perfectly symmetrical image. Proper lens placement and ceiling mounting position directly influence this alignment. To fine-tune your setup, consider these key points:
- Make certain the projector’s lens is centered horizontally with the screen.
- Adjust ceiling mounting height to align the projector’s lens with the screen’s midpoint.
- Tilt the projector slightly to correct keystone distortion and achieve even focus.
- Use shims or adjustable mounts if needed for precise height and tilt control.
- Ensuring your projector is compatible with diverse mounting options can provide greater flexibility in achieving optimal alignment.
Utilizing the Keystone Correction Feature Effectively
Once you’ve aligned your projector as closely as possible through physical adjustments, using the keystone correction feature can help fine-tune the image. This feature adjusts the projection angle digitally to correct trapezoidal distortion caused by uneven placement. To maintain ideal image quality, perform regular lens maintenance, ensuring the lens is clean and free of dust or smudges that can degrade clarity. Use keystone correction sparingly; excessive adjustments can reduce resolution and image sharpness. It’s best to set the projector at the proper projection angle initially, then use keystone correction only for minor tweaks. Proper lens maintenance combined with careful correction helps achieve a perfectly aligned, distortion-free image without sacrificing picture quality.
Fine-Tuning Focus and Image Geometry
Achieving sharp and properly proportioned images requires precise focus and careful attention to image geometry. To do this, start with lens calibration to ensure the projector’s optics are aligned correctly. Adjust the focus until the image appears crisp across the entire screen. Pay attention to image distortion, which can cause curved or skewed edges; correcting this enhances clarity. You should also:
For sharp, well-proportioned images, calibrate the lens and adjust focus to ensure clarity across the entire screen.
- Fine-tune the projector’s tilt and position for uniform image shape
- Use digital keystone correction sparingly to avoid pixelation
- Check the aspect ratio matches your screen
- Verify that lens settings are optimized for your specific setup
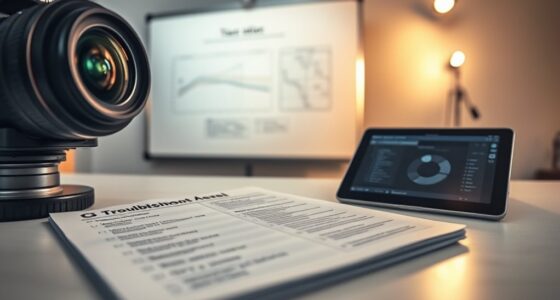
Verifying the Alignment With Test Patterns or Grid Screens
Using test patterns or grid screens is an effective way to verify your projector’s alignment. These patterns help you check if the image is centered and properly rectangular. As you analyze the display, pay attention to color calibration, ensuring colors are accurate and consistent across the screen. Adjustments can be made to correct color distortions that may affect overall image quality. Also, consider ambient lighting, as excessive light can wash out test patterns, making fine adjustments difficult. Dimming the lights enhances pattern visibility, allowing for more precise alignment. Use the patterns to confirm that the image edges align with grid lines and that colors are balanced. Regularly verifying with test patterns ensures your projector remains aligned and delivers excellent picture quality over time.
Frequently Asked Questions
How Do I Troubleshoot if the Image Is Still Off-Center After Alignment?
If the image remains off-center after alignment, first check your calibration techniques, guaranteeing all settings are precise. Use software adjustments to fine-tune the projector’s position and keystone correction. Double-check the projector’s mounting and ensure it’s level. Sometimes, recalibrating or resetting your settings helps. If issues persist, update your projector’s firmware or consult the manual for advanced calibration options. These steps should help center your image accurately.
Can Ceiling-Mounted Projectors Be Aligned the Same Way as Portable Ones?
Ceiling-mounted projectors can be aligned similarly to portable ones, but you need to account for mounting considerations. Use alignment techniques like adjusting the lens shift, keystone correction, and focus to center the image. Guarantee your projector is securely mounted and level. Fine-tune the position by adjusting the mount slightly if needed, and use the projector’s built-in settings for precise alignment, making sure the image is straight and centered on the screen.
What Tools Are Best for Precise Projector Alignment at Home?
To achieve precise projector alignment at home, you should use mounting brackets designed for your projector and a laser level. Mounting brackets help secure the projector firmly in place, while laser levels ensure accurate positioning by projecting straight lines to guide your setup. With these tools, you can easily align your projector with the screen center, minimizing distortion and guaranteeing a clear, professional-looking display.
How Often Should I Realign My Projector for Optimal Image Quality?
You should realign your projector during your regular maintenance schedule, ideally every 3 to 6 months, or whenever you notice a decline in image quality. Calibration frequency depends on usage and environment; if you move the projector or change its setup, realign it promptly. Regular checks ensure your projector stays centered and sharp, preventing issues like distortion or blurriness, so your viewing experience remains ideal.
Is It Better to Align the Projector Before or After Setting up the Screen?
It’s better to align the projector after setting up and calibrating your screen. Proper screen calibration guarantees your display is maximized, revealing how projector placement impacts image quality. When you align the projector first, you risk misaligning it after adjusting the screen, which can cause distortion. By setting up the screen first, you can accurately position your projector for perfect image alignment, ensuring ideal performance and picture clarity.
Conclusion
Don’t worry if initial alignment seems tricky—you can always make small adjustments to get it just right. Having a neatly aligned projector enhances your viewing experience and prevents distorted images. Remember, taking your time with each step guarantees the best results. Even if you’re new to this, patience and careful tweaking will lead to a perfectly centered projection. Trust the process, and soon you’ll enjoy a crisp, aligned display that looks professional every time.