
In tight rooms, mastering corner projection means focusing on precise calibration and strategic positioning. Use test patterns and adjust your projector angle carefully to minimize distortion. Control ambient light with blackout curtains or darker surfaces to boost image clarity. Choosing the right system, like multi-projectors or fisheye lenses, can improve coverage. Regular recalibration and proper surface selection help maintain sharp visuals. Keep exploring for more tips to optimize your corner projection setup effectively.
Key Takeaways
- Use a fisheye lens projector to cover corners with minimal calibration in tight spaces.
- Position the projector at an optimal angle and distance to maximize corner coverage and reduce distortion.
- Employ multi-projector setups for seamless image blending and reduced angle distortion in confined rooms.
- Control ambient light with blackout curtains or dim lighting to enhance projection clarity in small areas.
- Regularly calibrate and adjust keystone and lens settings to maintain image alignment and sharpness.
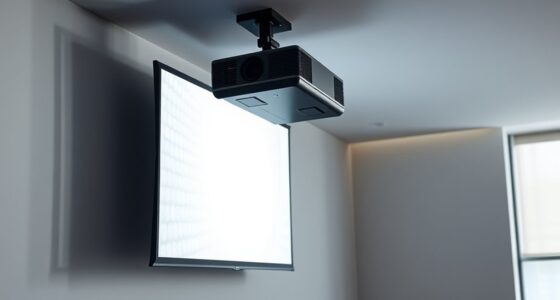
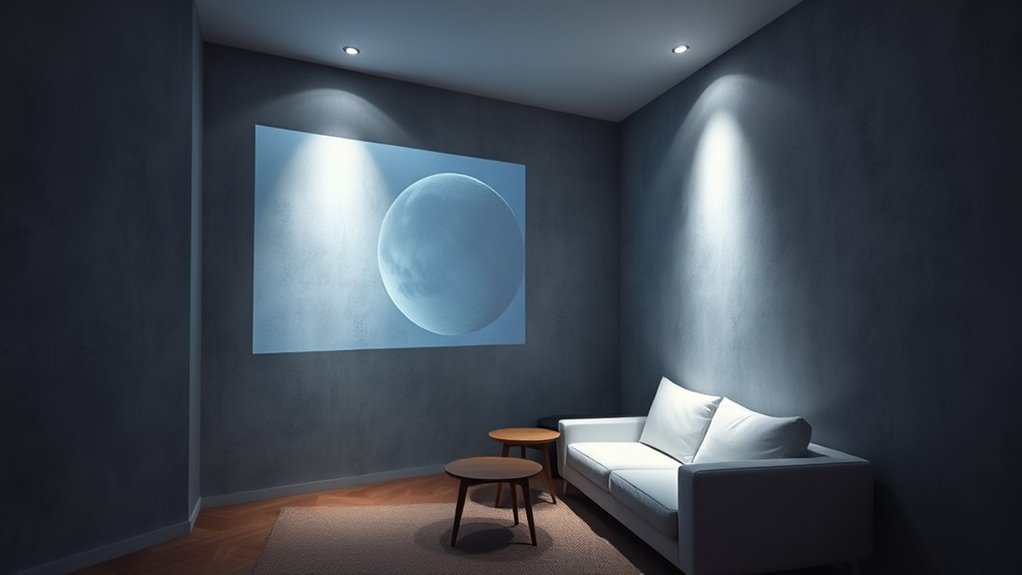
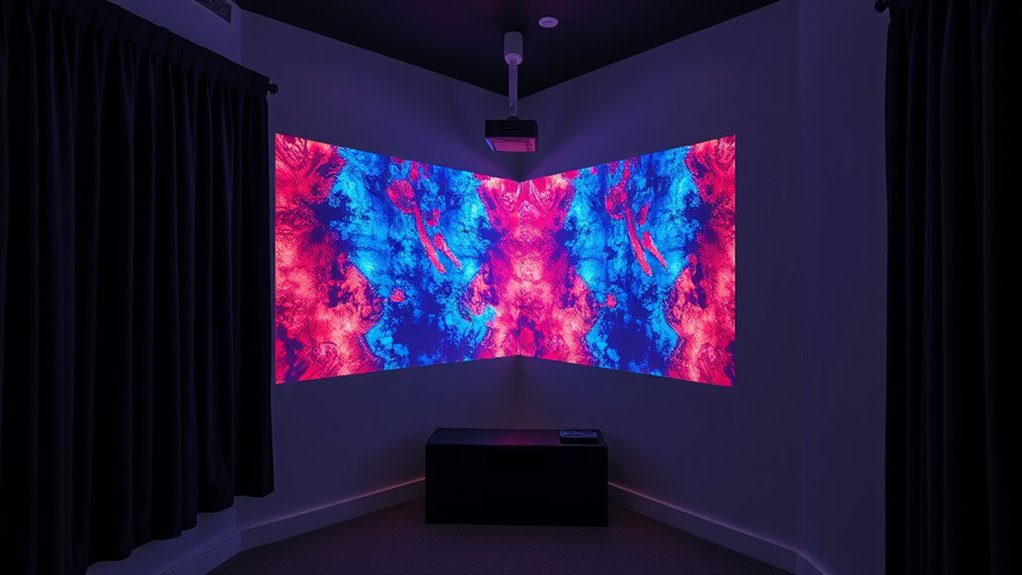
fisheye lens projector for corner projection
As an affiliate, we earn on qualifying purchases.
As an affiliate, we earn on qualifying purchases.
Understanding Corner Projection Fundamentals
Have you ever wondered how images of 3D objects are accurately projected onto 2D surfaces? It all starts with understanding corner projection fundamentals. Precise angle calibration is essential to align projectors correctly, ensuring the projected image fits seamlessly onto surfaces. You need to account for surface textures, as rough or uneven textures can distort the image, making calibration even more critical. Properly calibrated angles help compensate for distortions caused by surface irregularities, delivering a clear, accurate projection. This process involves adjusting the projector’s position and angle until the image aligns perfectly with the target surface. Additionally, understanding dog names can inspire creative themes for projection designs, adding a playful or sophisticated element. By mastering these basics, you set the foundation for effective corner projection, even in challenging environments where surface textures and angles can complicate the process.
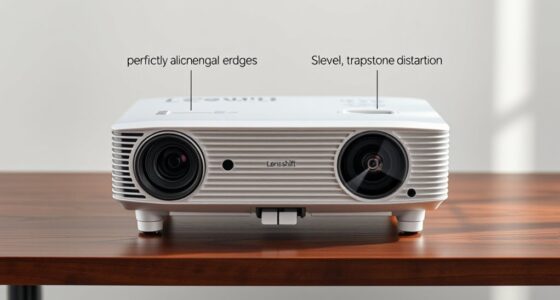
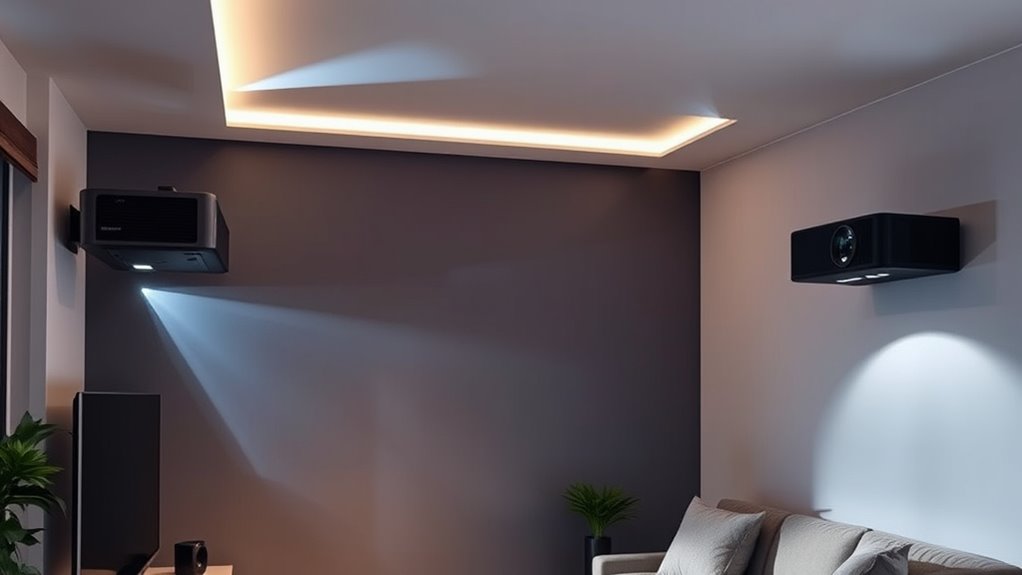
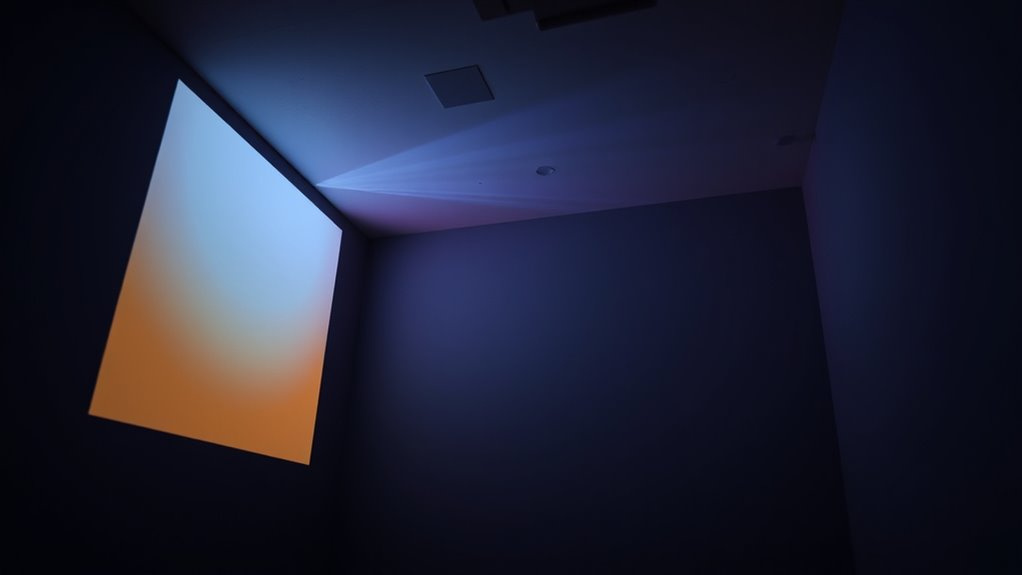
multi-projector setup for small rooms
As an affiliate, we earn on qualifying purchases.
As an affiliate, we earn on qualifying purchases.
Types of Corner Projection Systems
What are the main types of corner projection systems used in visual displays? Generally, there are three: single-projector, multi-projector, and fisheye lens systems. Single-projector setups are simple but can introduce angle distortion, especially in tight rooms. Multi-projector systems combine images from multiple sources, reducing distortion through careful projection calibration. Fisheye lens systems utilize wide-angle lenses to cover corners more effectively, minimizing the need for complex calibration. Each system addresses specific challenges posed by room dimensions and visual goals. Understanding these types helps you choose the right setup to manage angle distortion and ensure accurate image alignment. Proper projection calibration is key to achieving seamless visuals, regardless of the system you select. Additionally, selecting the appropriate system can also improve visual quality, resulting in a more immersive experience.
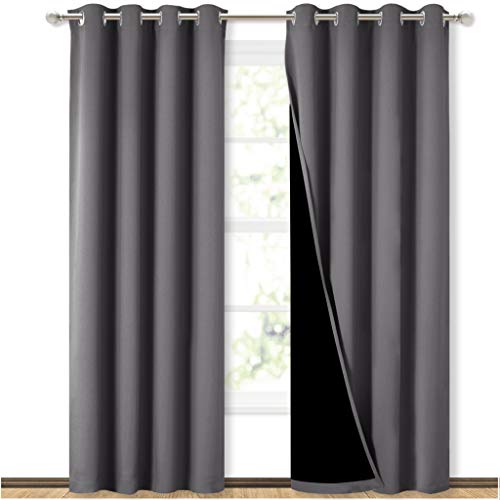
NICETOWN Grey Full Shade Curtain Panels, Pair of Energy Smart & Noise Blocking Out Blackout Drapes for Dining Room Window, Thermal Insulated Guest Room Lined Window Dressing(Gray, 52 x 84 inch)
Ready Made: 2 panels per package. Each Classic Lined Curtain measures 52" wide x 84" long (Total width…
As an affiliate, we earn on qualifying purchases.
As an affiliate, we earn on qualifying purchases.
Setting Up Your Corner Projection Environment
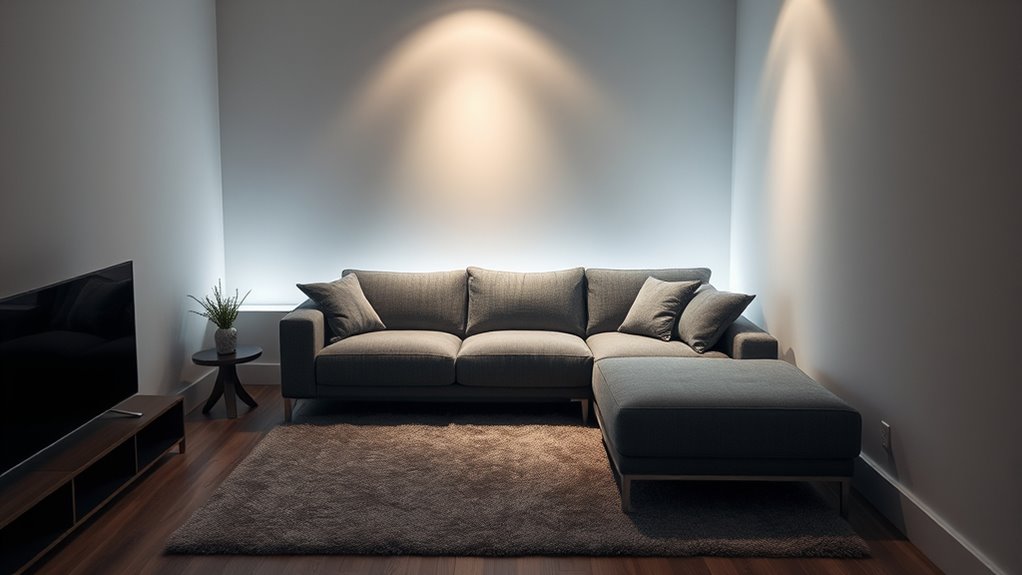
Setting up your corner projection environment requires careful planning to guarantee seamless visuals and minimal distortion. First, control ambient lighting to prevent glare and washout, choosing a darker room or using blackout curtains. Adjust the room’s lighting to ensure it doesn’t interfere with the projection. Next, select appropriate screen materials; matte surfaces like specialized projection fabric or matte vinyl reduce reflections and improve image clarity. Position your projector at the correct angle and distance, aligning it precisely in the corner to maximize coverage. Ensure the projection surface is flat and smooth, free of wrinkles or imperfections. Properly setting up the environment minimizes distortions and enhances image quality, creating an immersive viewing experience even within tight spaces. Additionally, creating a comfortable viewing area helps maintain focus and enjoyment during extended viewing sessions.
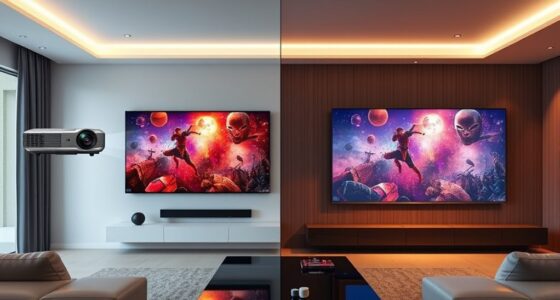
projection screen matte vinyl
As an affiliate, we earn on qualifying purchases.
As an affiliate, we earn on qualifying purchases.
Tips for Achieving Optimal Image Quality
Are you getting the clearest, sharpest images from your corner projection setup? To optimize image quality, focus on proper calibration methods. Use a test pattern or grid to fine-tune alignment, ensuring the projected image is straight and uniform. Correcting for image distortion is vital; small adjustments to projector angle or lens settings can considerably improve clarity. Regularly recalibrate your system, especially if you move the projector or change the environment. Avoid neglecting image distortion, as it can cause blurriness or warped visuals. Invest time in fine-tuning the keystone and focus controls, and consider using calibration tools or software for precise adjustments. These steps help maximize sharpness and eliminate visual imperfections, providing the best viewing experience in tight spaces. Additionally, understanding automation technologies can help streamline setup processes and ensure consistent image quality over time.
Troubleshooting Common Corner Projection Issues
Even with careful calibration, corner projection issues can still occur, disrupting image clarity and alignment. One common problem is lens distortion, which warps the projected image, especially in tight rooms where angles are sharp. To fix this, adjust the projector’s lens settings or use software correction tools to minimize distortion. Another issue is ambient lighting, which can wash out the projection, making it appear faded or blurry in the corners. To troubleshoot, reduce ambient light sources during setup or add blackout curtains. Ensure your projector is properly aligned and that the lens is clean. Regular calibration helps prevent persistent issues. Addressing lens distortion and controlling ambient lighting are key steps to achieving a crisp, aligned corner projection. Additionally, understanding AI security measures can help safeguard your setup from potential vulnerabilities.
Frequently Asked Questions
Can Corner Projection Work on Curved or Irregular Walls?
Corner projection can work on curved or irregular walls if you use curved wall adaptations designed for such surfaces. You’ll need to account for irregular surface challenges by adjusting your projection setup, possibly with flexible mounts or specialized lenses. While it’s more complex than flat surfaces, with careful planning and the right equipment, you can achieve accurate projections even on challenging, uneven wall contours.
What Are the Best Projector Models for Tight Corners?
If you want the best projector models for tight corners, go for ultra short throw laser projectors. They’re designed to project a large image from just inches away, perfect for confined spaces. Brands like Optoma, BenQ, and Epson offer reliable options that minimize shadow issues and maximize clarity. You’ll be amazed at how these compact yet powerful projectors transform your tight room into a stunning home theater.
How Do Ambient Light Conditions Affect Corner Projection Quality?
Ambient light substantially impacts your corner projection quality by reducing contrast and making the image look washed out. When there’s too much ambient light, your projector’s contrast diminishes, and details become harder to see. To improve your projection, control the ambient light by dimming or adding blackout curtains. This helps your projector produce sharper images with better contrast, ensuring your corner projection looks vibrant and clear even in tight spaces.
Are There Specific Calibration Tools Recommended for Tight Spaces?
For tight spaces, you should use specialized calibration tools like laser distance meters and digital room measurement devices. These tools help you accurately measure room dimensions, ensuring your projection aligns perfectly in confined areas. By calibrating your projector with precise room measurements, you prevent distortion and achieve ideal image quality. Always select calibration tools designed for small spaces to streamline setup and improve projection accuracy in tight environments.
How Can I Extend Projection Coverage in Very Small Rooms?
To extend projection coverage in very small rooms, wall mount your projector at a higher or angled position to maximize space. Use adjustable mounts to fine-tune the angle, ensuring the image covers more area without distortion. This setup allows you to leverage limited space effectively, providing broader coverage while maintaining image quality. Proper wall mounting and precise angle adjustments are key to achieving ideal projection in tight environments.
Conclusion
Mastering corner projection techniques is like learning to ride a bike—you might stumble at first, but once you get it, everything becomes smoother. By understanding the fundamentals, choosing the right system, and setting up carefully, you can transform tight rooms into stunning visual spaces. Keep troubleshooting and fine-tuning your setup, and you’ll achieve crisp, immersive images. With patience and practice, you’ll turn even the trickiest corners into perfect projection zones, just like a pro.