Projector offset refers to the vertical or horizontal shift needed to align the projected image properly without distorting it. To achieve the best picture, position your projector as close to the ideal height as possible, using lens shift to fine-tune the image’s placement. Avoid excessive keystone correction, which can reduce image quality. Proper setup minimizes digital adjustments and results in a clearer, more proportionate image. Learning these tips can help you optimize your projector’s placement effectively.
Key Takeaways
- Proper projector height minimizes the need for keystone correction and ensures a proportionate, undistorted image.
- Using lens shift allows vertical positioning adjustments without affecting image quality, aiding optimal height placement.
- Positioning the projector close to the ideal height reduces digital corrections that can degrade image clarity.
- Keystone correction compensates for minor height misalignments but should be used sparingly to maintain image sharpness.
- Aim to set the projector at or near the recommended height for the best picture quality and minimal digital adjustments.
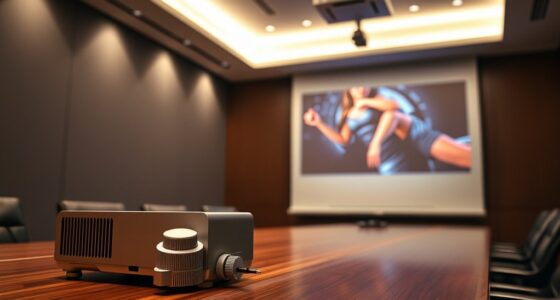
Understanding projector offset is essential for achieving a perfectly aligned image. When setting up your projector, the goal is to position it so that the image appears straight and proportionate on your screen. This is where concepts like lens shift and keystone correction come into play. These features help you fine-tune the image without physically moving the projector excessively, giving you more flexibility in placement and ensuring a sharp, undistorted picture.
Proper setup ensures a straight, proportionate image with minimal digital adjustments.
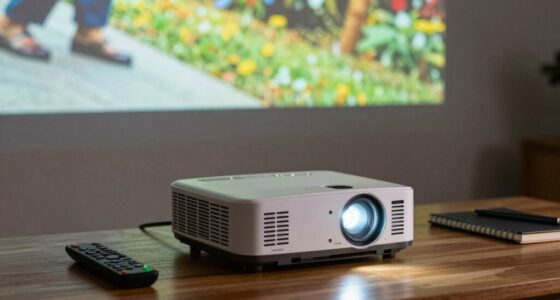
Lens shift allows you to move the lens’s optical path vertically or horizontally without affecting the image quality. Instead of tilting or repositioning the entire projector, you can adjust the lens itself, which makes aligning the image much easier. For example, if your projector is mounted slightly above or below the ideal height, you can use the lens shift to compensate for this offset. This feature is especially useful in fixed installations where you can’t change the projector’s position easily. By leveraging lens shift, you maintain the projector’s stability while achieving a level, correctly sized image.
Keystone correction is another tool designed to help correct geometric distortions that occur when the projector isn’t perfectly aligned with the screen. If you’ve ever seen a trapezoidal image, you’ve experienced keystone distortion. Many projectors offer digital keystone correction, which can adjust the shape of the image to be rectangular again. However, relying heavily on keystone correction can sometimes lead to slight image quality loss, so it’s better to combine it with proper physical positioning or lens shift whenever possible.
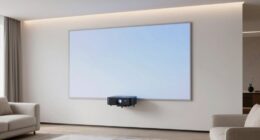
Getting the ideal height for your projector involves understanding how these features work together. If your projector’s lens shift capability is limited, you need to position the projector as close to the ideal height as possible. Then, use keystone correction to fine-tune the image’s shape. Remember, the goal is to minimize digital adjustments because they often introduce pixilation or slight blurriness. Instead, aim to set your projector at the correct height from the start, which reduces the need for excessive correction. Additionally, considering the projector’s contrast ratio can help you optimize image quality by ensuring deeper blacks and brighter whites, especially in environments with ambient light.

JMGO N3 Ultimate 4K Triple Laser Projector, 5800 ISO Lumens, 3-in-1 Lens Shift, Optical Zoom, AI Gimbal, 20000:1 Contrast, 1ms Low Latency, VRR & ALLM, Dolby Vision Home Theater.
3-in-1, True Lossless, True Freedom: Get a perfect picture from anywhere. This 4K projector features an upgraded Four-way…
As an affiliate, we earn on qualifying purchases.
As an affiliate, we earn on qualifying purchases.
Frequently Asked Questions
How Does Ambient Light Affect Projector Offset Calculations?
Ambient light impacts your projector offset calculations because excessive light can reduce projection quality, making images appear dimmer and less sharp. When ambient light is high, you might need to adjust your projector’s height or placement to compensate for brightness loss, ensuring the image remains clear and properly aligned. By considering ambient light, you optimize projection quality, keeping the image bright and accurately positioned regardless of lighting conditions.
Can Projector Offset Be Adjusted Manually or Automatically?
You can adjust projector offset both manually and automatically. Manual adjustment lets you fine-tune the image height and positioning through the projector’s settings, giving you control over the offset. Automatic calibration uses built-in sensors or software to detect the ideal image position and make adjustments for you. Depending on your projector model, you might find one method more convenient, but both options aim to optimize your viewing experience seamlessly.
What Is the Impact of Screen Size on Projector Offset?
Your screen size directly affects your projector offset, impacting image positioning. Larger screens require more offset adjustments to keep the image centered and properly aligned, while smaller screens need less. As you select your screen size, remember that increasing it may shift the image upward or downward, so you’ll need to fine-tune the projector’s height or lens shift to maintain perfect positioning. Proper adjustments make certain a clear, well-aligned picture.
Are There Specific Projector Brands With Better Offset Features?
Imagine setting up your home theater, only to find image distortion due to poor offset features. Some brands like Epson offer better offset options, reducing mounting issues and ensuring a clear, aligned picture. These projectors often have advanced mounting options, making installation easier and minimizing distortion. Choosing brands with superior offset features helps you achieve perfect image positioning, saving you time and frustration during setup.
How Does Projector Throw Distance Influence Offset Requirements?
Your throw distance directly affects offset calibration needs. A longer throw distance typically requires more precise offset adjustments to keep the image properly aligned on your screen. Conversely, a shorter throw distance may reduce the offset requirements but demands careful positioning to avoid image distortion. As you adjust your projector’s throw distance, remember to recalibrate the offset to guarantee ideal image alignment and avoid keystone distortion.
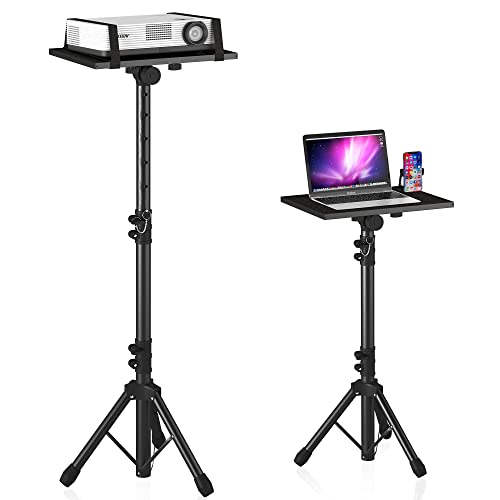
DECOSIS Projector Stand Tripod Adjustable, Laptop Height from 23.5 to 46.5 inches with Gooseneck Phone Holder, Floor for Office, Home, Stage, Studio, DJ Racks Holder Mount
【𝑼𝒑𝒈𝒓𝒂𝒅𝒆𝒅 𝑷𝒓𝒐𝒕𝒆𝒄𝒕𝒊𝒐𝒏 𝑫𝒆𝒗𝒊𝒄𝒆】: Projector Stands add a safety latch, which avoids the danger of falling. Laptop tripod is…
As an affiliate, we earn on qualifying purchases.
As an affiliate, we earn on qualifying purchases.
Conclusion
Think of your projector as the captain steering your visual ship. By understanding and adjusting the offset, you’re setting the perfect course for a clear, centered image. When you find the ideal height, your projection will sail smoothly across the screen, free of distortions or keystone effects. Mastering this simple adjustment guarantees your viewing experience is smooth sailing, turning your setup into a well-charted voyage of sharp, flawless visuals every time.

Aurzen EAZZE D1 Smart Projector with WiFi and Bluetooth, Built-in APP, Auto Focus/Keystone, DoIby Audio 16W Speakers, Native 1080P, HDR10, Portable Mini Outdoor Movie Projector
Built-in Smart TV Operating System: The Aurzen EAZZE D1 smart projector comes with a built-in smart TV OS,…
As an affiliate, we earn on qualifying purchases.
As an affiliate, we earn on qualifying purchases.

Tonalee Projector Mount Wall or Ceiling Projection Mount Bracket with Adjustable Height and Extendable Arms Mounts for Home and Office Projector
【Note】The projector mount used in this projector mount should have the following conditions: 1. The wall where the…
As an affiliate, we earn on qualifying purchases.
As an affiliate, we earn on qualifying purchases.