
To master frameless versus fixed frame installation in a weekend, start by understanding their key differences in design, structure, and aesthetic appeal. Gather the necessary tools, measure your space carefully, and prepare your workspace for smooth work. Follow clear step-by-step instructions for each type, troubleshoot common issues, and double-check your work. With focus and proper planning, you’ll gain confidence to complete both installations efficiently—continue exploring for detailed tips to make it even easier.
Key Takeaways
- Understand the structural and aesthetic differences between frameless and fixed frame designs before installation.
- Prepare all necessary tools, materials, and a clean workspace to ensure a smooth, efficient process.
- Measure accurately, considering space layout and style to select the most suitable frameless or fixed frame option.
- Follow step-by-step installation guides, troubleshooting common issues like misalignment or hardware incompatibility.
- Conduct final checks and establish regular maintenance routines to ensure long-term performance and durability.

DIYHD 6.6FT Brushed Twin Roller Sliding Frameless Shower Door Hardware Kit
Space-Saving Sliding Shower Door Hardware – This sliding shower door hardware system is designed for efficient space usage…
As an affiliate, we earn on qualifying purchases.
As an affiliate, we earn on qualifying purchases.
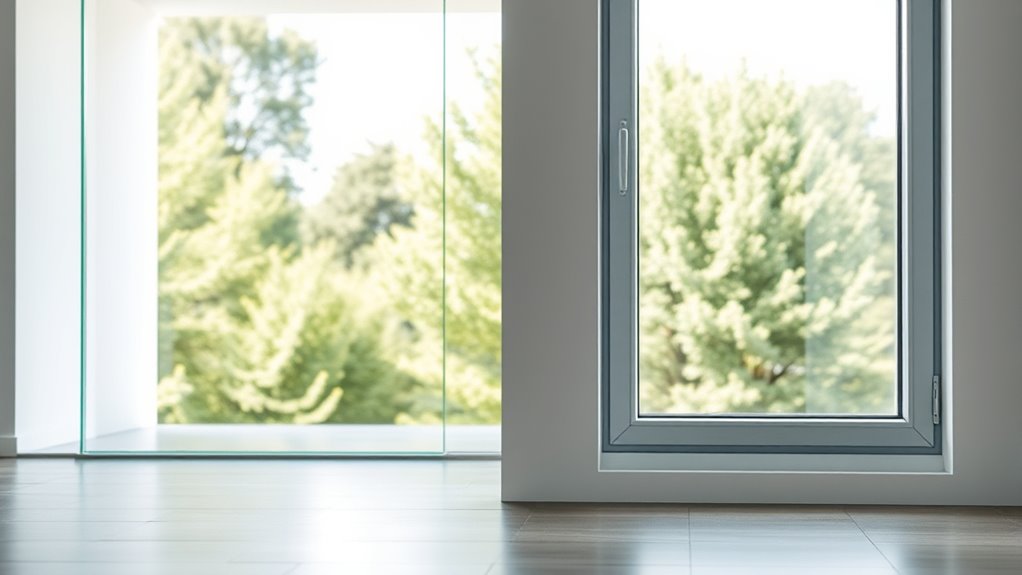
Understanding the Key Differences Between Frameless and Fixed Frame Installations
When choosing between frameless and fixed frame installations, understanding their fundamental differences is essential. Frameless designs typically use thicker glass, which provides a sleek, modern look, but this also impacts hardware compatibility. Thicker glass requires specialized mounting hardware to ensure stability and safety. Fixed frame installations, on the other hand, often incorporate a metal or wood frame that supports thinner glass, making hardware choices more straightforward. The frame adds structure and can accommodate various glass thicknesses, offering flexibility in design. Recognizing these differences helps you select the right option for your space, considering both aesthetic preferences and practical requirements. Whether you prioritize a seamless, minimal appearance or a more traditional frame, understanding glass thickness and hardware compatibility is key to making an informed decision. Additionally, contrast ratio plays a vital role in how vibrant and detailed your projected images will appear in your setup.

Shower Glass Panel Fixed Shower Screen, 32” W x 78” H 3/8” 10mm Single Frameless Shower Doors for Walk in Shower with Clear Tempered Glass Explosion-Proof Film for Bathroom, Matte Black Hardware
【Premium Design & Perfect Sizing 】Designed with dimensions of 32" wide × 78" high, this framless walk-in shower…
As an affiliate, we earn on qualifying purchases.
As an affiliate, we earn on qualifying purchases.
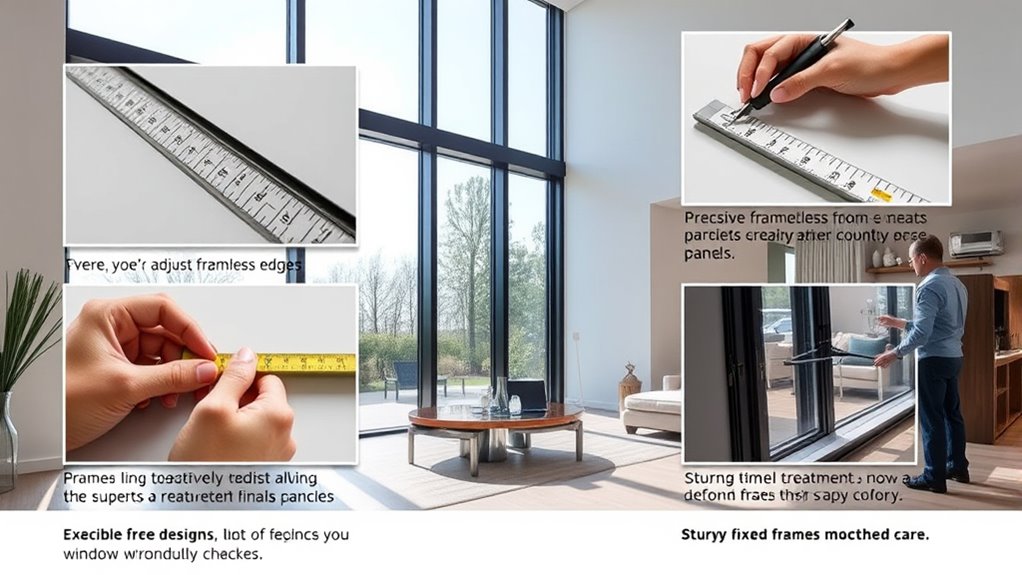
Evaluating Your Space and Style Preferences
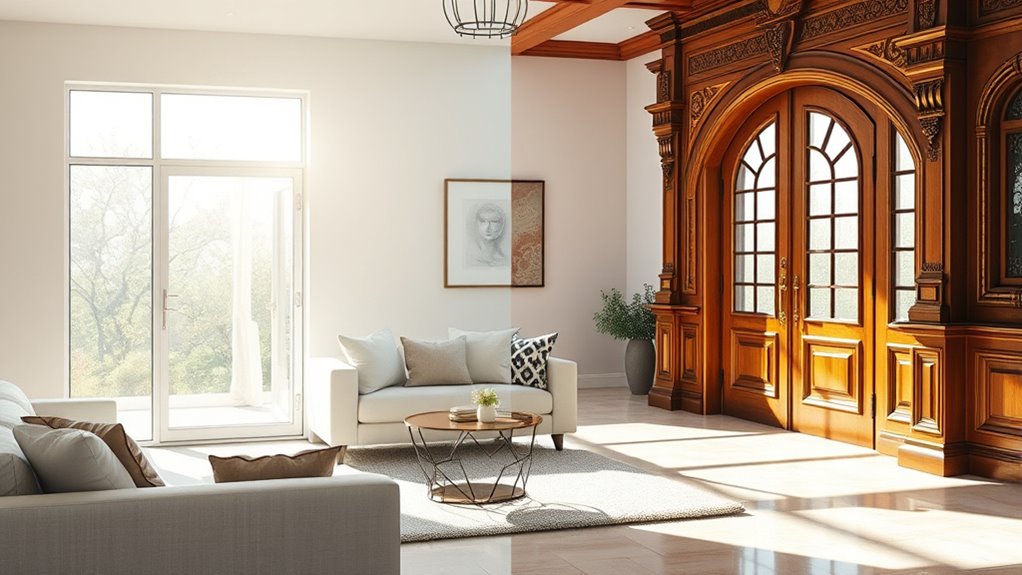
To choose the right frame, consider your room’s size and layout to guarantee enough space and proper flow. Think about your design style—whether you prefer sleek, modern looks or a more traditional feel—and how much light and privacy you need. These factors will help you select a frame that complements both your space and your aesthetic.
Room Dimensions and Layout
Evaluating your room’s dimensions and layout is essential to determine whether a frameless or fixed frame door suits your space and style. Consider how window placement influences your choice—large windows might benefit from a frameless door to maximize views and natural light. Sunlight control is also key; if your room receives intense sunlight, a fixed frame door with built-in shading options can help manage heat and glare. Measure door openings carefully to ensure proper fit, especially in tight spaces or irregular layouts. Think about traffic flow and furniture placement—frameless doors often create a seamless transition, while fixed frames can add a bold architectural element. Matching the door’s style to your room’s proportions and light patterns ensures an integrated, functional design. Additionally, understanding interior design principles can guide your selection to enhance overall aesthetic harmony.
Design Aesthetic Choices
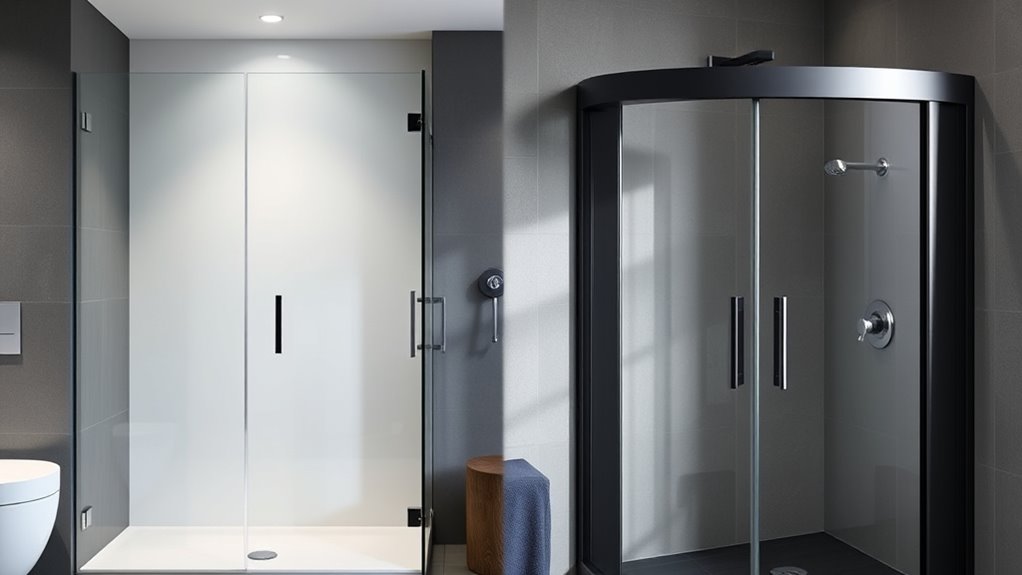
Choosing between a frameless and fixed frame door hinges on your overall design aesthetic and personal style preferences. If you prefer a sleek, modern look, a frameless door offers minimal hardware, emphasizing color coordination and creating a seamless appearance. For a more traditional or industrial vibe, a fixed frame with visible hinges can add texture contrast, highlighting craftsmanship and detail. Consider how your door complements wall colors, cabinetry, and other finishes—smooth surfaces with bold color choices suit frameless designs, while textured or matte finishes pair well with fixed frames. Think about the visual impact you want: a clean, unobstructed flow or a statement piece with contrasting materials. Your choice should enhance your space’s character while aligning with your overall style preferences. Additionally, interior design elements like lighting and decor style can influence which frame type best integrates with your farmhouse or rustic bedroom theme.
Privacy and Light Needs
Your decision between frameless and fixed frame doors considerably influences your space’s privacy and light flow. Frameless doors often maximize openness, allowing more natural light and seamless visibility, but may offer less soundproofing options. Fixed frame doors tend to provide better privacy, especially if equipped with frosted or tinted glass, and can improve energy efficiency by sealing gaps more effectively. Consider how much light you want to filter in and how much noise you need to block out. If privacy is a priority, choose a style with thicker glass or additional soundproofing features. Conversely, if your goal is to maximize sunlight, frameless designs with minimal framing work well. Evaluate your space’s layout and your style preferences to find the perfect balance between light, privacy, and energy efficiency. Additionally, understanding the transformative power of decluttering can help you create a more open and organized environment that complements your door choice.

CRL General Purpose Windshield and Back Glass Rubber Installation Tool
Quality Built in USA
As an affiliate, we earn on qualifying purchases.
As an affiliate, we earn on qualifying purchases.
Gathering the Right Tools and Materials for the Job
To get started, you’ll need to gather the essential tools on your checklist, such as a level, screwdriver, and measuring tape. Properly preparing your materials guarantees a smooth installation process and a professional finish. Keep these tips in mind to select the right supplies and ready your workspace efficiently. Additionally, understanding the different types of essential oils can help you choose suitable products for your project.
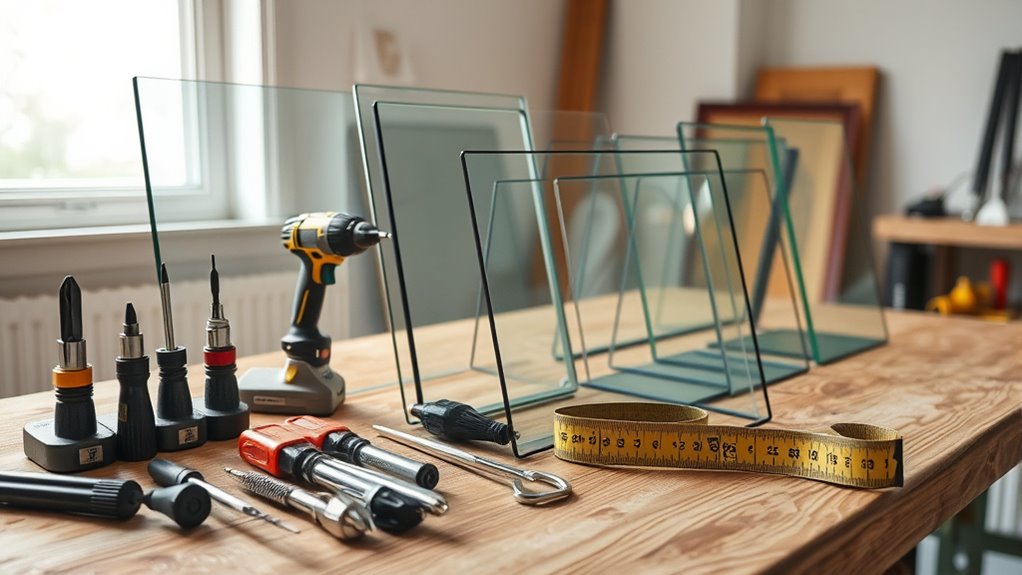
Essential Tools Checklist
Gathering the right tools and materials is essential for a smooth installation, whether you’re working with a frameless or fixed frame. Ensure your tools are compatible with the hardware you plan to use by checking for hardware compatibility beforehand. This prevents delays and guarantees everything fits correctly. You’ll need basic items like a level, drill, screwdriver, measuring tape, and safety gear such as gloves and goggles. Safety precautions are vital—wear protective gear and handle tools carefully to avoid injury. Double-check that your tools are in good condition and suited for the specific glass or frame material. Having the correct tools ready will streamline the process and help you achieve a professional, secure installation. hardware compatibility is a crucial factor that can impact the success of your project.
Material Preparation Tips
Ensuring you have the right tools and materials before starting your project can make all the difference in achieving a smooth and efficient installation. Focus on fabric selection to match your desired aesthetic and durability needs, choosing materials that are easy to work with and complement your space. Check hardware compatibility to ensure brackets, hinges, and mounting systems fit securely and function properly. Gather precision tools like level, measuring tape, and screwdriver to facilitate accurate placement. Having the proper fabric and compatible hardware on hand prevents delays and rework. Double-check specifications for each component to avoid mismatched parts. Preparing your materials in advance streamlines the process, so you can focus on flawless installation without interruptions. Additionally, understanding the potential pitfalls in adopting new payment technologies can help you avoid unforeseen complications if you decide to incorporate digital payment options into your project.

RemixOri Shower Door Hardware Kit 304 Stainless Steel for 6/25"-1/2" (6mm-12mm) Tempered Glass, Hardware Accessories with 8" Handles Hinges Glass Clamp – Matte Black
【Premium Matte Black 304 Stainless Framework】304 stainless steel with matte black coating delivers enhanced corrosion resistance. Deep black…
As an affiliate, we earn on qualifying purchases.
As an affiliate, we earn on qualifying purchases.
Preparing Your Workspace for a Smooth Installation
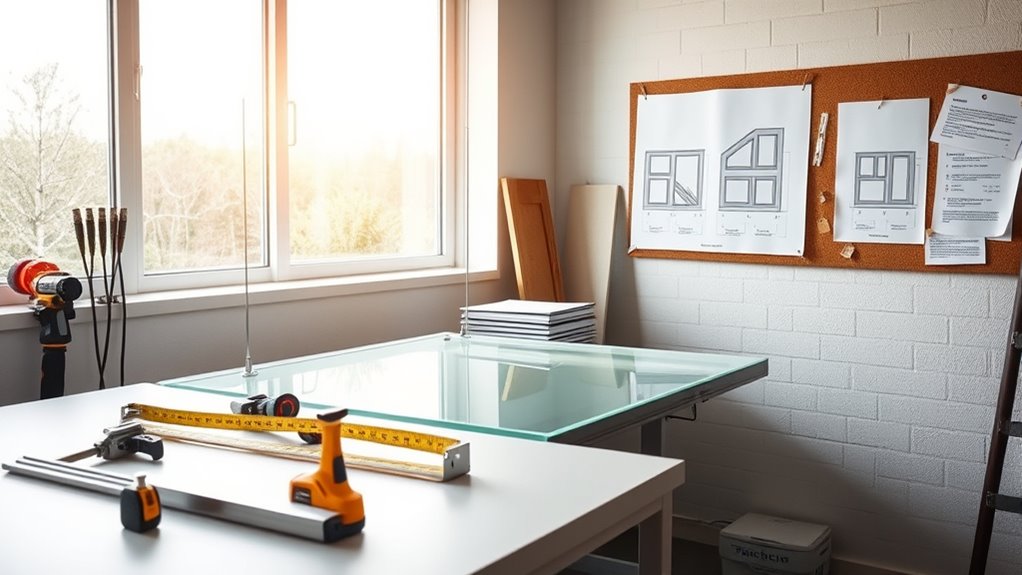
Before you start installing your frameless or fixed frame, it’s vital to prepare your workspace to prevent delays or issues. Clear the area of obstacles and protect surfaces with drop cloths to guarantee a smooth process. Measure and verify that your tools and materials are within reach to avoid unnecessary interruptions. Make sure the space maintains proper thermal insulation, which enhances energy efficiency and helps with temperature regulation during installation. Adequate lighting is essential for precision work, so set up bright, focused illumination. Additionally, check for any drafts or air leaks that could affect your work or the window’s performance, especially regarding energy efficiency. Proper preparation creates a safer, more efficient environment, reducing potential problems and streamlining your installation.
Step-by-Step Guide to Installing a Frameless Window Treatment

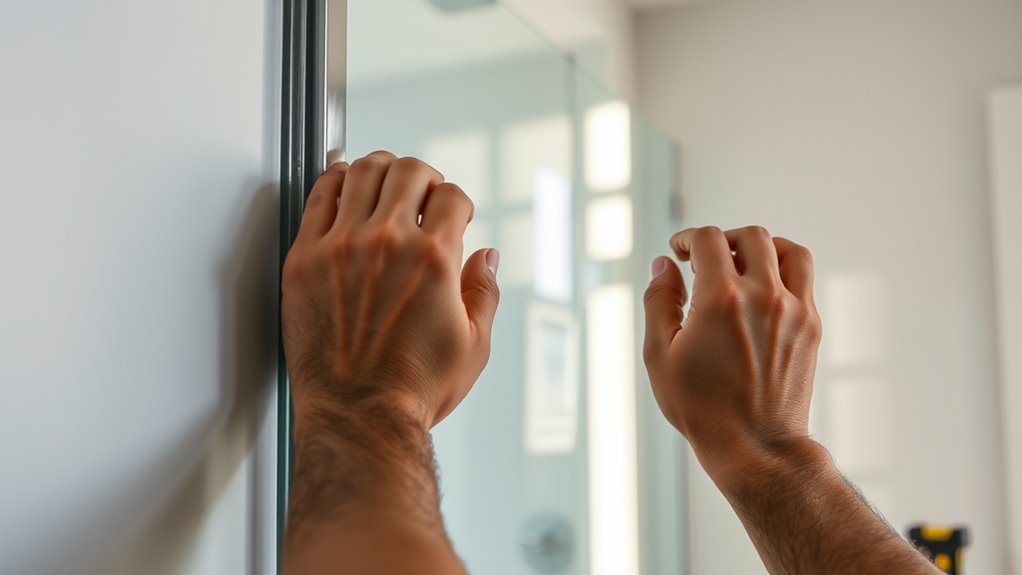
Installing a frameless window treatment involves precise steps to achieve a sleek, modern look without visible hardware. First, verify your window is thoroughly cleaned to prevent dust or debris from affecting the adhesive or mounting surfaces. Measure carefully to guarantee a perfect fit, which enhances energy efficiency by minimizing gaps. Attach the mounting brackets securely, following the manufacturer’s instructions, and double-check alignment. Once mounted, hang the frameless treatment, making sure it glides smoothly. Proper installation improves insulation, reducing drafts and helping you save on energy costs. Keep the window clean afterward to maintain the treatment’s appearance and functionality. Take your time during each step to ensure a flawless, professional finish that maximizes both aesthetic appeal and energy efficiency.
Step-by-Step Instructions for Fixed Frame Installation
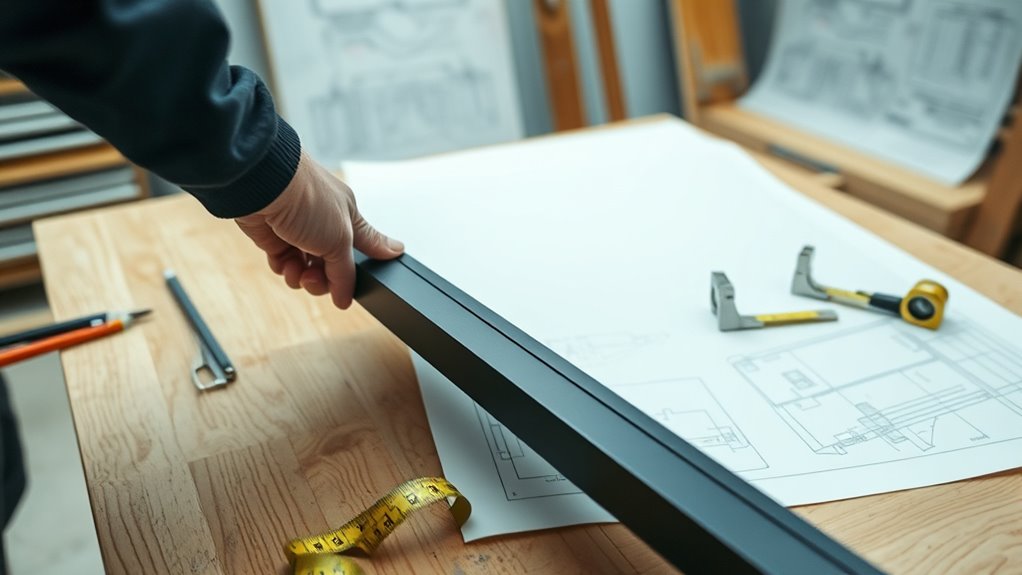
To install a fixed frame window treatment correctly, start by measuring your window precisely to determine the exact dimensions needed for the frame. Accurate measurements prevent gaps and ensure a seamless look. Next, select a color that complements your room’s decor and budget planning, balancing style with affordability.
- Gather necessary tools: level, drill, measuring tape, and screws
- Mark the mounting points carefully, ensuring the frame will be level
- Attach the brackets securely, double-checking alignment
- Fit the fixed frame into place, making adjustments for a snug, balanced fit
Pay attention to color coordination to enhance aesthetic appeal, and keep your budget in mind throughout the process. Precision and planning guarantee a professional finish and lasting satisfaction.
Tips for Troubleshooting Common Challenges During Installation
Even with careful measurements and precise placement, installation can sometimes present unexpected challenges. If you encounter issues with hardware compatibility, double-check that all components match your window’s specifications to avoid delays. Loose or incompatible hardware can hinder proper installation or compromise safety. When facing alignment problems, take a step back and verify your measurements before making adjustments. Always follow safety precautions—wear protective gear and ensure the workspace is secure to prevent accidents. If parts don’t fit, don’t force them; instead, consult the manufacturer’s guidelines or seek professional advice. Troubleshooting these common challenges early helps prevent damage and guarantees a secure, long-lasting fit for your window treatment. Additionally, consulting support hours, such as PlayStation support hours, can be useful if you need technical assistance during installation. Patience and attention to detail are key to overcoming installation hurdles smoothly.
Final Checks and How to Maintain Your New Window Treatments
Once you’ve completed the installation, it’s vital to perform final checks to guarantee everything is secure and functioning properly. Verify that the frames are aligned, locks operate smoothly, and there are no gaps or loose fittings. Regular maintenance helps preserve your window treatments’ appearance and efficiency. To optimize energy efficiency, ensure seals are tight and clean the glass regularly with gentle cleaning tips to prevent dirt buildup. Incorporating sound vibrations can also enhance cellular regeneration and overall health of your window treatments.
Frequently Asked Questions
Can I Install Frameless or Fixed Frame Treatments Myself?
Yes, you can attempt DIY installation for frameless or fixed frame treatments if you’re comfortable with basic tools and measurements. However, for precise alignment and safety, it’s wise to seek professional help, especially for large or complex projects. While DIY can save money, professional installation guarantees a flawless finish and long-term durability, making it a worthwhile investment if you’re unsure of your skills.
What Are the Cost Differences Between Frameless and Fixed Frame Options?
You’ll find that frameless options usually cost more upfront, thanks to their sleek, modern look and precise installation needs. Fixed frames tend to be more budget-friendly, making them a smart choice if you’re watching costs. So, if budget considerations matter, a fixed frame offers a cost comparison advantage. But if you want that seamless, minimalist vibe, you might just pay a little extra for frameless elegance.
How Long Does Each Installation Type Typically Take?
You’ll find that frameless shower door installations usually take about 4 to 8 hours, depending on preparation requirements and complexity. Fixed frame installations are quicker, often completed within 2 to 4 hours, since they involve less customization. Your installation duration hinges on factors like wall condition and hardware availability. Planning ahead and ensuring proper preparation can help streamline each process, saving you time and effort.
Are There Specific Maintenance Routines for Each Window Treatment?
Think of your window treatments as your home’s eyes—take good care of them. For frameless windows, regularly clean the glass with gentle window cleaning solutions to prevent streaks, and check for any signs of frame damage. Fixed frame windows require similar upkeep but tend to be more durable, needing less frequent maintenance. Staying attentive guarantees both types preserve their beauty and frame durability, keeping your view clear and beautiful.
Which Option Offers Better Insulation and Energy Efficiency?
Fixed frame windows generally offer better insulation and thermal performance because their design minimizes gaps and air leaks, boosting insulation value. Frameless windows, while sleek, may have slightly lower thermal efficiency due to potential gaps around the edges. If energy efficiency is your priority, choosing fixed frame windows provides superior insulation value, helping you save on heating and cooling costs. Make sure to select high-quality materials for ideal thermal performance.
Conclusion
Did you know that choosing the right window treatment can boost your home’s energy efficiency by up to 25%? Mastering the differences between frameless and fixed frame installations in just a weekend means you’ll save time and money while enhancing your space. With the right tools and a clear plan, you’ll confidently tackle your project. Now, go ahead and transform your windows into stylish, functional features — your perfect view is just a weekend away!