To eliminate the projector rainbow effect, start by ensuring your projector is properly aligned and positioned to minimize color separation. Use high-quality, well-shielded cables and secure connections to reduce interference. Calibrate your projector’s settings, including color balance and focus, for sharper images. Upgrading to a better lens can markedly reduce chromatic aberration and color dispersion. Additionally, improve your screen with anti-glare and anti-reflection treatments. If you keep exploring, you’ll discover more ways to achieve a crisp, rainbow-free image.
Key Takeaways
- Adjust the projector’s alignment and position to ensure proper focus and minimize color misregistration.
- Upgrade to high-quality lenses and optics to reduce chromatic aberration and light dispersion.
- Use calibration tools and settings to balance colors and correct image distortions.
- Keep the room dim and avoid direct light on the screen to enhance image stability.
- Secure and shield cables to prevent interference and ensure consistent signal transmission.

Rainbow Led Lights – USB Power Supply Rainbow Projector Signs Wall Decor, Rainbow Night Light for Girls Room Kids Gifts
👉Warning: It will always turn off automatically after 10 minutes even if you choose the USB power cable!…
As an affiliate, we earn on qualifying purchases.
As an affiliate, we earn on qualifying purchases.
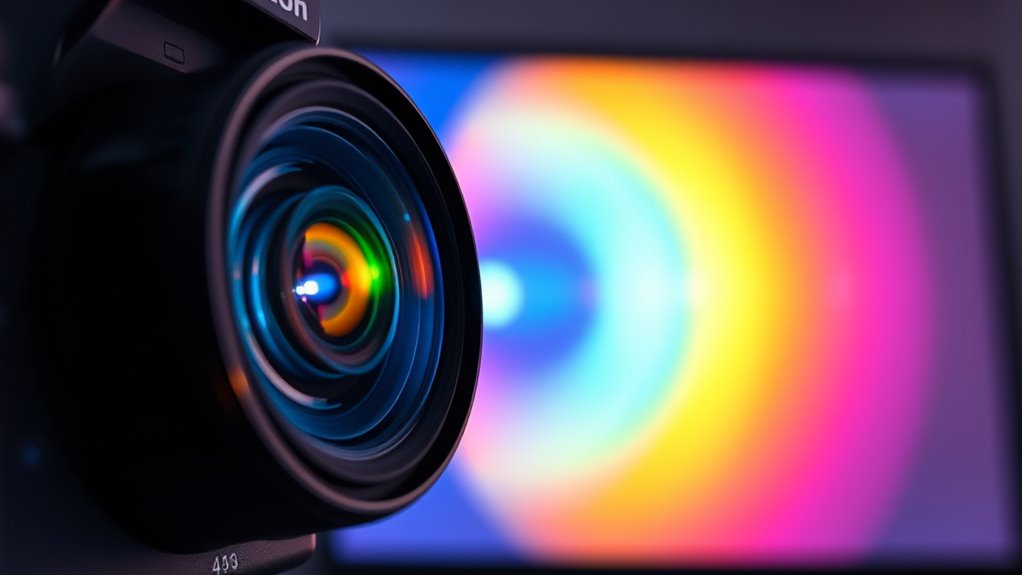
Understand the Causes of the Rainbow Effect
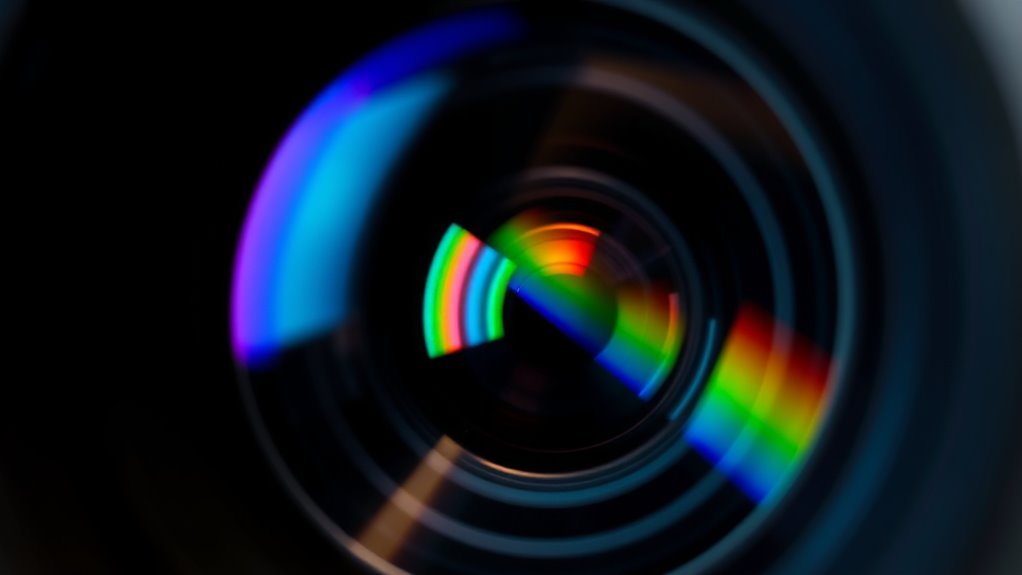
The rainbow effect occurs because of the way projectors split light into separate colors, creating a visible spectrum that can appear around bright images. This phenomenon results from color separation, where the projector’s optics divide light into red, green, and blue components. These components can sometimes overlap imperfectly, producing a rainbow-like fringe. Additionally, prism distortions contribute to this effect, as the internal prisms meant to direct light can bend colors differently, intensifying the rainbow appearance. Understanding that these optical processes are at play helps you recognize why the rainbow effect happens. It’s mainly due to how the projector handles the light split and the minor imperfections in prism alignment, which cause the colors to misalign slightly around bright objects. Recognizing the role of prism distortions can guide you in selecting or adjusting projectors to minimize this issue.
![Smart 4K Projector [Bundled with Google TV Stick] with WiFi and Bluetooth, 2500ANSI, Auto Lens Cap, Portable Outdoor Movie Projector with Built-in Apps Auto Focus for Ceiling/Home Theater/Bedroom](https://m.media-amazon.com/images/I/51jU+FYlRWL._SL500_.jpg)
Smart 4K Projector [Bundled with Google TV Stick] with WiFi and Bluetooth, 2500ANSI, Auto Lens Cap, Portable Outdoor Movie Projector with Built-in Apps Auto Focus for Ceiling/Home Theater/Bedroom
【Enjoy Smart Streaming with Google TV Stick & Voice Control】: Get instant access to Netflix, YouTube, Prime Video,…
As an affiliate, we earn on qualifying purchases.
As an affiliate, we earn on qualifying purchases.
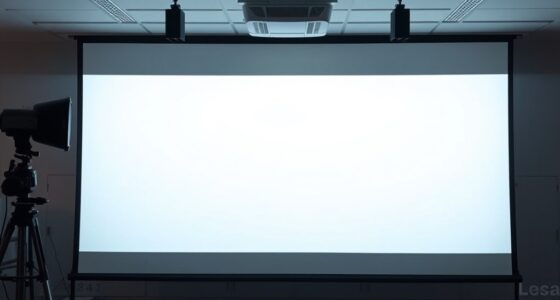
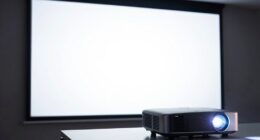
Adjust the Projector’s Position and Setup
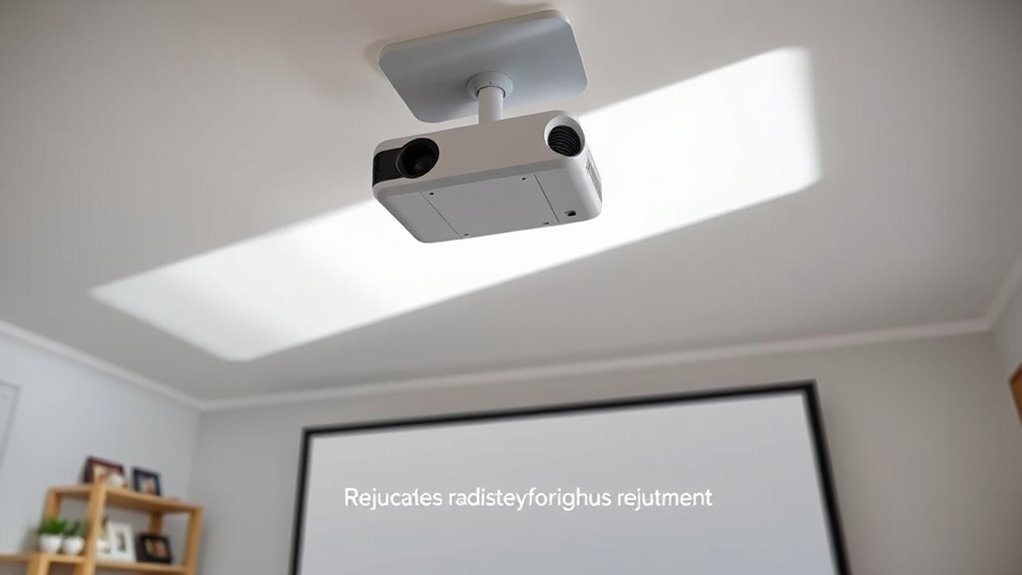
Adjusting the projector’s position and setup can profoundly reduce the rainbow effect. Start by experimenting with projector placement; moving it slightly higher, lower, or off-center can help minimize color separation. Guarantee the projector is aligned directly with your screen, avoiding skewed angles that can intensify rainbow artifacts. Pay attention to room lighting—bright lights or glare can worsen the effect, so dim lights or blackout curtains improve image stability. Keep the projector at an ideal distance to avoid excessive strain on the lens, which can cause color fringing. Proper setup also involves adjusting keystone and focus settings for a sharp, evenly lit picture. Additionally, utilizing calibration tools can help optimize color accuracy and further reduce artifacts. By fine-tuning projector placement and controlling room lighting, you’ll considerably reduce the rainbow effect and enjoy clearer, more vibrant images.
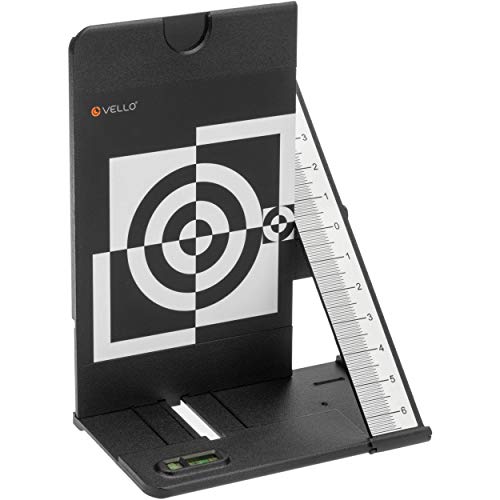
Vello LENS-2020 Lens Calibration Tool
Test Camera's Auto Focus Accuracy, AF Fine Tune or AF Micro Adjustment
As an affiliate, we earn on qualifying purchases.
As an affiliate, we earn on qualifying purchases.
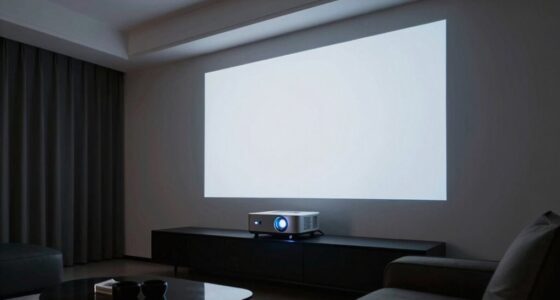
Optimize Your Screen and Environment

Since your screen and environment play a crucial role in how vividly you see colors, optimizing these factors can considerably reduce the rainbow effect. Start with color correction by using projector settings or calibration tools to guarantee accurate color reproduction. Proper environmental lighting is essential; dim ambient light minimizes glare and reflections that can exaggerate the rainbow effect. Use blackout curtains or adjust room lighting to create a darker, more controlled setting. Avoid direct light on the screen, which can wash out colors and increase visual distortions. Additionally, position your projector to reduce light interference and ensure even illumination. Adjusting your projector’s refresh rate can also help lessen the rainbow effect by providing smoother visuals. By fine-tuning your screen setup and controlling ambient lighting, you’ll enhance color accuracy and diminish the rainbow effect, creating a clearer, more vibrant viewing experience.

Mdbebbron 120 inch Projector Screen 16:9 Foldable Anti-Crease Portable Projector Movies Screens for Home Theater Outdoor Indoor Support Double Sided Projection
CONVENIENT TO STORAGE AND CARRY : Compact one-piece,lightweight and folding design. You can fold the projector screen in…
As an affiliate, we earn on qualifying purchases.
As an affiliate, we earn on qualifying purchases.
Use Quality Cables and Proper Connections
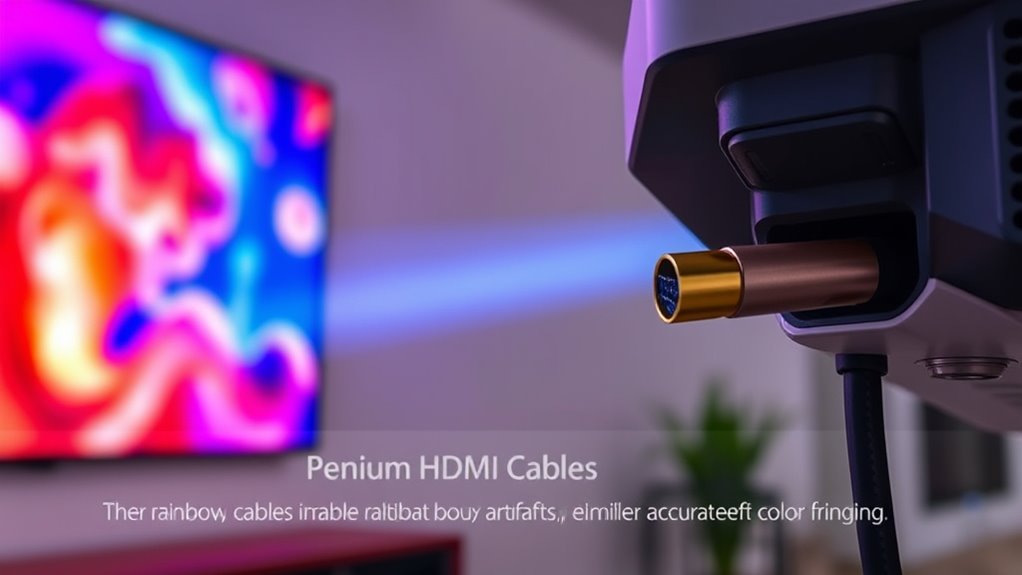
Using high-quality cables can make a noticeable difference in your projector’s image clarity. Make sure your connections are tight and secure to prevent signal issues that contribute to rainbow effects. Don’t overlook the importance of investing in reliable cables for the best visual experience. Incorporating sound healing science principles, such as stable signals, can also help maintain consistent image quality.
Opt for High-Quality Cables
Choosing high-quality cables is essential for minimizing the projector rainbow effect. Good cable quality guarantees better signal transmission, reducing interference that can cause color separation or flickering. When selecting cables, opt for those with solid construction and shielding to maintain connection integrity. Properly manufactured cables prevent signal degradation, which can contribute to the rainbow effect. Investing in premium HDMI or VGA cables provides a stable, consistent image, helping you see more accurate colors without distracting artifacts. Avoid cheap or poorly made cables, as they often lack proper shielding and sturdy connectors that can introduce interference. Remember, the quality of your cables directly impacts the clarity of your projected image and your overall viewing experience. High-quality cables are a simple yet effective way to reduce unwanted visual effects. Additionally, using properly shielded cables can further minimize electromagnetic interference, improving picture quality.
Ensure Tight, Secure Connections
To prevent the projector rainbow effect, you need to guarantee your cables and connections are tight and secure. Loose or unstable connections can cause signal interference, leading to rainbow artifacts. Proper cable management ensures cables are organized and not strained, reducing connection issues. Additionally, mounting stability plays a crucial role; a shaky or poorly mounted projector can disrupt signal consistency. Regularly check and tighten all cable connections, especially HDMI and VGA cables. Use high-quality, well-shielded cables to minimize interference. Secure mounting ensures the projector remains steady, preventing unnecessary movement that could affect image quality. Maintaining proper setup and attention to detail in your connections can significantly reduce the risk of rainbow effects. Use cable clips or ties to keep cables organized and tension-free. Ensure all connections are fully inserted and locked into place. Verify mounting hardware is tight for stable positioning.
Calibrate Your Projector Settings

Calibrating your projector settings is a crucial step in eliminating the rainbow effect. Start by adjusting color correction to balance the hues and reduce color fringing. Proper color correction ensures that the projector displays accurate, vibrant images without excessive color separation. Next, focus on image sharpening; fine-tuning sharpness improves clarity and helps minimize the rainbow illusion caused by blurry edges. Use your projector’s menu to make small adjustments, testing after each change. Keep track of settings that produce the best image quality with minimal rainbow artifacts. Remember, precise calibration not only enhances picture quality but also directly tackles the root causes of the rainbow effect, making your viewing experience smoother and more enjoyable. Additionally, understanding how AI in Education enhances personalized learning can help you better appreciate the importance of fine-tuning technology for optimal results.
Consider Upgrading to a Better Projector Lens
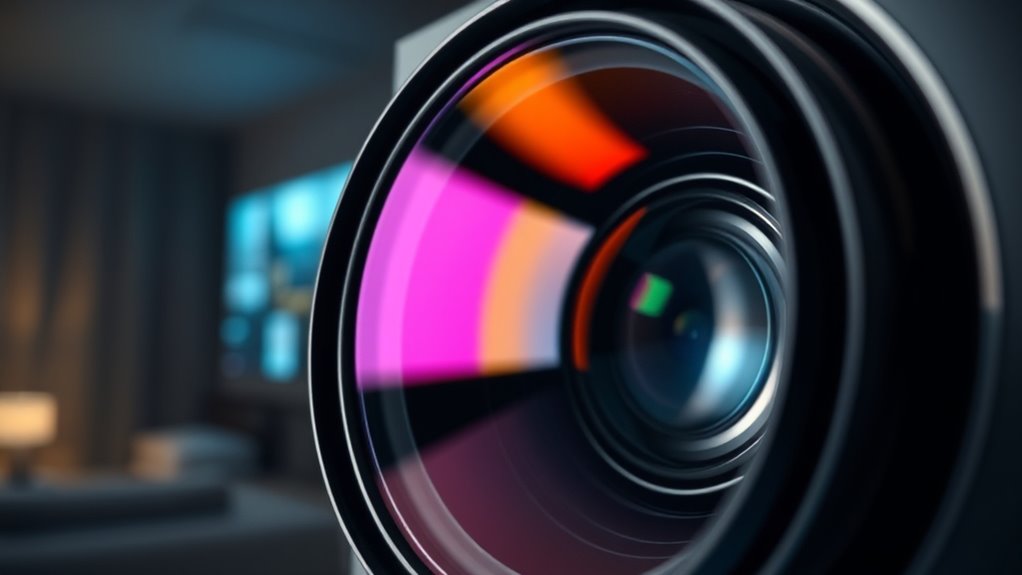
Upgrading to a better projector lens can considerably improve light focus, making images sharper and more vibrant. It also helps reduce color dispersion, which minimizes the rainbow effect you might see. Considering a higher-quality lens can make a noticeable difference in your viewing experience. Additionally, selecting a lens with expert voice actors can enhance the overall clarity and realism of the projected images.
Improved Light Focus
Since the light focus is essential for image clarity, upgrading to a better projector lens can make a significant difference. A sharper focus enhances overall image sharpness and reduces problems caused by polarization issues. This improvement helps guarantee that light converges correctly, minimizing distortions that contribute to the rainbow effect. Additionally, a high-quality lens allows for better color filter calibration, ensuring accurate color reproduction and reducing color fringes. When you upgrade your projector lens, you’ll notice clearer, more vibrant images with less color dispersion. This precise focus can also mitigate subtle issues that cause rainbow artifacts, making your viewing experience more seamless. Overall, investing in a better lens optimizes light focus and reduces the factors leading to rainbow effects.
- Sharper image clarity
- Reduced polarization issues
- Improved color accuracy
Reduced Color Dispersion
Reduced color dispersion plays a crucial role in preventing the rainbow effect, and upgrading your projector lens can greatly help achieve this. A better lens minimizes unnecessary light dispersion, ensuring that colors stay sharp and well-aligned. When the lens is of higher quality, it reduces the unintended spread of light caused by the color wheel, which is a common source of color separation. This results in more accurate color reproduction and less chance of seeing rainbow artifacts. By choosing a lens designed for reduced chromatic aberration, you enhance overall image clarity and color consistency. Upgrading your projector lens is a practical step toward eliminating the rainbow effect, especially if your current setup struggles with light dispersion issues that cause unwanted color fringing. High-quality optics significantly contribute to minimizing chromatic aberration and improving overall image quality.
Use Anti-Glare and Anti-Reflection Screen Treatments
Have you noticed glare or reflections on your screen that worsen the rainbow effect? Anti-glare and anti-reflection screen treatments can considerably reduce these issues. These treatments often involve specialized screen coatings that minimize light scatter and reflections, improving image clarity and color accuracy. To get the best results, consider adjusting ambient lighting to prevent bright lights from bouncing off your screen. Proper screen coatings help diffuse incoming light, making reflections less distracting and reducing color distortions caused by the rainbow effect. Using matte finishes or applying anti-reflective films creates a more uniform viewing experience. Additionally, selecting screens with built-in anti-glare coatings can further enhance your viewing clarity. Here’s how to optimize your setup:
- Select screens with built-in anti-glare coatings
- Adjust ambient lighting to reduce reflections
- Use anti-reflection films or matte screen protectors
Frequently Asked Questions
Can Software Updates Fix the Rainbow Effect on My Projector?
Software updates can sometimes reduce the rainbow artifact on your projector by improving color calibration and performance. When you install the latest firmware, it may fix bugs or optimize the color processing, helping to diminish the rainbow effect. However, updates aren’t always a guaranteed fix, so if the issue persists, consider other solutions like adjusting settings or hardware checks. Always verify you’re using the most recent software version for the best results.
Are There Specific Projector Brands Known for Minimal Rainbow Artifacts?
You’ll find that brands like Sony and JVC are known for minimal rainbow artifacts due to their advanced color wheel technology and solid reputation for quality. Investigating the theory, their use of faster, more precise color wheels reduces rainbow effects considerably. These brands prioritize better color accuracy, making them ideal if you want a projector with fewer rainbow artifacts. So, choosing a reputable brand with sophisticated color wheel tech can greatly improve your viewing experience.
How Does Ambient Lighting Influence the Rainbow Effect?
Ambient light considerably impacts the rainbow effect, making it more noticeable in a bright viewing environment. When you increase ambient light, it reduces the contrast and sharpness of the projected image, which can accentuate color separation and rainbow artifacts. To minimize this, you should create a darker viewing environment, dim or turn off ambient lights, and use blackout curtains. This helps your eyes focus better and reduces the rainbow effect’s visibility.
Is the Rainbow Effect More Common in Certain Projector Types?
You might notice the rainbow effect more with single-chip DLP projectors, often due to their color wheel design. These projectors use a spinning color wheel in their projection technology, which can create brief color separations. While three-chip projectors tend to avoid this, understanding your projector’s technology helps you better appreciate its strengths and limitations. Embracing these nuances allows you to choose the right device for your visual experience.
Can Cleaning the Projector Lens Reduce the Rainbow Effect?
Cleaning the projector lens can help reduce the rainbow effect, as dirt and smudges can interfere with light quality. Regular lens cleaning is a key part of projector maintenance and can improve image clarity, minimizing color separation issues. Use a soft, lint-free cloth and proper cleaning solutions to avoid damage. While lens cleaning alone may not eliminate the rainbow effect entirely, it’s an effective step toward better projection quality.
Conclusion
By understanding the causes and making the right adjustments, you can substantially reduce the rainbow effect. But even with these tips, some projects might still surprise you. Imagine finally enjoying a crisp, vivid image—free from distracting color flashes—transforming your viewing experience forever. Are you ready to take those last steps toward perfection? The solution might be closer than you think, waiting to reveal itself just beyond your next perfect setup.