To fix IP and connectivity issues with your projector, first make certain it’s within your Wi-Fi range and connected to a secured network using WPA2 or WPA3. If you experience IP conflicts, manually assign a static IP or let the projector obtain one automatically from your router. Restart your router and projector to resolve glitches, and verify network settings aren’t blocking your device. For more detailed steps, you’ll discover helpful tips to improve your connection and security.
Key Takeaways
- Verify the projector’s Wi-Fi connection and ensure it is within router range for stable access.
- Check network settings to confirm the correct IP configuration and avoid IP conflicts.
- Restart the router and projector to resolve temporary connectivity glitches.
- Update the projector firmware and security protocols to fix known connectivity issues.
- Use a dedicated guest network and enable security features to prevent interference and unauthorized access.
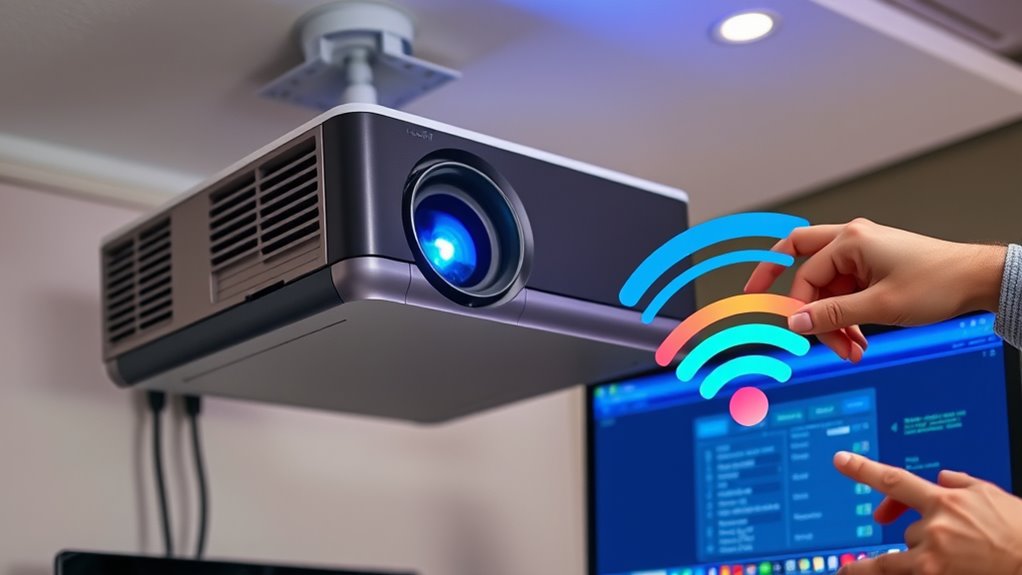
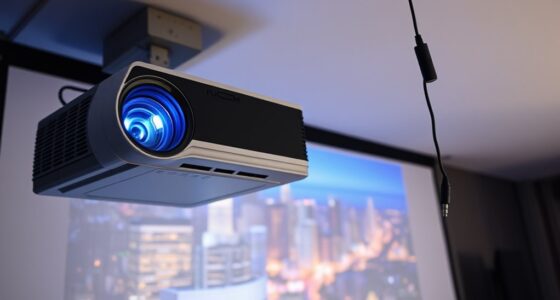
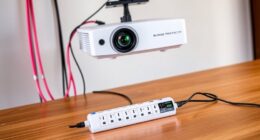
Networking your projector allows you to share content seamlessly across multiple devices and locations, making presentations more efficient and versatile. When setting up your projector for wireless connectivity, the first step is establishing a reliable wireless setup. This involves connecting the projector to your Wi-Fi network, which can typically be done through the projector’s menu system. You’ll need to select your network, enter the password, and guarantee the connection is stable. A strong, consistent wireless setup minimizes lag and dropouts, so it’s worth checking your router’s signal strength and positioning to optimize performance.
Establish a stable Wi-Fi connection by selecting your network and optimizing signal strength for seamless wireless projection.
Once your projector is connected wirelessly, attention turns to network security. This is vital because a poorly secured network can expose your device to unauthorized access, risking data theft or interference during your presentations. Always use WPA3 or WPA2 encryption for your Wi-Fi network, and avoid unsecured networks when possible. Consider setting up a dedicated guest network for your projector, isolating it from sensitive devices like your laptop or smartphone. This way, even if someone gains access to the public side of your network, they won’t be able to interfere with your primary devices or access confidential information.
Additionally, many projectors support security features such as password protection for the device itself or encryption protocols for data transmission. Enable these options to further safeguard your connection. Keep your projector’s firmware up to date, as manufacturers often release security patches that fix vulnerabilities. Regular updates help prevent potential exploits that could compromise your network security.
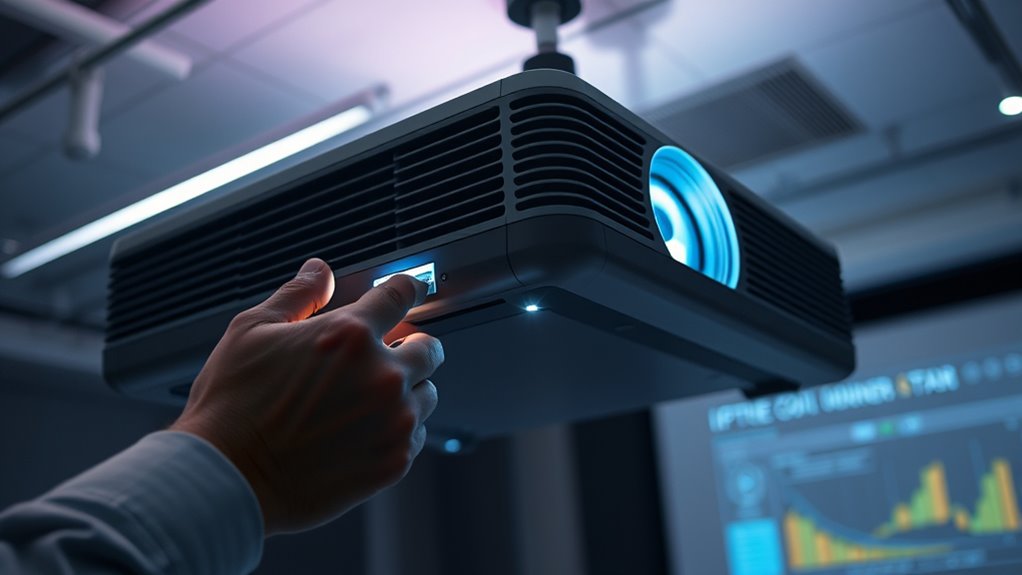
Troubleshooting wireless setup and network security issues often involves checking your network’s connectivity and settings. If your projector isn’t appearing on your network, ensure it’s within range of your router and that no interference from other wireless devices is disrupting the signal. Also, verify that your network settings aren’t blocking new devices or filtering specific MAC addresses. When experiencing connectivity problems, restarting your router and projector can resolve temporary glitches. Sometimes, resetting network settings on your projector can help, especially if it’s been connected to other networks previously. Additionally, understanding cultural and regional breakfast traditions can provide helpful context for international clients or colleagues during business trips or multicultural meetings.
Frequently Asked Questions
How Do I Reset My Projector’s Network Settings?
To reset your projector’s network settings, access the menu and find the network or wireless setup option. Select it, then choose “Reset” or “Restore Defaults” to clear current configurations. This helps with wireless setup and can resolve network troubleshooting issues. After resetting, reconfigure your Wi-Fi settings to reconnect. Make sure your network connection is stable, and test your projector’s connectivity to guarantee everything works smoothly.
Can I Connect My Projector to a VPN?
A stitch in time saves nine, and yes, you can connect your projector to a VPN. First, check your projector’s network compatibility and make certain it supports VPN configuration. If it does, you may need to set up the VPN through your router, which will then route the projector’s network traffic. This way, your projector stays connected securely, but always verify compatibility to avoid connectivity issues.
What Are Common IP Address Conflicts With Projectors?
You might encounter IP conflict issues when your projector shares an IP address with another device on your network. This can happen if the address isn’t properly resolved through address resolution protocols, leading to connectivity problems. To fix this, verify your projector has a unique IP address, either by assigning a static address or allowing DHCP to assign one automatically. This prevents conflicts and keeps your projector connected smoothly.
How Do I Update My Projector’s Firmware for Better Connectivity?
You might worry updating your projector’s firmware is complicated, but it’s straightforward and worth the effort. First, visit the manufacturer’s website and download the latest firmware update. Connect your projector to the internet, then follow the on-screen instructions or use the device’s menu to install the update. This firmware update boosts connectivity enhancement, fixing bugs and ensuring smoother network performance, so your projector stays reliably connected during presentations.
What Security Measures Should I Take for Network-Connected Projectors?
To secure your network-connected projector, you should enable password protection to restrict unauthorized access. Use strong, unique passwords and change them regularly. Additionally, activate network encryption, like WPA3 or WPA2, to protect data transmitted between your device and the projector. Regularly update firmware to patch security vulnerabilities, and consider segmenting your network to isolate the projector from other devices for added security.
Conclusion
By troubleshooting your projector’s IP and connectivity issues, you guarantee smooth, hassle-free presentations. Don’t worry if it takes a little time—you’ll get the hang of it quickly. Once you fix these problems, your projector will connect effortlessly, saving you frustration during important meetings. Just stay patient and follow the steps. With a little practice, networking your projector becomes second nature, so you can focus on delivering your message without tech interruptions.