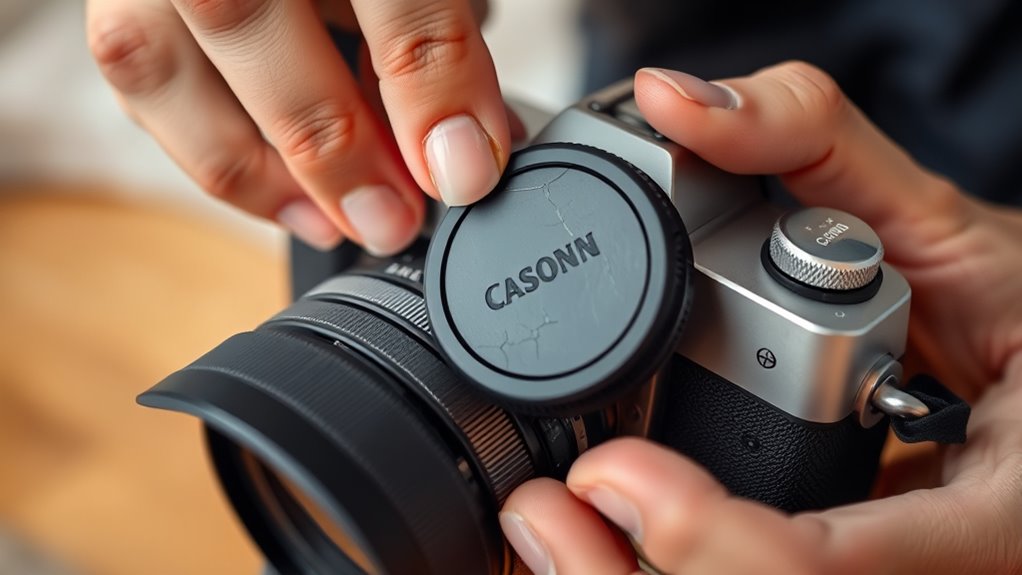

To replace a damaged lens cap, first inspect the old cap to see if it’s cracked or broken and remove it carefully without forcing. Measure your lens diameter to find a compatible replacement, then select a new cap that fits snugly. Attach the new cap by aligning it properly and pressing until it snaps in place. Ensuring a secure fit helps protect your lens from dust and scratches; keep learning for detailed steps and tips.
Key Takeaways
- Inspect the damaged lens cap to assess if it can be removed or needs replacement due to cracks or looseness.
- Carefully detach the old cap by twisting or pulling, avoiding force to prevent damage to the lens or threads.
- Measure the lens diameter and select a new cap that fits securely, matching the lens specifications.
- Align the new cap properly with the lens or filter thread, then press until it clicks into place.
- Verify the new cap is snug and secure by gently shaking the camera to ensure it stays in position.

JJC 2-Pack 58mm Front Lens Cap Cover for Canon Rebel T7 T6 T5+18-55mm Lens
- Package Includes: 2 plastic lens caps and 2 keepers
- Lens Protection: Prevents scratches and fingerprints
- Loss Prevention: Keeps lens cap secure with keepers
As an affiliate, we earn on qualifying purchases.
As an affiliate, we earn on qualifying purchases.
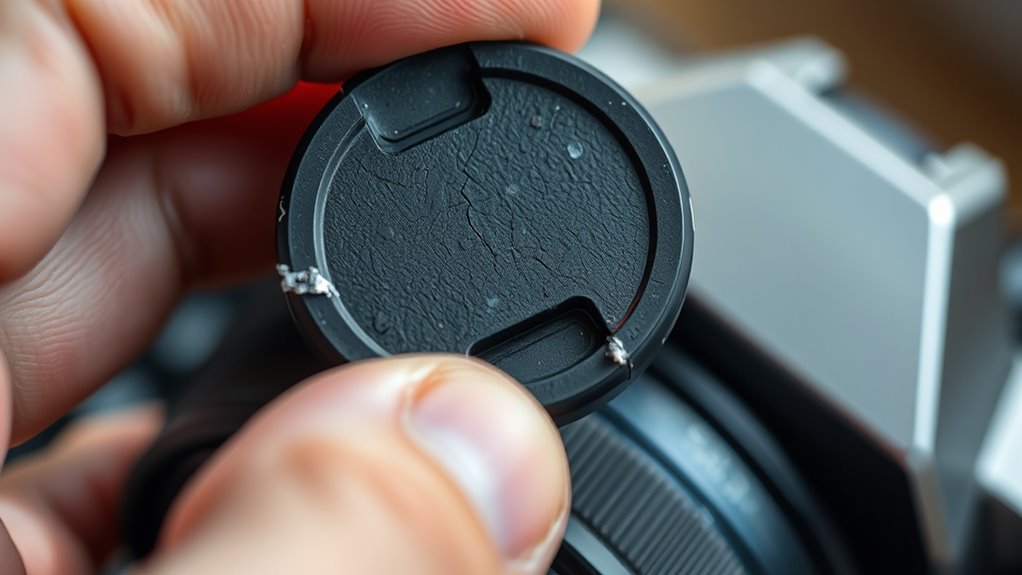
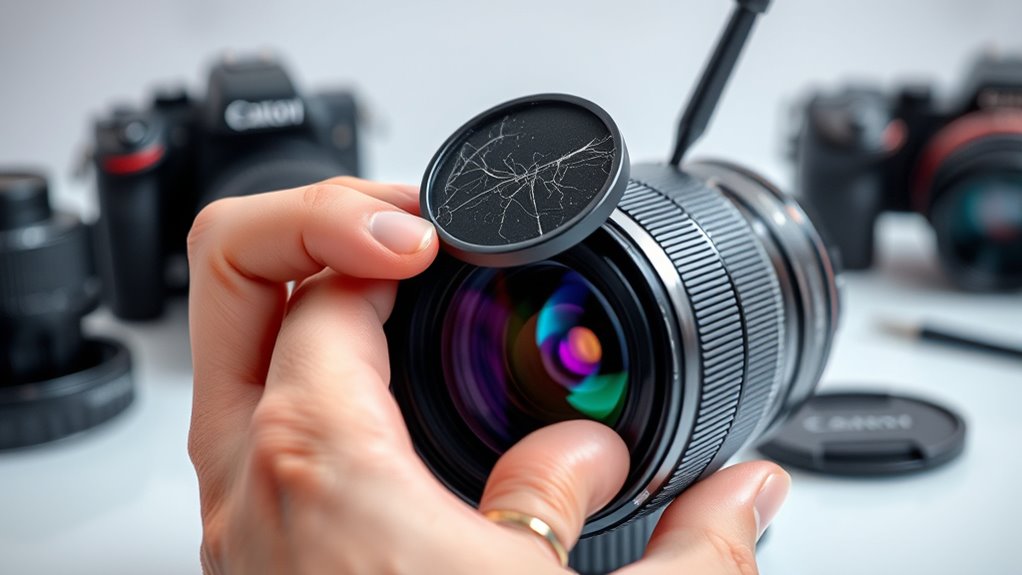
Assessing the Damage and Choosing the Right Replacement
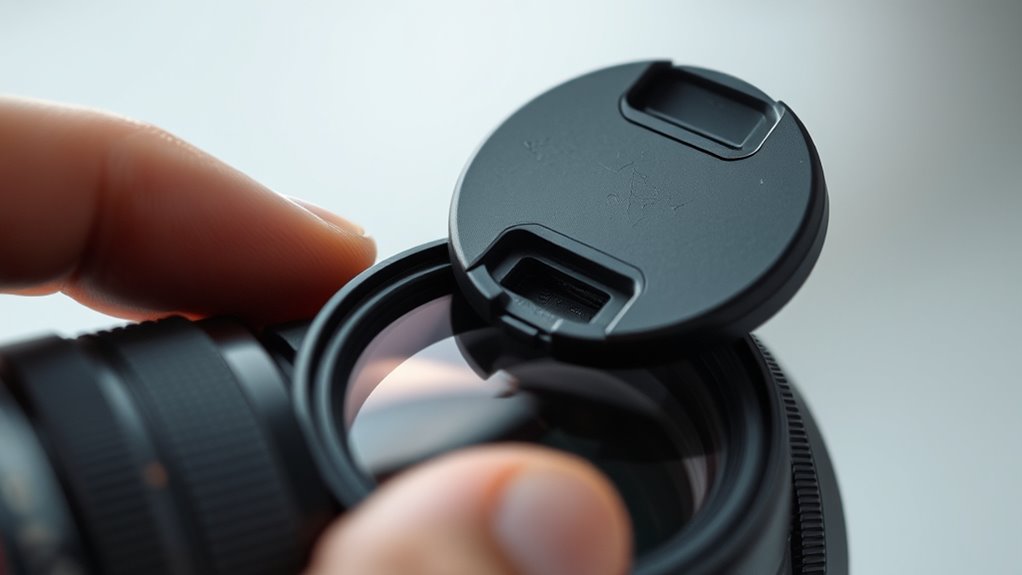
When your lens cap gets damaged, the first step is to carefully inspect it to determine the extent of the damage. Look closely at whether the damage affects the lens cap’s aesthetics or if it compromises its protective function. Aesthetic damage might include scratches or cracks that don’t hinder performance but affect appearance. If the cap is cracked or broken, it’s time to find a replacement that fits well. Pay attention to brand compatibility to ensure the new lens cap fits securely on your lens. Compatibility isn’t just about size; some brands have specific designs that won’t work with others. By evaluating the damage and considering aesthetics and compatibility, you can select the right replacement to keep your lens protected and looking good. Additionally, considering the material durability of the replacement can help ensure it lasts longer and provides reliable protection.
JJC 2-Pack 58mm Front Lens Cap Cover for Canon Rebel T7 T6 T5+18-55mm Lens
- Package Includes: 2 plastic lens caps and 2 keepers
- Lens Protection: Prevents scratches and fingerprints
- Loss Prevention: Keeps lens cap secure with keepers
As an affiliate, we earn on qualifying purchases.
As an affiliate, we earn on qualifying purchases.
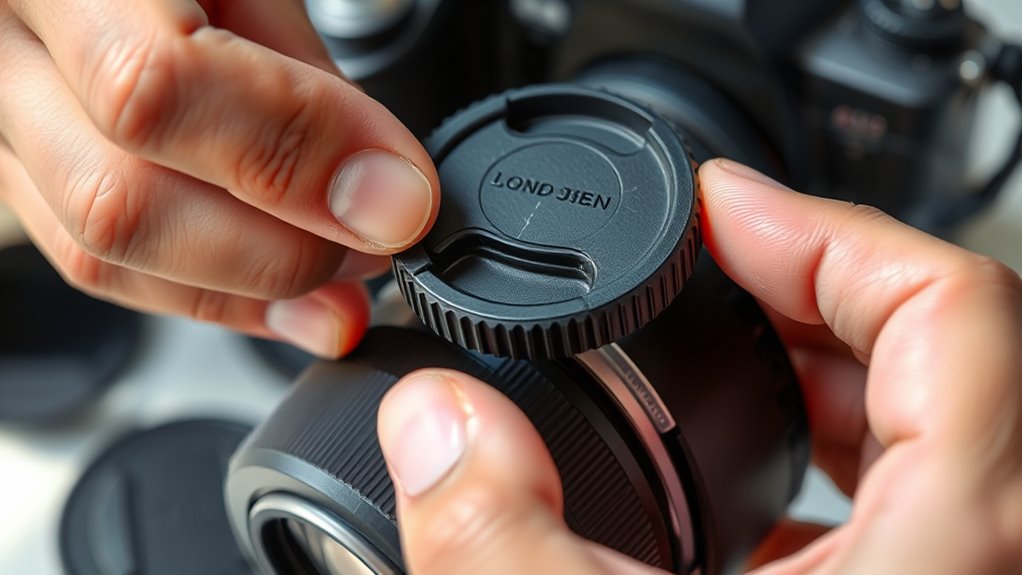
Removing the Old or Broken Lens Cap or Cover
To remove the old or broken lens cap, start by gently gripping the cap with your fingers or a soft cloth to avoid slipping. Carefully twist or pull, depending on the type of connection, until it loosens. If the cap is stuck or cracked, avoid forcing it, as this could damage the lens or threads. Once removed, inspect the lens for dirt or smudges, and gently clean it with a lens cleaning cloth. Proper removal helps prevent scratches or debris from entering the lens mount. After removal, store the broken cap safely or dispose of it properly. Remember, storing your lens and accessories in a clean, dust-free environment helps maintain its condition and makes future replacements easier. Proper removal preserves your gear’s longevity and performance. Handling delicate equipment with care minimizes the risk of accidental damage during maintenance.

CamDesign Sides Pinch Snap-On Front Lens Cap/Cover Compatible with Canon, Nikon, Sony, Fujifilm Pentax All DSLR Lenses (49 MM)
- Material: Hard plastic construction
- Ease of Use: Easy and quick to remove
- Protection: Resists dust, debris, and bumps
As an affiliate, we earn on qualifying purchases.
As an affiliate, we earn on qualifying purchases.
Selecting a Compatible Replacement Lens Cap or Cover
To find a replacement lens cap that fits perfectly, start by checking your lens’s diameter and compare it to the cap’s size. Consider material and design options to make certain of durability and ease of use. Making these careful choices will help protect your lens effectively without any compatibility issues. Additionally, understanding common lens specifications can assist in selecting the right size and type of replacement cap.
Compatibility Check Tips
Ensuring you select the right replacement lens cap starts with checking its compatibility with your lens. First, verify the lens diameter, typically marked on the lens itself or in the camera accessories manual. This measurement ensures a snug fit, preventing accidental slips or damage during lens cleaning. Avoid choosing a cap that’s too large or small, as it can interfere with your camera’s performance or cause vignetting. Additionally, consider the type of lens—whether it’s a prime or zoom—and match the cap accordingly. Confirm that the replacement cap aligns with your lens’s mounting style. Taking these steps helps you avoid compatibility issues and guarantees your lens remains protected. Properly matched caps also make lens cleaning easier, maintaining your camera’s overall performance. Noise levels of the heat pump can also impact your decision if you’re replacing lens covers on outdoor security cameras exposed to environmental noise.
Measuring Lens Diameter
Measuring your lens diameter accurately is essential for selecting a compatible replacement lens cap. To do this, use a ruler or caliper to measure across the widest part of the lens opening. This measurement ensures you pick a cap that fits snugly, preventing dust and dirt from entering, which can complicate lens cleaning later. Keep a record of these measurements for future storage solutions or replacements. Understanding traditional craftsmanship can also give insight into durable, well-made lens accessories.
Material and Design Choices
Choosing the right material and design for your replacement lens cap guarantees your lens stays protected without adding unnecessary bulk or weight. Lens material options, such as plastic, rubber, or aluminum, influence durability, flexibility, and ease of handling. Plastic caps are lightweight and affordable, while rubber offers a snug fit and extra shock absorption. Aluminum provides robustness but may be heavier. Consider design aesthetics to ensure your lens cap complements your camera gear—sleek, minimalist designs blend seamlessly, while colorful or textured options add personality. Compatibility is key, so select a design that matches your lens diameter and style. A well-chosen material and design not only protect your lens effectively but also enhance the overall look and feel of your camera setup. Additionally, understanding lens protection can help you select the most suitable cover to prolong your equipment’s lifespan.

K&F CONCEPT 55mm MCUV Lens Protection Filter with Lens Cap Cleaning Cloth
- Lens Protection and UV Prevention: Protects lens and reduces UV blue tones
- Multi-Layer Coatings: Double-sided 18-layer coatings reduce reflections
- Included Lens Cap and Cleaning Cloth: Fits perfectly, with microfiber cleaning cloth
As an affiliate, we earn on qualifying purchases.
As an affiliate, we earn on qualifying purchases.
Attaching the New Lens Cap or Cover Properly
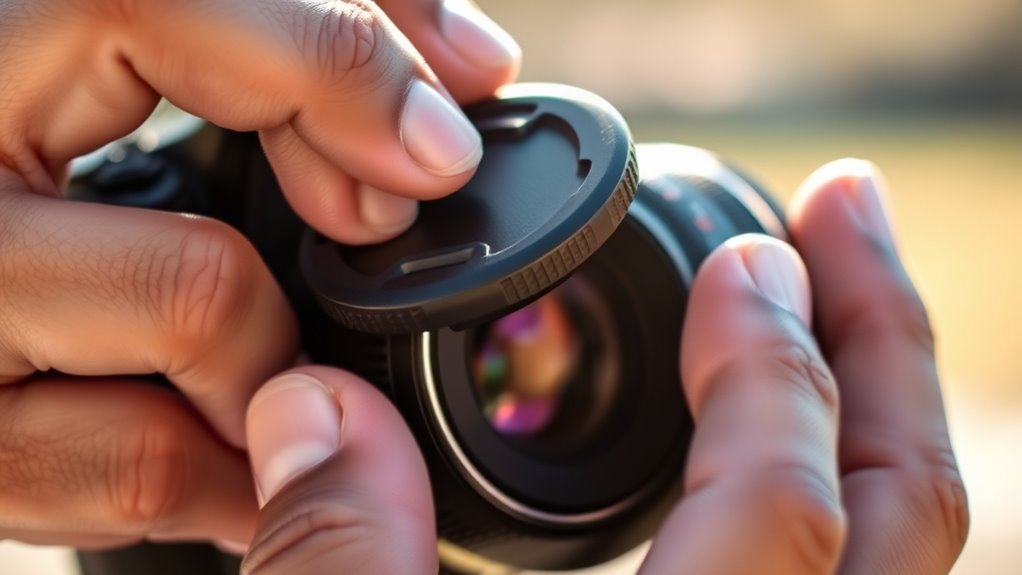
To attach your new lens cap correctly, start by aligning it with the camera lens or filter threads. Once aligned, press gently until you hear a snap indicating it’s secured. Finally, double-check that the cap fits snugly and doesn’t easily come off. Ensuring proper fit can also help prevent damage to the lens, maintaining optimal image quality over time.
Align the Cap Correctly
Before attaching the new lens cap, make certain it’s aligned correctly to guarantee a secure fit and maximum protection. Check the shape and orientation of the cap against your lens to ensure proper alignment. If you’re using lens cap accessories or decorative lens covers, verify they fit snugly and don’t obstruct the lens or other camera parts. Proper alignment prevents the cap from slipping off or causing damage during use. Gently position the cap so that the opening aligns with the lens front, and ensure any clasps or tabs are facing the correct direction. Taking a moment to align the cap accurately saves you from hassle later and keeps your lens well protected. Proper alignment is essential for a seamless, secure attachment.
Secure With a Snap
Once the lens cap is properly aligned, you can secure it by simply pressing it onto the lens until you hear a satisfying snap. This guarantees the cap stays firmly in place, protecting your lens from dust and scratches. If you’re interested in lens cap customization, consider decorative lens covers that add a personal touch to your camera gear. These covers often come with easy snap-on mechanisms, making installation straightforward. When attaching a new cap, make sure it clicks into position securely, so it doesn’t come loose during use. Properly secured lens caps prevent accidental drops and help maintain the integrity of your equipment. Take a moment to confirm the snap, and your lens will be ready for your next shot with both protection and style. To ensure long-lasting protection, it’s also helpful to regularly check the fit and condition of your lens cap.
Check for Proper Fit
Ensuring your lens cap fits properly is crucial for effective protection. A secure fit prevents dust and dirt from reaching your lens and helps avoid accidental drops. After attaching the new cap, gently check that it snaps into place without excessive force. Confirm it stays on during light shakes and movements. Proper fit also simplifies lens cleaning, as a snug cap reduces the risk of smudges or scratches. When storing your camera, follow storage tips like keeping it in a dry, dust-free environment with the lens cap attached. Use the table below to verify fit and guarantee your lens remains protected:
| Fit Check | Action | Reminder |
|---|---|---|
| Snap Test | Gently try to remove the cap | It should stay firmly attached |
| Movement Test | Shake slightly to check fit | No rattling or looseness |
| Visual Inspection | Confirm even placement | No gaps or misalignment |
Additionally, being aware of AI in Education advancements, such as automation and intelligent tutoring systems, can inspire new ways to maintain your photography gear efficiently.
Checking the Fit and Functionality
To confirm the replacement lens cap fits properly, carefully place it over the lens and check for any gaps or looseness. Make sure the cap’s materials are sturdy enough to provide a secure fit and protect your lens effectively. Different cover design options, like snap-on or screw-on caps, offer varying levels of security; choose one suited to your needs. Gently press around the edges to see if the cap stays firmly in place without excessive movement. Test the cap’s functionality by removing and reattaching it a few times, confirming it remains snug and seals well. Proper fit and operation prevent dust, dirt, and scratches, so take your time to verify the cap’s performance before you start shooting again. Additionally, ensuring your digital literacy skills are up-to-date can help you better understand and manage your camera’s features and maintenance options.
Tips for Maintaining and Preventing Future Damage
Regularly inspecting your lens cap and camera equipment helps catch potential issues early, preventing damage before it happens. Keep your lens clean by gently using a microfiber cloth to remove dust and smudges, reducing the risk of scratches or dirt buildup. Proper storage solutions are essential; store your camera and lens caps in a padded, dry case to avoid accidental impacts or exposure to moisture. When not in use, detach the lens cap and keep it in a safe place to prevent loss or damage. Avoid leaving your equipment in extreme temperatures or direct sunlight, which can weaken materials. Consistent maintenance, like regular lens cleaning and thoughtful storage, extends the lifespan of your gear and helps you avoid costly repairs or replacements down the line.
Frequently Asked Questions
Can I Use a Generic Lens Cap Instead of an Original Brand One?
Yes, you can use a generic lens cap instead of an original brand one. Just make sure to verify lens cap compatibility, as not all generic caps fit every lens perfectly. Brand vs generic options often differ in fit and quality, but many generic caps work well and are more affordable. Always verify size and ensure the cap securely covers your lens to protect it from dust and scratches.
How Do I Prevent Lens Caps From Falling off During Use?
To prevent lens caps from falling off, always use lens cap storage when not shooting, keeping caps secure until you need them. Attach your lens cap to your camera strap or a dedicated clip to keep it handy and prevent accidental drops. Make sure the cap fits snugly and check it periodically during shoots. Using these simple steps keeps your lens protected and avoids losing your cap during active photography.
Are There Specific Tools Needed to Remove Stubborn Lens Caps?
You typically don’t need special tools to remove stubborn lens caps. Focus on proper removal techniques, like gently twisting or pulling, depending on the cap’s design. For caps with stubborn fit, use your fingers firmly but carefully, or try a rubber jar opener for extra grip. Check for compatibility issues if the cap feels stuck; sometimes, a slight wiggle or gentle leverage does the trick without risking damage.
Will Replacing a Lens Cap Affect My Camera’s Warranty?
Did you know that 78% of photographers replace lens caps without affecting their camera’s warranty? Replacing your lens cap made of standard plastic or silicone typically doesn’t impact your warranty, as long as you don’t damage the camera itself. However, using non-original or incompatible lens caps might void warranty implications. Always check your camera’s warranty terms and choose a compatible lens cap material to keep your warranty intact and your gear protected.
How Often Should I Inspect My Lens Caps for Damage?
You should inspect your lens caps regularly as part of your lens cap maintenance routine, ideally before each shoot or weekly if you’re a frequent photographer. During damage inspection, look for cracks, warping, or loose fittings. Catching damage early prevents dirt or debris from reaching your lens, ensuring peak image quality. Consistent inspection helps extend your lens cap’s lifespan and keeps your camera setup protected.
Conclusion
So, now that you’ve mastered replacing your lens cap, you’ll never have to suffer the horror of a scratched lens again—unless you enjoy that kind of chaos. Just remember, a properly fitted cover is like a good relationship: it keeps everything safe and in place. So go ahead, confidently swap out that damaged cap, and keep your camera’s eyes sparkling. After all, your photos deserve better than a lens crying for help!