To set up your ultra short throw projector, position it close to the screen—usually just inches away—and use a level to guarantee perfect alignment. Mount it securely on a stand, shelf, or ceiling, adjusting tilt for a clear, focused image. Fine-tune keystone correction and focus settings to eliminate distortion. Carefully align the screen at the same height and centered with the projector for ideal image quality. Keep exploring for more expert tips to perfect your setup.
Key Takeaways
- Position the projector close to the screen, inches away, for optimal ultra short throw image projection.
- Use a level and tape measure to precisely align the projector and ensure proper distance and height.
- Select a compatible screen with ambient light rejection or textured surface for better contrast.
- Adjust projector tilt, height, and keystone correction to achieve a distortion-free, centered image.
- Securely mount the projector and screen, then fine-tune focus and alignment for the best viewing experience.
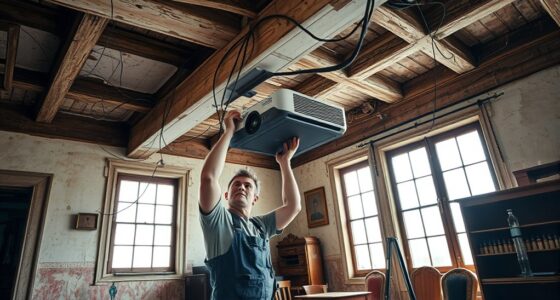
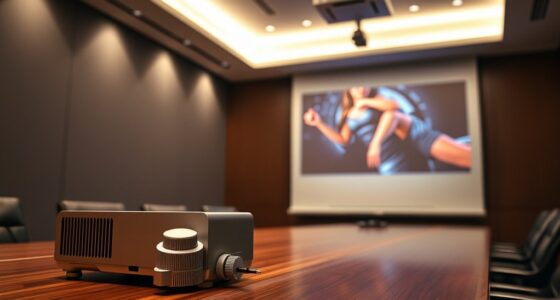
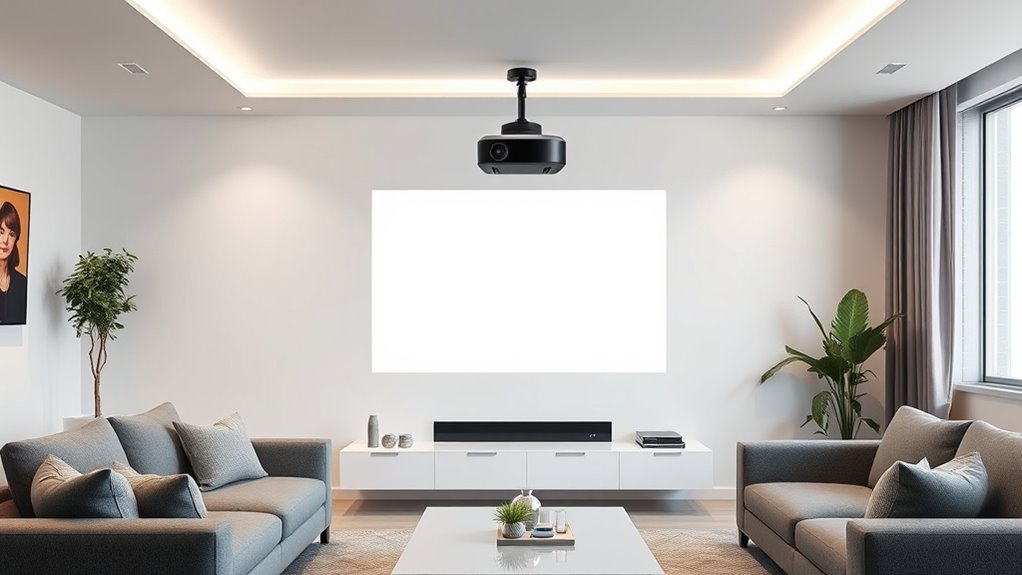
Setting up an ultra short throw projector is a straightforward process that can dramatically enhance your home theater experience. The key to getting the best picture quality and a seamless viewing environment lies in choosing the right mounting options and screen selection. When considering mounting options, you want a setup that’s stable, adjustable, and suited to your space. Many ultra short throw projectors are designed to sit on a low-profile stand or shelf directly beneath or near the screen, eliminating the need for complicated ceiling mounts. This placement ensures minimal shadow and obstruction, making it easier to align the projector precisely. If you prefer a more permanent solution, wall mounts are also viable, provided they’re sturdy enough to support the projector’s weight and allow for slight adjustments in tilt and position. Whichever option you choose, guarantee it offers flexibility for fine-tuning the projector’s angle and distance, which is vital for achieving ideal focus and image alignment. Additionally, proper placement also involves considering projector placement in relation to room layout and ambient light conditions to optimize image quality. Screen selection is equally important. Since ultra short throw projectors are designed to project large images from a very short distance, you’ll want a screen that’s specifically compatible with this technology. Look for screens that are designed for ultra short throw projectors, as they usually feature a special surface that enhances image clarity and reduces glare. Many screens have a textured or ambient light rejecting surface that improves contrast and color vibrancy, especially in well-lit rooms. When selecting a screen, consider its size relative to your space; it should be large enough to provide an immersive experience but not so big that it overwhelms your room or causes installation issues. Another point to contemplate is whether you want a fixed-frame, pull-down, or inflatable screen, depending on your room’s setup and your aesthetic preferences. Remember, the screen’s placement should be level and centered to the projector’s lens, ensuring that the projected image is perfectly aligned and distortion-free. Proper placement also involves ensuring the projector is positioned at the right distance from the screen. Ultra short throw projectors typically need only inches of space, but small adjustments can make a significant difference. Use a tape measure and level to align the projector precisely, and take advantage of any built-in calibration tools or keystone correction features. By carefully selecting your mounting options and screen, and paying close attention to placement, you’ll set yourself up for a stunning, high-quality viewing experience that’s both easy to maintain and visually impressive.
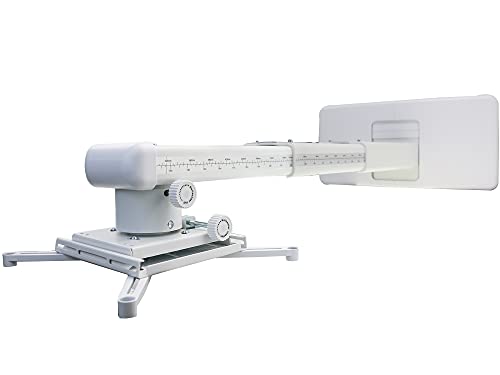
NC Projector Wall Mount with Universal mounting ,Telescopic Bracket Hanger,33lbs Load Capacity,High-Precision Adjustable: (12.8’’-29.13’’),white,(TYYZJ02)
ultra Short Throw Projection,Most sturdy of all, great fine tune knobs, best manual (very very detailed),It has the…
As an affiliate, we earn on qualifying purchases.
As an affiliate, we earn on qualifying purchases.
Frequently Asked Questions
Can I Use an Ultra Short Throw Projector Outdoors?
Yes, you can use an ultra short throw projector outdoors, but you’ll need to take into account outdoor weatherproofing and ambient light control. Make sure your projector is rated for outdoor use or protected with weatherproof covers. Choose a shaded area to minimize ambient light interference, which enhances picture quality. Proper placement and alignment are essential, so set it up on a stable surface and adjust the lens for sharp focus.
What’s the Best Height for Mounting the Projector?
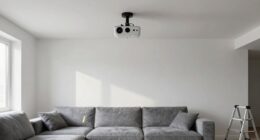
Imagine your projector as a silent guardian, watching over your space. You should mount it at a height that aligns with the top of your screen, usually around 4 to 6 feet from the floor for ceiling placement. This ideal mounting height ensures a clear, focused image without distortion. Adjust accordingly based on your room’s ceiling height and projector model, creating a seamless viewing experience that feels just right.
How Do I Prevent Keystone Distortion?
To prevent keystone distortion, you should use your projector’s lens shift feature to adjust the image vertically or horizontally without moving the projector physically. Additionally, apply keystone correction through the projector’s menu to fine-tune the image shape. Avoid overusing keystone correction, as it can reduce image quality. Proper placement and slight adjustments with lens shift usually eliminate the need for excessive correction, ensuring a clear, rectangular image.
Is a Special Screen Necessary for Ultra Short Throw Projectors?
Ever wondered if you need a special screen for your ultra short throw projector? The answer is yes, investing in a high-quality screen designed for ultra short throw projection markedly enhances image clarity and brightness. Proper projector placement ensures ideal alignment, reducing distortion and improving picture quality. A dedicated screen helps maximize your projector’s performance, delivering a sharper, more vibrant image, so your viewing experience feels truly cinematic.
How Often Should I Calibrate the Projector?
You should calibrate your ultra short throw projector every 6 to 12 months, depending on usage and image quality. Regular calibration is part of your maintenance schedule, ensuring sharp images and accurate colors. If you notice color shifts, blurriness, or uneven brightness, it’s time to recalibrate. Consistent calibration keeps your projector performing at its best, so make it a routine task to maintain the best viewing experience.

AAJK ALR Projector Screen, 4K Movie Projector Screen 16:9 HD Foldable Anti-Crease Portable Projector, Movies Screen for Home Theater Outdoor Indoor Support (120in Pro)
【Watch What You Want, When You Want!】 Remember when you could only really use your projector at night?…
As an affiliate, we earn on qualifying purchases.
As an affiliate, we earn on qualifying purchases.
Conclusion
Now that you know how to properly place and align your ultra short throw projector, you’ll enjoy a seamless viewing experience. Remember, the right setup can reduce image distortion and improve clarity. Did you know that ultra short throw projectors can create a 100-inch image from just a few inches away? With these tips, you’ll maximize your projector’s potential and transform your space into the perfect home theater. Happy projecting!
Quarton Laser Level ML-100 Red Line Generator for Indoor Large-Scale Cutting, Measuring, Alignment, Construction, Laser Projector, Waterproof, Type-C Charging, Magnetic Base, Class 1 product
High-Quality & Durable: Designed and manufactured in Taiwan. Includes a built-in tempered glass window and IP67-rated waterproof protection,…
As an affiliate, we earn on qualifying purchases.
As an affiliate, we earn on qualifying purchases.

Rapink Speed Keystone Jack Tool for 90 Degree RJ45 Keystone, Ethernet Keystone Punch Down Tool for Time-saver and Effort-saver, Cat 6 Punch Down Tool Finger-hurt-free (Only for Rapink Keystone)
【Only for Rapink Keystone】: Keystone tool is compatible only with Rapink CAT6 90 degree speed termination keystone jacks…
As an affiliate, we earn on qualifying purchases.
As an affiliate, we earn on qualifying purchases.