When adjusting mounts for rooms with high or low ceilings, consider the height to position your display at eye level for comfort. High ceilings give you more flexibility to extend or tilt mounts, while low ceilings require careful placement with adjustable or downward-tilting brackets to prevent glare and obstructions. Properly selecting and positioning your mount enhances safety, visibility, and overall viewing experience. Keep exploring for expert tips on customizing your setup for any ceiling height.
Key Takeaways
- Choose adjustable mounts with tilting, swiveling, or extending features to accommodate ceiling height differences.
- For high ceilings, install mounts that allow for higher placement and flexible angle adjustments.
- In low ceilings, select mounts that enable downward tilting to reduce glare and improve sightlines.
- Consider room dimensions and seating arrangements to position displays at comfortable eye level.
- Use appropriate hardware to ensure stability and safety across various ceiling heights and mounting needs.
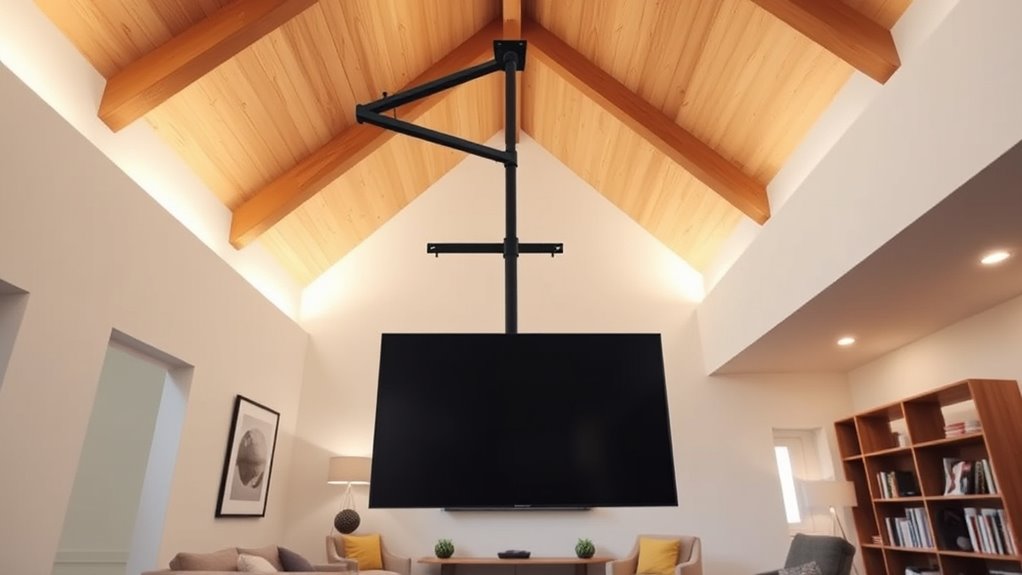
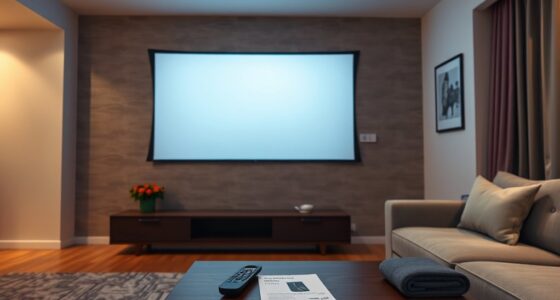
Whether you’re mounting a TV, projector, or artwork, making sure it’s properly adjusted for your room can make all the difference in viewing comfort and aesthetics. One of the key factors to contemplate is ceiling height, which directly influences how you position your mount and the angle at which your display or art will be viewed. High ceilings often provide more mounting flexibility, giving you the freedom to choose ideal viewing heights and angles. Conversely, low ceilings require more precise planning to avoid awkward viewing angles or cluttered spaces. Recognizing your ceiling height helps you determine the best mounting height, making sure your display isn’t too high or too low, which can strain your neck or obscure the view.
Properly adjusting your mount based on ceiling height enhances comfort and visual appeal.
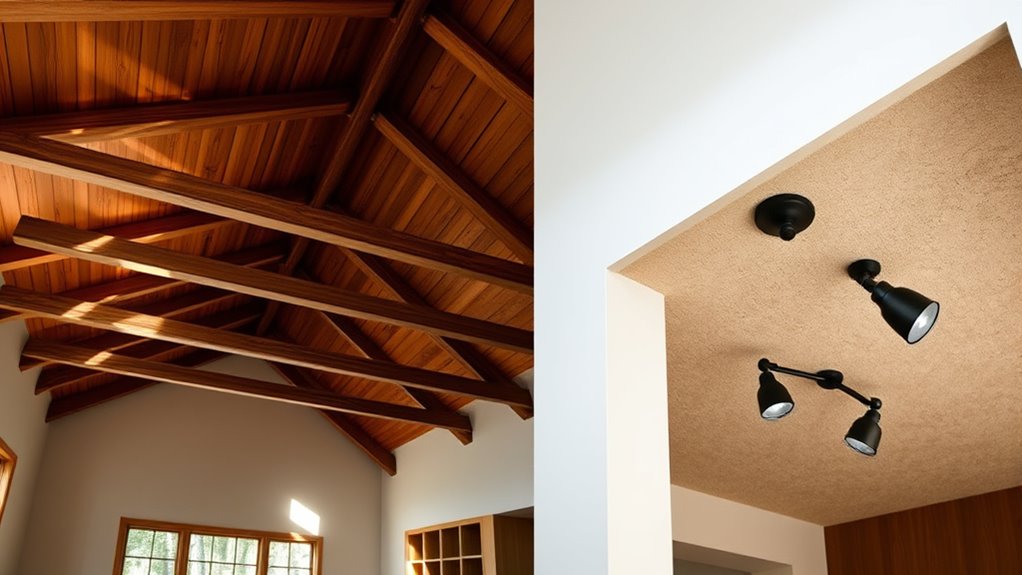
When dealing with high ceilings, you have the advantage of versatility. You can mount larger displays or projectors higher up, creating a dramatic effect without sacrificing comfort. Adjustable mounts become especially valuable here, allowing you to tilt, swivel, or extend your device to get the perfect angle. This flexibility is vital because it compensates for the vertical space, letting you customize the viewing angle to suit different seating arrangements or lighting conditions. With high ceilings, you might also consider ceiling mounts that can be lowered or extended, enabling you to fine-tune your setup for the best visual experience.
In rooms with low ceilings, mounting options are more limited. You need to be mindful of clearance space and the risk of obstruction. A fixed mount might suffice if your ceiling is just slightly low, but for ideal viewing, a mount with adjustable tilt and swivel functions becomes essential. These features allow you to angle your display downward, reducing glare and improving viewing angles. Mounting flexibility in such rooms isn’t just about comfort—it’s about practicality. You want to avoid a setup that forces you to crane your neck or sit in awkward positions. Instead, choose mounts that allow you to position your display at eye level and tilt it for the best visual clarity. Additionally, understanding room dimensions helps in selecting the right size and type of mount to ensure a balanced and unobstructed setup.
In both cases, understanding your ceiling height guides your choice of mounting hardware and the level of adjustability needed. High ceilings benefit from mounts that offer extensive flexibility, while low ceilings demand more precise, adjustable options to optimize sightlines. By carefully considering these factors, you make sure your display is not only securely mounted but also perfectly aligned for comfort and visual appeal. This thoughtful approach transforms your space into a functional, aesthetically pleasing environment, no matter the height of your ceilings.
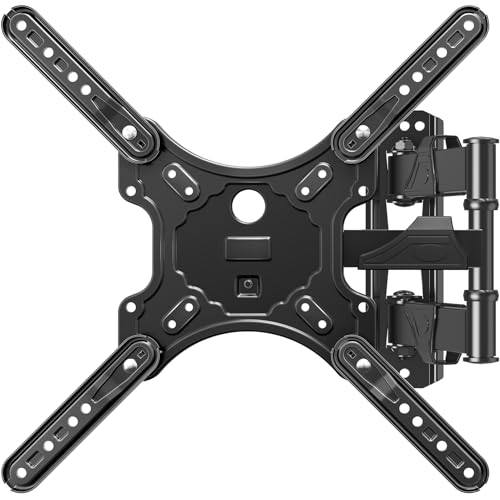
MOUNTUP Full Motion TV Wall Mount for Most 26-60 Inch TVs, Max VESA 400x400mm Wall Mount TV Bracket with Swivel Tilting Extension Level Adjustment for LED LCD Flat Curved TVs Up to 77 LBS, MU0018
TV Wall Mount Compatibility: MOUNTUP full motion TV mount suitable for TVs with VESA standard mounting holes from…
As an affiliate, we earn on qualifying purchases.
As an affiliate, we earn on qualifying purchases.
Frequently Asked Questions
Can I Retrofit Adjustable Mounts Into Existing Ceilings?
Yes, you can retrofit adjustable mounts into existing ceilings. You’ll need to perform ceiling modification, such as reinforcing the ceiling structure or installing a mount retrofit kit designed for your setup. Carefully assess your ceiling’s material and weight capacity before proceeding. With the right tools and some DIY skills, you can install adjustable mounts that allow you to customize angles and height, enhancing your viewing experience without costly ceiling replacements.
What Tools Are Essential for Adjusting Ceiling Mounts?
You’ll need essential tools like a drill, screwdriver, and level to adjust ceiling mounts. Make sure you have the right mounting hardware and ceiling anchors for your ceiling type. Use the drill to install or tighten hardware, and the level to ensure accurate angles. These tools help you securely adjust mounts, whether you’re lowering or angling your fixture, guaranteeing safety and proper alignment in any room.
How Do I Prevent Damage When Installing in High Ceilings?
Don’t worry about ceiling compatibility causing mounting stress; just use a sturdy ladder or scaffolding. Secure your mount properly and double-check it before installation. To prevent damage, avoid over-tightening screws and make sure your tools are appropriate for high ceilings. Using adjustable mounts helps distribute weight evenly. With careful planning and the right equipment, you can install safely without risking damage or compromising your ceiling’s integrity.
Are There Safety Concerns With Angled Mounts?
Yes, there are safety concerns with angled mounts. You need to prioritize mount safety by choosing sturdy mounts rated for your ceiling type, ensuring proper installation, and checking ceiling stability. Use appropriate anchors and hardware to prevent slipping or falling. Regularly inspect the mount for signs of wear or damage, especially if it’s angled, to keep your setup secure and safe for everyone in the room.
How Often Should I Check Mount Stability After Adjustment?
A stitch in time saves nine. You should check your mount stability and inspection schedule regularly—at least once a month initially, then every few months once you’re confident it’s secure. After making adjustments, give it a thorough check to guarantee all screws and brackets hold tight. Remember, consistent adjustment frequency and vigilance help prevent accidents, keeping your space safe and your equipment secure over time.

DYNAVISTA Full Motion Universal Ceiling Projector Mount Bracket with Adjustable Height and Extendable Arms Rotating Swivel Mount for Home and Office Projector (Black)
Universally Compatible: This projector ceiling mount supports most projector brands with distance between the mounting holes on back…
As an affiliate, we earn on qualifying purchases.
As an affiliate, we earn on qualifying purchases.
Conclusion
No matter your room’s height, adjusting mounts and angles can make all the difference. With the right tweaks, you’ll optimize your space for comfort and style. Did you know that rooms with properly positioned lighting fixtures can boost mood and productivity by up to 20%? So, take the time to customize your setup—you’ll enjoy a more functional and inviting environment every day. Small adjustments truly have a big impact!
art display wall mount for high ceilings
As an affiliate, we earn on qualifying purchases.
As an affiliate, we earn on qualifying purchases.
downward tilt TV mount for low ceilings
As an affiliate, we earn on qualifying purchases.
As an affiliate, we earn on qualifying purchases.