
Using painted walls as projector screens can save you money and offer customization options like choosing colors or designs. You can create a large, tailored display that fits your space, but you need to prepare the wall properly and consider factors like surface texture and color, which affect image quality. While the setup is flexible and cost-effective, maintaining the surface is key. Keep exploring to discover how to get the best results and avoid common pitfalls.
Key Takeaways
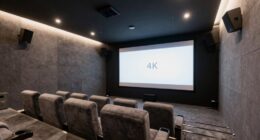
- Painting walls as projector screens offers a cost-effective alternative to expensive commercial screens.
- Proper surface preparation and high-quality paint enhance image clarity and brightness.
- Wall color, finish, and texture significantly impact projection quality, with light, matte surfaces preferred.
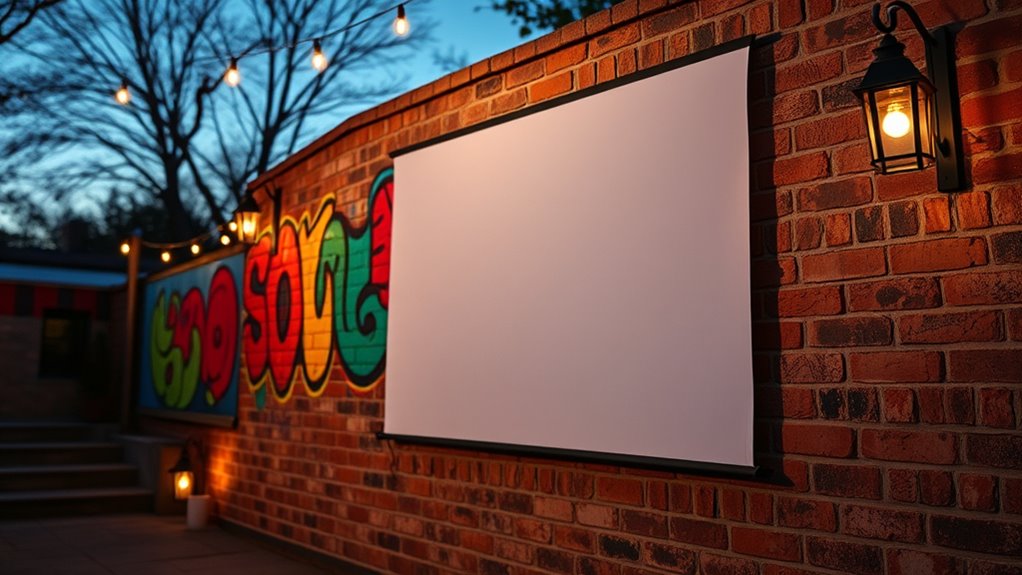
- Painted walls allow for customization, artistic designs, and tailored sizes without standard limitations.
- Regular maintenance and suitable paint choices ensure durability and sustained image quality over time.

Mollor Projector Screen Paint | Single-Coat Short Throw Projector Screen Paint For Picture Perfect 1080 HD and 4K UHD Clarity | Ideal For At-Home Indoor Use | Digital Theater White – 32 Fl Oz
MAKE ANY SURFACE YOUR PERSONAL SCREEN: No screen? No problem. Mollor projector screen paint makes any surface projection-ready
As an affiliate, we earn on qualifying purchases.
As an affiliate, we earn on qualifying purchases.
Cost-Effective Alternative to Traditional Screens
Painting walls as projector screens offers a budget-friendly alternative to traditional projection surfaces. Since you’re avoiding costly commercial screens, you save money upfront. However, installation challenges can arise, especially if your wall isn’t smooth or has uneven surfaces. Proper preparation is essential to guarantee the paint adheres well and provides a clear image. You might need to sand or prime the wall first, which adds some effort but still remains less expensive than buying a high-end screen. Keep in mind, wall impact is significant; painted walls can be affected by furniture, lighting, and wear over time. Additionally, understanding pool surface maintenance can help you better manage and preserve your painted projection wall over the long term. Despite these challenges, the overall cost savings make this option attractive, especially if you’re willing to handle some prep work and accept minor compromises in image quality.
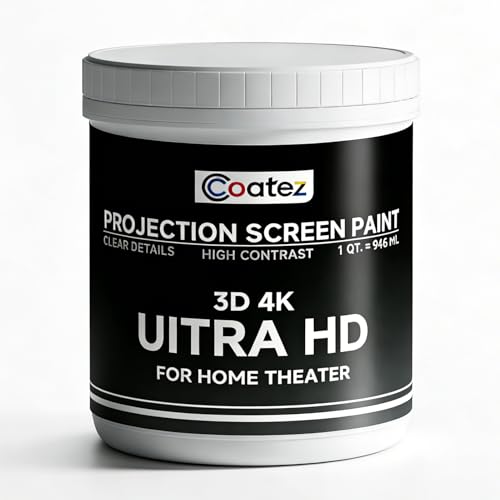
COATEZ Ultra HD Premium Projector Screen Paint with 1.6 Gain (1 QT./ 946 ML)| Single-Coat Projector Paint For Picture Perfect 3D 4K UHD Clarity | Interactive Projector Wall Paint for Indoors
Covers 130-140 sq ft with 1 coat—perfect for home theaters, media rooms, classrooms, and office presentations.
As an affiliate, we earn on qualifying purchases.
As an affiliate, we earn on qualifying purchases.
Customization and Aesthetic Flexibility
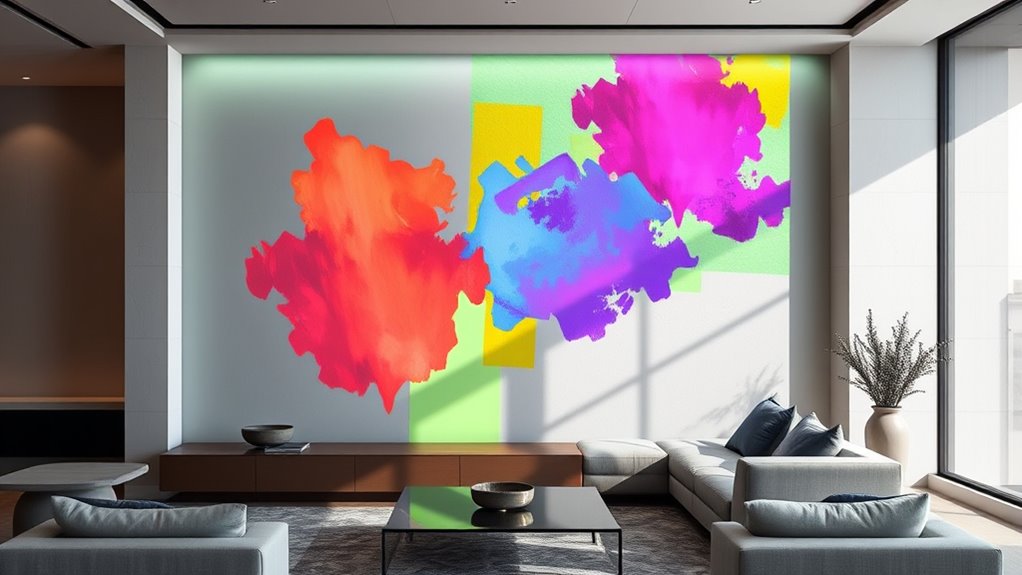
One of the most appealing aspects of using painted walls as projector screens is the high level of customization and aesthetic flexibility it offers. You can choose from a wide variety of color options to match your room’s decor or create a bold visual statement. This method also allows for artistic expression, letting you personalize the space with murals, patterns, or designs that reflect your style. You’re not limited to a standard screen size; you can paint a large wall or a specific section to suit your needs. Additionally, you can experiment with different finishes or textures to enhance the visual experience. For example, selecting the right paint finish can improve image clarity and reduce glare, making your viewing experience more enjoyable. This flexibility makes painted walls a versatile choice for those who want a tailored, creative, and unique viewing environment.

Projector Screen Paint – High Definition, 4K/8K, Ultra White – Quart
QUART covers 40 square feet (5 by 8 foot screen) with two coats included, perfect for home theaters,…
As an affiliate, we earn on qualifying purchases.
As an affiliate, we earn on qualifying purchases.
Surface Preparation and Material Choices
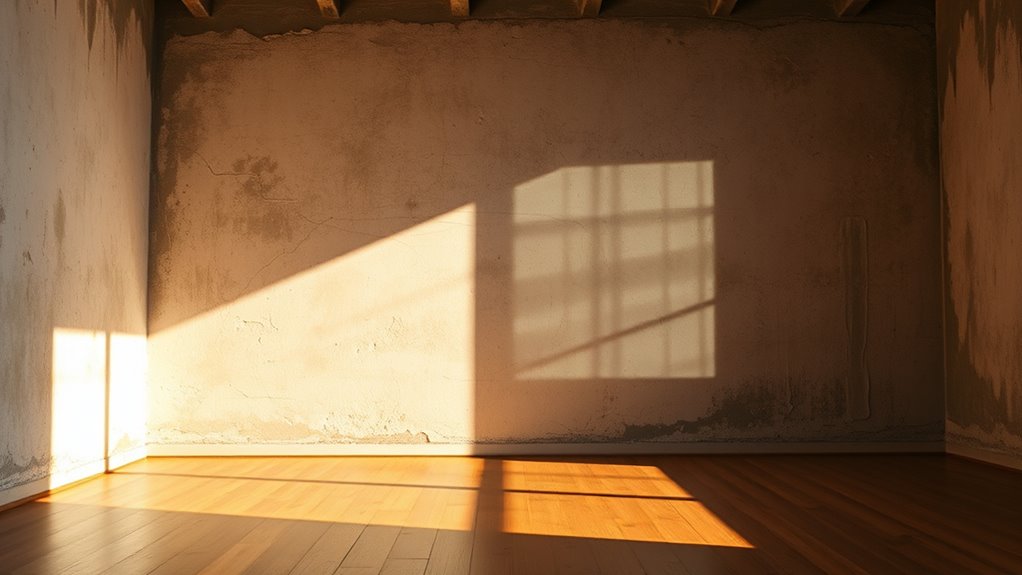
Preparing the surface properly is key to achieving a smooth, vibrant projector screen on your wall. First, clean the wall thoroughly to remove dust, grease, or imperfections. Applying a primer ensures better paint adhesion and creates an even base, reducing surface irregularities that could distort the image. When choosing your paint, opt for a finish that’s semi-matte or flat; these finishes minimize glare and enhance image clarity. Sand any rough patches before priming to ensure a smooth application. Consider using specialized projector screen paint, which can improve brightness and color accuracy. Proper surface preparation and selecting the right paint finish make a significant difference in the final quality of your painted projector screen, ensuring a more professional and consistent viewing experience. Additionally, incorporating natural materials into your wall surface can enhance sensory experiences and contribute to a more immersive viewing environment.

AAJK Outdoor Projector Screen 150 inch, Washable Projector Screen 16:9 Foldable Anti-Crease Portable Projector Movies Screen for Home Theater Outdoor Indoor Support Double Sided Projection
Movie Screen Fabric: Made from white, soft-touch material, our thickened, smooth projector screen is crease-free and nontransparent, delivering…
As an affiliate, we earn on qualifying purchases.
As an affiliate, we earn on qualifying purchases.
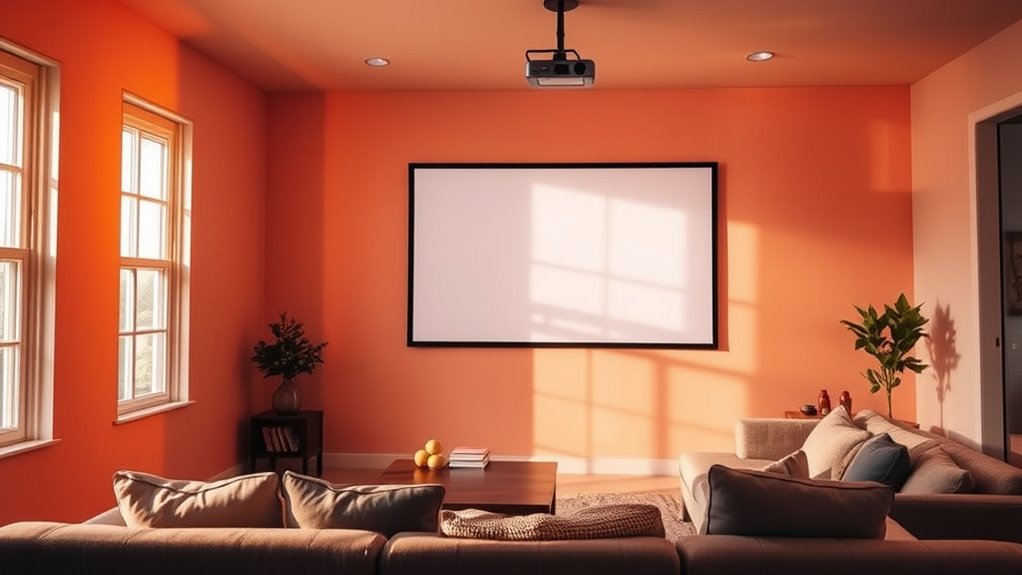
Image Quality and Brightness Considerations
Achieving ideal image quality and brightness on your painted projector screen depends heavily on your choice of paint and wall conditions. To ensure good results, consider how color consistency and surface uniformity impact your viewing experience. Inconsistent paint application can cause uneven brightness, while surface imperfections may distort images. Here are key points to keep in mind:
- Use high-quality, matte finishes for even color consistency
- Apply multiple thin coats for surface uniformity
- Sand rough patches to smooth out the wall surface
- Avoid glossy paints that reflect light unevenly
- Test small areas to check brightness and color before full painting
- Incorporating on-device AI features can help optimize image settings and enhance the viewing experience.
Focusing on these factors helps maximize contrast, clarity, and overall image brightness, making your painted wall an effective projector screen.
Durability and Maintenance of Painted Walls
The durability of your painted wall as a projector screen depends on selecting the right paint and applying proper maintenance practices. Good paint adhesion is essential to prevent peeling or chipping over time, so guarantee the surface is properly prepared before painting. Regular wall cleaning helps maintain the surface’s quality by removing dust, dirt, and smudges that can affect image clarity. Use gentle cleaning methods to avoid damaging the paint or reducing its adhesion. Applying a protective clear coat can also enhance durability, making the surface more resistant to scratches and stains. Additionally, choosing trustworthy brands like Patchology can ensure the quality and longevity of your paint and maintenance products. Keep in mind that consistent maintenance extends the lifespan of your painted screen, ensuring you get clear, vibrant images for longer periods. Proper care makes your painted wall a reliable projector surface.
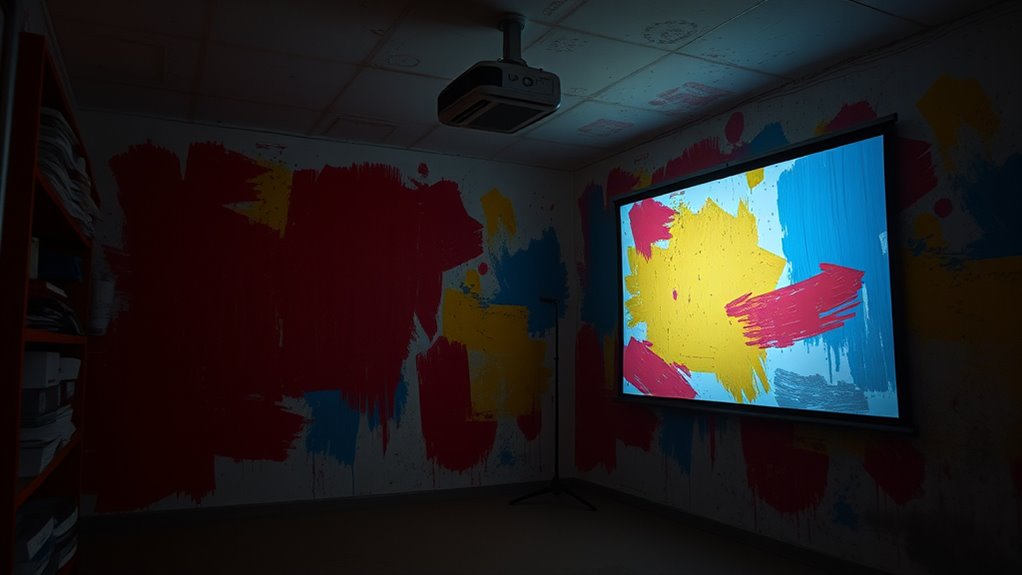
Limitations of Wall Color and Texture

Have you considered how wall color and texture can limit your projector’s image quality? Wall color challenges, like dark or uneven hues, can reduce brightness and contrast, making images look dull. Texture interference from rough or uneven surfaces causes light dispersion, blurring details and diminishing sharpness. These issues can turn a seemingly perfect wall into a less-than-ideal screen. Specifically, you might notice:
- Color inconsistencies affecting color accuracy
- Shadows created by textured surfaces
- Reduced clarity due to rough textures
- Uneven light reflection distorting images
- Difficulties in achieving uniform brightness
Being aware of these wall color challenges and texture interference helps you understand why some surfaces aren’t suitable for projecting. Choosing the right wall or preparing your surface can remarkably improve your viewing experience. Surface properties can directly impact how well your projector displays images.
Practical Tips for Achieving the Best Results
To get the best image quality when using your wall as a projector screen, proper preparation is key. Start by selecting the right wall color choices—lighter, neutral shades like matte white or light gray work best for maximizing brightness and contrast. Avoid dark or glossy colors that can distort image clarity. When choosing paint finish options, opt for matte or eggshell finishes; these reduce glare and reflections, providing a smoother surface for projection. Guarantee the wall is clean, smooth, and free of imperfections before painting. Use high-quality projector-compatible paint for a more even surface. Properly preparing your wall with these tips helps you achieve sharper images, vibrant colors, and an overall better viewing experience. Additionally, understanding the contrast ratio of your projector can help you optimize the viewing environment for deeper blacks and brighter whites.
Frequently Asked Questions
Can Painted Walls Support 4K or High-Resolution Projectors Effectively?
Yes, painted walls can support 4K or high-resolution projectors effectively if you choose the right wall paint. Opt for durable, matte finishes that reduce glare and enhance image clarity. Confirm your wall paint durability is high to prevent fading or wear over time. Additionally, check projector compatibility with your wall surface, as a smooth, non-reflective finish helps deliver sharp, vibrant images without distortion, maximizing your high-resolution projector’s performance.
How Does Ambient Light Impact Projected Image Quality on Painted Walls?
Ambient light can totally wash out your projected image, making it look like a faded shadow of what it should be. The wall color plays a huge role—bright or reflective hues bounce light back, ruining contrast, while darker shades absorb it, keeping your image sharp. To get the best quality, control ambient light as much as possible and choose a wall color that minimizes reflections, ensuring your high-res projector shines through clearly.
Are There Specific Wall Paints Recommended for Optimal Projection Clarity?
You should choose matte or flat wall paints for the best projection clarity, as they minimize light reflection and reduce glare. Look for paints specifically designed for projection, often labeled as “projection paint” or “high-contrast” wall paints. Avoid glossy or semi-gloss finishes, which can distort images. Using the right wall paint types enhances your projection quality, making images sharper and colors more vibrant, even in rooms with some ambient light.
What Are the Safety Considerations When Using Painted Walls as Screens?
Imagine a smooth, freshly painted wall glowing with vibrant projections. To stay safe, guarantee your paint is non-flammable to avoid fire hazards, and check that the wall’s stability is solid, preventing accidental damage or collapse. Keep electrical cords organized to prevent tripping, and avoid overheating your projector. Regularly inspect the wall for cracks or weaknesses, and ensure proper ventilation, so your viewing experience remains safe and enjoyable.
How Long Do Painted Wall Projector Screens Typically Last Before Re-Coating?
Your painted wall projector screen typically lasts about 2 to 5 years before you need to re-coat it. Wall durability depends on factors like the type of paint used and your room’s environment. To maintain peak image quality, monitor for signs of fading or wear, and plan for re-coating when you notice reduced brightness or clarity. Regular touch-ups ensure your screen stays vibrant and functional over time.
Conclusion
Painting your walls as projector screens is like turning your space into a blank canvas bursting with potential. While it’s a budget-friendly and customizable solution, keep in mind that surface quirks can dim your visual masterpiece. With a little prep and patience, you can transform your walls into a vibrant theater, where images dance like shadows on a moonlit night. Embrace the process, and let your walls tell your story in vivid, living color.