
Before ceiling mounting your 4K projector, check the projector’s weight and compatibility with your chosen mount, making sure it supports the load and mounting hole pattern. Confirm the ceiling can handle the weight and find secure attachment points, like joists or anchors. Plan your cabling to reach power outlets and input sources without tension, and ensure the projection angle is ideal to avoid distortion. Staying cautious with these factors will help achieve a safe, professional setup—continue to explore for more details.
Key Takeaways
- Verify the projector’s weight and mounting hole pattern match the chosen mount’s specifications.
- Ensure the ceiling structure can support the projector’s weight securely.
- Measure the optimal distance and angle to avoid keystone distortion and ensure clear 4K image quality.
- Check for accessible power outlets and input sources in the planned mounting area.
- Plan cable routes to prevent strain and maintain a clean, professional setup.
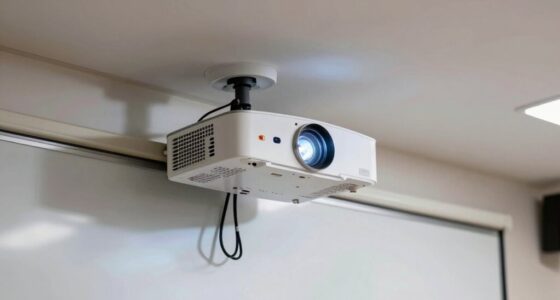
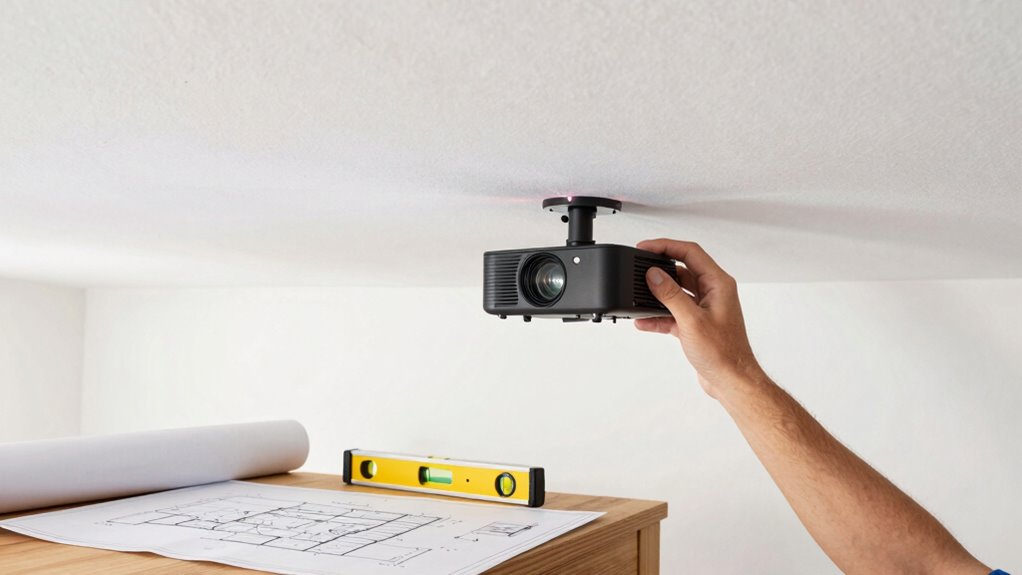
Ceiling mounting a 4K projector requires careful planning to guarantee perfect performance and safety. One of the first considerations is understanding the projection angle. You need to ensure that the angle from the projector to your screen is ideal for clear, distortion-free images. An improper projection angle can cause keystone distortion, which makes the picture look trapezoidal rather than rectangular. To avoid this, measure the distance from the projector to the screen and calculate the perfect angle that will produce a accurately aligned image. Keep in mind that some projectors have adjustable lens shifts or keystone correction features, but relying solely on these can sometimes degrade image quality. So, setting the correct projection angle from the start is essential for a crisp, professional display.
Ensuring the correct projection angle is crucial for a clear, distortion-free 4K projector image.
Next, you must verify mount compatibility. Every projector has specific mounting requirements, and not all mounts fit all models. Check your projector’s weight and mounting hole pattern—these specifications are vital when selecting a ceiling mount. An incompatible mount can lead to instability, risking damage to your expensive equipment or injury. Make sure the mount you choose can support your projector’s weight and that it matches the mounting points on your device. Additionally, consider the mount’s adjustability. You want a mount that allows you to fine-tune the projector’s position, including tilt, swivel, and height adjustments. This flexibility makes it easier to achieve the perfect image alignment and projection angle, especially if your ceiling isn’t perfectly level or if your room setup changes over time.
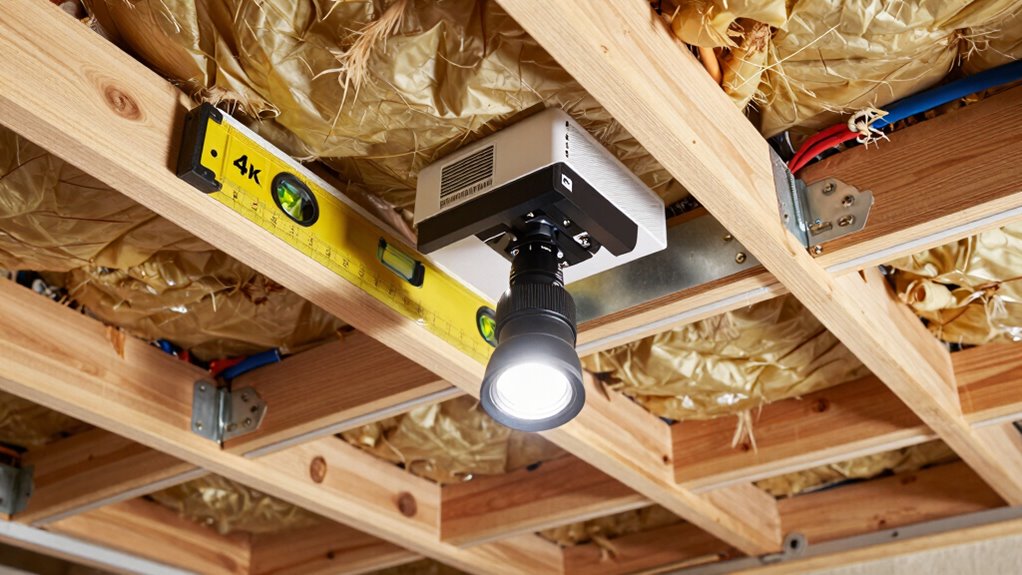
You should also evaluate your ceiling’s structure. Is it solid enough to support the mount and projector? If you have a suspended ceiling, you might need special anchors or reinforcement. If your ceiling is made of drywall, ensure that you use appropriate anchors that can handle the weight. It’s wise to locate ceiling joists or beams for a secure attachment point, as mounting into drywall alone can be risky. Once you’ve confirmed the ceiling’s strength, double-check the mount compatibility with your ceiling type and ensure it provides stable support for your projector. Additionally, consider the mounting surface to ensure a secure and stable installation. Incorporating knowledge of the weight capacity of your chosen mount can help prevent accidents and ensure durability over time.
Finally, plan your cabling carefully. Decide where your power outlet and video input sources will be located relative to the mount. Running cables discreetly along your ceiling or walls keeps your setup clean and prevents tripping hazards. Make sure the cables are long enough to connect comfortably without tension. Proper planning in these areas ensures that your 4K projector operates smoothly, looks professional, and maintains safety over time. By paying attention to projection angle, mount compatibility, ceiling structure, and cabling, you set yourself up for a successful ceiling mounting experience.

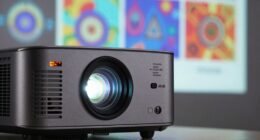
Smart Projector with WiFi and Bluetooth, Proyector-4K Support Official Licensed Apps, 2000 ANSI/AI Auto Focus/50W Dolby/HDR10+/Quiet, Kogata Portable Indoor/Outdoor Movie Projector Ceiling
【Classic Upgrade Built to Last】 Triple Cooling System + Ultra-Quiet Projector Building on the reliability of traditional projectors,…
As an affiliate, we earn on qualifying purchases.
As an affiliate, we earn on qualifying purchases.
Frequently Asked Questions
How Do I Ensure the Projector’s Ventilation Is Adequate?
To guarantee your projector’s ventilation is adequate, check its ventilation requirements in the manual and make sure vents aren’t blocked. Position it in a well-ventilated area and avoid enclosed spaces that trap heat. Use airflow optimization techniques, like installing a small fan or ensuring proper clearance around vents, to promote consistent airflow. Regularly clean dust from vents to prevent overheating and maintain peak performance.
What Safety Precautions Should I Take During Installation?
You should prioritize electrical safety by turning off power before installation and using properly grounded outlets. Confirm mounting stability by securely attaching the bracket to ceiling joists or solid anchors, avoiding weak points. Wear safety gear like goggles and gloves, and use a sturdy ladder. Double-check all connections and mounting hardware for tightness. Taking these precautions minimizes risks of electrical hazards and mounting failures, keeping your installation safe and secure.
Can I Mount the Projector on an Uneven Ceiling?
Mounting your projector on an uneven ceiling is like trying to balance a spinning top—it’s tricky but doable with proper precautions. Check the ceiling’s stability first; if it’s shaky, it won’t hold the weight securely. Use adjustable mounts to correct uneven mounting height, ensuring the projector is level for ideal image quality. If the surface is too uneven, consider reinforcing or choosing a different mounting spot to guarantee safety and performance.
What Tools Are Needed for Ceiling Mounting?
You’ll need a drill, screwdriver, level, and measuring tape to install your projector. Start with mounting brackets designed for your projector model, and make certain they’re compatible. Use ceiling anchors for added stability, especially if your ceiling isn’t solid. Secure the brackets firmly onto the ceiling with the anchors, then attach the projector to the brackets. A level will help you guarantee the projector is perfectly aligned for ideal viewing.
How Do I Hide the Projector’s Cables Effectively?
Hiding your projector’s cables is like giving your setup a sleek, clutter-free look. To achieve this, use cable management solutions like raceways, conduit, or cable covers that blend into your ceiling or wall. Concealment techniques such as running cables inside the ceiling or wall cavity make everything look tidy. Secure loose cables with clips or ties, and hide extension cords behind furniture to maintain a clean, professional appearance.
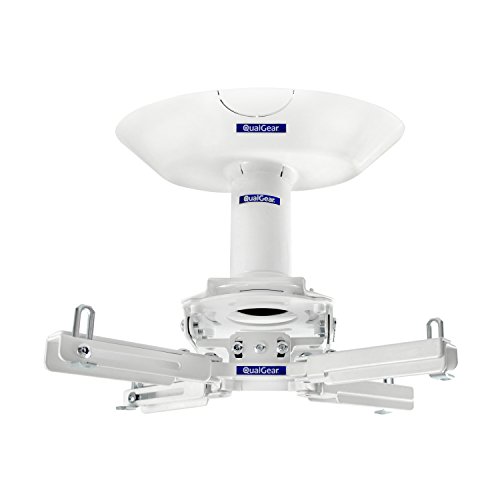
QualGear Pro-AV QG-KIT-CA-3IN-W Projector Mount Kit Accessory Single Joist Ceiling Adapter, 3" 1.5", White
Suitable for regular wood and concrete ceilings
As an affiliate, we earn on qualifying purchases.
As an affiliate, we earn on qualifying purchases.
Conclusion
Before finalizing your ceiling mount, take a moment to double-check all the essentials. Ensuring proper alignment, sturdy support, and ideal placement can make all the difference in your viewing experience. A little extra care now can help you enjoy a seamless, immersive 4K display without unexpected interruptions. Think of it as fine-tuning a masterpiece—your attention to detail will reward you with a flawless setup, elevating your home theater experience to new heights.

DYNAVISTA Full Motion Universal Ceiling Projector Mount Bracket with Adjustable Height and Extendable Arms Rotating Swivel Mount for Home and Office Projector (Black)
Universally Compatible: This projector ceiling mount supports most projector brands with distance between the mounting holes on back…
As an affiliate, we earn on qualifying purchases.
As an affiliate, we earn on qualifying purchases.

Universal TV Mounting Hardware Screw Kit Set with Box – M4 M5 M6 M8 Screws and Washers Spacers, Replacement Screws for TV VESA Mounting, Fits Most TV/Monitor up to 80 inch
Packed in a Box:Store and organize mounting accessories in one place. Not only does this box keep screws,…
As an affiliate, we earn on qualifying purchases.
As an affiliate, we earn on qualifying purchases.