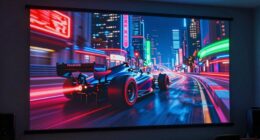
To paint your own projector screen surface, start by choosing a smooth, matte finish in neutral colors like white or gray to guarantee bright, sharp images. Prepare your workspace by organizing tools, wearing safety gear, and guaranteeing good lighting. Select reflective or matte paints based on your environment, and apply thin, even coats, allowing each to dry fully. Proper curing and surface maintenance will boost durability and image quality—continue exploring to learn the step-by-step process in detail.
Key Takeaways
- Choose a matte, neutral-colored surface like white or gray to minimize glare and maximize brightness.
- Use reflective or metallic paint for better light reflection and clearer images.
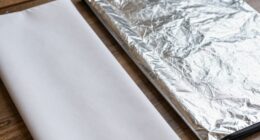
- Prepare the surface by cleaning and smoothing it to ensure proper paint adhesion and an even finish.
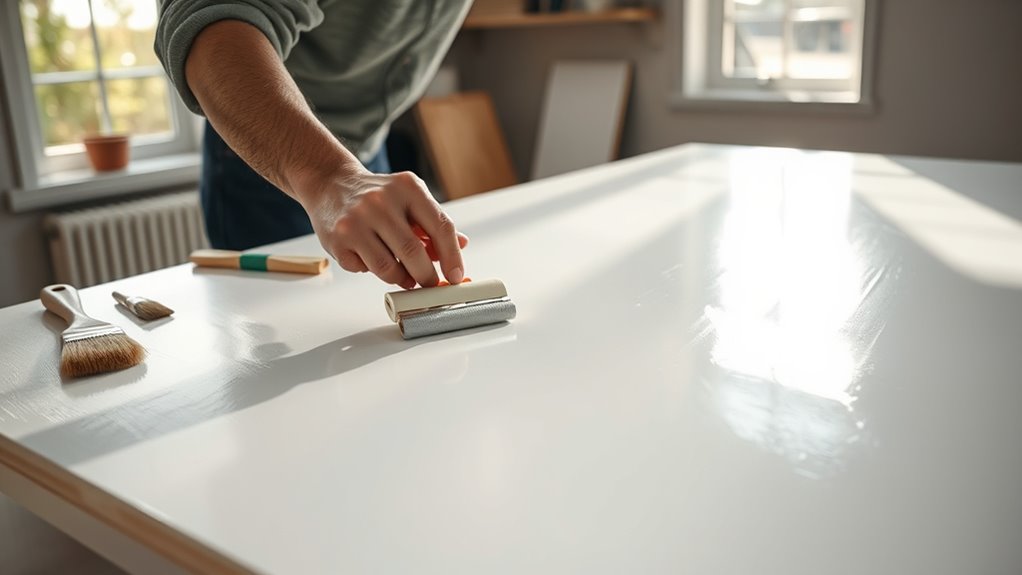
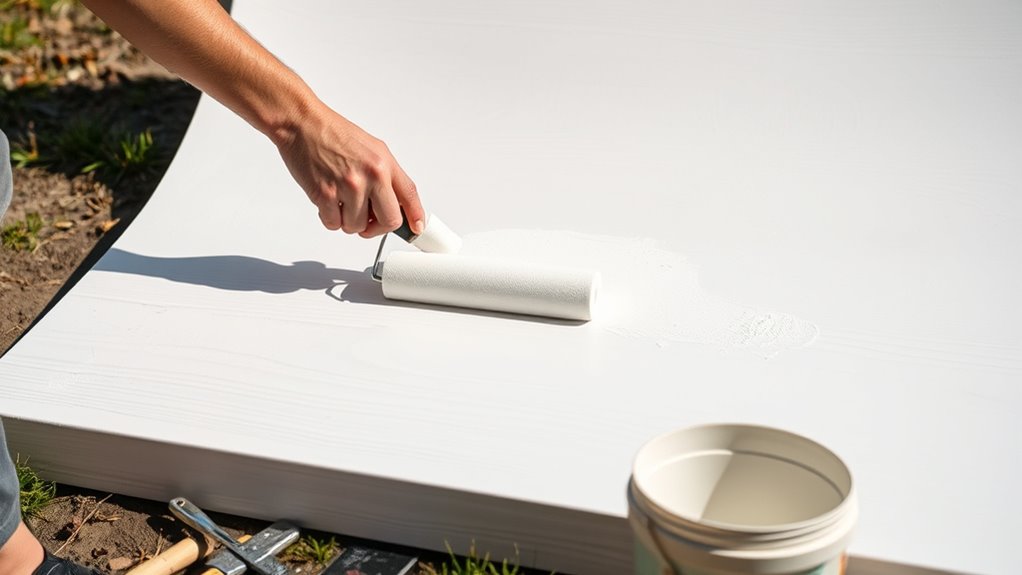
- Apply thin, even coats of paint, allowing each layer to dry fully before adding the next.
- Maintain proper room lighting and environment to optimize projection quality and viewing experience.

Mollor Projector Screen Paint | Single-Coat Short Throw Projector Screen Paint For Picture Perfect 1080 HD and 4K UHD Clarity | Ideal For At-Home Indoor Use | Digital Theater White – 32 Fl Oz
MAKE ANY SURFACE YOUR PERSONAL SCREEN: No screen? No problem. Mollor projector screen paint makes any surface projection-ready
As an affiliate, we earn on qualifying purchases.
As an affiliate, we earn on qualifying purchases.
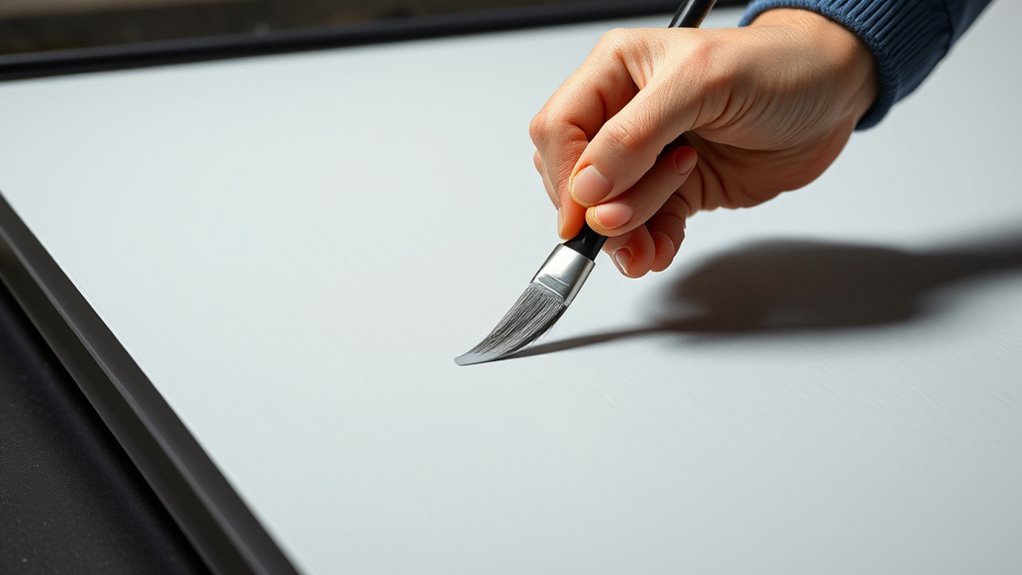
Selecting the Right Materials and Surface
Choosing the right materials and surface is crucial for achieving a clear, vibrant projection. When selecting a surface, consider texture options that influence light reflection and image quality. Smooth surfaces tend to produce sharper images, while textured options can reduce glare or enhance contrast. Your color selection is equally important; opt for neutral, matte tones like white or gray to maximize brightness and minimize color distortion. Avoid glossy or shiny finishes, which can cause unwanted reflections and wash out your image. Test small samples of different textures and colors before committing to a surface. This way, you’ll ensure the surface absorbs and reflects light appropriately, giving you a bright, crisp projection tailored to your space and needs. Additionally, understanding lighting conditions and how they interact with your chosen surface can further optimize your projection quality.

Yescom 177" 16:9 DIY Projection Screen Material Matte White PVC Projector Screen Coated 154"x86" Indoor Outdoor Home Theater Conference Room
[Large Projector Screen]: 16:9 Front Projection Screen Material features 177" diagonal size for providing a large viewing area…
As an affiliate, we earn on qualifying purchases.
As an affiliate, we earn on qualifying purchases.
Preparing Your Workspace and Surface
Before you start painting, it’s important to prepare your workspace and surface to guarantee a smooth, professional finish. Organize your workspace to keep tools, paints, and drop cloths within reach, minimizing clutter and distractions. Confirm proper safety precautions by wearing masks and gloves, and working in a well-ventilated area. Visualize your workspace below:
| Workspace Zone | Purpose | Safety Measures |
|---|---|---|
| Painting Area | Surface preparation & painting | Mask, gloves, ventilation |
| Storage Space | Store tools and supplies | Keep away from flames |
| Cleanup Zone | Disposal of waste, cleaning | Proper disposal methods |
| Access Path | Easy movement around area | Clear walkways |
| Exit Route | Emergency escape | Unobstructed path |
This setup ensures efficiency and safety throughout your project. Additionally, ensuring proper lighting in your painting area can significantly improve your visibility and help you achieve a more even finish.

Rust-Oleum 7718830 Stops Rust Bright Coat Metallic Spray Paint, 11 Oz, Chrome (Pack of 1)
Ideal for creating a shiny metallic finish on any interior metal, wood, concrete or masonry projects
As an affiliate, we earn on qualifying purchases.
As an affiliate, we earn on qualifying purchases.
Choosing the Best Paint for Projector Screens
When selecting paint for your projector screen, you need to consider reflective coating options that enhance image quality. Make sure the paint is compatible with your surface to ensure a smooth, even finish. Choosing the right coating will make a noticeable difference in your viewing experience. Additionally, selecting a paint with high reflectivity can improve the brightness and clarity of your projected images.
Reflective Coating Options
Selecting the right reflective coating is essential for achieving a clear, bright image on your DIY projector screen. Metallic finishes and reflective paints offer excellent options, each with benefits. Metallic finishes provide a shiny, high-gloss surface that enhances reflectivity, while reflective paints are designed specifically for projector screens, offering even light distribution. Consider the table below to compare options:
| Coating Type | Advantages | Ideal Use Case |
|---|---|---|
| Metallic Finishes | High-gloss, durable, vibrant | Creative projects, bold visuals |
| Reflective Paints | Even light reflection, easy to apply | Standard home setups |
| Matte Paints | Reduces glare, softer image | Ambient lighting conditions |
Choose based on your desired brightness, surface style, and setup environment. Incorporating spiritual energy awareness during your project can help enhance focus and creativity, leading to better results.
Compatibility With Surfaces
Choosing the right paint for your projector screen depends heavily on the surface you plan to use. Different surface textures, such as smooth drywall or textured plaster, affect how paint adheres and how the final image appears. Smooth surfaces generally allow for better paint attachment, resulting in a more even and vibrant projection. Textured surfaces can cause uneven reflection and may diminish image quality, so selecting a paint formulated for textured surfaces is essential. Make sure the paint you choose is compatible with your surface to prevent peeling or cracking over time. Testing a small area beforehand helps ensure good adhesion and compatibility. Proper surface preparation, like cleaning and priming, further improves paint adherence, resulting in a durable, high-quality projector screen. Additionally, choosing a paint with proper reflective qualities can significantly enhance image brightness and clarity.

BAYTORY 3Pcs Screen Tool, Window Screen Spline Roller Tool with Wooden Handle and Steel/Nylon Bearing Wheels, Mesh Screen Door Repair Kit Easy to Use
Upgraded version: Well-fitted Nylon wheels are more safe than steel screen door repair rollers, you will never cut…
As an affiliate, we earn on qualifying purchases.
As an affiliate, we earn on qualifying purchases.
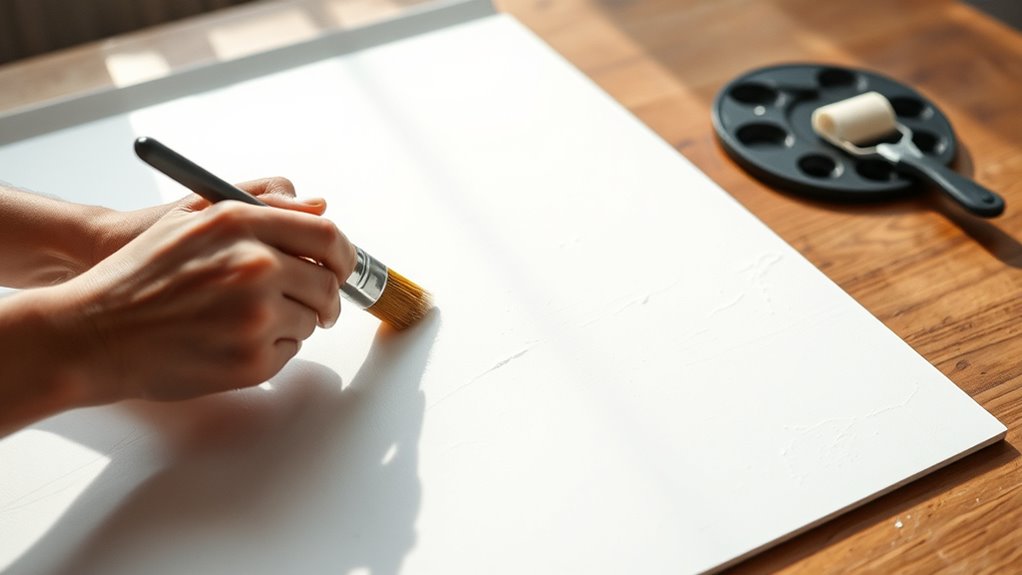
Applying the Paint: Techniques and Tips
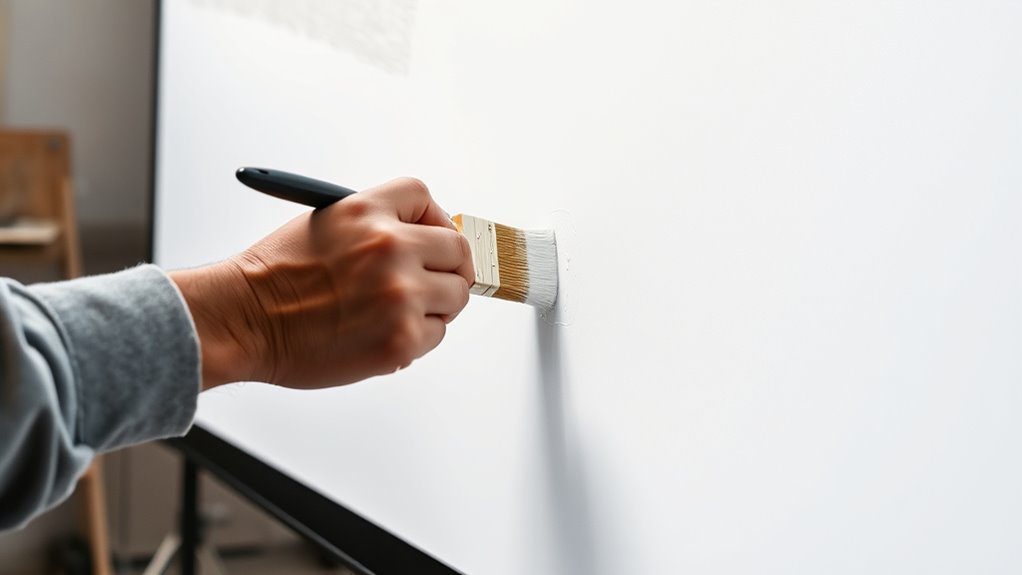
Applying the paint carefully and methodically guarantees a smooth, even surface that enhances your projector screen’s performance. Use proper brush techniques, such as long, even strokes, to avoid streaks and uneven patches. Keep your paint at the right consistency—neither too thick nor too runny—to assure smooth application. Stir the paint thoroughly before each coat, and avoid overloading your brush to prevent drips. Work in thin layers, allowing each to dry fully before adding the next. Maintain a steady hand and consistent pressure to achieve uniform coverage. If you notice streaks or roller marks, gently feather the edges with a clean brush. Proper technique and paint consistency are key to creating a professional-looking, functional projector screen surface. Additionally, choosing the right paint type designed for smooth, high-quality finishes is essential for optimal results.
Curing and Finishing Your Screen
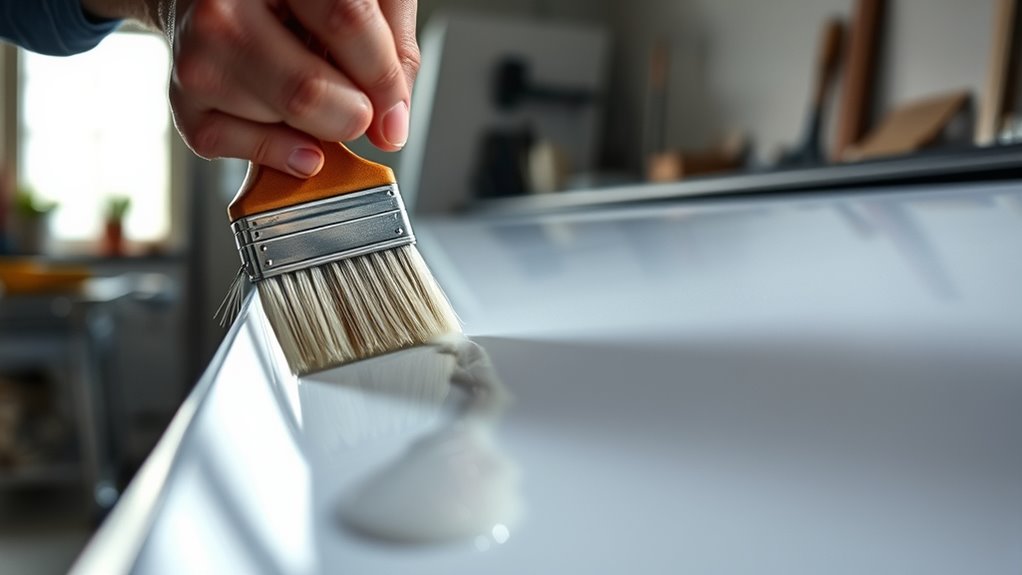
Once you’ve finished applying the paint in smooth, even layers, giving the surface adequate time to cure is key to guaranteeing ideal performance. Proper curing enhances the texture finish and boosts paint durability, making your screen last longer. During this period, avoid touching or placing objects on the surface to prevent imperfections. To optimize results, keep the area well-ventilated and maintain consistent temperature and humidity levels. After curing, consider applying a protective sealant if desired, which can improve durability without compromising the texture finish. Here’s a quick guide:
| Step | Duration | Tips |
|---|---|---|
| Initial curing | 24-48 hours | Keep surface undisturbed |
| Full curing | Up to 7 days | Avoid moisture exposure |
| Final finish check | After curing | Inspect for smoothness and texture |
Additionally, understanding paint adhesion principles can help ensure your coating remains intact over time. This process ensures your DIY projector screen performs perfectly.
Setting Up and Testing Your DIY Projector Screen
Setting up and testing your DIY projector screen is a straightforward process that guarantees your surface is ready for ideal viewing. First, position your projector at the suitable projection angle to ensure the image is centered and sharp across the screen. Adjust the height and distance to match your room size and projector specifications. Pay attention to ambient lighting; minimize ambient light sources like windows or lamps to improve image clarity and contrast. Turn on your projector and project test images or patterns to evaluate color accuracy, brightness, and uniformity. Make any necessary adjustments to the screen’s tension or positioning. Once satisfied, observe how well the projected image performs under typical viewing conditions, ensuring the surface delivers the best possible picture quality. Additionally, ensuring your room features appropriate bedroom decor elements can enhance the overall viewing experience by creating a cozy environment.
Frequently Asked Questions
How Long Does It Take for the Paint to Fully Dry?
The paint typically takes about 24 to 48 hours to fully dry, but drying time can vary based on humidity and thickness of coats. You should avoid touching the surface during this period. After drying, it’s essential to let the paint cure for at least 72 hours to guarantee peak performance. Proper curing helps the surface resist scratches and maintains image quality, so patience pays off for a better projector screen.
Can I Use Regular Wall Paint for My Projector Screen?
Using regular wall paint for your projector screen is a disaster waiting to happen. Wall paint isn’t designed for paint durability or ideal screen performance, so it’ll crack, peel, and ruin your viewing experience. It’s simply not suitable for a projector surface. Instead, invest in specialized screen paint that offers the right durability and reflective qualities. Trust me, your movie nights will thank you for choosing the right paint for your setup.
What Is the Best Way to Remove Mistakes or Uneven Paint?
To fix mistakes or uneven paint, start with touch-up techniques by gently sanding the affected area to smooth out bumps or drips. Then, use a small brush to carefully apply paint correction, blending the new paint into the surrounding surface. Allow it to dry completely, and if needed, lightly sand again for a seamless finish. Patience and precise touch-ups will help you achieve a smooth, professional-looking projector screen surface.
How Often Should I Reapply or Touch up the Screen?
You should plan for paint touch ups or repainting every 1 to 3 years, depending on usage and environmental factors. Regularly inspect your screen for scratches, fading, or uneven areas, and do touch ups as needed to maintain ideal image quality. If you notice significant wear or discoloration, consider a full repaint. Staying proactive ensures your DIY projector screen stays clear and vibrant for the best viewing experience.
Will Painting My Own Screen Affect Its Durability Over Time?
Did you know that poorly applied paint can reduce your screen’s lifespan by up to 30%? Painting your own screen might affect its durability if you don’t guarantee proper surface preparation and paint adhesion. If you carefully prep the surface—cleaning, sanding, and priming—you’ll help maintain the screen’s integrity over time. Skipping these steps could cause peeling, cracking, or fading, reducing your screen’s effectiveness and longevity.
Conclusion
Creating your own projector screen is a rewarding project that saves money and offers customization. Did you know that a well-painted screen can improve image brightness by up to 30%? By carefully selecting materials, preparing your surface, and applying the right paint with proper techniques, you can achieve professional-quality results. Take your time, test thoroughly, and enjoy a personalized viewing experience that rivals commercial screens—all without breaking the bank.