To align two projectors for a seamless image, start by choosing quality equipment with minimal distortion. Position the projectors carefully, ensuring they are at the correct distance and angle to the surface, and use leveling tools for precision. Calibrate each projector’s focus, keystone correction, and brightness, then test with alignment patterns. Fine-tune their positioning and calibration until edges match perfectly and the image looks unified. Keep going, and you’ll find tips to perfect your setup even further.
Key Takeaways
- Use physical alignment tools to position projectors at proper angles and distances for seamless edge matching.
- Adjust focus and keystone correction on each projector to ensure consistent image shape and size.
- Match brightness levels between projectors to create a uniform, unified image without dim or overly bright spots.
- Employ calibration software or test patterns to fine-tune alignment, overlap, and distortion corrections iteratively.
- Verify the setup by observing the combined image for gaps or overlaps, making small adjustments as needed.
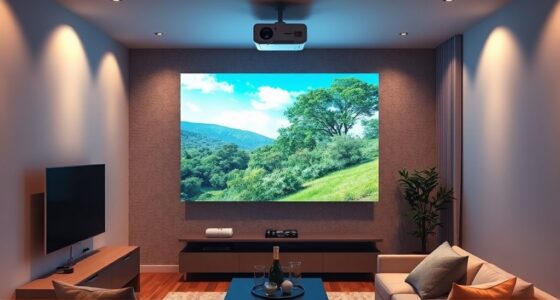
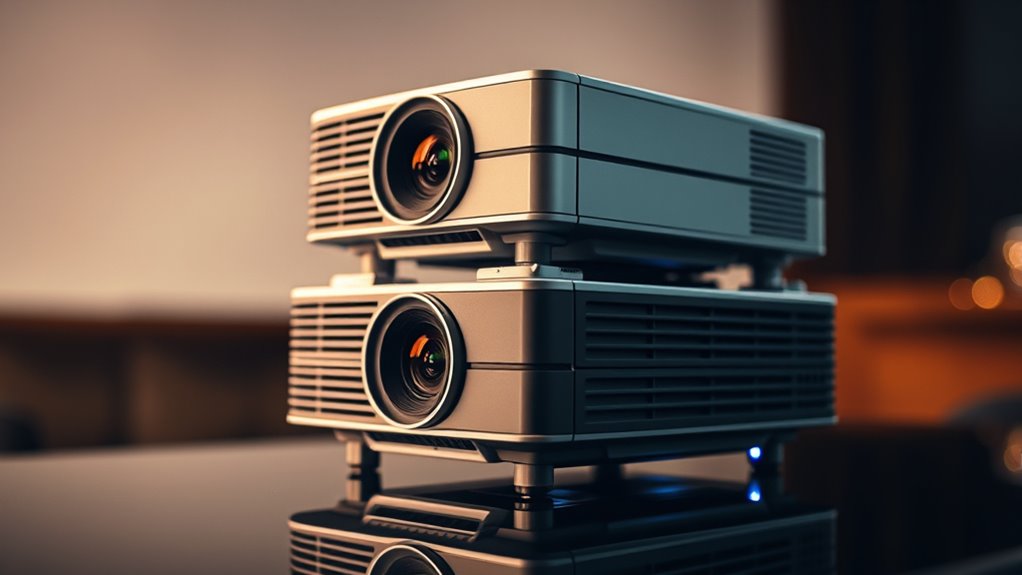
Have you ever wondered how to create larger, more immersive images with your projectors? Stacking projectors is a great way to achieve that, but it requires precise setup to ensure the images align perfectly. The first step is understanding the importance of lens calibration. When you’re stacking projectors, each one’s lens can introduce slight distortions or differences in image shape. By calibrating the lenses, you can correct these distortions, making the images seamless when combined. This process involves adjusting focus, keystone correction, and sometimes using calibration tools or software to align the images accurately. Proper lens calibration prevents obvious overlaps or gaps that can ruin the immersive effect you’re aiming for. Additionally, selecting the right projection equipment can significantly influence the ease of setup and image quality.
Once your lenses are calibrated, the next critical aspect is brightness matching. When two projectors are stacked, differences in brightness can make one image appear dimmer or brighter than the other, disrupting the visual continuity. To avoid this, you need to fine-tune the brightness settings on both projectors so their images match as closely as possible. You can do this manually by adjusting the projector’s brightness controls or through calibration software that provides real-time feedback. Brightness matching is essential because even slight discrepancies can draw attention and break the illusion of a unified image. It’s worth spending extra time here because a well-matched setup creates a seamless, larger-than-life display.
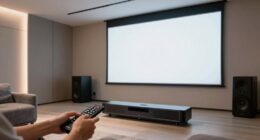
After calibrating the lenses and matching the brightness, you’ll want to align the projectors physically. Position each projector precisely, ensuring they’re at the correct distance and angle relative to the projection surface. Use a level or alignment tools to keep the images aligned horizontally and vertically. Fine-tuning this setup may involve adjusting the projector mounts or repositioning the projectors until the edges of the images overlap perfectly without distortion or misalignment.
Finally, test your setup by projecting a test pattern or image and observe for any misalignments or inconsistencies. Make small adjustments as needed, focusing on both the physical positioning and the calibration settings. Keep in mind that stacking projectors is an iterative process; patience and meticulous adjustments will lead to a stunning, unified image. When done correctly, stacking projectors can transform your visual presentations into immersive experiences that captivate your audience, all achieved through careful lens calibration and brightness matching.
![[Officially-Licensed App & Auto Focus]White Smart Mini Projector with WiFi and Bluetooth, XuanPad 4K Support Movie Projector, Portable Native 1080P Outdoor Projector with 360° Stand](https://m.media-amazon.com/images/I/51I8uy-U8bL._SL500_.jpg)
[Officially-Licensed App & Auto Focus]White Smart Mini Projector with WiFi and Bluetooth, XuanPad 4K Support Movie Projector, Portable Native 1080P Outdoor Projector with 360° Stand
Exciting Moments Begin - The XuanPad mini projector compatible with Netflix for the ultimate viewing experience.No extra devices...
As an affiliate, we earn on qualifying purchases.
Frequently Asked Questions
Can Stacking Projectors Improve Brightness Significantly?
Yes, stacking projectors can substantially improve brightness enhancement, making your images brighter and more vivid. By combining the light output of two projectors, you boost overall brightness, which enhances image clarity, especially in well-lit environments. Just make certain proper alignment to avoid image distortion. This technique is ideal for large venues or presentations where brightness and clarity are essential, providing a more immersive viewing experience for your audience.
What Are the Best Tools for Precise Projector Alignment?
You need precise tools for perfect alignment, and lens calibration along with keystone correction are your best options. Use a laser alignment tool to guarantee accurate positioning, while software with keystone correction helps fix distortions. Combining these tools allows you to fine-tune the projector’s lens, achieving seamless imagery. This combination makes aligning two projectors more straightforward, ensuring your image is sharp, aligned, and visually impressive.
How Do I Prevent Image Ghosting When Stacking?
To prevent image ghosting when stacking, first guarantee your projectors are properly aligned. Use keystone correction to fix any distortion, and adjust lens focus to improve image clarity. Check for lens distortion that might cause overlapping images, and fine-tune the projector angles accordingly. Regularly calibrate both projectors to maintain sharpness and alignment, reducing ghosting and creating a seamless, unified image.
Is Special Mounting Equipment Required for Stacking Projectors?
You don’t necessarily need special mounting equipment to stack projectors, but using mounting brackets can facilitate the process. These brackets help secure your projectors in precise positions, making alignment easier. Employing proper alignment techniques ensures your images blend seamlessly without ghosting or misalignment. While standard mounts work, investing in specialized stacking brackets offers enhanced stability and precision, especially for complex setups or large venues, ensuring a professional, unified projection.
What Are Common Troubleshooting Steps for Alignment Issues?
To troubleshoot alignment issues, start by checking for lens distortion and use keystone correction to fix skewed images. Make certain both projectors are properly mounted and their lenses are clean. Adjust the projector settings to match focus and zoom, then fine-tune the image overlap. If needed, reposition the projectors slightly and reapply keystone correction until the images align seamlessly for a clear, unified display.

HAPPRUN Native 1080P Projector, Bluetooth Home Theater Movie Projector with Built-in Speaker, Compatible with Smartphone, HDMI, Fire Stick, PS5, Indoor & Outdoor Use -With Google TV System
[ Built-in Official Licensed Google TV ] - Without additional equipment, the smart projector can directly access Netflix,...
As an affiliate, we earn on qualifying purchases.
Conclusion
Now that you’ve aligned your projectors, think of them as twin flames illuminating a single path. When perfectly stacked, they create a seamless, radiant beam—symbolizing unity and clarity. Remember, the true magic lies in your hands, merging two lights into one powerful vision. With patience and precision, you’ve turned separate sources into a unified masterpiece, proving that even the simplest adjustments can transform a dual glow into a shining beacon of your creativity.

Aurzen Roku TV Smart Projector with Wifi and Bluetooth, Roku TV Built-in, 1080P FHD, DoIby Audio, Auto Focus & Keystone, Zoom, Movie Portable Outdoor Mini Projector for Soccer Football Game, White
A Roku account and internet connection are required for activation (Creating an account is free). Note: Power Supply:...
As an affiliate, we earn on qualifying purchases.
HAPPRUN Native 1080P Projector, Bluetooth Home Theater Movie Projector with Built-in Speaker, Compatible with Smartphone, HDMI, Fire Stick, PS5, Indoor & Outdoor Use - Without Google TV System
[ Native 1080P Full HD Resolution ] - Enjoy crystal-clear visuals with HAPPRUN H1's native 1920x1080 resolution, delivering...
As an affiliate, we earn on qualifying purchases.