To mount a projector on uneven ceilings or beams, first assess high and low spots using a level. Use adjustable mounting brackets or plates that extend beyond irregular areas for stability. Employ shims made of wood or plastic to fill gaps and create a flat surface. Secure the mount firmly to structural elements and fine-tune the projector’s alignment with adjustable mounts. For detailed tricks to achieve a perfect, stable setup, keep exploring these practical leveling solutions.
Key Takeaways
- Assess high and low spots using a level to identify surface irregularities before mounting.
- Use adjustable mounting brackets or plates that extend beyond uneven areas for added stability.
- Employ shims made of wood, plastic, or metal to fill gaps and create a flat, stable mounting surface.
- Secure the mount firmly to structural elements like beams and use adjustable features for fine alignment.
- Make small, precise adjustments with shims or adjustable mounts to ensure the projector is perfectly level.
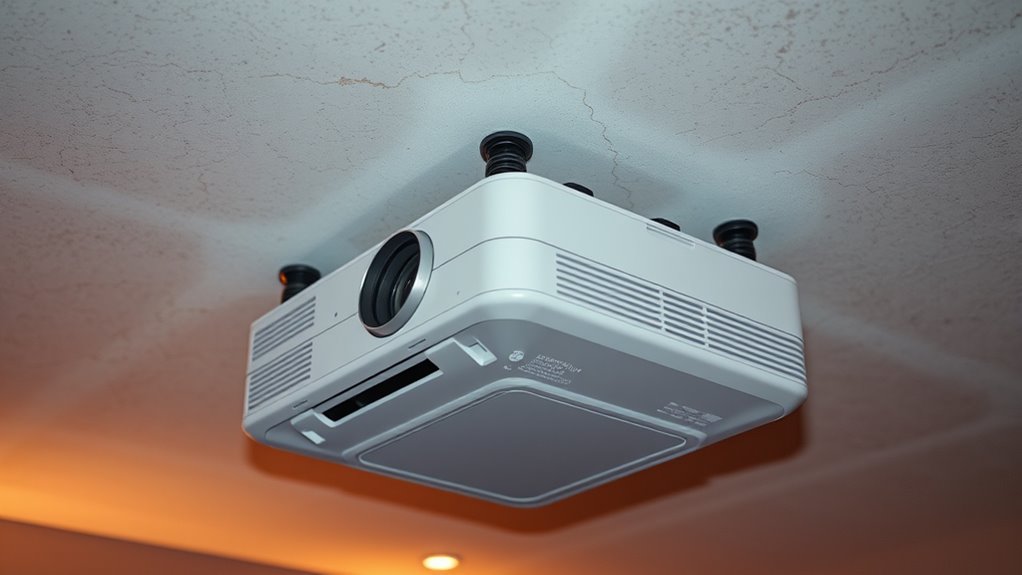
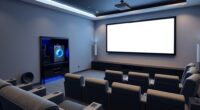
Properly leveling your projector mount is essential for a clear, professional-looking image. When mounting on uneven ceilings or beams, you face unique challenges that can affect the projector’s alignment and image quality. Ceiling surface irregularities might include bumps, dips, or uneven paint, while beam mounting challenges stem from the structural constraints of beams that aren’t perfectly flat or level. These issues can make it difficult to achieve a stable, precise mount, but with the right techniques, you can overcome them.
Ensuring your projector is level on uneven ceilings or beams guarantees optimal image quality and a professional look.
First, assess the ceiling surface carefully. Use a level to identify high and low spots, and note any irregularities. If the surface isn’t flat, you’ll need to compensate for these uneven areas. One effective solution is to use a mounting plate or a mounting bracket with adjustable features. These allow you to make fine-tuned adjustments after installation, ensuring the projector remains level even if the ceiling isn’t. For beam mounting challenges, consider using a universal mounting bracket designed for uneven surfaces. These brackets often have multiple pivot points and adjustable arms, giving you more flexibility to align the projector correctly.
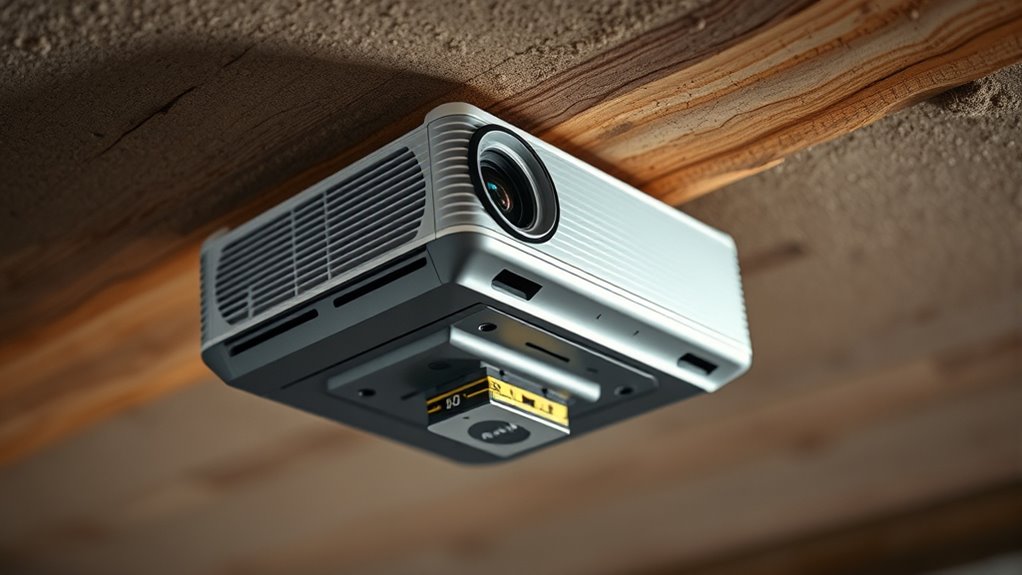
When working with irregular ceiling surfaces, consider installing a mounting plate that extends beyond the uneven areas. This can help create a more stable base, preventing the mount from wobbling or shifting over time. Additionally, use shims—small, sturdy spacers—to fill gaps or level out uneven parts of the mounting surface. Shims made of wood, plastic, or metal can be stacked and shaped to match the irregularities, providing a flat, stable platform for your mount.
For beams, the key is to attach the mount securely to the structural element while maintaining correct orientation. If the beam isn’t level, you can attach a mounting plate perpendicular to the beam and then use adjustable mounts to align the projector. Sometimes, you might need to replace or reinforce the beam mounting point with additional hardware, like heavy-duty anchors or reinforced brackets, to ensure stability. Additionally, selecting a suitable material composition for your mounting hardware can enhance the durability and stability of the installation.
Finally, after securing the mount, double-check the projector’s alignment using a level. Small adjustments can make a big difference in image clarity. If needed, make minor tweaks with adjustable mounts or shims until the projector is perfectly level. Remember, patience is key. Properly address ceiling irregularities and beam challenges ensures your projector operates at its best, delivering a crisp, professional image every time.
ViewSonic PX701-4K 3200 Lumens 4K Projector, 240Hz and HDR Support for Smooth Home Entertainment, 1.1x Optical Zoom, Auto V-Keystone, and H/V Keystone for Flexible Setup, and Dual HDMI Inputs
4K Home Theater Projector: UHD (3840x2160p) 4K resolution with a 1.5-1.6 throw ratio and 3,200 ANSI lumens perfect...
As an affiliate, we earn on qualifying purchases.
Frequently Asked Questions
Can I Mount a Projector on a Sloped or Vaulted Ceiling?
Yes, you can mount a projector on a sloped or vaulted ceiling. To guarantee mounting stability, reinforce the ceiling if needed and use a sturdy, adjustable mount designed for uneven surfaces. Properly securing ceiling reinforcement helps prevent shifting or damage, while an adjustable mount allows you to level the projector accurately. This way, you maintain a stable installation and achieve the best viewing angles despite the slope or vault.
What Tools Are Best for Measuring Uneven Surfaces?
A stitch in time saves nine. To measure uneven surfaces accurately, you should use laser levels for quick, precise readings and digital calipers for detailed edge measurements. Laser levels help identify high and low points on ceilings or beams, while digital calipers give you exact thicknesses and irregularities. With these tools, you can guarantee your projector mounts are level, even on the most uneven surfaces, making your setup flawless.
How Do I Prevent Projector Sway on Uneven Beams?
To prevent projector sway on uneven beams, focus on enhancing mounting stability by using sturdy beam support brackets designed for irregular surfaces. Secure the brackets tightly to minimize movement, and consider adding shims or adjustable mounts to compensate for unevenness. Additionally, use locking screws to keep everything in place. These steps guarantee your projector remains steady, providing a clear, stable image even on challenging beams or uneven ceilings.
Is It Possible to Retrofit Existing Mounts for Uneven Ceilings?
Yes, you can retrofit mounts for uneven ceilings. For example, a school installed a retrofit mount with adjustable brackets to stabilize a projector on a sloped gym ceiling. These mounts feature flexible arms or shims that compensate for irregular surfaces. By customizing the retrofit mount, you guarantee a secure, level installation, preventing sway and maintaining ideal projection alignment despite the uneven ceiling.
What Safety Precautions Should I Consider During Installation?
During installation, you should prioritize electrical safety by turning off power before working near wiring. Always wear personal protective equipment like gloves, goggles, and a dust mask to protect yourself from debris and sparks. Secure the ladder properly and ensure the ceiling can support the mount’s weight. Double-check your tools and follow manufacturer instructions carefully to prevent accidents, guaranteeing a safe and successful setup.
![[Officially-Licensed App & Auto Focus]White Smart Mini Projector with WiFi and Bluetooth, XuanPad 4K Support Movie Projector, Portable Native 1080P Outdoor Projector with 360° Stand](https://m.media-amazon.com/images/I/51I8uy-U8bL._SL500_.jpg)
[Officially-Licensed App & Auto Focus]White Smart Mini Projector with WiFi and Bluetooth, XuanPad 4K Support Movie Projector, Portable Native 1080P Outdoor Projector with 360° Stand
Exciting Moments Begin - The XuanPad mini projector compatible with Netflix for the ultimate viewing experience.No extra devices...
As an affiliate, we earn on qualifying purchases.
Conclusion
When mounting your projector on uneven ceilings or beams, these leveling tricks will save you time and frustration. Remember, a perfectly aligned projector can improve image quality and viewing experience. Did you know that over 60% of home theater setups suffer from misaligned projectors? Don’t let uneven surfaces be a setback. With these simple tips, you’ll guarantee a professional look and maximum performance, turning any space into a cinematic paradise.
![[Built-in Apps/4K Support] Smart Outdoor Projector with WiFi and Bluetooth, Movie Projector, DoIby Audio with Dual Speaker, Auto Focus w/ YouTube&PrimeVideo Proyector, Upgrad P62 Pro](https://m.media-amazon.com/images/I/51yAGv8VI7L._SL500_.jpg)
[Built-in Apps/4K Support] Smart Outdoor Projector with WiFi and Bluetooth, Movie Projector, DoIby Audio with Dual Speaker, Auto Focus w/ YouTube&PrimeVideo Proyector, Upgrad P62 Pro
[Upgraded Classic – P62 Pro Movie Projector] Building on the reliability and low return rate of the classic...
As an affiliate, we earn on qualifying purchases.

Aurzen Roku TV Smart Projector with Wifi and Bluetooth, Roku TV Built-in, 1080P FHD, DoIby Audio, Auto Focus & Keystone, Zoom, Movie Portable Outdoor Mini Projector for Soccer Football Game, White
A Roku account and internet connection are required for activation (Creating an account is free). Note: Power Supply:...
As an affiliate, we earn on qualifying purchases.