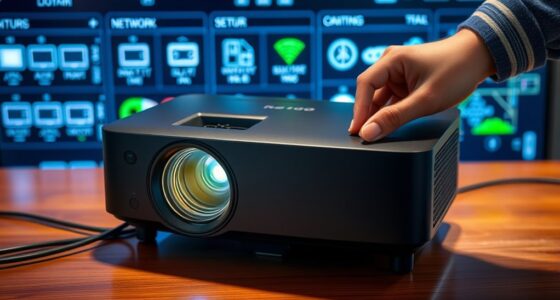

When your projector shows the menu but no video, first check the input source settings and make sure you’ve selected the correct input (HDMI, VGA, etc.). Guarantee your cables are compatible, securely connected, and undamaged. Power off the projector and source device, then restart everything to reset connections. Switching ports or updating firmware can also help. If you follow these steps, you’ll find ways to resolve the issue more effectively.
Key Takeaways
- Verify the input source setting matches the connected device and manually select the correct input mode.
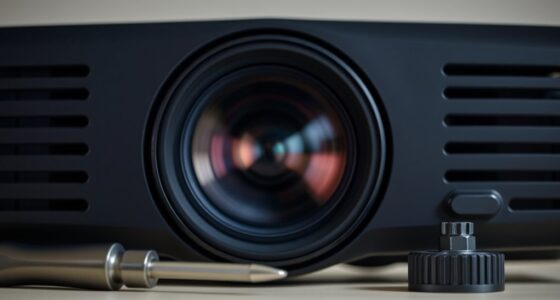
- Check all cables for damage and secure connections between the projector and source device.
- Power off both devices, unplug, wait 30 seconds, then power on to reset hardware and clear temporary errors.
- Test with different cables or ports to identify faulty or incompatible connections.
- Update the projector firmware to improve input recognition and fix potential bugs.

When your projector isn’t displaying the image correctly, troubleshooting the input source should be your first step. Often, the issue stems from cable compatibility problems or simple connection mishaps. Before diving into complex fixes, double-check that you’re using the right cables for your projector and input device. Not all HDMI or VGA cables work with every device, so ensure the cable matches the specifications required by your projector and source. Using incompatible or damaged cables can lead to the projector showing the menu but not the video itself. Swap out cables if you suspect they might be faulty, and always opt for quality, certified cables to avoid compatibility issues.
Once you’ve confirmed that your cables are compatible, focus on the connection itself. Securely connect the cable to both the projector and your source device, making sure they’re plugged in firmly without wiggle room. Sometimes, loose connections can cause the projector to detect the input source but fail to transmit the video signal properly. After securing the connections, a power cycle can often resolve lingering glitches. Power cycle techniques involve turning off the projector and source device, unplugging them from the power outlet, waiting for about 30 seconds, then plugging everything back in and turning them on. This process resets the hardware and clears temporary errors that might prevent the video from displaying correctly.
Secure all cable connections tightly and perform a power cycle to resolve display issues.
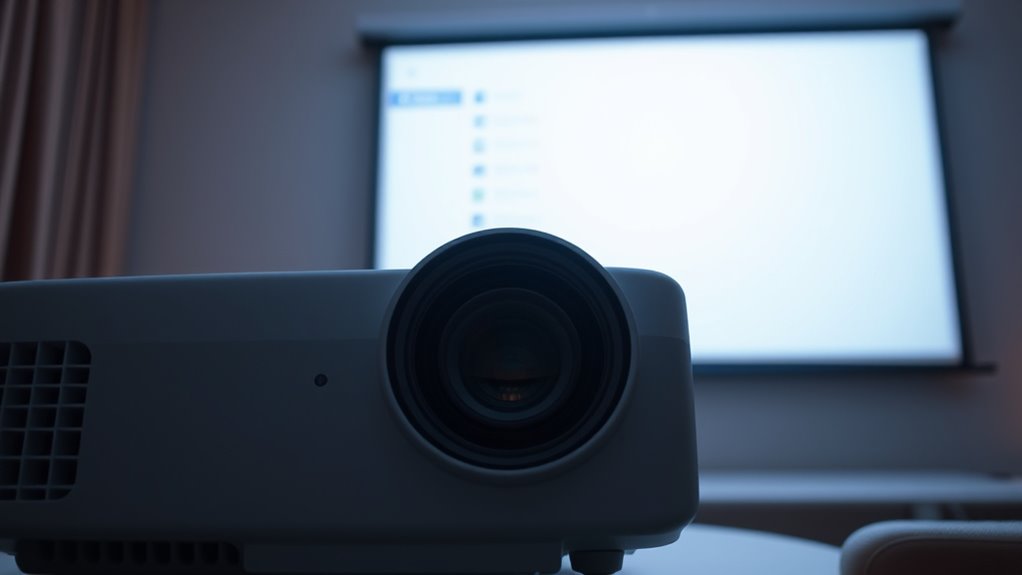
If the input source menu appears but no video shows up, it’s also worth checking whether your projector correctly recognizes the input you’re using. Sometimes, the device might still be set to the wrong input mode. Use the projector’s remote or control panel to manually select the correct input port, whether it’s HDMI 1, HDMI 2, VGA, or another source. If the menu shows the input but no video, try switching to a different port if available; this can help identify if a specific port or cable is faulty. Additionally, input recognition can be affected by outdated firmware, so consider updating your projector’s firmware if an update is available. Firmware updates often fix bugs related to input recognition and compatibility. If none of these steps work, testing the projector with a different source device can help determine whether the issue lies with the projector itself or the original source. Remember, troubleshooting is about systematically eliminating potential problems, so take it step by step, and you’ll likely find the root cause quickly.
Highwings Long HDMI Cable 20 FT, 10K 8K 4K Ultra HD High Speed 2.1 HDMI Cable 48Gbps Braided Cord-4K@120Hz 8K@60Hz, DTS:X, HDCP 2.2&2.3, Dynamic HDR 10 Compatible with DVD Player/PS5/HDTV/Blu-ray
Future-Ready 8K Clarity – See Every Detail in Stunning Resolution: Experience the pinnacle of visual technology with Highwings…
As an affiliate, we earn on qualifying purchases.
As an affiliate, we earn on qualifying purchases.
Frequently Asked Questions
How Do I Update My Projector’s Firmware?
To update your projector’s firmware, start by visiting the manufacturer’s website and downloading the latest projector software. Connect your projector to your computer via USB or Ethernet, depending on your model. Follow the on-screen instructions or user manual to initiate the firmware update. Make sure your projector stays powered on and connected throughout the process to prevent any issues. Updating the firmware guarantees your projector runs smoothly and supports new features.
Can a Damaged Cable Cause No Video Display?
Yes, damaged cables can definitely cause no video display. If your cable has visible damage or signs of wear, it can lead to signal failure, resulting in a black screen or no video output. Inspect your cable closely for frays, cuts, or bent connectors. Replacing a damaged cable usually restores video. Don’t forget to test with a known working cable to confirm whether the issue is cable damage or something else.
What Settings Should I Check for HDMI Input Issues?
You should check your HDMI input settings, focusing on input resolution and color settings. Make sure the resolution matches your device’s output; incompatible resolutions can prevent video display. Also, verify that color settings are correct and not set too low or too high, which might cause display issues. Adjust these settings through your projector’s menu, ensuring they’re compatible with your source device for ideal video performance.
Is It Possible to Fix a Malfunctioning Projector Port?
Yes, you can fix a malfunctioning projector port. Start by inspecting the projector port for visible damage or debris. If it’s damaged, a professional repair or replacement might be necessary. For minor issues, try cleaning the port gently and checking connections. If the port isn’t working despite these steps, consider a malfunction repair service. Sometimes, replacing the port or circuit board is the best way to restore functionality.
How Do I Test if My Source Device Is Working Properly?
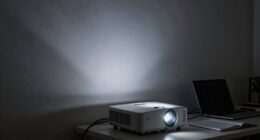
To test if your source device is working properly, start with source device testing by connecting it to another display or TV to check for picture or sound. Next, validate your input connection by ensuring the cable is securely plugged in and undamaged. Switch your projector to the correct input source, then power on both devices. If no signal appears, try using a different cable or port to rule out connection issues.

Cable Matters VGA Cable with Ferrites – 10ft, VGA Cord for Computer Monitor, Monitor Cable Male to Male
High-Performance VGA Cables for Older Devices: This VGA cable is designed to connect a VGA-equipped computer (commonly found…
As an affiliate, we earn on qualifying purchases.
As an affiliate, we earn on qualifying purchases.
Conclusion
Now that you’ve checked the input source and cables, imagine your projector as a window to your favorite movie or presentation. When everything’s connected right, bright images spill across the screen like sunlight through a clear window. If issues persist, picture yourself gently adjusting the source or restarting the device, like tuning a musical instrument. Soon, your projector will shine vividly, transforming your space into a cinematic escape or a productive workspace once again.

Original Replacement Remote Control for HY320/300Pro Projector & Gimbal 3/5 – Universal Compatible with Magcubic/Xgody/Aubor/Maypug/HIPPUS/Mentech/LYNCAST Projectors, Infrared IR Remote with Buttons
✪【Precise Compatibility】 "Designed EXCLUSIVELY for HY300Pro Projector & Gimbal 3/5 models, 100% signal sync with Magcubic/Xgody/Aubor/Maypug/HIPPUS/Mentech/LYNCAST systems. ★Avoid…
As an affiliate, we earn on qualifying purchases.
As an affiliate, we earn on qualifying purchases.

Yaber T1 Pro2 Mini Projector with WiFi and Bluetooth, Dolby Audio & Turbo Sonic Bass, Auto Focus & Keystone, Native 1080 FHD with HDR10, Portable Projector for Outdoor Indoor Use
【Built in Netflix app & More】 Watch all your favourites on the big screen. This device comes now…
As an affiliate, we earn on qualifying purchases.
As an affiliate, we earn on qualifying purchases.