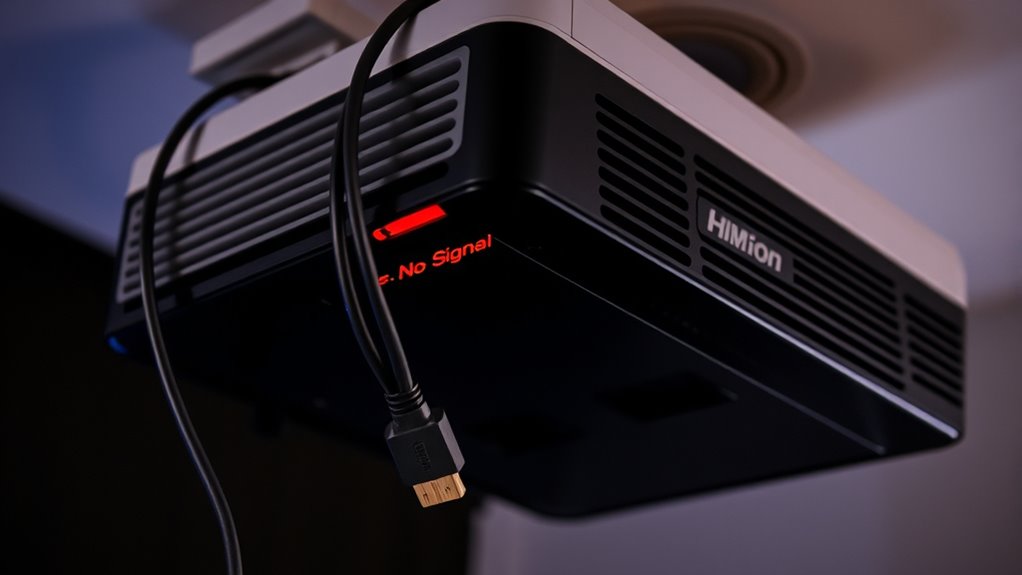

If your projector shows “No Signal,” start by checking your HDMI cable for damage or loose connections. Make certain both ends are securely plugged in and try reseating the cable. Inspect the HDMI port on your projector and source device for any debris or damage. Using a high-quality cable that supports your device’s resolution helps prevent issues. If these steps don’t work, there are other simple fixes to explore that can resolve your connection problem.
Key Takeaways
- Check and secure all HDMI connections, ensuring cables are fully inserted and undamaged.
- Inspect the HDMI port for physical damage, debris, or bent pins; clean or repair as needed.
- Verify the source device is set to output via HDMI and select the correct input on the projector.
- Test with a different, high-quality HDMI cable to rule out cable faults.
- Confirm both devices support compatible HDMI versions and high-definition signals for proper transmission.
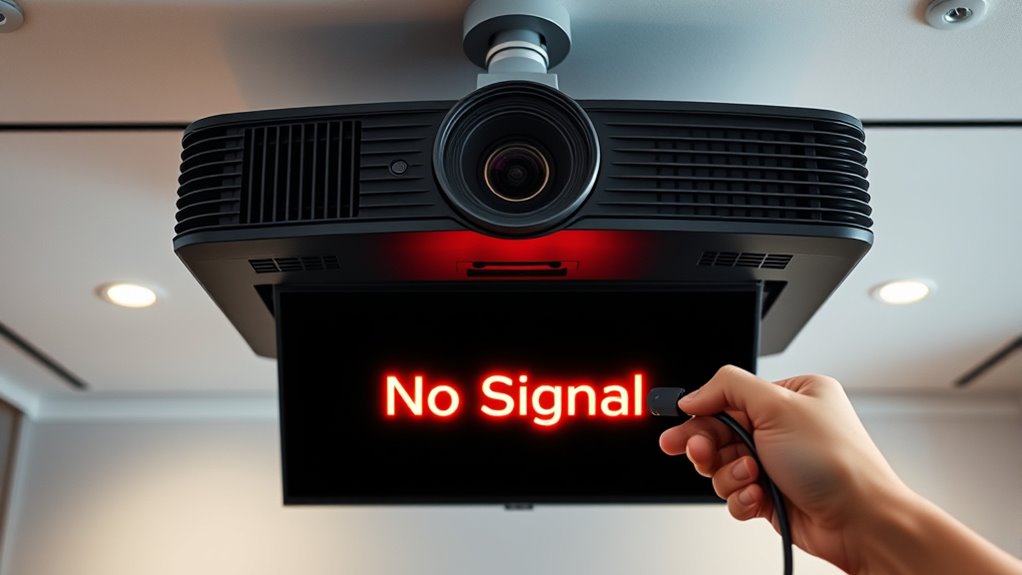
HDMI connection problems can be frustrating, especially when you’re enthusiastic to enjoy your favorite content or complete an important project. One common issue is when your projector displays a “No Signal” message despite having everything connected correctly. The first step is to check your HDMI cable quality. Low-quality or damaged cables are often the culprit behind signal loss. Cheaper cables might not have the necessary shielding or bandwidth to transmit high-definition signals reliably, leading to intermittent or no display. If your cable looks worn out, frayed, or has bent connectors, replacing it with a high-quality HDMI cable can make a significant difference. Investing in a reputable brand ensures better durability and signal integrity, reducing the chances of connection issues.
Check your HDMI cable quality and replace worn or damaged cables for a reliable signal connection.
Another critical aspect to examine is the condition of the ports. Over time, HDMI ports can suffer from port damage due to frequent plugging and unplugging or accidental impacts. Port damage can prevent a proper connection, resulting in a “No Signal” message on your projector. Carefully inspect both the HDMI port on your projector and the source device—such as a laptop, Blu-ray player, or gaming console. Look for bent pins, debris, or signs of physical damage. If you notice bent pins or debris, gently clean the port with compressed air or a soft brush. In cases of physical damage like bent or broken ports, professional repair or replacement might be necessary. Attempting to force a connection with a damaged port can cause further harm and worsen the problem.
Next, verify that your HDMI cable is securely connected to both the projector and the source device. Loose connections are a common cause of signal issues. Ensure both ends are fully inserted and clicked into place. Sometimes, a slightly loose connection can cause the projector to lose signal or fail to recognize the device altogether. If your connection feels loose, try removing and reinserting the cable firmly.
Additionally, confirm that your source device is set to output via HDMI. Some devices require you to manually select the HDMI output or switch the input source on the projector to the correct HDMI port. Use the projector’s remote or onboard menu to cycle through input options until you find the one corresponding to your connected device. Furthermore, ensuring your HDMI cable supports high-definition signals can prevent compatibility issues and improve picture quality.
Highwings 8K 10K 4K HDMI Cable 48Gbps 6.6FT/2M, Certified Ultra High Speed 2.1 HDMI Cable Braided Cord-4K@120Hz 8K@60Hz, DTS:X, HDCP 2.2 & 2.3, HDR 10 Compatible with DVD Player/PS5/HDTV/Blu-ray
Top Technology–8K@60HZ: This 8K Ultra-High Speed HDMI Cable 2.1 uses the most cutting-edge technology, which is compatible with…
As an affiliate, we earn on qualifying purchases.
As an affiliate, we earn on qualifying purchases.
Frequently Asked Questions
Can I Use a Different HDMI Cable for Better Results?
Yes, you can use a different HDMI cable for better results. Opt for a cable with higher quality to guarantee a clearer signal and reduce interference. Keep in mind that shorter cables generally provide better performance, as longer lengths can weaken the signal, causing issues like no signal errors. Choosing a high-quality, appropriately sized HDMI cable helps improve your connection’s stability and picture quality.
How Do I Reset My Projector’s HDMI Settings?
Think of resetting your projector’s HDMI settings as hitting the refresh button on a busy mind. To do this, access your projector’s menu, navigate to calibration settings, and select “factory reset.” This clears any custom settings that might be causing issues. After resetting, reconfigure your calibration settings if needed, and reconnect your HDMI device. This simple step often restores smooth signal flow and resolves connection hiccups.
Is There a Way to Test if My Port Is Faulty?
You can test if your port is faulty by performing a hardware diagnostic or inspecting the port closely. First, visually examine the HDMI port for any debris, bent pins, or damage. Then, try connecting a different device or use a different HDMI cable to see if the issue persists. If the problem continues, consider testing the port with a dedicated diagnostic tool or consulting a professional for further inspection.
Will Updating My Device’s Firmware Fix HDMI Issues?
Think of updating your device’s firmware like tuning a musical instrument—it can resolve compatibility issues, including HDMI problems. Firmware updates often fix bugs and improve device compatibility, which may restore your HDMI connection. If your device is outdated, updating the firmware might just be the solution you need. Check your device manufacturer’s website for the latest updates and instructions, ensuring your device plays in harmony with your projector.
Can I Connect Multiple Devices via HDMI to the Projector?
Yes, you can connect multiple devices to your projector using an HDMI splitter. This device allows you to send the same HDMI signal to multiple outputs simultaneously. Just guarantee your splitter supports the number of devices you want to connect and handles the resolution and refresh rate you need. Keep in mind, an HDMI splitter duplicates signals; if you want independent device control, consider an HDMI switch instead.

ECASP Cleaner Kit for AirPod,Multi-Tool iPhone Cleaning Kit,Cell Phone Cleaning Repair & Recovery for iPhone & iPad(Type C)Charging Port,Lightning Cables&Connectors,Easy to Store & Carry Design,Black
【CLEAN & REPAIR CHARGING PORT】This multi-functional iPhone cleaning kit tool, won't get stuck inside, is sturdy and flexible,…
As an affiliate, we earn on qualifying purchases.
As an affiliate, we earn on qualifying purchases.
Conclusion
When your projector stays silent, imagine the frustration melting away as you confidently try these quick fixes. Picture the vibrant picture flickering to life, the room filling with clarity and color once more. With a few simple steps, you can turn that blank screen into a window of possibility. Don’t let a lost signal dim your experience—take control, troubleshoot, and bring your visuals back to life with ease.

Kaisi Professional Electronics Opening Pry Tool Repair Kit with Metal Spudger Non-Abrasive Nylon Spudgers and Anti-Static Tweezers for Cellphone iPhone Laptops Tablets and More, 20 Piece
Kaisi 20 pcs opening pry tools kit for smart phone,laptop,computer tablet,electronics, apple watch, iPad, iPod, Macbook, computer, LCD…
As an affiliate, we earn on qualifying purchases.
As an affiliate, we earn on qualifying purchases.
Highwings 8K 10K 4K HDMI Cable 48Gbps 6.6FT/2M, Certified Ultra High Speed 2.1 HDMI Cable Braided Cord-4K@120Hz 8K@60Hz, DTS:X, HDCP 2.2 & 2.3, HDR 10 Compatible with DVD Player/PS5/HDTV/Blu-ray
Top Technology–8K@60HZ: This 8K Ultra-High Speed HDMI Cable 2.1 uses the most cutting-edge technology, which is compatible with…
As an affiliate, we earn on qualifying purchases.
As an affiliate, we earn on qualifying purchases.