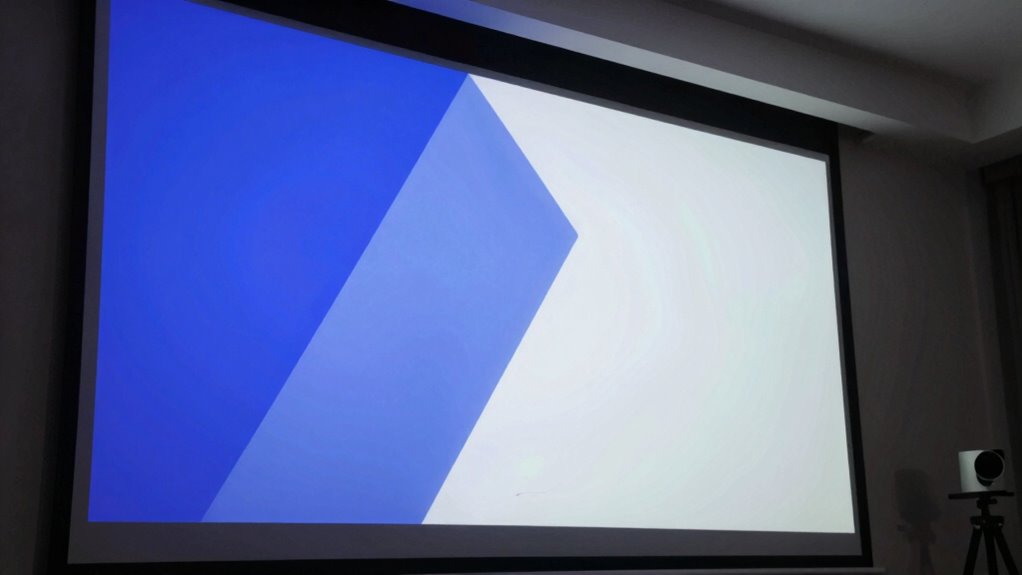
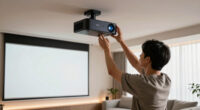
If your projector image looks crooked, start by checking its positioning—make sure it’s on a stable, level surface and aimed directly at the screen’s center. Avoid tilting the projector and aim it perpendicular to the screen. Use keystone correction carefully if needed, but don’t rely on it too much. Adjust the focus for a clear picture, and review calibration settings to improve quality. For more tips, you’ll find helpful details as you continue exploring solutions.

Get business pricing on your home office setup
- Business-only prices and quantity discounts
- Tax-exempt purchasing
- Multiple users, one account, clear invoices
Key Takeaways
- Verify the projector is placed on a stable, level surface and aimed directly at the screen center.
- Ensure the projector is perpendicular to the screen to prevent skewed images.
- Use keystone correction carefully after proper positioning to avoid excessive distortion.
- Adjust the lens focus to ensure the entire image is sharp and clear.
- Review calibration and settings to optimize image alignment and minimize distortion.
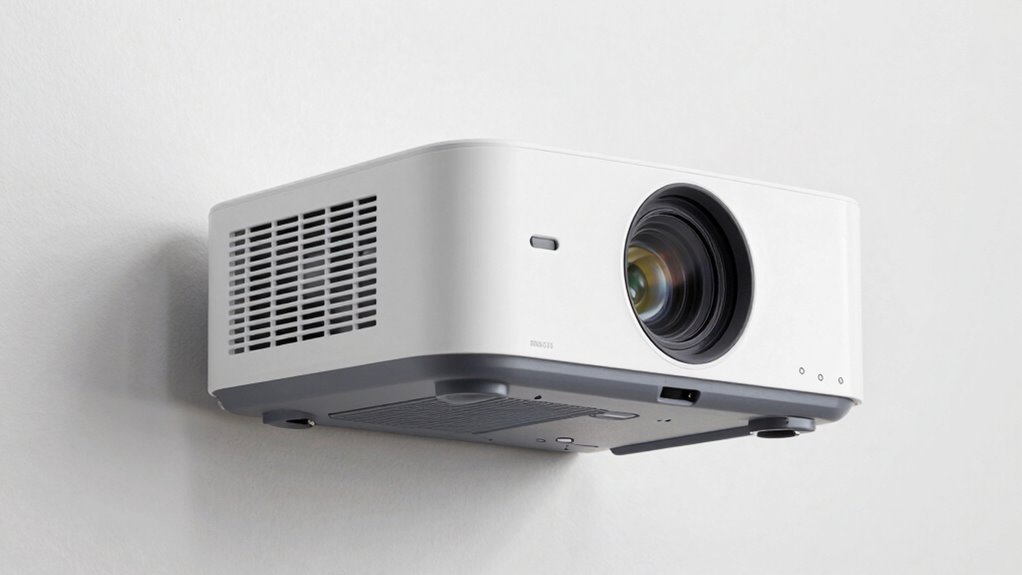
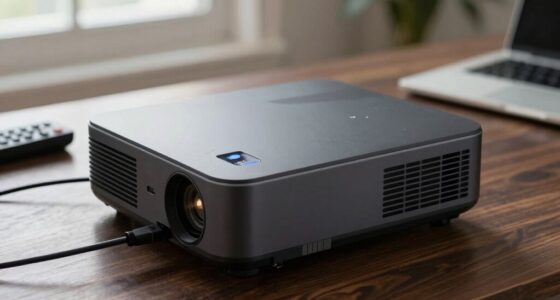
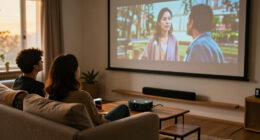
Have you ever noticed that your projector image isn’t perfectly straight? It can be frustrating, especially when you’re trying to enjoy a movie or give a presentation. The first thing to check is whether the projector is correctly aligned with the screen. Sometimes, the issue isn’t with the projector itself but how it’s positioned. Make sure it’s placed on a stable, level surface, and that it’s aimed directly at the center of your screen. If the projector is tilted or off-center, it’ll cause the image to look skewed or crooked.
Once you’ve confirmed the projector’s position, you should look into adjusting keystone correction. Keystone correction is designed to compensate for angles of projection that cause the image to appear trapezoidal rather than rectangular. Many projectors have automatic or manual keystone adjustments, which you can tweak either through the projector’s menu or physically on the device. Be cautious with automatic correction, as over-reliance on it can sometimes distort the image further. Instead, try to position the projector so that it’s as perpendicular to the screen as possible, and then use keystone adjustments to fine-tune the image. This process helps straighten the image without compromising quality too much. Proper projector positioning can significantly reduce the need for extensive keystone correction and improve overall image quality.
Adjust keystone correction carefully to straighten the image without distorting quality.
Next, evaluate the lens focus corrections. If the image appears blurry or uneven, lens focus might be the culprit. Most projectors have a focus ring or a focus adjustment button. Adjusting the lens focus ensures that all parts of the image are sharp, which can help if the crooked appearance is partly due to blurriness or uneven focus across the screen. Keep in mind that lens focus corrections won’t fix a skewed image caused by misalignment but are essential for clarity once the image is aligned properly. Additionally, reviewing the projector calibration settings can help optimize the overall image quality and alignment. Ensuring the contrast ratio is suitable for your environment can also enhance the clarity and perceived straightness of the image.
projector keystone correction tool
As an affiliate, we earn on qualifying purchases.
As an affiliate, we earn on qualifying purchases.
Frequently Asked Questions
How Often Should I Calibrate My Projector for Optimal Image Quality?
You should calibrate your projector every few months or whenever you notice color calibration issues or the image appears skewed. Regularly check for keystone correction needs, especially if you move the projector or change its setup. Keeping up with these adjustments guarantees your images stay sharp and true to color. If you use your projector frequently, more frequent calibration might be necessary to maintain the best image quality.
Can Room Lighting Affect the Crooked Appearance of a Projector Image?
Sure, room lighting can totally make your crooked projector image seem even more off-kilter. Bright ambient light, especially with high contrast, can wash out or distort the image, making it appear skewed. So, ironically, if you want a straight picture, dim or control room ambiance and adjust lighting contrast. Keep the room darker and the lighting balanced to guarantee your projector displays a properly aligned, crisp image.
What Tools Are Best for Aligning a Projector Accurately?
To align your projector accurately, use a level tool to verify it’s straight and a tape measure for precise distance adjustments. Lens distortion can cause skewed images, so check if your projector has built-in keystone correction—use it to fix trapezoidal distortion. For finer adjustments, consider a tripod or mounting bracket with adjustable height and angle. These tools help you achieve a crisp, aligned image with minimal effort.
Does the Type of Projector Influence How to Fix a Crooked Image?
Does the type of projector affect how you fix a crooked image? Absolutely. Different projectors, like those with lens shift or keystone correction features, offer varied solutions. Lens shift allows you to adjust the image without moving the projector, while keystone correction helps straighten a skewed image. Knowing your projector’s capabilities helps you choose the right fix quickly, ensuring a perfectly aligned picture every time. Isn’t a clear image worth the effort?
Are There Automatic Settings to Correct Image Distortion?
Yes, many projectors offer automatic correction features to fix image distortion. You can activate these settings through the projector’s menu, often labeled as “Auto Keystone” or “Auto Correction.” When enabled, the projector detects skewed or crooked images and adjusts them instantly, saving you time and effort. Make certain your projector supports automatic correction and verify it’s enabled for quick, hassle-free adjustments to keep your image straight and aligned.
As an affiliate, we earn on qualifying purchases.
Conclusion
So, next time your projector’s image looks crooked, remember—it’s not just a misalignment but a call to action. By checking the lens, adjusting the angle, and ensuring your projector’s settings are spot-on, you can turn chaos into clarity. Don’t let a crooked image steal your focus—take control and straighten things out. After all, a perfectly aligned projector isn’t just a technical fix; it’s the key to a flawless viewing experience.
As an affiliate, we earn on qualifying purchases.
As an affiliate, we earn on qualifying purchases.
Columbus Day / Indigenous Peoples' Day Picks
long weekend sales
As an affiliate, we earn on qualifying purchases.