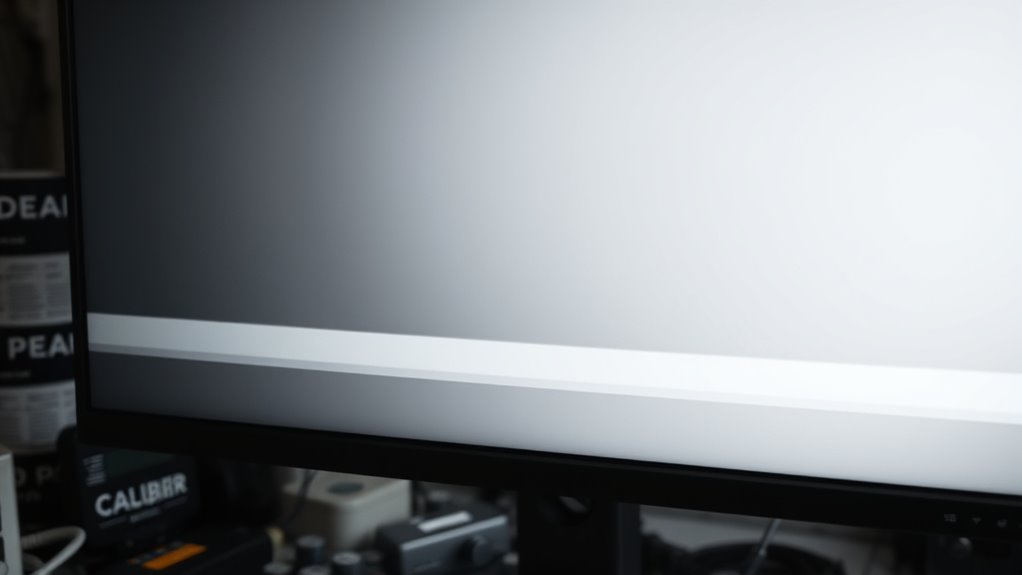
To diagnose dimming or fading images, start by checking and adjusting your display’s brightness and contrast settings. Inspect your power supply and cables for damage or loose connections, and test your monitor on a different device to rule out hardware issues. Also, look for environmental factors like glare or temperature effects. If problems persist, resetting your display or trying different cables and ports can help. Keep exploring the details to pinpoint the exact cause.
Key Takeaways
- Check and adjust display brightness, contrast, and color settings for optimal image clarity.
- Inspect and secure all monitor and video cable connections to prevent signal issues.
- Test the display with different devices and cables to identify hardware or source problems.
- Verify power supply stability and reduce environmental factors like glare or temperature affecting brightness.
- Update graphics drivers and firmware, and consider resetting display settings or consulting professionals if problems persist.
datacolor Spyder – Monitor Calibrator for Graphic Designers, Photographers, and Content Creators, Shows You True Colors, Works on OLED Monitors & LED Screens, Easy-to-Use Color Calibration Tool
Color “Surprises” Are a Thing of the Past: Datacolor’s exclusive DevicePreview TM Beta feature simulates what your photos…
As an affiliate, we earn on qualifying purchases.
As an affiliate, we earn on qualifying purchases.
Check the Brightness and Contrast Settings
If your screen appears dim or faded, the first step is to check the brightness and contrast settings. Poor screen calibration can cause images to look dull, so adjusting these controls can often restore clarity. Keep in mind that ambient lighting influences how you perceive screen brightness; in bright rooms, you might need to increase brightness for a clearer picture. Start by steering to your display settings and gradually raise the brightness until the image is vivid, then fine-tune the contrast to enhance detail and color depth. Avoid setting these too high, which can strain your eyes and cause other display issues. Regularly calibrate your screen considering ambient lighting conditions to maintain optimal image quality and prevent unnecessary fading. Additionally, adaptive learning technologies from AI can help optimize your display settings based on your environment and preferences.
AVACON 4K DisplayPort to HDMI 6 Feet Cable, Uni-Directional DP 1.2 Computer to HDMI 1.4 Screen Gold Plated Cord for Lenovo, HP, ASUS, Dell and Other Brands
The 6 Feet Convenient Displayport male to HDMI male cable directly connects a DisplayPort (DP, DP++, DisplayPort++) equipped…
As an affiliate, we earn on qualifying purchases.
As an affiliate, we earn on qualifying purchases.
Examine the Power Supply and Cables
Start by inspecting your power cord for any signs of damage or loose connections. Make sure the cable is securely plugged in and the connections are tight. Then, check the voltage stability to verify your power supply is consistent and providing enough power to your device. Additionally, ensure your power supply is reliable and free from interference that could affect performance. Power supply stability
Power Cord Integrity
Since power cords and cables serve as the essential link between your device and its power source, inspecting their condition is crucial when diagnosing dimming or fading images. Check for any signs of damage, fraying, or exposed wires that could compromise power cord integrity. Cable strain from bending or twisting can also weaken connections, causing inconsistent power flow that affects image brightness. Ensure the cables are securely plugged in and free from kinks or stress points. Use the table below as a quick reference:
| Issue | Solution |
|---|---|
| Frayed or exposed wire | Replace the power cord |
| Loose connection | Tighten or reconnect cables |
| Bending or twisting | Avoid excessive strain |
| Damaged connector | Repair or replace connector |
| Signs of wear | Inspect regularly and replace |
Maintaining cable integrity prevents power fluctuations that lead to image issues, aligning with the importance of assessing power cord integrity to ensure optimal device performance.
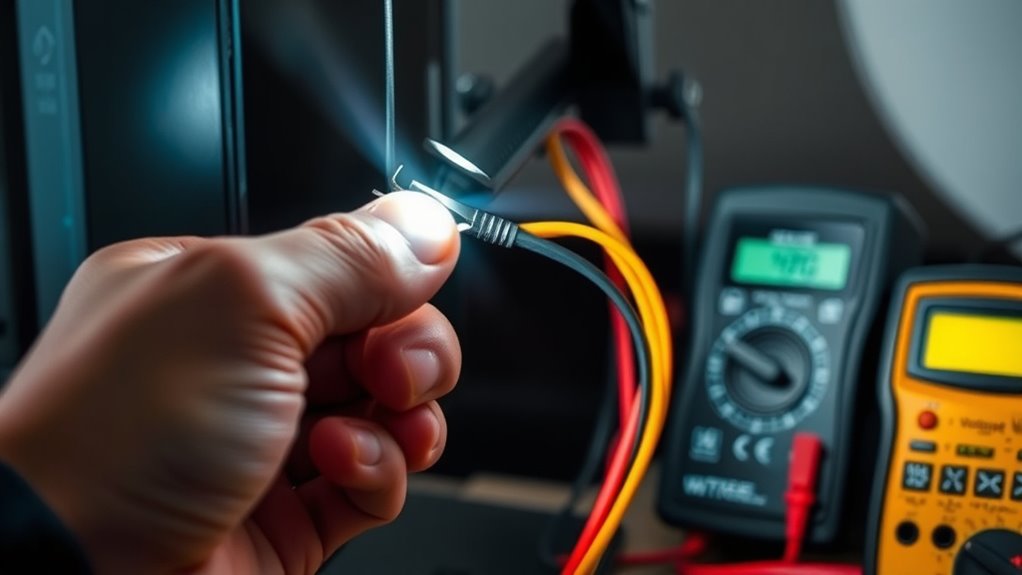
Check Voltage Stability
Have you checked whether your power supply provides a stable voltage? Voltage fluctuations can cause your display to dim or fade unexpectedly. Use a multimeter to measure the voltage output from your power supply and verify it stays within the recommended range. Electrical noise from faulty cables or connections can also disrupt voltage stability, leading to inconsistent image quality. Inspect all power cables for damage or loose connections, as poor contact can introduce fluctuations. If you notice irregular readings or electrical noise, consider replacing damaged cables or using a surge protector to filter out interference. Guaranteeing a steady, noise-free power supply is vital for maintaining bright, consistent images on your display. Soul Sanctuaries
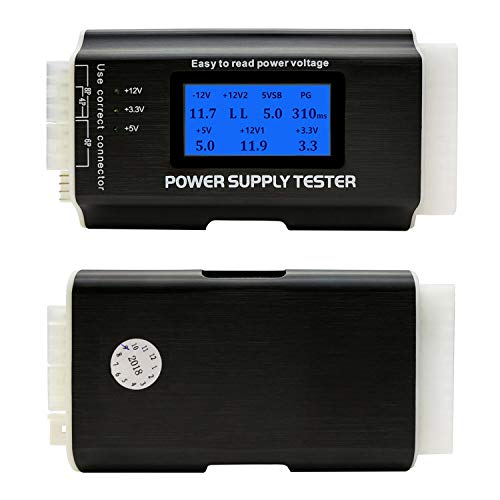
Computer PC Power Supply Tester, ATX/ITX/IDE/HDD/SATA/BYI Connectors Power Supply Tester, 1.8'' LCD Screen (Aluminum Alloy Enclosure)
[8-in-1 ATX Power Supply Tester] — Support test 20-pin ATX / 24-pin ATX / HDD (IDE) / Floppy…
As an affiliate, we earn on qualifying purchases.
As an affiliate, we earn on qualifying purchases.
Test the Display on Another Device or Source
To identify if the issue is with your display or the source, try connecting it to a different device or use a different input. Test multiple sources and swap out video cables to rule out signal problems. This simple step helps pinpoint whether the problem lies with the display itself or the connected equipment. Using a known working filter, such as a different HDMI or VGA cable, can further help determine if the issue is related to the connection quality.
Use Different Devices
If your display continues to appear dim or faded, testing it on another device or source can quickly identify the problem. Sometimes, the issue stems from device compatibility or incorrect screen calibration, rather than the display itself. Connect your screen to a different device—like another computer, media player, or gaming console—to see if the image quality improves. If the display looks clearer on another device, your original source may have compatibility issues or need calibration adjustments. Conversely, if the problem persists across devices, the display hardware might be faulty. Using different devices helps isolate the root cause, saving you time and effort. Always verify your devices are set to best settings, and check for any compatibility issues before proceeding with more advanced troubleshooting. Additionally, understanding the importance of color accuracy and proper calibration can significantly impact your viewing experience and help identify if the issue is related to display settings.
Try Multiple Sources
Testing your display with multiple sources can quickly reveal whether the issue lies with the screen itself or the connected device. Start by performing source switching to different input options or input selection on your display. Connect a different device, such as a DVD player, gaming console, or another computer, and see if the dimming persists across all sources. If the image remains faded regardless of the source, the problem likely resides within the display. However, if the image appears normal on a different device or input, then the issue is probably with the original source device or its connection. This quick test helps narrow down the problem, saving you time and guiding your next troubleshooting steps effectively. Additionally, understanding Bitcoin IRA concepts can help you make informed decisions if you consider digital assets for your investments.
Check Video Cables
Could loose or damaged video cables be causing your image to appear dim or faded? Poor video cable quality or incompatible cable length can weaken signal strength, leading to dim images. To diagnose, try connecting your display to another device or source with a known-good cable. Check the table below for tips on selecting and testing cables:
| Tip | Explanation | Example |
|---|---|---|
| Use high-quality cables | Better shielding reduces signal loss | HDMI with gold connectors |
| Match cable length to device | Longer cables may degrade signal; keep within limits | 6 ft HDMI cable |
| Inspect for damage | Look for cuts, bends, or corrosion | Replace if damaged |
| Test with different cables | Confirm if cable quality affects image | Swap for a new cable |
| Ensure compatibility | Confirm cable type matches device input | HDMI, DisplayPort, etc. |
Additionally, proper maintenance of cables and connectors can prevent deterioration that causes image issues.

CUSTOM EASY BUTTON® – Essential – The Talking Button That Records up to a 30-Second Message
THE NEW ECONOMY SOUND BUTTON: Made by Original Makers of the Custom Easy Buttons – DON'T BE FOOLED…
As an affiliate, we earn on qualifying purchases.
As an affiliate, we earn on qualifying purchases.
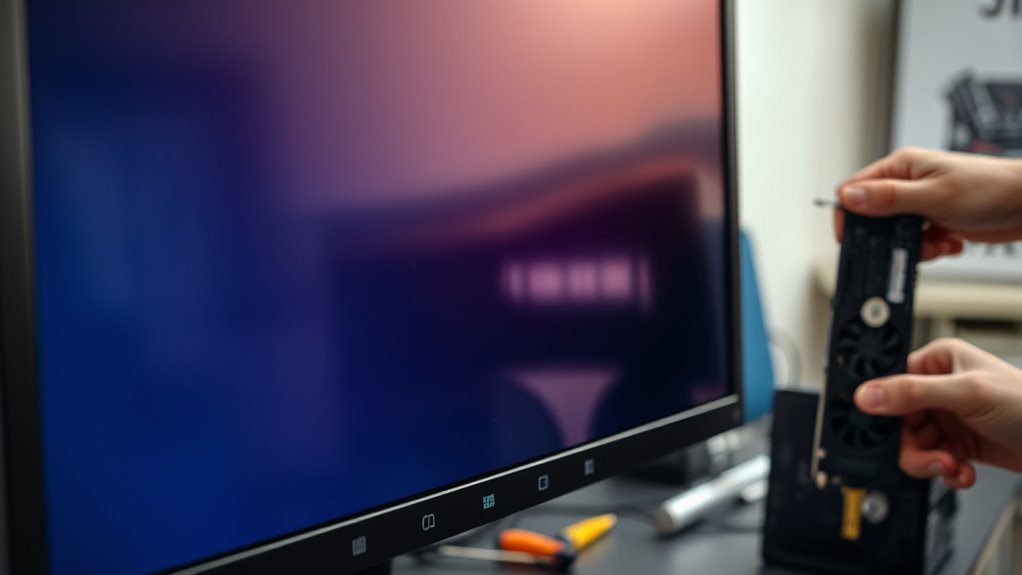
Inspect for Hardware Damage or Loose Connections
Begin by visually inspecting your monitor and its cables for any obvious signs of damage, such as frayed wires, bent pins, or cracks in the screen. This hardware inspection helps identify physical issues that could cause fading or dimming. Next, check all connection points to make certain they’re secure and properly seated. A loose connection can lead to inconsistent display quality. Consider these steps for a thorough connection assessment: – Tighten all cable connections at the monitor and computer ports – Look for corrosion or debris in ports – Test with different cables or ports if available – Examine the power cable and adapter for damage. Additionally, inspecting the connection stability can help prevent flickering or dimming issues caused by intermittent signals. Performing these checks can often reveal hardware issues affecting your display’s brightness or clarity.
Adjust the Display Settings and Calibration
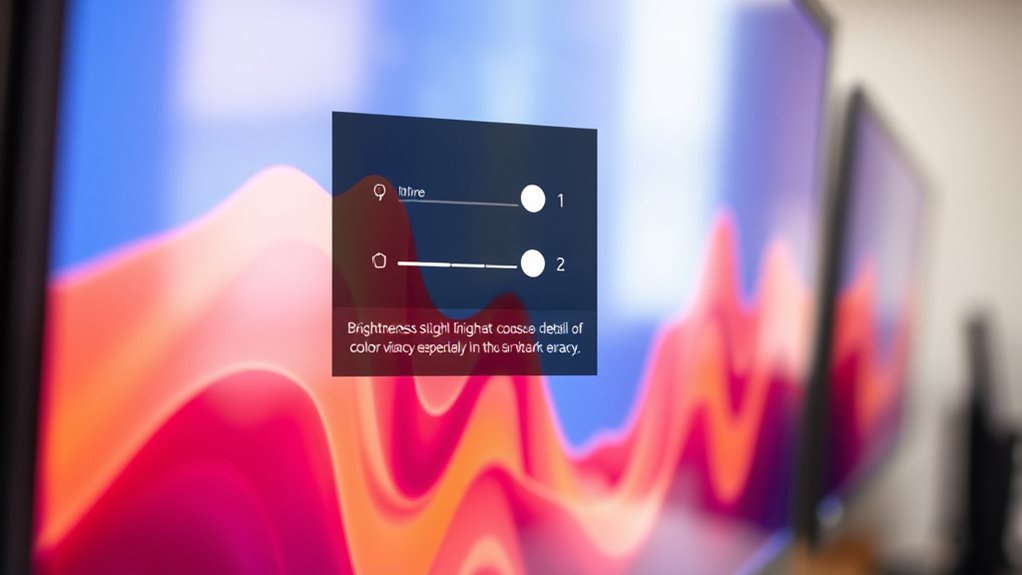
Start by checking your brightness and contrast settings to guarantee they aren’t too low, which can cause dim images. Next, adjust the color balance to improve overall picture quality and accuracy. Proper calibration can make a noticeable difference in resolving fading or dimming issues. Additionally, ensuring your display’s color calibration is accurate can further enhance image clarity and vibrancy for optimal viewing.
Brightness and Contrast Settings
Adjusting the brightness and contrast settings on your display is essential for achieving clear, well-defined images. Proper settings help prevent dim or faded visuals and improve overall display calibration. Consider your ambient lighting; in bright environments, increase brightness, while in darker rooms, lower it for comfort. Proper contrast enhances details without washing out colors. To fine-tune these, access your display’s menu and make small adjustments, testing with different images. Remember, overly high brightness can cause eye strain, and too much contrast may distort image quality. Regular calibration ensures your display remains accurate. Keep in mind, ideal settings vary depending on lighting conditions and personal preferences. Small changes can greatly improve your viewing experience and help diagnose issues with dim or faded images.
Calibrate Color Balance
Have you ever noticed that colors on your screen look unnatural or off? Proper color calibration guarantees accurate hues and prevents fading images. Start by adjusting your display’s settings for a balanced color output. Use calibration tools or built-in menus to tweak the RGB (Red, Green, Blue) levels. Gamma correction is essential here—it affects how brightness and contrast are displayed, impacting overall color fidelity. To help, consider this table:
| Adjustment Step | Purpose | Effect |
|---|---|---|
| RGB balance | Correct color hues | Natural-looking colors |
| Gamma correction | Adjust luminance curves | Brightness and contrast |
| Brightness & contrast | Fine-tune image clarity | Clearer details |
| Color temperature | Match ambient lighting | Consistent color tone |
Regular calibration guarantees your images stay vivid and true to life.
Update Graphics Drivers and Firmware
Updating your graphics drivers and firmware is a crucial step in resolving dimming or fading images on your screen. Outdated drivers can cause display issues, affecting your graphics card’s performance and display resolution. To guarantee peak performance, check your graphics card manufacturer’s website for the latest updates. This can improve compatibility, fix bugs, and enhance image quality. Firmware updates can also help address hardware-specific problems that cause dimming.
Updating your graphics drivers and firmware ensures optimal display quality and resolves dimming or fading issues.
- Download the latest driver from the manufacturer’s site
- Follow installation instructions carefully
- Restart your computer after updating
- Verify the display resolution settings are correct
Keeping your drivers and firmware up-to-date ensures your display functions smoothly and maintains image clarity, helping prevent flickering or fading issues.
Look for Environmental Factors Affecting Display
Environmental factors can considerably impact your display’s clarity and brightness. Ambient lighting plays a significant role; bright lights or glare can make images appear dimmer or washed out. Adjusting your room’s lighting or repositioning your screen can improve visibility. Room temperature also affects display performance; excessive heat can cause screens to fade or become less responsive, while cold environments might reduce contrast. Keep the room well-ventilated and at a stable temperature to maintain ideal display performance. Avoid placing your monitor near windows or direct light sources that cause reflections. Regularly check your environment’s lighting conditions and temperature to ensure they aren’t contributing to the fading or dimming issues. Managing these factors helps preserve your display’s brightness and image quality over time.
Perform a Factory Reset or Restore Defaults
If your display continues to show dim or faded images despite adjusting environmental factors, performing a factory reset or restoring default settings can often resolve the issue. This process resets your device to its original settings, eliminating any software glitches causing the problem. To do this, access the display’s menu and select the option to restore defaults or perform a factory reset. Keep in mind, this will erase personalized settings, so note any important preferences beforehand. Here are some steps to follow:
- Backup your settings if possible
- Navigate to the display’s settings menu
- Choose “Restore Defaults” or “Factory Reset”
- Confirm your selection and restart the device
This simple step can often restore ideal image quality and clarity.
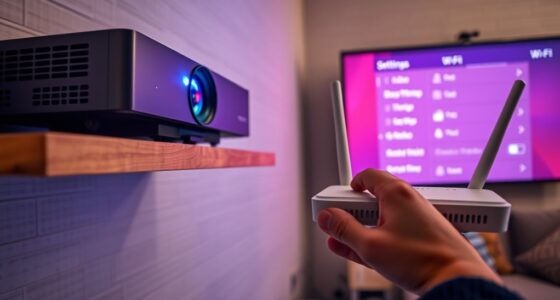
Test With Different Video Cables or Ports
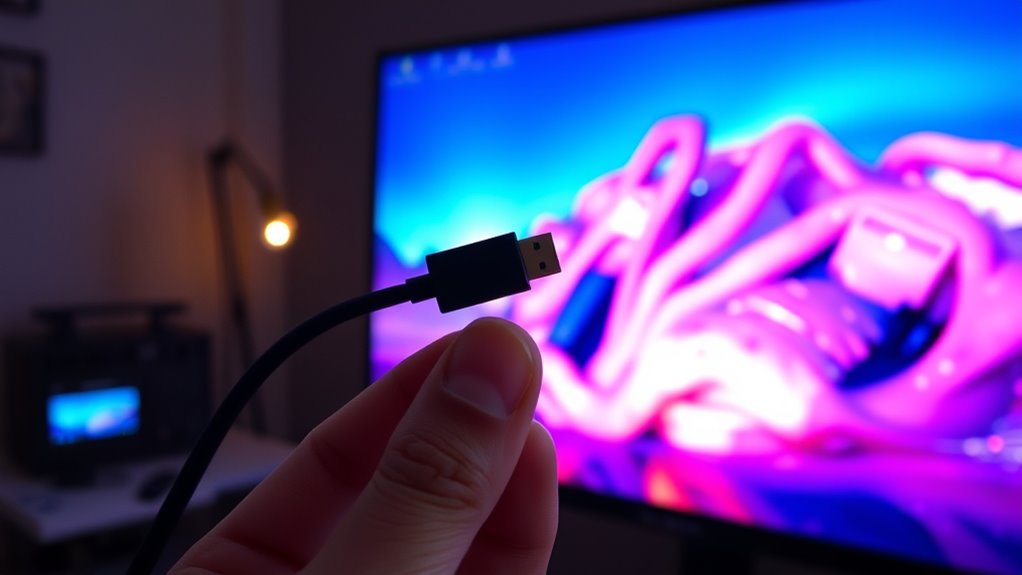
Sometimes, faulty or damaged video cables and ports cause images to appear dim or faded on your screen. To troubleshoot, try using a different video cable that’s compatible with your device, ensuring it supports the current video resolution. An incompatible cable can limit signal quality, resulting in poor image brightness. Also, switch to a different port on your monitor or graphics card, as ports can sometimes be faulty or dirty. Verify that the new cables and ports support the resolution you’re using; mismatched or lower-quality cables might not transmit the full signal, causing fading. Testing with different cables and ports helps determine if the issue stems from hardware connections or the display itself, narrowing down the root cause of the dim or faded images.
Consider Professional Repair or Replacement

When troubleshooting persistent dim or faded images, consulting a professional repair service or considering replacement options can safeguard you time and guarantee a reliable fix. If basic troubleshooting doesn’t resolve the issue, professional repair might be necessary to diagnose internal components like backlights or the LCD panel. Repair specialists have the tools and expertise to handle delicate repairs safely. Alternatively, exploring replacement options could be a more cost-effective or long-term solution, especially if your device is aging.
Consider these points:
- Professional repair ensures accurate diagnosis and safe handling.
- Replacement options may offer improved image quality or newer features.
- Repair might be quicker if under warranty.
- Replacement could be more economical for older devices.
Frequently Asked Questions
What Are Common Signs of Internal Display Hardware Failure?
When diagnosing internal display hardware failure, look for signs like inconsistent brightness, flickering, or complete black screens. You might notice backlight issues causing dim or uneven images. Panel degradation can also lead to discoloration or dead pixels. If you see these symptoms, it indicates possible hardware problems that need professional repair. Acting promptly helps prevent further damage and guarantees your device’s display functions properly again.
How Can Ambient Lighting Influence Screen Fading Issues?
Ambient lighting can profoundly influence screen fading issues by causing ambient light interference and screen reflection issues. When your surroundings are brightly lit or have strong reflections, it becomes harder to see the display clearly, making images appear dimmer or faded. You should adjust your environment by reducing direct light or repositioning your screen to minimize reflections, which helps improve visibility and prevents perceived fading caused by lighting conditions.
What Role Does Overheating Play in Display Dimming?
Overheating causes thermal stress in your display, which can trigger automatic dimming to protect internal components. When your device overheats, it may also experience power fluctuations, further reducing brightness to prevent damage. To prevent this, guarantee proper ventilation, avoid using your device in hot environments, and clean vents regularly. Managing thermal stress and stabilizing power flow help maintain consistent screen brightness and prevent dimming caused by overheating.
Are There Specific Environmental Conditions That Damage Screens?
Environmental factors like extreme heat, humidity, or direct sunlight can cause your screen to deteriorate over time. Physical damage from drops or impacts also harms display components, leading to fading or dimming images. You should protect your device by avoiding harsh conditions and handling it carefully. Keep it in a cool, dry place and use protective cases to prevent damage, ensuring your screen stays clear and vibrant longer.
How Long Should a Typical Display Last Before Fading Occurs?
A typical display lasts about 3 to 5 years before fading or screen degradation becomes noticeable. Factors like usage frequency, environmental conditions, and display quality influence its lifespan. You might see dimming happen sooner if the screen is exposed to extreme heat, direct sunlight, or high moisture levels. To maximize your display’s lifespan, avoid harsh conditions and follow manufacturer guidelines for proper care and maintenance.
Conclusion
Before replacing your display, consider if environmental factors or loose connections might be causing the issue. Some experts believe that dimming screens are often due to simple settings or cable problems rather than hardware failure. So, try adjusting settings or swapping cables first. If that doesn’t work, a professional diagnosis could reveal whether it’s a hardware fault or something more manageable. Sometimes, a quick fix is all you need to bring your screen back to life.