
To fix keystone distortion, first understand its causes like lens imperfections and perspective issues. During shooting, choose a lens with minimal distortion, keep your camera level, and avoid excessive tilting. In editing, use your software’s correction tools to automatically straighten lines or manually adjust perspective with transform tools. Using proper techniques and equipment can prevent future problems. Keep exploring to learn how advanced adjustments can perfectly restore your images.
Key Takeaways
- Use built-in editing tools to automatically detect and apply lens correction profiles tailored to your camera and lens.
- Manually straighten skewed lines with perspective or transform tools for precise correction.
- Choose lenses with minimal distortion, such as prime or tilt-shift lenses, to prevent keystone issues from occurring.
- Shoot from directly in front of the subject and at eye level to reduce perspective distortion.
- Verify sensor calibration and employ AI-based correction methods for refined, professional results.
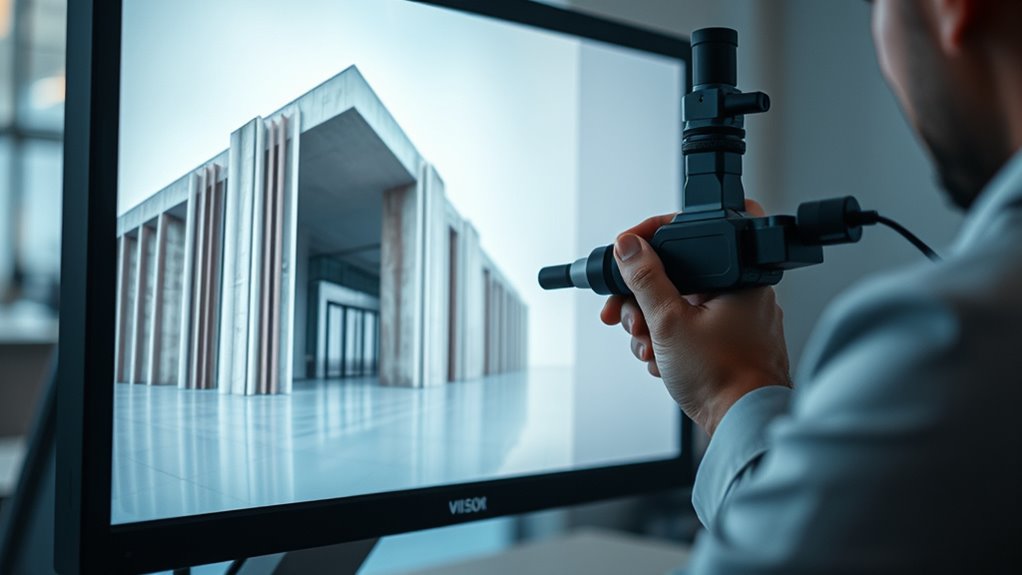
lens with minimal distortion for architecture photography
As an affiliate, we earn on qualifying purchases.
As an affiliate, we earn on qualifying purchases.
Understanding the Causes of Keystone Distortion
Have you ever noticed how a perfectly rectangular image appears skewed or trapezoidal when projected onto a screen? This distortion often stems from the way light interacts with your camera lens. Lens flare, caused by stray light, can introduce unwanted artifacts that worsen the distortion, especially when shooting toward bright light sources. Chromatic aberration, another common issue, occurs because different wavelengths of light focus at different points, leading to color fringing and image warping. These optical imperfections distort straight lines and straight edges, making the image appear skewed. Understanding that lens flare and chromatic aberration are key culprits helps you recognize that these optical issues, not just your camera position, contribute to keystone distortion. Proper lens maintenance and awareness can reduce their impact. Additionally, crochet styles for locs demonstrate how creative techniques can enhance visual appeal, similar to how precise optical adjustments improve image quality.
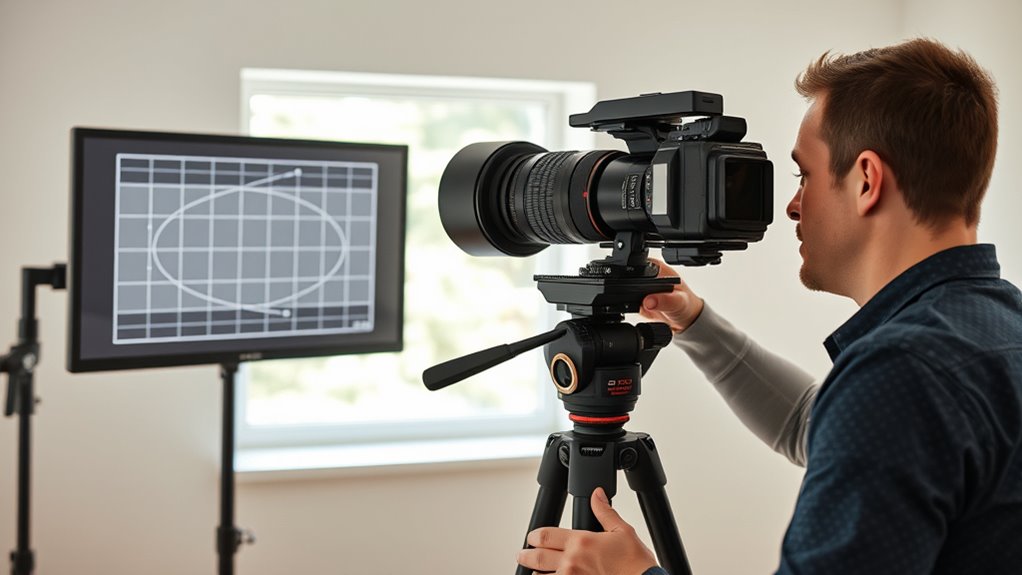
tilt-shift lens for keystone correction
As an affiliate, we earn on qualifying purchases.
As an affiliate, we earn on qualifying purchases.
Using Camera Settings to Minimize Distortion During Shooting
Adjusting your camera settings during shooting can considerably reduce keystone distortion caused by optical issues. Start with lens selection—using a lens with minimal distortion, like a prime or a wide-angle lens designed for architectural shots, helps keep lines straight. Also, pay attention to your shooting angle; shooting from directly in front of the subject minimizes perspective distortion. Avoid tilting the camera upward or downward excessively, as this exaggerates keystone effects. Instead, position yourself at eye level or slightly above, so the lines remain parallel. Utilizing a narrower aperture can improve depth of field, resulting in sharper images that better preserve straight lines. Additionally, understanding the camera’s optical characteristics and how to optimize them can further help in reducing distortion. By choosing the right lens and maintaining an ideal shooting angle, you can greatly reduce the need for correction later.
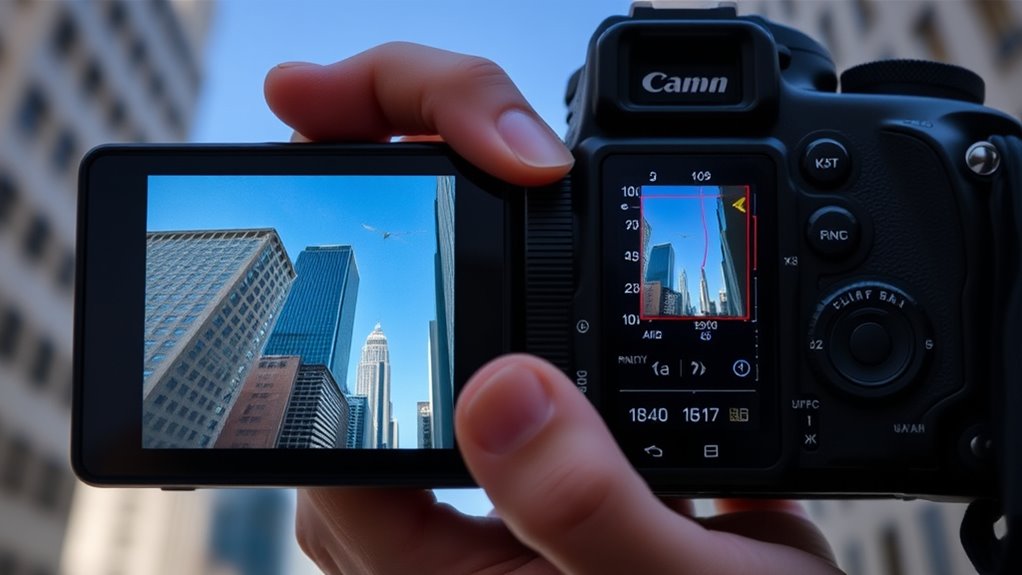
photo editing software with automatic lens correction
As an affiliate, we earn on qualifying purchases.
As an affiliate, we earn on qualifying purchases.
Applying Built-in Correction Tools in Photo Editing Software

Once you’ve captured your photo, built-in correction tools in editing software can effectively fix residual keystone distortion. These tools often include options for lens calibration, which automatically recognize your lens and apply distortion profiles for precise correction. By selecting the appropriate lens profile, you guarantee your image is corrected based on the specific distortion characteristics of your lens. Utilizing AI-generated correction techniques can further refine the results, ensuring your images retain natural proportions. Using these features, you can quickly straighten lines and restore natural proportions, saving time and effort compared to manual correction. Applying built-in tools guarantees your workflow remains efficient and your images accurately represent your original scene.
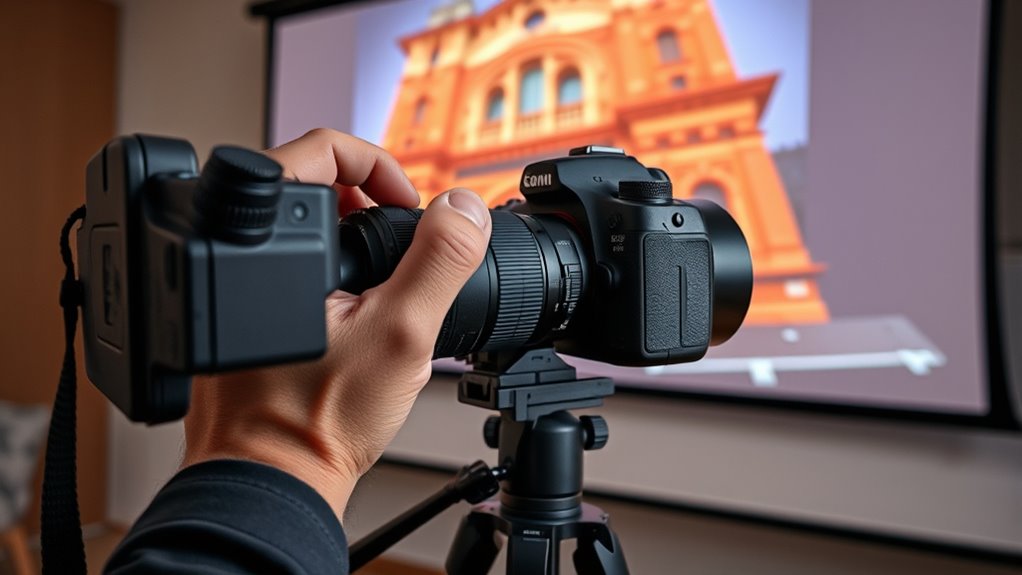
professional perspective correction tools
As an affiliate, we earn on qualifying purchases.
As an affiliate, we earn on qualifying purchases.
Utilizing Perspective Correction in Post-Processing Programs

After applying built-in correction tools, you might still notice perspective distortions that affect the overall composition of your photo. Using perspective correction features in post-processing programs allows you to fine-tune these issues. Start by analyzing your image’s geometry, checking for skewed lines caused by lens alignment errors. Many programs automatically detect and straighten converging lines, but manual adjustments often yield better results. Verify your sensor calibration is accurate; this helps prevent residual distortion from skewed data. With perspective correction tools, you can straighten verticals and horizontals, restoring a natural look. This process enhances your photo’s structure without sacrificing image quality. Remember, subtle adjustments often produce the most professional results, especially when correcting keystone effects that simple automatic fixes might not fully resolve. Proper filter maintenance ensures your camera produces accurate images, minimizing the need for extensive post-processing corrections.
Employing Manual Transformations for Precise Adjustment
While automatic correction tools are helpful, sometimes you need to take control to achieve perfect results. Manual transformations allow you to fine-tune keystone distortion precisely, especially when lens alignment or tripod stability issues caused the problem. Use your editing software’s transform tools to adjust perspective, skew, or warp the image until vertical lines are straight. To help you decide, consider this:
| Adjustment Type | Effect | When to Use |
|---|---|---|
| Perspective | Corrects angles | When lines appear skewed |
| Skew | Adjusts shape asymmetry | When lens alignment is off |
| Warp | Fine-tunes subtle distortions | When tripod stability caused tilt |
Employing these manual controls guarantees your composition remains accurate, sharp, and free from unwanted distortions. Additionally, understanding retirement planning principles can help you optimize your long-term investments to avoid future financial distortions or surprises.
Tips for Preventing Keystone Distortion in Future Shots
To prevent keystone distortion in your future shots, start by choosing the right equipment and shooting techniques. Proper lens selection is key—opt for lenses with minimal distortion, such as prime lenses or wide-angle lenses designed for architectural photography. Additionally, tripod stabilization plays a vital role; a sturdy tripod keeps your camera steady and aligned, reducing the risk of perspective shifts. Using distortion-correcting lenses can further help achieve straight lines and accurate proportions. Consider these tips:
- Use tilt-shift lenses to correct perspective before shooting
- Keep the camera level and perpendicular to the subject
- Adjust your shooting position to minimize the need for extreme angles
Implementing these practices helps maintain straight lines and consistent proportions, saving you time in post-processing and ensuring professional-quality images.
Frequently Asked Questions
Can Lens Type Influence the Severity of Keystone Distortion?
Yes, your lens type can influence the severity of keystone distortion. Lens design plays a vital role; wide-angle lenses, for example, often produce more distortion due to their optical characteristics. Optical quality also matters—higher-quality lenses typically minimize distortion and provide clearer images. Choosing the right lens for your shooting situation and understanding its design can help you reduce keystone effects and improve overall image quality.
Does Shooting in RAW Format Help in Correcting Keystone Distortion?
Shooting in raw format definitely helps with keystone distortion correction. Raw files contain more image data, making raw correction and distortion adjustment easier and more precise. You can fine-tune perspective issues without degrading image quality, unlike JPEGs. When you shoot in raw, you have greater flexibility to correct keystone distortion during post-processing, ensuring straight lines and proper alignment while maintaining the highest possible image quality.
Are There Specific Camera Brands Known for Minimal Keystone Issues?
You find that certain camera brands, like Leica and Fujifilm, have a reputation for minimal keystone issues thanks to their advanced sensor design and precise manufacturing. Their lens alignment and sensor quality help reduce distortion, making them ideal if keystone correction is a priority. While no camera is completely immune, choosing brands known for superior sensor technology can markedly lessen the need for extensive post-processing.
How Does Distance From the Subject Affect Keystone Distortion?
When you’re closer to the subject, perspective shift and focal length variations cause more noticeable keystone distortion, making vertical lines appear slanted. As you increase the distance, these effects lessen because the camera’s perspective becomes more parallel, reducing distortion. Moving farther away helps maintain straight lines, especially with wider lenses. To minimize keystone issues, consider adjusting your position or using lens correction features, depending on your distance from the subject.
Is It Better to Fix Keystone Distortion Before or After Capturing the Image?
You should fix keystone distortion after capturing the image, not before. Imagine the perfect shot, stabilized with a tripod and image stabilization turned on, then correcting distortion in post-processing. Doing it later preserves the image’s original quality and detail. If you try fixing it beforehand, you risk losing quality or introducing artifacts. So, get the shot right first, then refine with software—your final image will thank you.
Conclusion
By understanding the causes and using the right tools, you can easily fix keystone distortion—like straightening a crooked picture frame. Whether adjusting camera settings or post-processing, you hold the power to create perfectly aligned images. Think of it as polishing a gem; with patience and care, your photos will shine just as beautifully as you envision. Keep practicing, and soon, distortion will be a thing of the past in your photography.