
To avoid image distortion and glare with an ultra short throw projector, carefully position it close to the screen while maintaining proper lens alignment. Make certain the projector is level and centered to prevent keystone effects or skewed images. Control ambient lighting by dimming or blocking natural light sources, and keep reflective surfaces away from the projector’s line of sight. Proper placement, combined with environment adjustments, helps maximize clarity and sharpness—if you continue, you’ll discover more tips to optimize your setup.
Key Takeaways
- Position the ultra short throw projector close to the wall to minimize ambient light interference and reduce image distortion.
- Ensure the projector is perfectly aligned horizontally and vertically to prevent keystone distortion and stretching.
- Use a flat, matte wall surface free of reflective or glossy objects to avoid glare and maintain image clarity.
- Control ambient lighting with curtains or blinds to prevent glare and enhance contrast and color vibrancy.
- Regularly check and adjust the lens alignment after setup or room shifts to maintain a sharp, undistorted image.
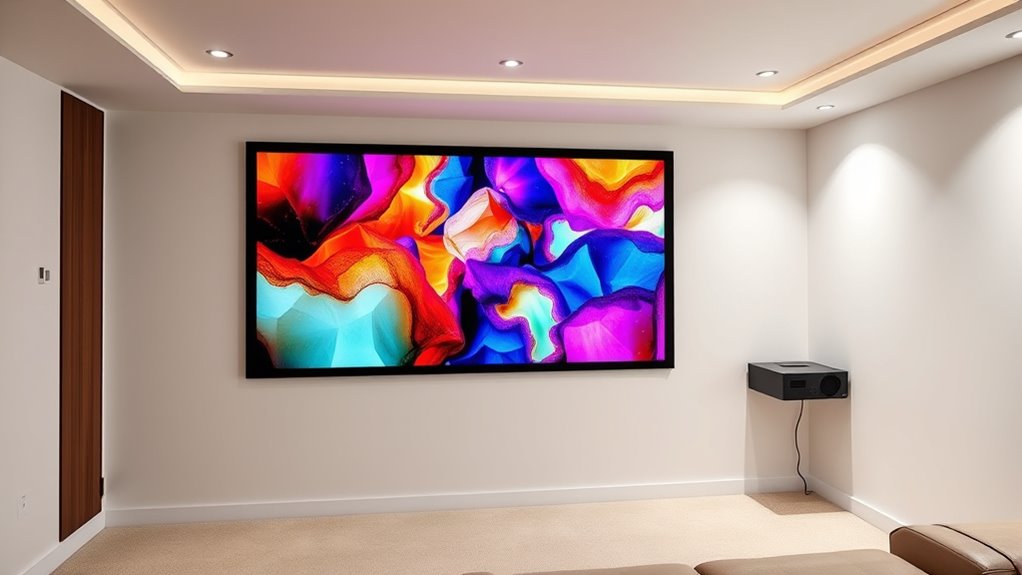
Proper placement of your ultra short throw projector is essential for achieving a clear, bright image without shadows or glare. To get the best picture quality, you need to focus on proper lens alignment and consider the ambient lighting conditions in your space. When the lens isn’t properly aligned, you risk distortion, uneven focus, or keystone effects that can make the image appear skewed or blurry. Ensuring the lens is perfectly aligned with the projection surface helps keep the image sharp and proportional, providing a seamless viewing experience. Take the time to adjust the lens until the image is uniform across the screen, avoiding any warping or stretching that can happen with misalignment.
Ambient lighting plays a significant role in the quality of your projected image. Excessive light can wash out colors, reduce contrast, and create glare that distracts from the viewing experience. To minimize these issues, control the lighting in your room as much as possible. Use curtains or blinds to block sunlight, turn off or dim nearby lights, and position light sources so they don’t shine directly onto the screen. If ambient lighting is unavoidable, choose a projector with high lumen output to compensate for the extra brightness and maintain clarity.
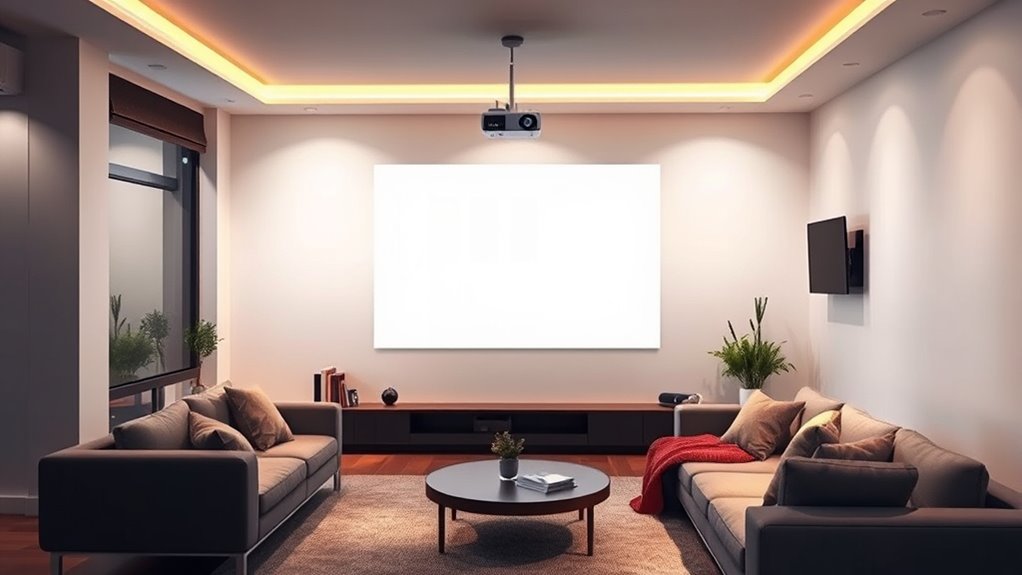
The placement of your projector also influences how ambient lighting interacts with the image. Positioning it close to the screen reduces the chance of ambient light hitting the lens and causing glare, but you should still be cautious about reflections from shiny surfaces or windows. Keep the projector at the recommended distance from the wall or screen to ensure the lens alignment remains stable and the image’s size and focus are ideal. Remember, even small misalignments can cause keystone distortion, which can be distracting and diminish image quality.
Additionally, consider the environment where you’re installing your ultra short throw projector. Avoid placing it near reflective surfaces like glass or glossy furniture that can reflect ambient light onto the screen. Reducing ambient lighting sources and maintaining a darkened room will enhance the contrast and color vibrancy of your projected image. Regularly check and adjust the lens alignment after initial setup or if you notice image issues, because even slight shifts can impact picture quality. For optimal performance, consider the smart home device integration features that allow remote adjustments and monitoring of your projector’s settings.
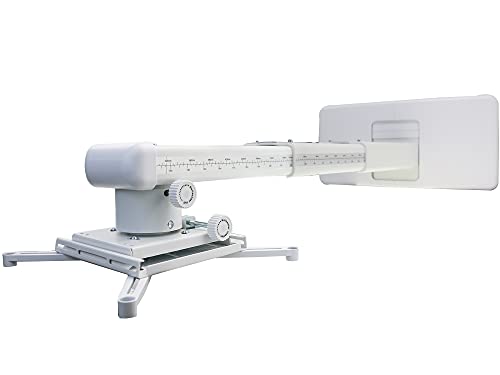
NC Projector Wall Mount with Universal mounting ,Telescopic Bracket Hanger,33lbs Load Capacity,High-Precision Adjustable: (12.8’’-29.13’’),white,(TYYZJ02)
ultra Short Throw Projection,Most sturdy of all, great fine tune knobs, best manual (very very detailed),It has the…
As an affiliate, we earn on qualifying purchases.
As an affiliate, we earn on qualifying purchases.
Frequently Asked Questions
How Does Ambient Light Affect Ultra Short Throw Projector Images?
Ambient light can wash out your ultra short throw projector images, making them less vibrant and harder to see. To improve picture quality, you should reduce ambient light and control glare by using curtains or blinds, and positioning the projector in a shaded area. Proper ambient light management enhances contrast and color accuracy, ensuring your images stay sharp and clear, providing an ideal viewing experience.
Can Placement Adjustments Improve Image Sharpness and Clarity?
Your ultra short throw projector can look insanely sharp if you make precise placement adjustments. Focus calibration fine-tunes image clarity, while keystone correction fixes distortion caused by uneven surfaces or angles. By carefully adjusting these settings and positioning the projector correctly, you’ll maximize sharpness and clarity, ensuring a stunning, crystal-clear picture every time. Don’t underestimate the power of a well-placed projector—small tweaks make a huge difference!
What Are Common Mistakes to Avoid During Ultra Short Throw Setup?
When setting up your ultra short throw projector, avoid common mistakes like incorrect wall preparation, which can cause uneven surfaces and distort images. Make sure to align the projector properly; improper alignment leads to image distortion and glare. Don’t rush the placement process—taking time to prepare the wall and adjust the projector guarantees sharp, clear images without glare or distortion, giving you the best viewing experience.
How Do Different Wall Colors Impact Projected Image Quality?
Your wall color greatly impacts your projected image quality. Light, neutral shades like white or gray provide the best contrast, making images clearer and more vibrant. Avoid dark or bold colors, which can absorb light and reduce brightness. The paint finish also matters; matte finishes minimize glare and reflections, while glossy finishes may cause unwanted shine. Choose a wall color and paint finish that enhances brightness and minimizes distortion for an ideal viewing experience.
Are There Specific Surfaces Best Suited for Ultra Short Throw Projectors?
You’ll want a smooth, matte surface for ultra short throw projectors to prevent distortion and glare. Avoid textured or glossy walls, as they reflect light unevenly, ruining picture quality. Opt for walls with low surface reflectivity and minimal texture, like painted drywall or specialized projection screens. These surfaces provide a consistent, clear image and reduce unwanted reflections, ensuring your projector’s image stays sharp, bright, and distortion-free.

DSLRKIT Lens Focus Calibration Tool Alignment Ruler Folding Card(Pack of 2)
This compact ruler allows you to determine if your lens is auto-focusing accurately as it should. It is…
As an affiliate, we earn on qualifying purchases.
As an affiliate, we earn on qualifying purchases.
Conclusion
By carefully positioning your ultra short throw projector, you can enjoy a crisp, undistorted image without glare. Imagine a family watching their favorite movie, the projector perfectly placed just a few inches from the wall, delivering stunning visuals without distractions. When you follow these placement tips, you’ll create a seamless viewing experience, transforming your space into a home theater. Avoiding distortion and glare isn’t complicated — just be mindful of distance and angle. Your perfect setup is within reach.

LumBelle Smart Curtain Lights RGB 5050 Built in Chip, Color Changing Curtain Lights with Music Sync APP Remote Control, 8Ft x 6Ft 144LED USB Powered Fairy Lights for Party Patio Garden Decor
Smart APP & Remote Control: Download the free app "ZENGGE". Enjoy DIY lights: ①16 million colors for LED…
As an affiliate, we earn on qualifying purchases.
As an affiliate, we earn on qualifying purchases.

ViewSonic PS502W 4000 Lumens WXGA Short Throw Projector, High Brightness for Business and Education, Easy Widescreen Setup, Dual HDMI, and USB-A Connectivity Inputs
Short Throw DLP Lamp Projector: WXGA (1280x800p) resolution with a 0.5 throw ratio and 4,000 ANSI lumens for…
As an affiliate, we earn on qualifying purchases.
As an affiliate, we earn on qualifying purchases.