
To use throw ratio calculators effectively, start by understanding your projector’s specific throw ratio and measure your room’s dimensions accurately. Input these measurements into a user-friendly calculator, ensuring it supports your aspect ratio and lens options. Use the results to position your projector within the recommended distance, avoiding distortions. Double-check your measurements and consider environmental factors. Keep these tips in mind, and you’ll confidently set up for the best projector image—more useful insights follow.
Key Takeaways
- Ensure compatibility between your projector lens options and the throw ratio calculator for accurate results.
- Measure your room’s dimensions precisely before inputting data into the calculator.
- Use the calculator’s output to determine the optimal projection distance and image size for your space.
- Cross-verify calculator suggestions with your projector’s lens specifications and actual measurements.
- Consider environmental factors like obstacles and lighting to fine-tune your projector placement plan.
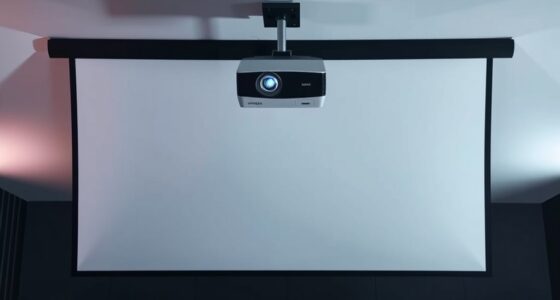
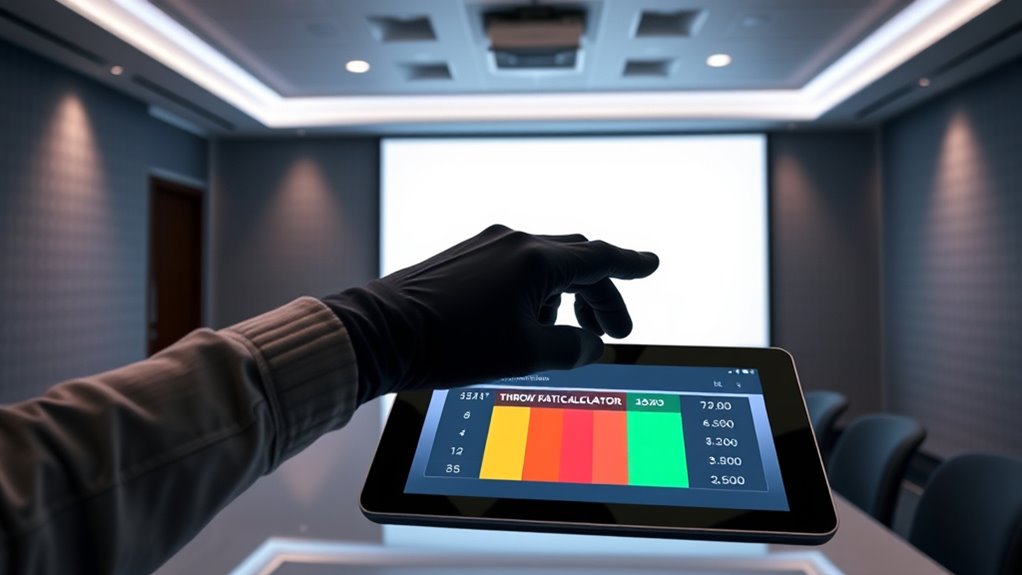
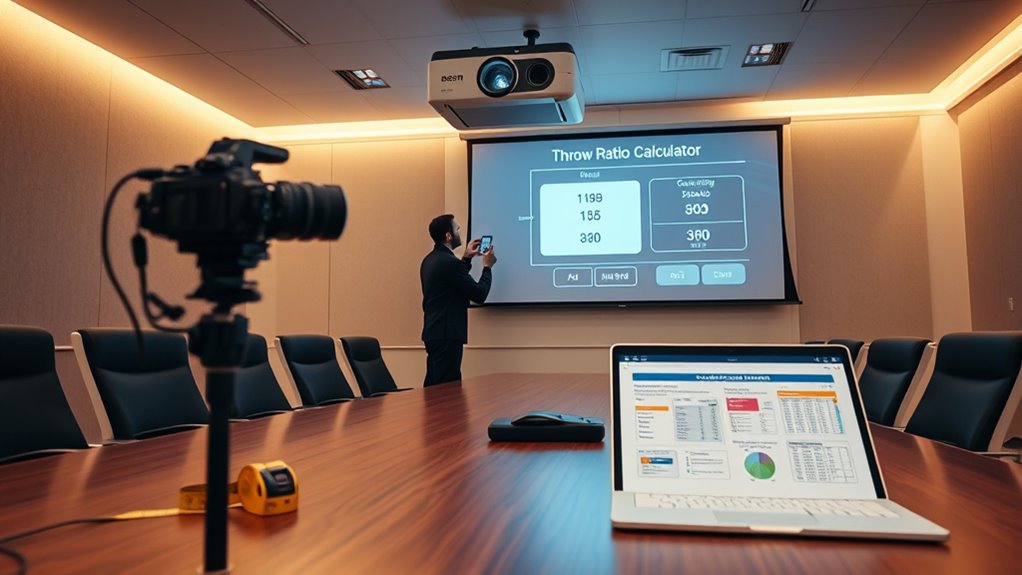
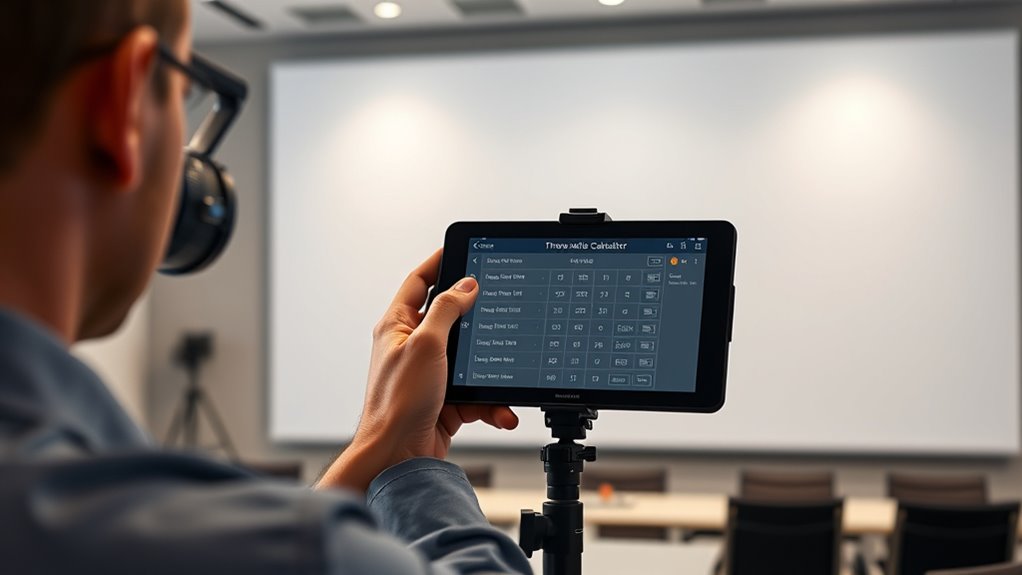
projector throw ratio calculator
As an affiliate, we earn on qualifying purchases.
As an affiliate, we earn on qualifying purchases.
Understanding the Basics of Throw Ratio
Understanding the basics of throw ratio is essential for choosing the right projector setup. Throw ratio determines how far your projector needs to be from the screen to produce a specific image size. It’s calculated by dividing the projection distance by the image width. For example, a throw ratio of 1.5:1 means you need to position the projector 1.5 times the width of the image away from the screen. This helps you figure out whether your space can accommodate your desired image size without needing a long or short throw projector. Knowing how projection distance impacts image size allows you to plan your setup efficiently, ensuring clear, properly sized images without unnecessary adjustments or equipment.
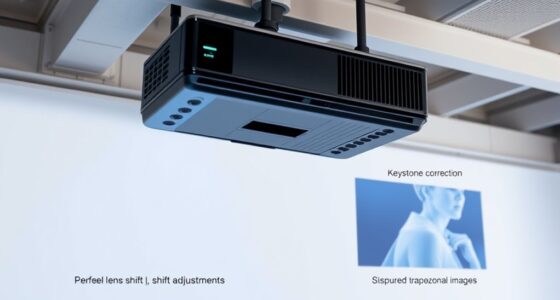
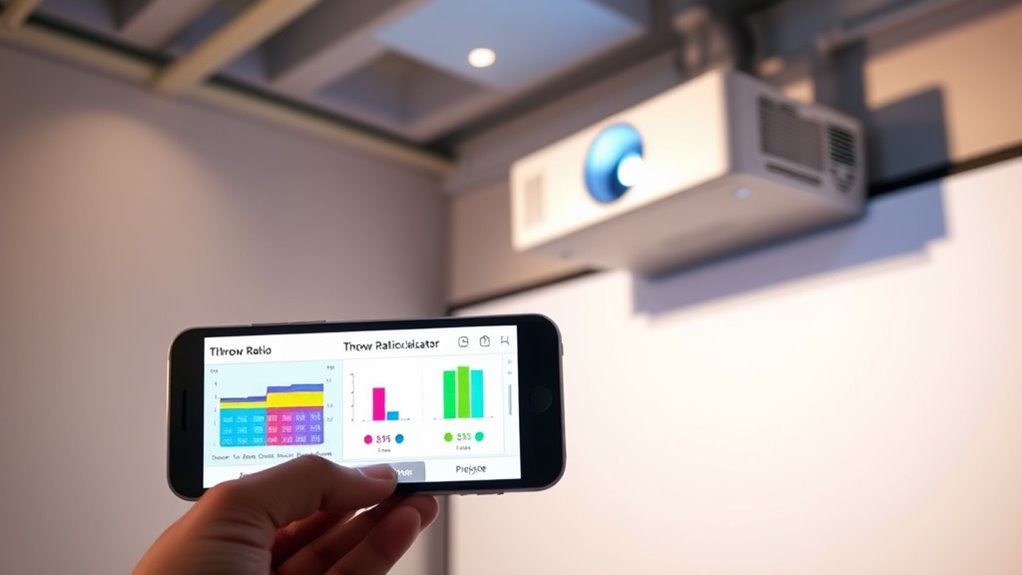
projector lens options
As an affiliate, we earn on qualifying purchases.
As an affiliate, we earn on qualifying purchases.
Choosing the Right Throw Ratio Calculator for Your Setup
Selecting the right throw ratio calculator is essential to accurately determine your projector’s placement based on your space and desired image size. To choose the best one, consider these factors:
- Is it compatible with your projector’s lens options?
- Does it support your target projection size?
- Can it handle different aspect ratios?
- Is it user-friendly and easy to input your measurements?
The right calculator simplifies planning, helping you visualize the perfect setup. It ensures your chosen lens options deliver the ideal projection size without surprises. An accurate calculator boosts confidence, letting you focus on creating an immersive viewing experience. By matching your projector’s lens options with precise calculations, you’ll avoid frustration and optimize your space effortlessly. Additionally, understanding security considerations can help protect your equipment and ensure your setup remains safe.
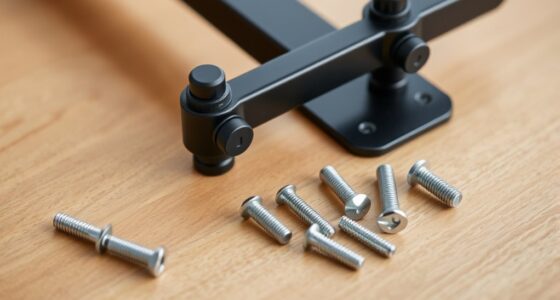
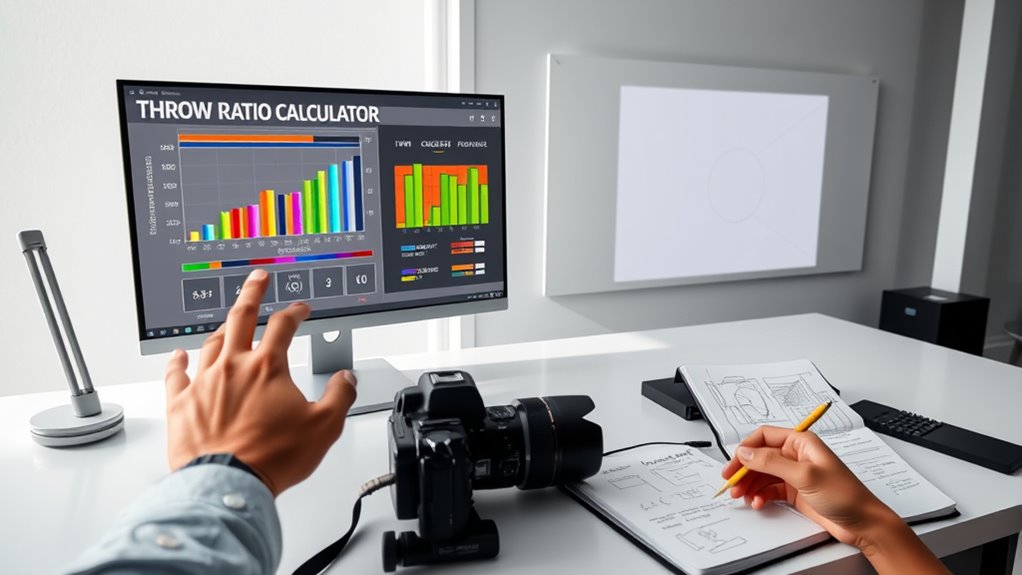
room measurement tape for projector setup
As an affiliate, we earn on qualifying purchases.
As an affiliate, we earn on qualifying purchases.
Measuring Your Space Accurately Before Using the Calculator
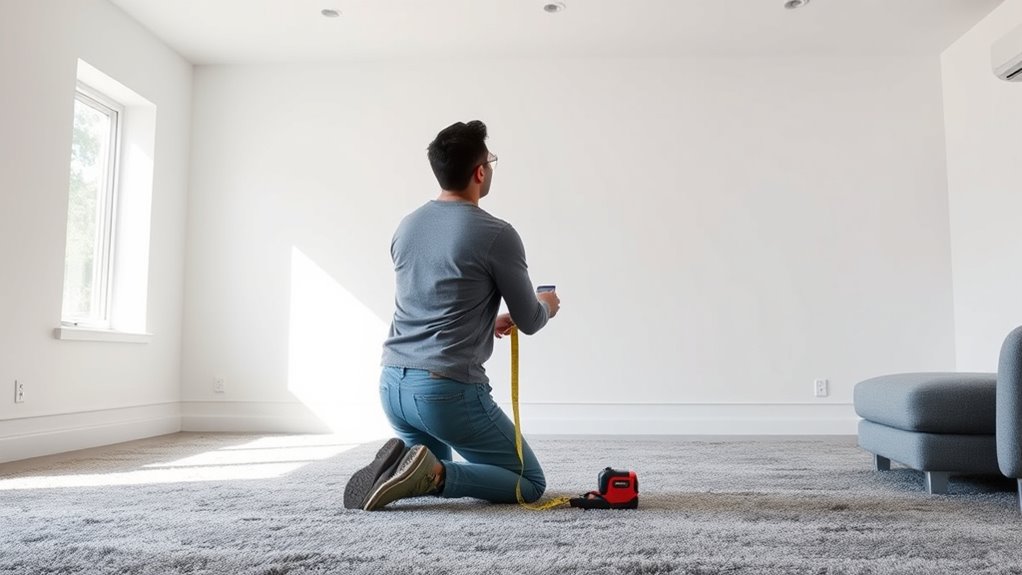
Accurately measuring your space is a crucial first step before using a throw ratio calculator, as even small errors can lead to incorrect projections. Start by measuring the room’s dimensions—width, length, and height—using a reliable tape measure. Be precise, avoiding guesswork, since these measurements directly impact the calculation. Don’t forget to contemplate room lighting, as ambient light can affect your viewing experience but also influences how you perceive the space’s size. Confirm your measurements for accuracy. Properly evaluating your space ensures the calculator provides realistic throw distance estimates, helping you choose the right projector placement without surprises later. Additionally, understanding room proportions can enhance your ability to select optimal projector positioning and screen size.
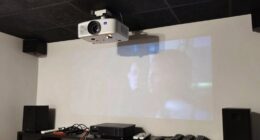
projector placement distance guide
As an affiliate, we earn on qualifying purchases.
As an affiliate, we earn on qualifying purchases.
Interpreting Calculator Results to Determine Optimal Distance

Once you have your measurements entered into the throw ratio calculator, it’s time to interpret the results to find the best projector placement. The calculator will show you the ideal projection distance for your desired image size. Keep these key points in mind:
- Visualize the perfect image size—what will fill your space without distortion.
- Check the recommended projection distance—ensure your setup matches this for clarity.
- Adjust for room layout—consider obstacles that may affect ideal placement.
- Trust the calculator’s guidance—it’s tailored to your specific space and projector specs.
Adjusting Your Projector Placement Based on Calculations
After calculating the ideal projection distance, you should start adjusting your projector’s placement to match those guidelines. First, consider your desired screen size, as this directly influences the throw ratio and placement. Move the projector closer or farther to achieve the correct image size without distortion. Keep in mind that the projector height impacts image alignment; ideally, the lens should be level with the center of your screen. If the projector is too high or low, it can cause keystone distortion or uneven focus. Use your calculations to set the projector at the right height and distance, ensuring the projected image fits the screen size perfectly. Precise placement helps you avoid image distortion and guarantees a sharp, properly aligned projection. Additionally, regularly verifying your throw ratio ensures your setup remains optimal for different screen sizes and distances.
Common Mistakes to Avoid When Using Throw Ratio Tools
Many users make the mistake of relying solely on the throw ratio tool without double-checking their measurements or considering real-world factors. Calculator errors can lead to inaccurate projections, while misinterpreting results can cause costly mistakes. To avoid these pitfalls, be cautious:
Relying solely on the throw ratio tool can lead to costly mistakes—always double-check measurements and environmental factors.
- Trust your measurements—don’t assume the calculator is always correct.
- Cross-verify throw ratio outputs with actual distances and lens specifications.
- Remember that environmental factors like room size and obstacles impact image placement.
- Don’t ignore the limitations of your calculator—use it as a guide, not gospel.
Frequently Asked Questions
How Often Should I Recalibrate My Throw Ratio Calculations?
You should recalibrate your throw ratio calculations whenever you notice measurement inconsistencies or after significant changes to your setup. For ideal calibration frequency, check your measurements monthly or quarterly, especially if you move the projector or change the environment. Regular calibration ensures measurement consistency, helping you achieve accurate throw ratio results. Staying proactive prevents errors and maintains the quality of your projections over time.
Can Throw Ratio Calculators Account for Different Screen Materials?
Think of throw ratio calculators as your trusty map, guiding you through projector compatibility. They can consider different screen materials by adjusting for reflectivity and surface texture, like tailoring a suit to fit perfectly. When you input details about your screen material, the calculator helps you determine the right throw distance, ensuring your image stays sharp and vibrant. Remember, selecting the right screen material enhances compatibility and makes your projection truly shine.
Are There Specific Brands of Projectors Better Suited for Certain Throw Ratios?
Yes, some brands are better suited for certain throw ratios due to their projector designs and features. When selecting a projector, consider brand compatibility to guarantee it matches your throw ratio needs. Certain brands offer models optimized for short-throw or long-throw applications, making your projector selection easier. Research specific brands’ offerings and compare their throw ratio ranges to find the best fit for your space and setup.
How Do Ambient Light Conditions Affect the Accuracy of Throw Ratio Estimates?
Ambient light can drown out your projection, making throw ratio estimates feel like trying to see stars in daylight. When there’s too much ambient light, your projection’s clarity suffers, and measurements become less accurate. To get precise throw ratio estimates, you need a darker environment that allows your projector’s image to shine brightly. Controlling ambient light guarantees your calculations are reliable, giving you crystal-clear projection quality every time.
Can Throw Ratio Calculators Be Used for Outdoor or Irregularly Shaped Spaces?
Yes, you can use throw ratio calculators for outdoor challenges and irregular spaces, but with caution. Outdoor lighting, uneven surfaces, and irregularly shaped areas can affect projection accuracy. Make sure to measure distances carefully and consider environmental factors like sunlight or wind. Adjust your calculations accordingly, and use flexible mounting options to accommodate irregular spaces. This approach helps make certain your projection fits well, even in challenging outdoor or uniquely shaped environments.
Conclusion
Mastering throw ratio calculators is like wielding a trusty map in uncharted territory—you’ll navigate your setup with confidence. By understanding the basics, measuring carefully, and interpreting results wisely, you’ll avoid pitfalls like a seasoned explorer avoiding quicksand. Remember, precision today guarantees your home theater or presentation space looks cinema-perfect tomorrow. So, don’t be a relic in a museum—embrace these tools and make your projection setup as spot-on as a Renaissance masterpiece.