
Start by choosing a stable, level mount and position your projector at the recommended distance from the screen. Connect all cables securely and turn on the device. Use the automatic calibration features or manually adjust focus, keystone, and color settings for a sharp, clear image. Guarantee ambient lighting isn’t too bright and organize cables neatly. Proper placement and calibration are key. Keep exploring to discover how perfecting these steps can elevate your projection experience.
Key Takeaways
- Choose an appropriate mounting option and securely install the projector at the recommended distance.
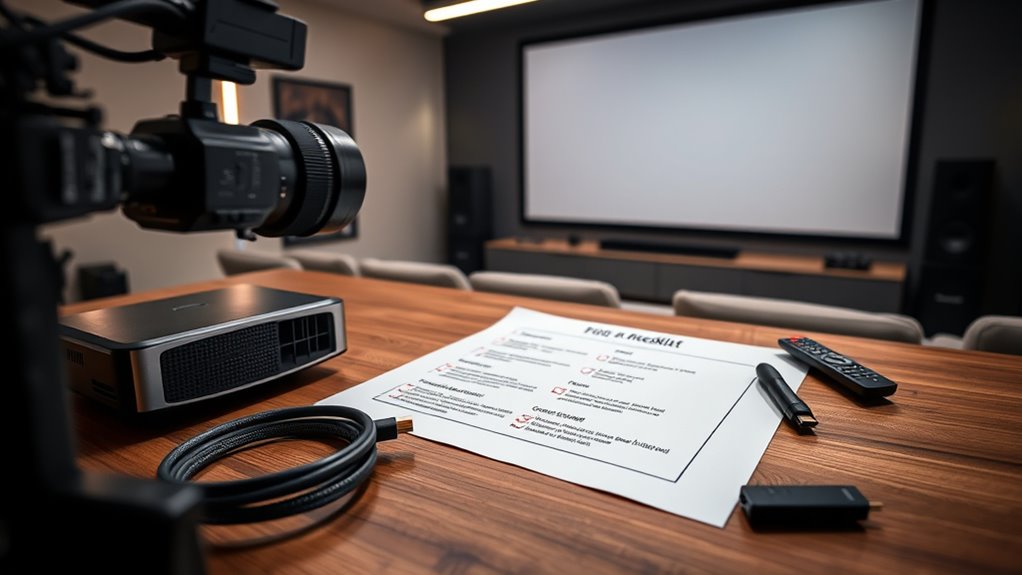
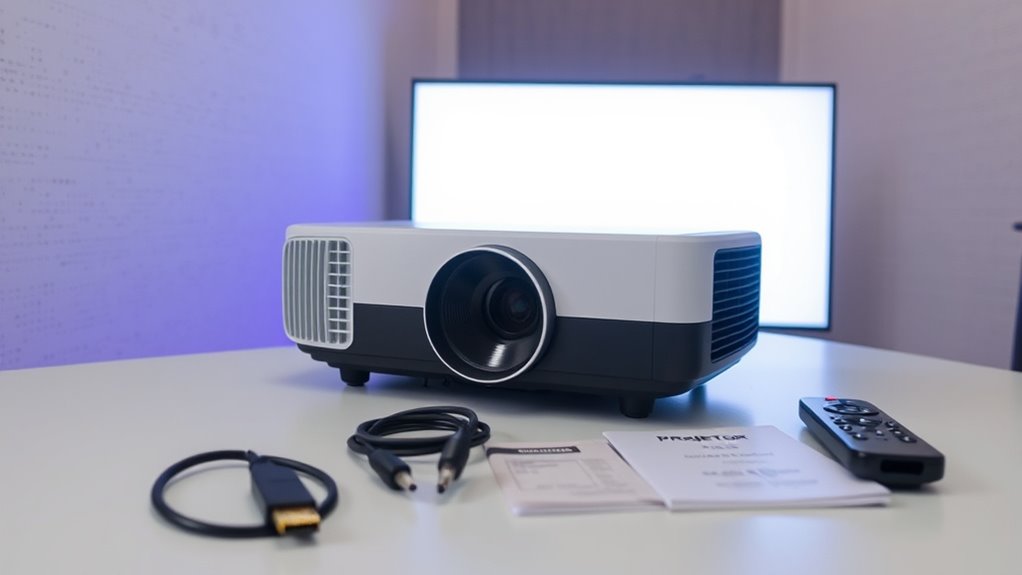
- Connect all necessary cables, ensuring secure connections and organized cable management.
- Adjust focus, keystone, and alignment settings for a sharp, properly proportioned image.
- Calibrate color and image settings using automatic features or manual tweaks for optimal quality.
- Test the setup in ambient lighting conditions and make final adjustments for clear, professional projection.
Getting your project off the ground starts with a solid setup checklist. The first step is guaranteeing your projector is properly configured for ideal performance. Calibration tips are essential here; they help you get the picture just right, avoiding blurry images or distorted colors. Take the time to adjust the focus and keystone settings, ensuring that the image is sharp and correctly proportioned. Many projectors have automatic calibration features, but manual tweaks often yield better results, especially in unusual lighting conditions or irregular surfaces. Keep a calibration guide handy to help you fine-tune these settings until you’re satisfied with the clarity and color accuracy. Proper calibration not only enhances the viewing experience but also prevents potential eye strain and guarantees your content looks professional. In addition, considering the impact of market growth in AI technology can inspire you to incorporate smart features or automation tools into your setup for improved efficiency.
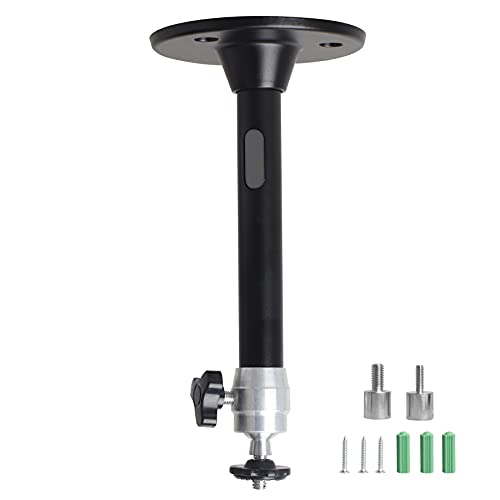
Next, consider the mounting options available for your projector. Your choice depends on your space, the type of projector, and how permanent you want the setup to be. Ceiling mounts are popular for home theaters and conference rooms because they keep the projector out of the way and provide a stable, adjustable platform. Wall mounts are also a good option if ceiling installation isn’t feasible, though they may require more precise measurements and tools. If you’re working with a temporary setup, portable or tabletop mounts might suit you better, but they often come with limitations in stability and image alignment. Whichever mounting option you choose, make sure it’s secure and level. An uneven mount can cause skewed images and frustration during viewing. Use a level tool to double-check your setup, and consider adjustable mounts that allow you to tilt or rotate the projector for perfect alignment. Remember, the goal is to position the projector so that the image is centered and aligned with your screen or wall, reducing the need for extensive adjustments later.
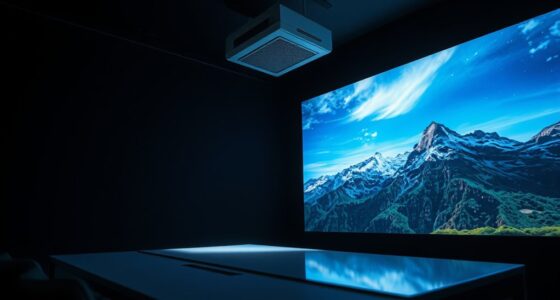
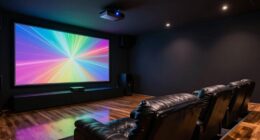
Once you’ve nailed the calibration tips and chosen the right mounting options, focus on placement. Your projector should be placed at the right distance from the screen, based on the manufacturer’s specifications. This distance affects image size and clarity, so consult your projector’s manual to find the ideal spot. Keep in mind that ambient lighting impacts image quality too—dim the lights or control window glare for a sharper picture. Also, ensure your cables are organized and secured to prevent accidental disconnections. With these foundational steps in place, you’ll set yourself up for a smooth, hassle-free setup process that results in a crisp, professional-looking projection every time.
YiePhiot Mini Ceiling Wall Projector Mount Stand Compatible with QKK, DR.J, DBPOWER, Anker, VANKYO, AAXA, Jinhoo, PVO, TMY, AuKing and Most Other Mini Projector (175mm, Black)
Universal Mount: The Universal Projector Mount is compatible with most mini projectors, including CLOKOWE, HAPPRUN, ELEPHAS, NICPOW and…
As an affiliate, we earn on qualifying purchases.
As an affiliate, we earn on qualifying purchases.
Frequently Asked Questions
How Do I Connect My Projector to Wi-Fi?
To connect your projector to Wi-Fi, turn on the device and access its network setup menu. Select your wireless connection from the available networks, then enter your Wi-Fi password. Make sure your projector is within range of your wireless router. Once connected, test the connection by streaming content or accessing online features. This wireless connection simplifies setup and allows you to easily project without the hassle of cables.
What Is the Ideal Projector Placement Distance?
You might think the ideal projector placement is a mystery, but it’s simple—just consider your projection angle and mounting height. Place the projector about 10-15 feet from the screen for sharp images, adjusting based on your lens throw ratio. Too close or far? You’ll get distorted images or shadows. Find the perfect balance, align your projection angle, and mount at the right height for a flawless viewing experience.
How Do I Calibrate the Projector for Best Image Quality?
To calibrate your projector for the best image quality, start by adjusting the projector settings like brightness, contrast, and color to suit your environment. Use the image optimization features, such as keystone correction and lens shift, to guarantee a sharp, aligned picture. Fine-tune focus and verify the projector is positioned correctly for maximum clarity. Regularly review and tweak these settings for consistent, high-quality visuals.
What Maintenance Is Required for Long-Term Use?
Think of your projector as a trusted companion that needs care to shine brightest. You should regularly clean the lens to prevent dust buildup and guarantee sharp images. Keep an eye on the bulb’s lifespan and replace it before it dims the display. Additionally, check filters and vents for dust, and schedule professional maintenance if necessary. This routine keeps your projector performing flawlessly for long-term use.
How Can I Troubleshoot Common Projector Issues?
To troubleshoot common issues with your projector, start by checking the power source and cables for secure connections. If the image is blurry or distorted, adjust the focus and keystone settings. For no display, verify the input source is correct, and update the projector’s firmware if needed. If overheating occurs, clean the vents and ensure proper ventilation. Regular projector troubleshooting helps resolve common issues quickly and keeps your device running smoothly.
ADAS Calibration Dynamic ACC Positioning Tool for Eyeball Unit, Angso-auto Angle Leveling Tool Accessory for Auto
The ANGSO-AUTO leveling tool is designed to be powered by 2* AAA 1.5 V batteries (Please note that…
As an affiliate, we earn on qualifying purchases.
As an affiliate, we earn on qualifying purchases.
Conclusion
Once you’ve checked off these steps, your projector is ready to light up your world like a star on a clear night. Think of this setup as planting the seeds for unforgettable movie nights or impactful presentations—each step a essential drop of water nourishing your setup. With everything in place, you’re the captain steering your cinematic ship through a sea of visuals. Now, sit back, press play, and let your new projector shine bright.
![[Electric Focus/Auto Keystone] Projector with WiFi and Bluetooth, Native 1080P 4K Supported,FUDONI Outdoor Movie Projector for Home Theater UP to 300", for iOS/Android/Laptop/TV Stick/HDMI/USB](https://m.media-amazon.com/images/I/51QbwiC8WuL._SL500_.jpg)
[Electric Focus/Auto Keystone] Projector with WiFi and Bluetooth, Native 1080P 4K Supported,FUDONI Outdoor Movie Projector for Home Theater UP to 300", for iOS/Android/Laptop/TV Stick/HDMI/USB
【Full HD Native 1080P Projector & 300'' Giant Display】Movie projector features a full HD native 1080P resolution, support…
As an affiliate, we earn on qualifying purchases.
As an affiliate, we earn on qualifying purchases.
N NOROCME 192 PCS Cable Management Kit 4 Wire Organizer Sleeve,11 Cable Holder,35Cord Clips 10+2 Roll Cable Organizer Straps and 100 Fastening Cable Ties for Computer TV Under Desk, black,clear
Cable Management Kit: 4pcs Cable Sleeves( 20 in L x 0.4 in w), 20pcs reusable wire ties,35Cable Clips…
As an affiliate, we earn on qualifying purchases.
As an affiliate, we earn on qualifying purchases.