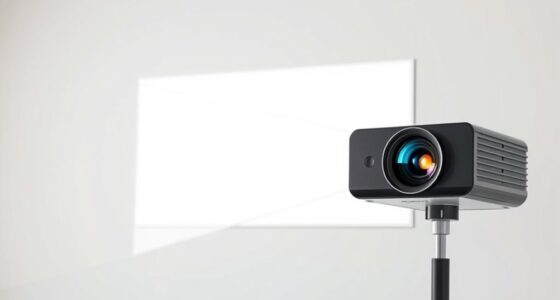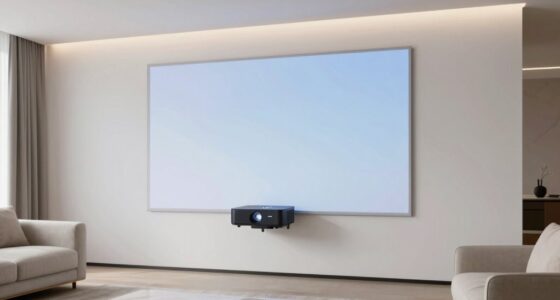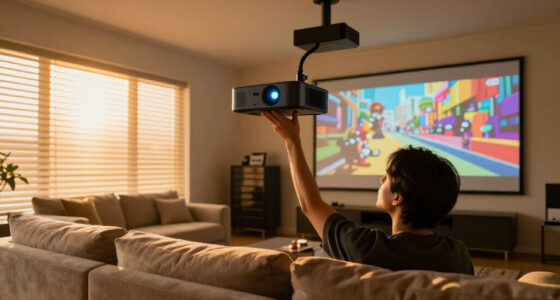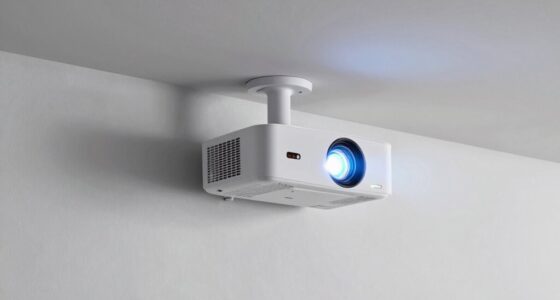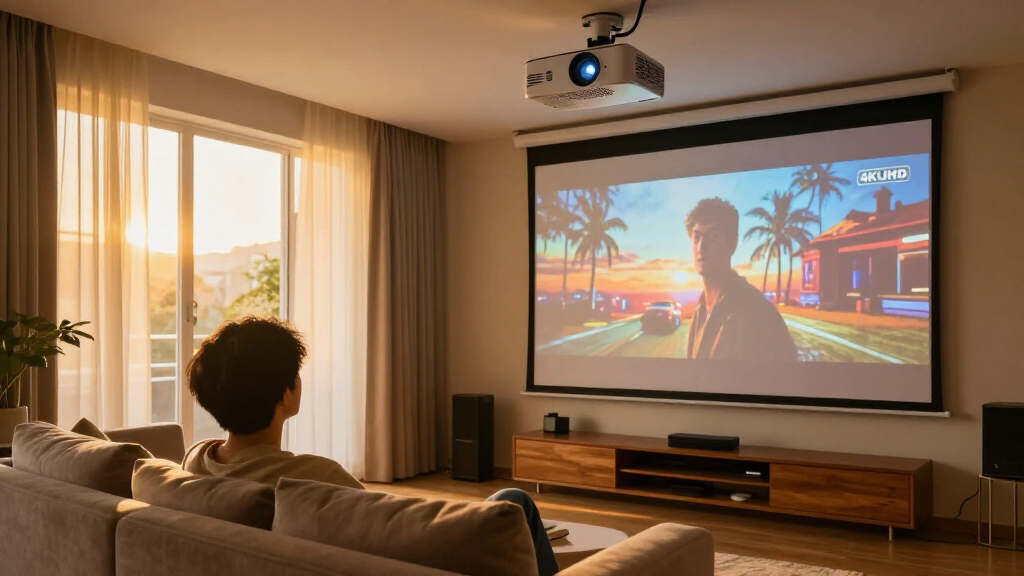
This guide walks through the process of choosing, installing, and fine-tuning a 4K UHD projector for a home theater. Designed for DIY enthusiasts with basic technical skills, it covers everything needed to achieve sharp, vibrant image quality and immersive viewing. Follow these steps carefully to ensure a professional-looking setup that maximizes your projector’s capabilities and provides a cinema-like experience at home.

Get business pricing on your home office setup
- Business-only prices and quantity discounts
- Tax-exempt purchasing
- Multiple users, one account, clear invoices
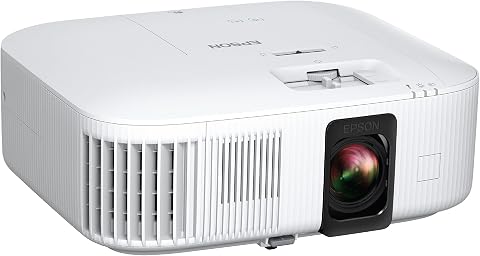
Epson Home Cinema 2350 4K PRO-UHD Smart Streaming Projector with Android TV
- ✔ Resolution: 4K PRO-UHD
- ✔ Brightness: 2,800 lumens
- ✔ Technology: 3-Chip 3LCD

Optoma UHZ36 4K UHD Laser HDR Home Theater Projector – Black
- ✔ Resolution: 4K UHD
- ✔ HDR: Yes
- ✔ Technology: Laser

ViewSonic PX749-4K 4K UHD Gaming Projector 4000 Lumens 240Hz Xbox HDR
- ✔ Resolution: 3840x2160p (4K UHD)
- ✔ Brightness: 4000 ANSI lumens
- ✔ Refresh Rate: 240Hz
Difficulty: Intermediate | Time: 3-6 hours
What You’ll Need
Tools & Materials:
- Screwdriver
- Level
- Measuring tape
- Power drill (optional)
- HDMI cables
- Calibration disc or pattern
Knowledge:
- Basic understanding of home electrical outlets
- Familiarity with HDMI connections and AV equipment
- Ability to use a level and measuring tape
Ensure your room has appropriate space and a suitable power supply. Have a clear plan for the projector placement, considering screen size and room dimensions. Prepare to block or move obstacles that could interfere with the projector path.
Epson Home Cinema 2350 4K PRO-UHD Smart Streaming Projector with Android TV
The Epson Home Cinema 2350 offers a compelling mix of vibrant 4K PRO-UHD resolution with true 3LCD technology, providing accurate and vivid colors. Its brightness of 2,800 lumens ensures good visibility even in moderately lit rooms, making it suitable for multi-purpose use. The built-in Android TV platform allows seamless streaming from popular services and voice control, adding to its convenience. Compared to the Optoma UHZ36, it prioritizes versatility and smart features over cinematic color depth, making it a well-rounded choice for users who want both quality and connectivity. However, its higher brightness can be a drawback in dark rooms, potentially washing out contrast, and setup may be complex for novices.
Pros:
- Vivid 4K picture with accurate, bright colors
- Low input lag suitable for gaming
- Built-in Android TV with streaming apps and voice search
Cons:
- Bright output may require dimming in dark rooms
- Complex setup process for some users
Best for: Consumers seeking a balanced projector with excellent color, smart streaming, and gaming-friendly low input lag.
Not ideal for: Those who prefer a dedicated cinematic experience or have very dark dedicated home theaters without ambient light.
Bottom line: A versatile, smart projector that balances color, gaming, and streaming features for everyday home theater use.
“A versatile, smart projector that balances color, gaming, and streaming features for everyday home theater use.”
Optoma UHZ36 4K UHD Laser HDR Home Theater Projector – Black
The Optoma UHZ36 is tailored for dedicated home theater enthusiasts who prioritize cinematic authenticity. It features native 4K UHD resolution with HDR support and Filmmaker Mode, which preserves the director’s original vision by maintaining accurate color and contrast. Its laser light source ensures a high contrast ratio and long-lasting brightness, ideal for dark rooms aiming for true cinematic depth. Compared with the ViewSonic, it offers more authentic film reproduction but provides less information on brightness levels and connectivity options, which could be limiting for users requiring extensive inputs. Its premium price reflects its focus on picture fidelity, making it less suitable for casual or multi-purpose use.
Pros:
- High-resolution 4K UHD with HDR support
- Filmmaker Mode for authentic cinema experience
- Long-lasting laser light source
Cons:
- Limited details on brightness and connectivity
- Higher price point may be prohibitive for some
Best for: Dedicated home theater lovers seeking the most accurate cinematic picture with HDR and film mode support.
Not ideal for: Casual viewers or those needing bright images in well-lit rooms or flexible gaming features.
Bottom line: A top-tier projector for cinephiles who want the closest thing to a theatrical experience at home.
“A top-tier projector for cinephiles who want the closest thing to a theatrical experience at home.”
ViewSonic PX749-4K 4K UHD Gaming Projector 4000 Lumens 240Hz Xbox HDR
The ViewSonic PX749-4K stands out for its impressive brightness of 4,000 lumens and support for a 240Hz refresh rate, making it an excellent choice for gaming and bright room viewing. Its native 4K resolution ensures sharp visuals, while the low input lag of 4.2ms and support for Xbox HDR make it highly suitable for gamers seeking large, immersive displays up to 300 inches. Compared with the Epson 2350, it sacrifices some of the smart streaming features for higher brightness and faster gaming response. Its larger size and more complex setup, including keystone correction and zoom, could be challenging for small spaces or less experienced users. It performs best in rooms with some ambient light, as it needs moderate illumination for optimal image clarity.
Pros:
- High brightness of 4000 lumens for bright rooms
- Supports native 4K resolution and HDR
- Ultra-low input lag ideal for gaming
Cons:
- Bulky and potentially difficult to install in small spaces
- Setup complexity with keystone and zoom adjustments
Best for: Gamers and those needing high brightness in well-lit rooms, with large projection sizes and fast response times.
Not ideal for: Cinephiles seeking cinematic color accuracy or users with limited space who prefer simple setups.
Bottom line: An excellent option for gamers and bright room viewers who prioritize size, speed, and brightness over cinematic color nuance.
“An excellent option for gamers and bright room viewers who prioritize size, speed, and brightness over cinematic color nuance.”
As an Amazon Associate we earn from qualifying purchases.
Before You Start
Check your room for ambient light and consider blackout options to improve image contrast. Confirm that your electrical outlets can support the projector’s power requirements. Review your room dimensions to determine optimal projector placement distance and screen size. Keep your projector’s manual handy for specific model instructions.
Step-by-Step Instructions
Step 1: Select the right 4K UHD projector
Research projectors that support native 4K resolution (3840×2160) with high lumen output (at least 1500 lumens for standard rooms). Consider contrast ratio (preferably above 10,000:1) for better blacks. Choose a projector with appropriate throw distance options to match your room size, and ensure compatibility with your intended screen size.
Tip:If your room is small or has limited space, consider a short-throw projector to project large images from a close distance.
Check: You have selected a 4K projector with sufficient brightness, contrast, and throw ratio suited to your room dimensions.
Step 2: Determine optimal projector placement
Measure the distance from your intended screen location to where the projector will be placed. Use the projector’s throw ratio to verify the placement distance that will produce your desired screen size. Mark the spot on the ceiling or floor where the projector will sit or hang.
Tip:If ceiling mounting, ensure the mounting points can support the projector’s weight and that the mount allows for angle adjustment.
Check: The projector is positioned at the correct distance to produce a properly sized image with minimal distortion or keystone effect.
Step 3: Mount or position the projector
Securely install the projector on the ceiling using a compatible mount or place it on a stable surface aligned with your markings. Ensure it is level and centered with respect to the screen area. Adjust the height and tilt for a straight-on projection.
Tip:Use a level during mounting to prevent skewed images. Keep in mind cable length and access for future adjustments.
Check: The projector is firmly mounted and aligned to project a centered image onto the screen area without visible keystone distortion.
Step 4: Connect the projector to your source devices
Plug an HDMI cable from your Blu-ray player, streaming device, or PC into the projector’s HDMI input. Use high-speed HDMI cables to support 4K HDR content. Power on your source devices and the projector.
Tip:For multiple devices, consider an HDMI switch or receiver with 4K support.
Check: The projector displays the input from your source device, with correct resolution and no signal issues.
Step 5: Configure initial projector settings
Turn on the projector and access the menu system. Select the appropriate input source. Set the resolution to 4K UHD if not auto-detected. Enable HDR and other image enhancement features if available. Adjust basic picture settings like brightness, contrast, and color mode to a neutral or cinema setting.
Tip:Refer to your projector’s manual for specific menu navigation and calibration options.
Check: The image appears clear, sharp, and correctly scaled at 4K resolution with no obvious distortions.
Step 6: Calibrate the image for optimal quality
Use a calibration disc or pattern to fine-tune the projector’s settings. Adjust focus and zoom for sharpness across the entire screen. Set the keystone correction to eliminate trapezoidal distortion, preferring physical adjustments over digital corrections. Adjust color, contrast, and brightness for natural, vibrant images.
Tip:Use the projector’s built-in test patterns or calibration software for precise adjustments.
Check: The projected image is sharp, evenly lit, and true to color, with no distortion or artifacts.
Step 7: Control ambient light and acoustics
Reduce ambient light sources by dimming or turning off lights near the projection area. Install blackout curtains or shades if necessary. Position speakers for surround sound or stereo to complement the visual experience. Connect and test your audio setup to ensure synchronization and clarity.
Tip:Use a soundbar or dedicated AV receiver with appropriate speakers for immersive sound.
Check: The room environment supports high contrast and vibrant images, with clear, balanced audio that enhances the viewing experience.
Common Mistakes to Avoid
- Choosing a projector with insufficient brightness for the room’s ambient light. — Select a projector with at least 1500 lumens; increase room light control if needed.
- Incorrect projector placement leading to keystone or distorted images. — Use accurate measurements, level mounts, and physical adjustments to keep the projector aligned and perpendicular to the screen.
- Neglecting calibration, resulting in dull or oversaturated images. — Use calibration tools and fine-tune picture settings for best image quality.
- Using incompatible or low-quality HDMI cables. — Use certified high-speed HDMI cables rated for 4K HDR content.
Troubleshooting
Problem: Image is blurry or out of focus.
Solution: Adjust the focus ring on the projector lens until the image is sharp across the entire screen.
Problem: No image or signal on the projector.
Solution: Check HDMI connections, verify input source selection, and ensure source devices are powered on.
Problem: Color or contrast looks off.
Solution: Revisit calibration, reset to default picture settings, and adjust color and contrast controls.
Problem: Keystone correction causes image softness.
Solution: Physically reposition the projector to reduce keystone correction needs; use minimal digital correction.
What Success Looks Like
The projector displays a bright, sharp, and correctly proportioned 4K image with accurate colors. The room environment supports high contrast, and the image fills the screen without distortion or black borders.
Next Steps
Regularly clean the projector lens and filters. Update firmware when available. Experiment with advanced calibration for better picture quality. Consider adding a fixed screen or ambient light control for improved viewing conditions. Reassess placement if you change room layout or screen size.
Frequently Asked Questions
Can I use a regular HDMI cable for 4K HDR content?
Use a high-speed HDMI cable rated for 18Gbps or higher to ensure support for 4K HDR signals without issues.
How far should the projector be from the screen?
Refer to your projector’s throw ratio and desired screen size to measure the correct distance; typically, it ranges from a few to several feet depending on the model.
Is it necessary to calibrate the projector?
Calibration is highly recommended to achieve the best image quality, especially for color accuracy and contrast.
What should I do if the image is not sharp?
Check focus adjustment, ensure the projector is properly aligned, and verify that the lens is clean and free of dust.