
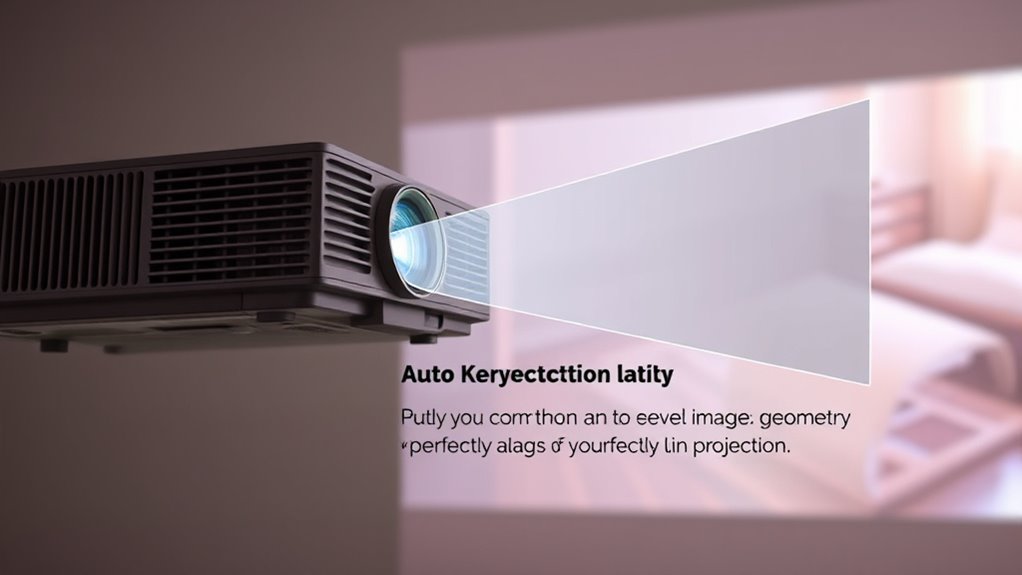
Auto keystone correction automatically fixes distorted images caused by projector misalignment, making sure the projected picture stays rectangular and clear. It detects skewed lines, irregular edges, and lens cues using sensors and image processing. The system then adjusts the lens or image instantly, saving you time and effort compared to manual adjustments. If you want to learn how this technology works and how to set it up effectively, keep exploring the details ahead.
Key Takeaways
- Auto keystone correction automatically adjusts distorted images caused by projector misalignment.
- It detects skewness by analyzing lines, edges, and lens cues through image processing.
- The system uses sensors and algorithms to instantly correct trapezoidal image shapes.
- Activation typically involves a menu or remote control, with options for manual fine-tuning.
- It enhances image clarity and alignment, simplifying setup and reducing manual adjustments.

Mini Projector, Portable Projector with Wifi and Bluetooth, Built in Apps
- Wireless Connectivity: Dual-band WiFi and Bluetooth 5.2 support
- Built-in Streaming Apps: Supports YouTube, Prime Video, Disney+
- Device Compatibility: Compatible with TV sticks (not included)
As an affiliate, we earn on qualifying purchases.
As an affiliate, we earn on qualifying purchases.
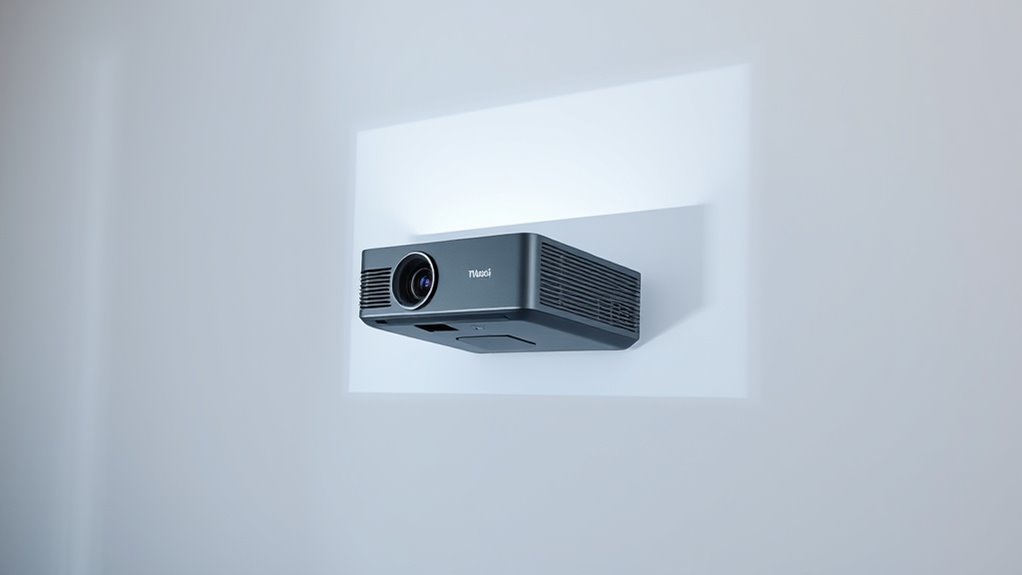
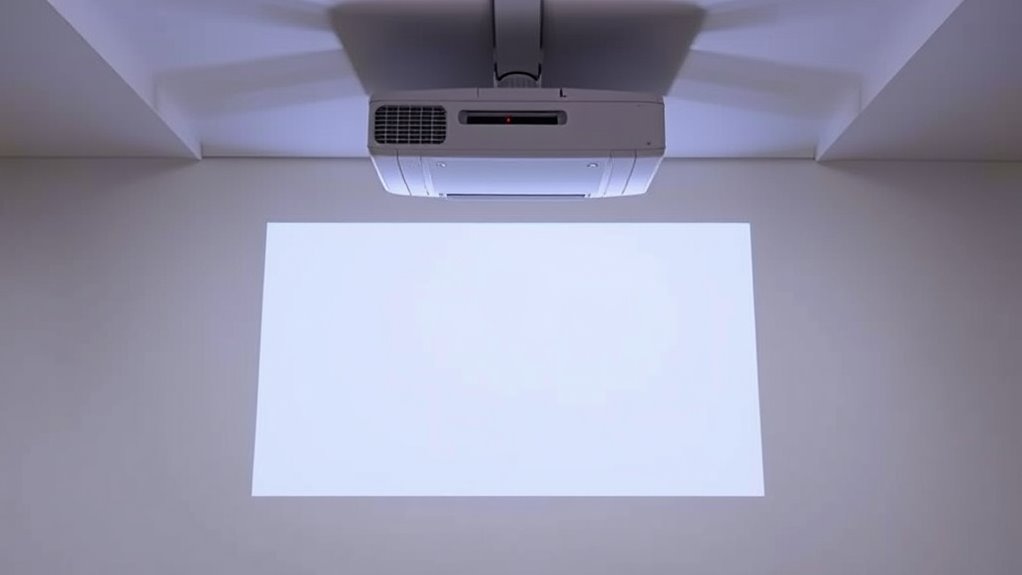
Understanding Keystone Distortion in Projection
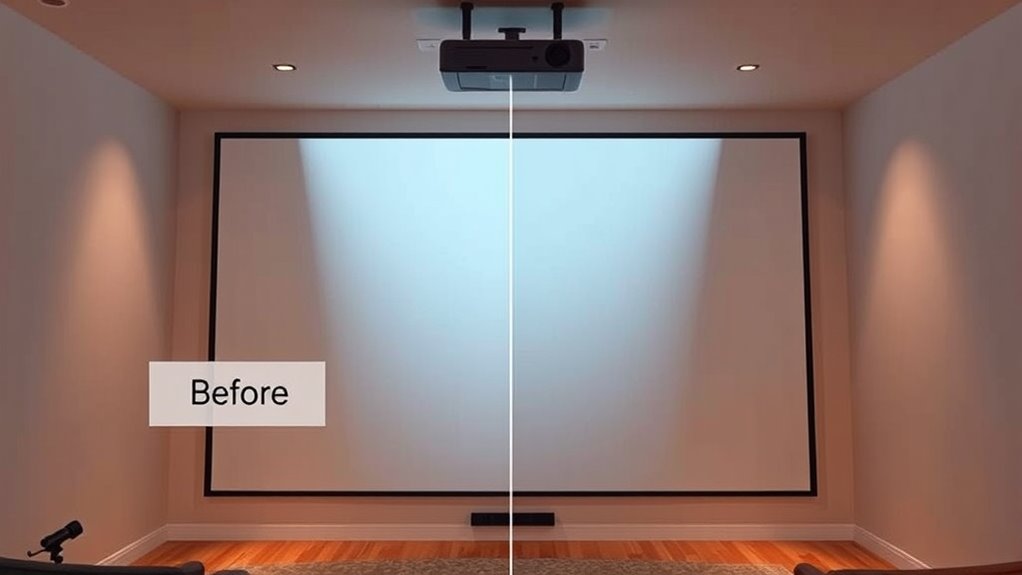
Have you ever noticed how a projector’s image can appear skewed or trapezoidal instead of rectangular? This is due to projection alignment issues causing image distortion. When the projector isn’t perfectly aligned with the screen, the image stretches unevenly, resulting in keystone distortion. This distortion makes the projected content look trapezoidal, which can be distracting and reduce clarity. Understanding how projection alignment impacts the image helps you recognize why the distortion occurs. Usually, manual adjustments are needed to correct this skew, but without proper alignment, the image remains distorted. Recognizing the causes of keystone distortion allows you to take steps to improve image quality, ensuring a clear and properly proportioned display. Additionally, AI-driven security systems can help monitor and alert you to potential setup issues that may cause distortion.

WellSonic Mini Projector Support 1080P, 200 Ansi Home Movie Projector Portable Projector with Wifi and Bluetooth, Automatic Keystone Correction, 180°Rotatable, Compatible with HDMI USB PC Laptop
- Smart Android 13 OS: Access to streaming apps and content
- Supports 1080P Resolution: Clear, high-definition image quality
- Bright 200 ANSI Lumens: Ideal for dark room viewing
As an affiliate, we earn on qualifying purchases.
As an affiliate, we earn on qualifying purchases.
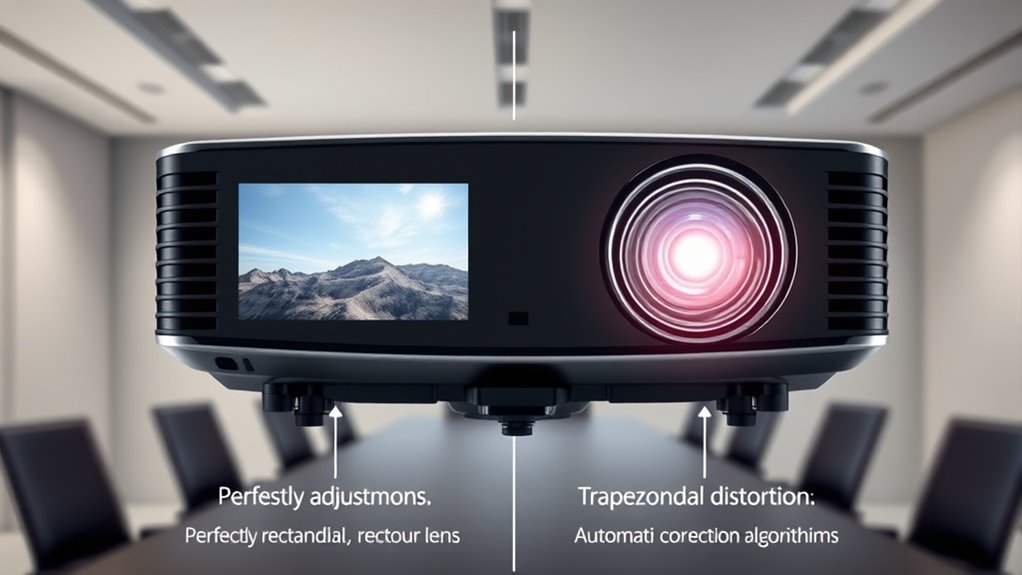
How Auto Keystone Correction Detects Image Skewness
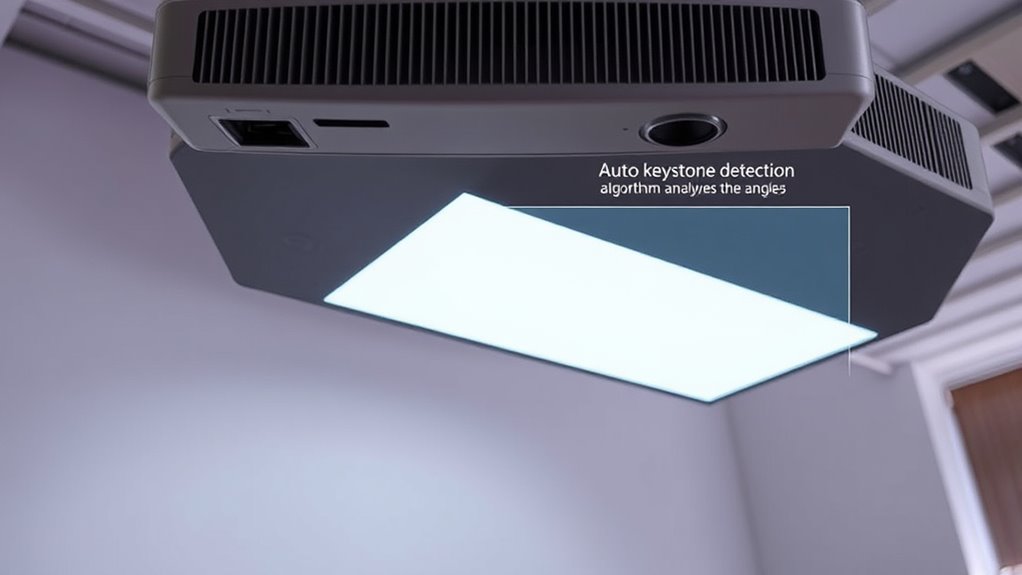
Ever wonder how auto keystone correction quickly detects when an image is skewed? It begins with analyzing the projected image through precise image calibration. The system assesses the alignment of the lens to ensure proper projection, which helps identify distortion. During this process, it looks for signs of skewness by examining the projected image’s geometry, such as parallel lines that appear converged. Key indicators include:
Auto keystone correction detects skew by analyzing projected image alignment and detecting distortion indicators.
- Deviations in line angles
- Uneven edge alignments
- Inconsistent pixel distribution
- Irregularities in corner shapes
- Lens misalignment cues
Additionally, the system can utilize advanced calibration techniques to improve detection accuracy and ensure images are properly aligned.

Aurzen Roku TV D1R Smart Portable Outdoor Projector with WiFi and Bluetooth
- Activation Requirement: Roku account and internet needed
- Streaming Platform: Access to top streaming apps and channels
- User Interface: Simple, intuitive home screen and remote
As an affiliate, we earn on qualifying purchases.
As an affiliate, we earn on qualifying purchases.
The Technology Behind Auto Keystone Adjustment
The technology behind auto keystone adjustment relies on advanced sensors and image processing algorithms that work in real-time. When you project an image, these sensors detect the skewness caused by imperfect lens alignment or uneven surfaces. The system then analyzes the image to determine the degree of distortion and automatically adjusts the projector’s lens position, ensuring a rectangular picture without manual input. During this process, the device also performs image sharpening to maintain clarity and detail, compensating for any slight quality loss due to correction. This seamless integration of sensor data and processing power allows your projector to deliver a perfectly aligned image instantly. As a result, you get a crisp, undistorted display without fuss, making setup faster and more convenient. Understanding calibration ensures optimal performance and image quality.
Mini Projector, Portable Projector with Wifi and Bluetooth, Built in Apps
- Wireless Connectivity: Dual-band WiFi and Bluetooth 5.2 support
- Built-in Streaming Apps: Supports YouTube, Prime Video, Disney+
- Device Compatibility: Compatible with TV sticks (not included)
As an affiliate, we earn on qualifying purchases.
As an affiliate, we earn on qualifying purchases.
Manual vs. Automatic Keystone Correction
You have the option to choose between manual and automatic keystone correction, affecting how much control you have. Manual adjustments give you precise control, but they take more time, while automatic correction offers quick results with less effort. Consider your priorities for control, convenience, and speed to decide which method suits you best. Incorporating an understanding of visual perception can help you better evaluate how each correction method impacts your viewing experience.
User Control Options
User control options for keystone correction typically fall into two categories: manual and automatic. With manual adjustment, you have precise control over image shape, which helps maintain color accuracy and ensures your visuals look sharp. Automatic correction adjusts the image instantly, saving time but sometimes sacrificing fine detail. When choosing between them, consider how much control you want over the image:
- Manual allows for fine-tuning to match specific room angles
- Automatic offers quick setup for immediate use
- Manual helps preserve color accuracy in complex environments
- Automatic can sometimes misalign audio synchronization if the image shifts unexpectedly
- Manual adjustments are better for more precise projection needs
Both options influence your viewing experience, but understanding their differences helps you optimize image clarity and auto keystone correction for a better viewing experience.
Convenience and Speed
When it comes to keystone correction, choosing between manual and automatic options considerably impacts convenience and speed. Automatic keystone correction offers quick adjustments, saving you time, especially when setting up in different environments. It instantly corrects lens distortion and maintains proper color calibration, ensuring the projected image looks accurate without manual tweaks. Manual correction, on the other hand, requires more effort and time, as you adjust the settings yourself, which can be helpful for fine-tuning the image precisely. Automatic systems streamline the process, making setup faster and more efficient, especially for users unfamiliar with technical adjustments. This convenience allows you to focus on your presentation or entertainment, rather than fiddling with image settings, providing a smoother, hassle-free experience. Additionally, contrast ratio plays a vital role in image quality, influencing how well details are rendered in dark scenes and how sharp the overall picture appears.
Benefits of Using Auto Keystone Correction
Auto keystone correction simplifies setup by automatically adjusting distorted images caused by tilted projectors or screens. This feature streamlines projection calibration, saving you time and effort. With auto correction, you don’t need to manually align images, ensuring precise image alignment every time. It reduces frustration and provides a seamless viewing experience. Additionally, integrating wall organization solutions can further enhance your space by keeping projection areas tidy and clutter-free. Some key benefits include: – Faster setup process – Consistent image quality – Reduced need for manual adjustments – Enhanced user convenience – Improved overall projection accuracy
This technology helps you achieve sharp, correctly proportioned images without complicated calibration steps. By automatically correcting keystones, it ensures your presentation or movie looks professional, saving you effort and increasing confidence in your projection setup.
Limitations and Challenges of Auto Keystone Correction
While auto keystone correction offers convenience, it also presents several limitations that can affect your projection quality. Sensor limitations mean that the device’s internal cameras or sensors might not accurately detect the screen’s edges, especially in complex or cluttered environments. This can lead to improper adjustments that distort the image rather than correct it. Alignment challenges also pose a problem; if the projector isn’t positioned correctly or if the surface isn’t flat, auto correction may struggle to produce a perfect rectangular image. These issues can result in skewed visuals or uneven edges, reducing overall clarity. Recognizing these limitations helps you understand that auto keystone correction isn’t foolproof and may require manual adjustments for ideal results. Additionally, image quality can be compromised if the correction process introduces artifacts or blurring, impacting the overall viewing experience.
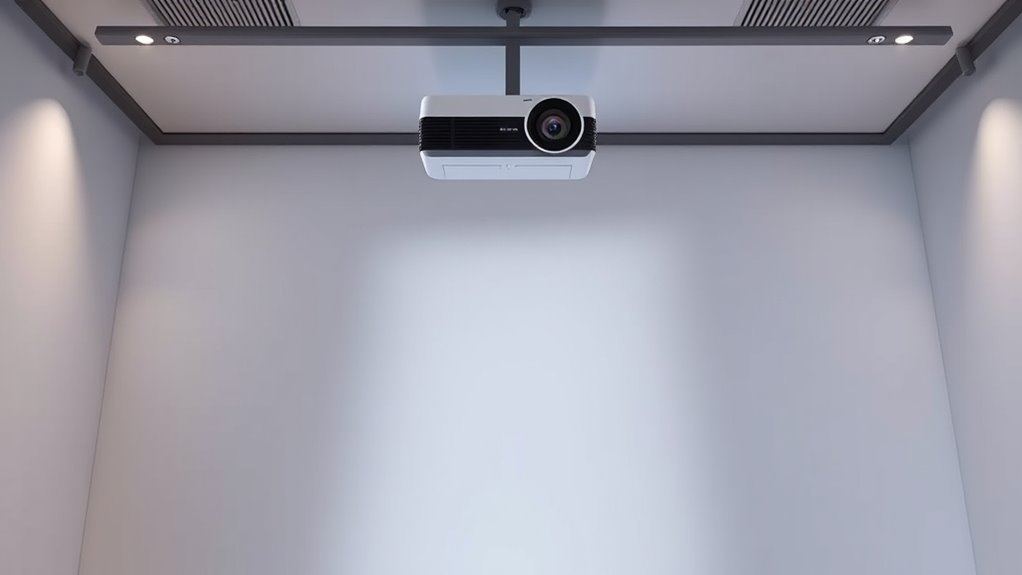
Setting Up Auto Keystone Correction on Different Projectors
Setting up auto keystone correction varies between projector models, but the process generally involves accessing the projector’s menu or remote control. To achieve proper projection setup and ideal image alignment, follow these steps:
- Turn on your projector and display the image.
- Locate the auto keystone or correction button on the remote or menu.
- Position the projector so the lens faces the screen at a slight angle.
- Activate auto keystone correction to automatically adjust the image.
- Fine-tune manually if necessary to perfect the projection setup.
Keep in mind that each projector may have different menu options or remote controls, so consult your user manual for specific instructions. Proper setup ensures a sharp, correctly aligned image without distortion, making your projection setup smoother and more efficient.
Tips for Optimizing Auto Keystone Correction Performance
To get the best results from auto keystone correction, start by adjusting your camera angle for a more direct view. Make sure the lighting is sufficient so the projector can accurately detect the image edges. Additionally, maintaining the proper distance between your projector and screen helps improve correction accuracy.
Adjust Camera Angle
Ever wonder how your camera angle impacts auto keystone correction? Your camera’s positioning directly affects how well the system can perform lens calibration and achieve proper image alignment. To optimize results, keep your camera level and facing directly at the projection surface. Slight tilts can cause misalignment, making correction less effective. Adjusting the angle correctly guarantees the system captures a symmetrical, undistorted image. Consider these tips:
- Maintain a perpendicular stance to the surface
- Use a tripod for stability and precision
- Avoid excessive tilting or angling
- Check your camera’s lens calibration regularly
- Ensure the camera is centered for even image alignment
- Remember that camera positioning directly influences the effectiveness of auto keystone correction
Proper camera angle helps auto keystone correction work efficiently, resulting in clearer, more accurate projections.
Use Adequate Lighting
Did you know that proper lighting can considerably improve the accuracy of auto keystone correction? A good lighting setup ensures the projector can clearly detect edges and shapes, making the correction more precise. To enhance performance, control your environment’s lighting by minimizing shadows and glare that could confuse the sensor. Use consistent, even lighting across the projection surface, avoiding direct light sources that cause reflections. Adjust your room’s lighting to create a balanced environment, which helps the projector’s auto correction feature work smoothly. Proper environment control reduces errors and improves image alignment. Additionally, understanding the importance of sensor accuracy can help you optimize your setup further. Remember, a well-lit space isn’t just about visibility—it’s about providing the projector with the best conditions to perform accurate keystone adjustments effortlessly.
Maintain Proper Distance
Maintaining the correct distance between your projector and the screen makes a significant difference in how well auto keystone correction works. Proper projector placement ensures the image is close to the ideal size and shape, reducing the correction needed. Keep the projector aligned with the screen to avoid skewed images or distorted keystone adjustments. To maximize performance, consider these tips:
- Position the projector at the recommended distance specified by the manufacturer
- Ensure the lens is aligned directly with the center of the screen
- Avoid placing the projector too close or too far away from the screen
- Use a level surface to prevent uneven lens alignment
- Regularly check and adjust placement for consistent results
Following these guidelines helps auto keystone correction deliver a clear, proportionate image with minimal effort.
Frequently Asked Questions
Can Auto Keystone Correction Be Used During Live Presentations?
Yes, you can use auto keystone correction during live presentations. It quickly adjusts for image distortion caused by projection alignment issues, ensuring your visuals stay clear and properly shaped. As you present, auto keystone correction automatically detects skewed images and corrects them in real-time, saving you from manual adjustments. This feature helps maintain a professional look, even if your projector isn’t perfectly aligned, making your presentation seamless and visually appealing.
Does Auto Keystone Correction Work With All Types of Projectors?
Auto keystone correction works with many projectors, but not all. Your projector’s projection compatibility and installation requirements determine if it’s supported. Check the device’s specifications to see if auto correction is incorporated, especially for complex setups or unique mounting angles. If your projector lacks this feature, you might need manual adjustments or consider a model with automatic keystone correction to ensure a perfectly aligned image.
How Does Ambient Lighting Affect Auto Keystone Correction Accuracy?
Ambient light can seriously disrupt auto keystone correction accuracy, making you wonder if your projector’s calibration is failing. When there’s too much ambient lighting, the sensor struggles to detect the correct image alignment, causing distorted visuals. Bright rooms can fool auto correction, leading to misaligned images that require manual adjustments. To guarantee perfect projection, dim the lights or optimize your ambient lighting, helping your projector maintain precise calibration and clear images.
Is Auto Keystone Correction Adjustable Manually After Automatic Setup?
Yes, auto keystone correction often allows manual adjustment for user control. After the automatic setup, you can usually fine-tune the correction manually to achieve a more precise image shape. This feature helps you customize the projection, especially if ambient lighting or placement issues cause distortion. Look for the manual adjustment options in your projector’s settings or remote control, so you can easily refine the keystone correction to match your viewing environment.
What Maintenance Is Required for Auto Keystone Correction Systems?
You should regularly perform calibration procedures to guarantee your auto keystone correction system works accurately. Keep your software updated to fix bugs and improve performance. Check for any physical obstructions or dust on the lens, as these can affect correction quality. Additionally, periodically recalibrating your projector helps maintain ideal image alignment. Proper maintenance, including software updates and calibration, ensures your auto keystone correction system functions smoothly and provides a clear, properly aligned image.
Conclusion
Auto keystone correction makes projecting images easier and more precise, saving you time and frustration. Did you know that over 70% of users report improved image quality with automatic adjustments? By understanding how it detects skewness and adjusts your display, you can enjoy a perfectly aligned picture every time. Keep experimenting with settings and placement to maximize its benefits. With auto keystone correction, your presentations and movies will look professional and seamless, no matter where you set up.