
Before you start installing ceiling mounts, make certain your ceiling is structurally sound by checking for stability, cracks, or water damage. Verify that your chosen hardware matches your ceiling material and weight requirements. Clear utilities, ceiling fixtures, and obstructions from the area. Gather the necessary tools and safety gear, and set up a stable workspace. Carefully follow manufacturer instructions and safety guidelines. If you keep going, you’ll uncover detailed steps to help guarantee a secure installation.
Key Takeaways
- Assess ceiling and wall structures to ensure they can support the mount and equipment safely.
- Confirm load capacity of the ceiling mount and distribute weight evenly.
- Gather all necessary tools, safety gear, and prepare a clutter-free workspace.
- Identify a suitable mounting location free of electrical wiring, pipes, or other obstructions.
- Review manufacturer instructions and safety guidelines thoroughly before beginning installation.
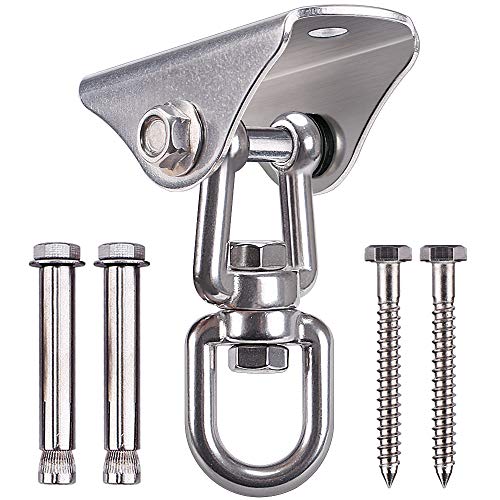
SELEWARE Stainless Steel Swing Hanger Heavy Duty Ceiling Swing Mount Free Swivel Swing Hook Swing Hardware Kit for Yoga Swing Hammock Chair Porch Swing Sets Heavy Punching Bag 1000 LB Capacity
1 pack
As an affiliate, we earn on qualifying purchases.
As an affiliate, we earn on qualifying purchases.
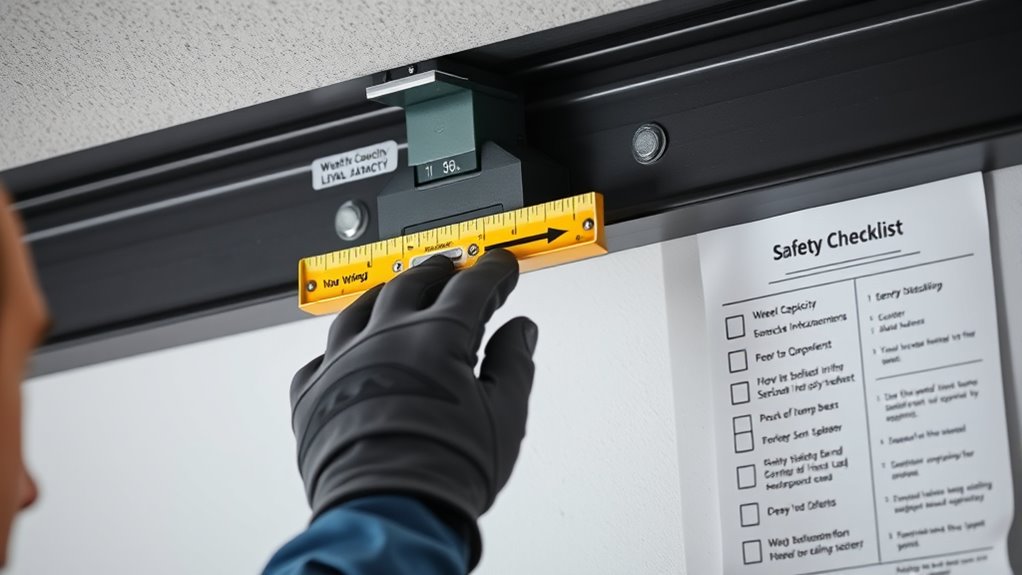
Assess Your Wall or Ceiling Structure
Before mounting your ceiling or wall device, you need to assess the structure thoroughly. Start by checking the wall stability; verify it can support the weight without wobbling or cracking. For ceiling mounts, evaluate the ceiling strength—look for solid joists or beams capable of handling the load. Use your hands or a level to detect any movement or weakness. If the surface feels soft or unstable, it’s a sign it may not hold securely. Avoid mounting on drywall alone unless you reinforce it with anchors or find a stud. Remember, a strong foundation is essential for safety and durability. Taking these steps minimizes the risk of accidents or damage down the line, ensuring your device stays firmly in place.
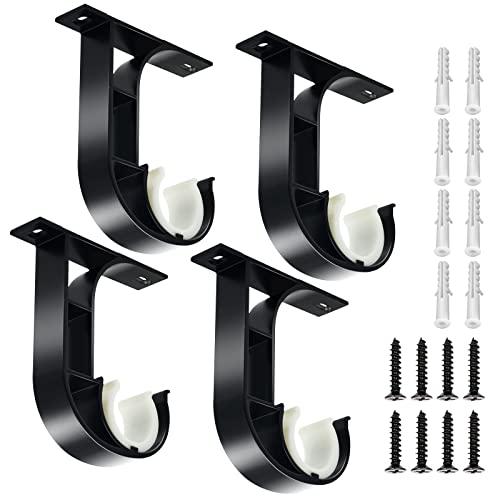
TOKPLNU Ceiling Curtain Rod Bracket, 4 Pack Heavy Duty Curtain Rod Holders, Aluminum Alloy, Black Ceiling Curtain Hooks Hangers Fit for 1 Inch Drapery Rods
[Unique Buckle Design] — Ceiling curtain rod bracket features a removable plastic clip to secure and protect rods…
As an affiliate, we earn on qualifying purchases.
As an affiliate, we earn on qualifying purchases.
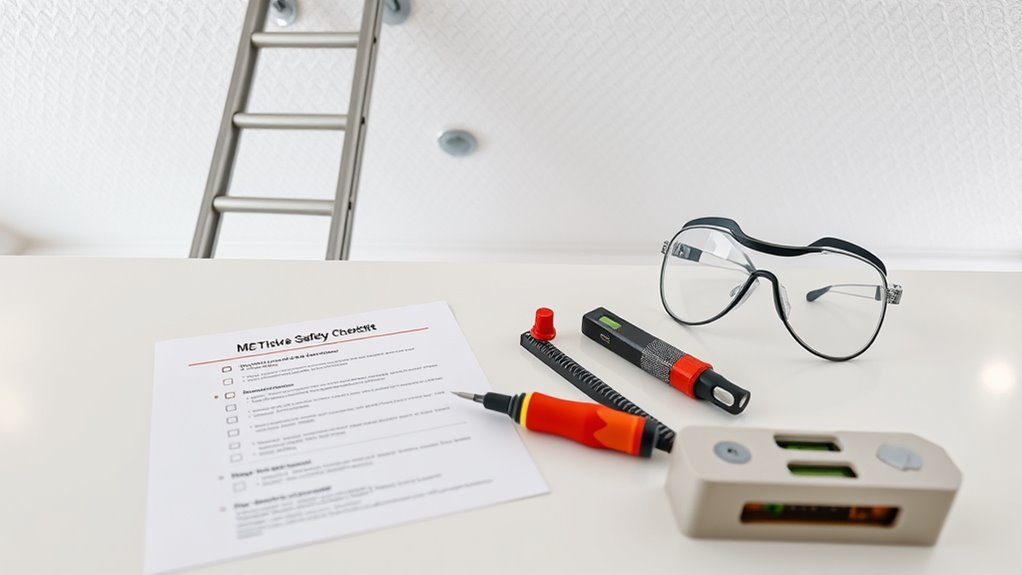
Gather Necessary Tools and Equipment

Gathering the right tools and equipment sets the foundation for a smooth and safe mounting process. Start by selecting the essential tools, such as a drill, screwdrivers, a level, and a measuring tape. Proper tool selection guarantees efficiency and accuracy during installation. Don’t forget safety gear—wear safety glasses, gloves, and a dust mask to protect yourself from debris and potential hazards. Check that all your tools are in good condition and easily accessible before you begin. Having the correct equipment on hand prevents interruptions and helps you work confidently. Remember, using the right tools and safety gear minimizes risks and promotes a safer, more effective ceiling mount installation. Being prepared is key to a successful project from start to finish.

Faswin Wall Mount Bracket for Suspension Straps, Ceiling Anchor X Mount for Rings, Body Weight Strength Training Systems, Yoga Swings & Boxing Equipment
Workout anywhere indoors or outdoors with this durable anchor point
As an affiliate, we earn on qualifying purchases.
As an affiliate, we earn on qualifying purchases.
Identify the Correct Mounting Location
Choosing the right spot for your ceiling mount is essential for both safety and ideal performance. To do this effectively, consider these key points:
Selecting the perfect ceiling spot ensures safety, optimal lighting, and seamless decor integration.
- Structural Support: Confirm the ceiling can handle the weight of your mount and fixture, especially if you’re exploring decorative options or lighting that require sturdy support.
- Lighting Considerations: Position the mount where it provides optimal illumination, avoiding glare or shadows while enhancing the room’s ambiance.
- Decorative Options: Select a location that complements your decor, such as central placement for a chandelier or a corner for a subtle fixture.
- Remote Collaboration: When planning a large installation or complex setup, consulting with professionals via remote collaboration platforms can ensure safety and precision.

Photography Studio Ceiling Camera Mount 360° Rotation Wall Ceiling Light Mount Boom Arm Up to 28.3inch for Photo Video Monolights, Umbrellas, Reflectors, Overhead with 3/8" &1/4" Thread Adapter
【Adjustable Height & 360° Rotation】The Ceiling Camera Mount Extended boom with extension bar has a longer extension length…
As an affiliate, we earn on qualifying purchases.
As an affiliate, we earn on qualifying purchases.
Verify Wall or Ceiling Material Compatibility
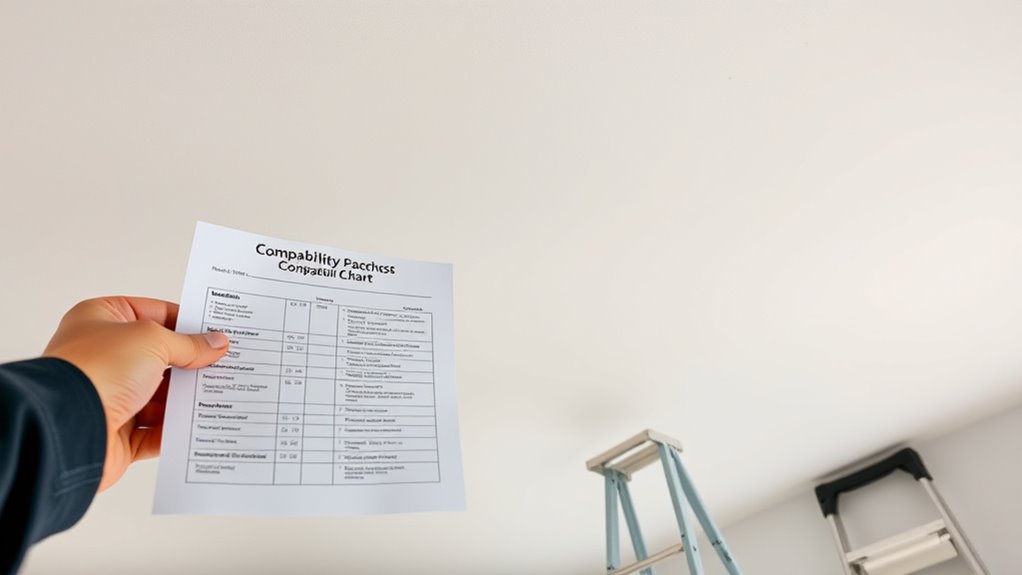
To guarantee your ceiling or wall mount is secure, you need to verify that the material of the surface can handle the installation. Start by examining the wall material or ceiling compatibility. Different surfaces, like drywall, concrete, wood, or plaster, have varying load capacities and anchoring requirements. For example, drywall may require special anchors to support weight safely, while concrete can typically bear heavier loads with proper bolts. If you’re unsure about the wall material, consult manufacturer guidelines or seek professional advice. Ensuring the surface is suitable prevents future failures or accidents. Always confirm that your chosen mounting hardware matches the wall material, and double-check the load ratings before proceeding. Proper verification helps create a safe, secure installation. Additionally, understanding the load-bearing capacity of your surface can help determine whether it can support the weight of your ceiling mount over time.
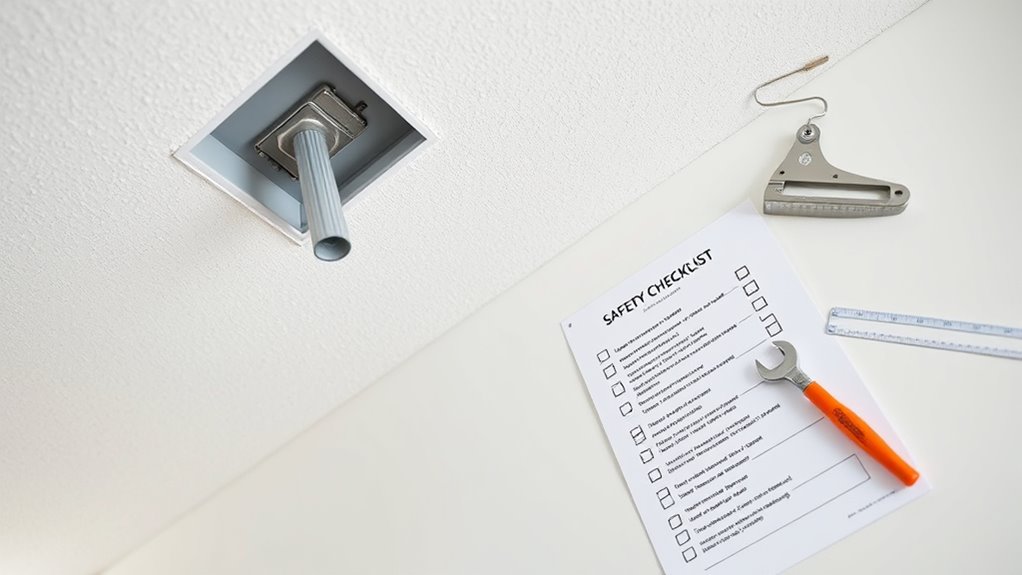
Check for Hidden Utilities and Obstructions
Before installing your ceiling mount, you need to identify any hidden utilities like electrical or water lines that could be in the way. Check for ceiling obstructions such as beams or fixtures that might interfere with placement. Finally, assess the structural support to guarantee your ceiling can safely handle the weight of the mount and the item you’re hanging. It is also helpful to ensure that your ceiling space does not contain spoiled materials or mold, which could compromise safety and cleanliness during installation.
Utility Line Locations
Have you checked for hidden utility lines and obstructions before installing your ceiling mount? Knowing the utility line locations is vital to avoid damaging electrical wiring or other hidden services. Here’s what to do:
- Contact your utility companies to request a map of underground utility lines in your area.
- Use a stud finder with a utility scanner to identify electrical wiring and pipes behind the ceiling.
- Visually inspect for any ceiling fixtures or marks indicating previous electrical work.
- Consider using self watering plant pots to help maintain indoor greenery without frequent watering, especially in areas where access might be limited due to hidden utilities.
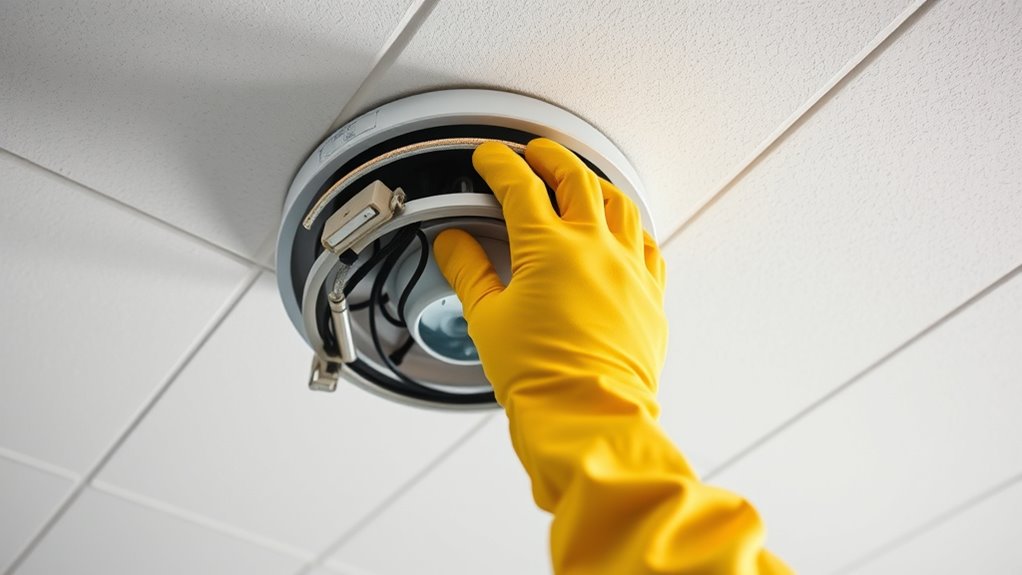
Ceiling Obstructions Check
Checking for ceiling obstructions is a key step after verifying utility line locations. You need to look for hidden utilities, lighting fixtures, and decorative elements that could interfere with your ceiling mount. Turn off power and gently inspect the ceiling surface for any fixtures or wiring that might be concealed behind the surface. Remove or move decorative elements like ceiling medallions, chandeliers, or fans if necessary. Use a flashlight to spot any hidden obstructions within the ceiling cavity. Be cautious of vents, ductwork, or other fixtures that could obstruct your installation. Ensuring a clear ceiling space helps prevent accidental damage or safety hazards during mounting. Proper color accuracy and thorough inspection help ensure your projector setup is both safe and visually optimized. Taking the time to check thoroughly saves you from surprises during the installation process.
Structural Support Assessment
Evaluating the structural support in your ceiling is crucial to guarantee it can safely bear the weight of your mount. Start by inspecting for signs of ceiling reinforcement issues, such as sagging or cracks, which indicate compromised structural integrity. Next, identify and check for hidden utilities like electrical wiring or plumbing that could obstruct secure mounting. Finally, verify the ceiling’s load capacity by consulting building codes or a professional. Remember, a strong foundation prevents accidents and ensures your mount remains secure over time. Additionally, understanding AI in Education advancements can help you stay informed about emerging technologies that might influence home automation and smart home integrations. Taking these steps minimizes risks and guarantees your setup is safe and durable. Prioritize structural support assessment to protect your investment and avoid costly damage or injury. Your careful inspection makes all the difference in a successful ceiling mount project.
Ensure Proper Load Capacity and Weight Distribution
Make certain the ceiling mount can handle the weight you plan to hang, and don’t underestimate the load limits. Check the manufacturer’s specifications to verify the maximum weight capacity. Also, assess the ceiling structure to ensure it’s strong enough to support the load safely. Consider the load capacity of the ceiling mount to prevent accidents or damage.
Verify Weight Limits
Ensuring the ceiling mount can handle the weight of your equipment is essential for safety and stability. First, always check the manufacturer’s specified weight capacity to ensure it meets or exceeds your equipment’s weight. Second, verify the safety limits for the mount and ceiling structure, avoiding overloads that could cause failure. Third, consider distributing the load evenly across multiple attachment points to prevent stress concentration. Remember, exceeding the weight capacity or safety limits increases the risk of ceiling mount failure, which can lead to damage or injury. Stay within recommended weight limits and ensure proper weight distribution to maintain a secure installation. Proper understanding of weight limits and capacity helps prevent accidents and ensures a safe, long-lasting setup. By confirming these factors, you safeguard your equipment and ensure long-term stability.
Assess Ceiling Structure
Before installing a ceiling mount, it’s vital to assess the ceiling structure to confirm it can support the load. Start by examining the ceiling material—whether it’s drywall, plaster, or drop ceiling tiles—as each has different load-bearing capabilities. Check the structural integrity of the ceiling by inspecting for cracks, sagging, or water damage, which can weaken the support system. If your ceiling is made of sturdy materials like concrete or wood, it’s more likely to handle heavier loads. Be cautious with lighter materials; they may require additional reinforcement. Remember, understanding the ceiling’s load capacity and ensuring proper weight distribution are key steps to prevent failure or accidents. Always err on the side of caution and consult a professional if you’re unsure about your ceiling’s strength.
Secure Personal Protective Equipment
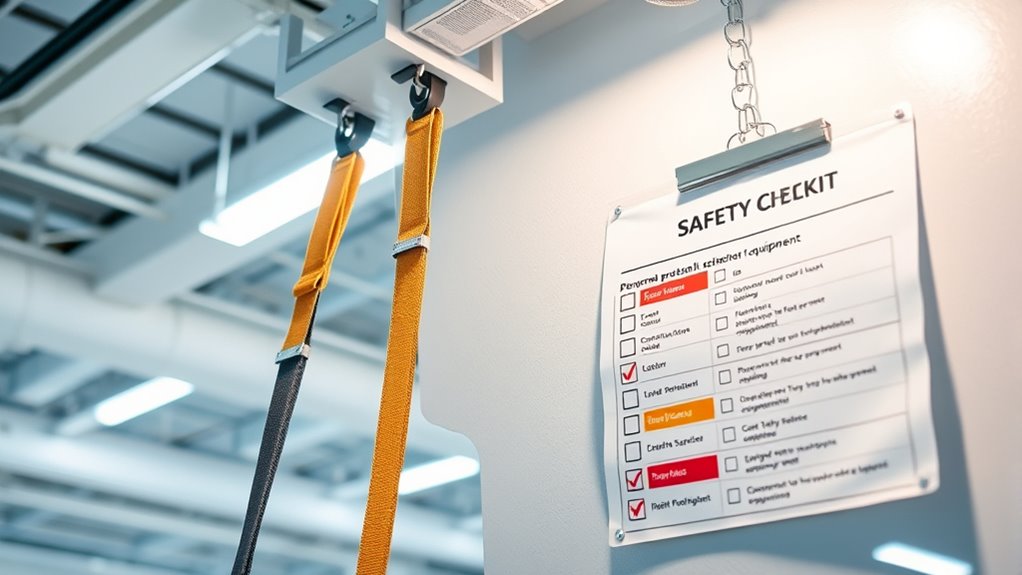
Securing your personal protective equipment (PPE) properly is essential to maintaining safety while working on ceiling mounts. Your safety gear acts as your first line of defense against potential hazards. To guarantee maximum protection, follow these steps:
- Inspect all safety gear for damage or wear before use.
- Wear your personal protective equipment correctly, ensuring a snug fit.
- Double-check that helmets, goggles, and gloves are secure and properly positioned.
- Regularly clean and replace PPE to maintain its protective integrity exfoliation benefits.
Prepare a Clear Workspace and Support System
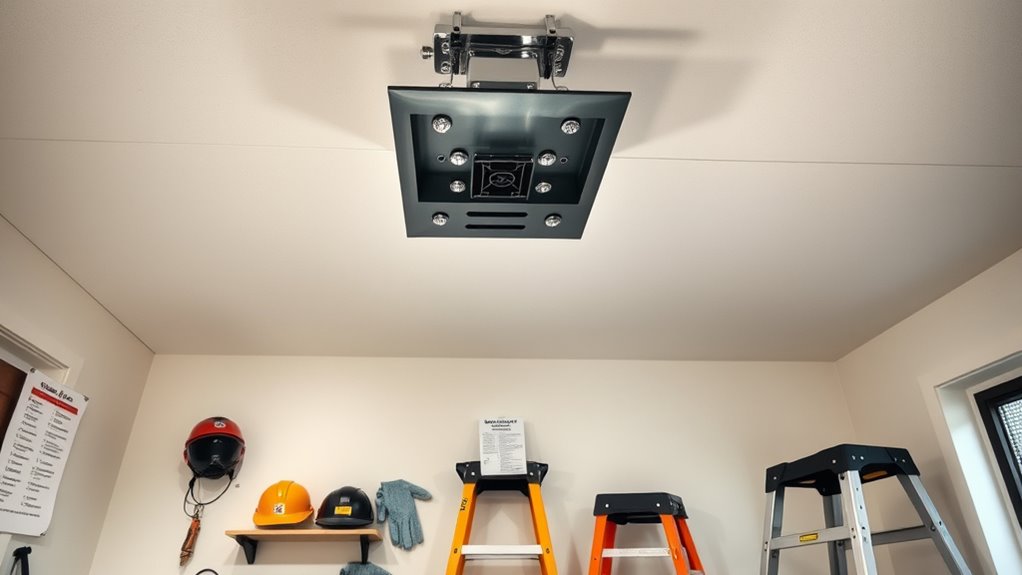
A clear workspace and reliable support system are essential for safe ceiling mount installation. Start by organizing your workspace to keep tools, hardware, and safety gear within easy reach, minimizing clutter that could cause accidents. Clear the area beneath the installation site to create enough room for movement and to prevent tripping hazards. Confirm your support system, such as sturdy ladders or scaffolding, is stable and properly positioned to support your weight safely. Use safety gear like gloves, goggles, and a helmet to protect yourself while working. A well-organized workspace reduces distractions and accidents, while a solid support system keeps you safe from falls. Incorporating space maximization techniques can help you maintain an efficient and clutter-free environment, ensuring a smoother, safer ceiling mount installation process.
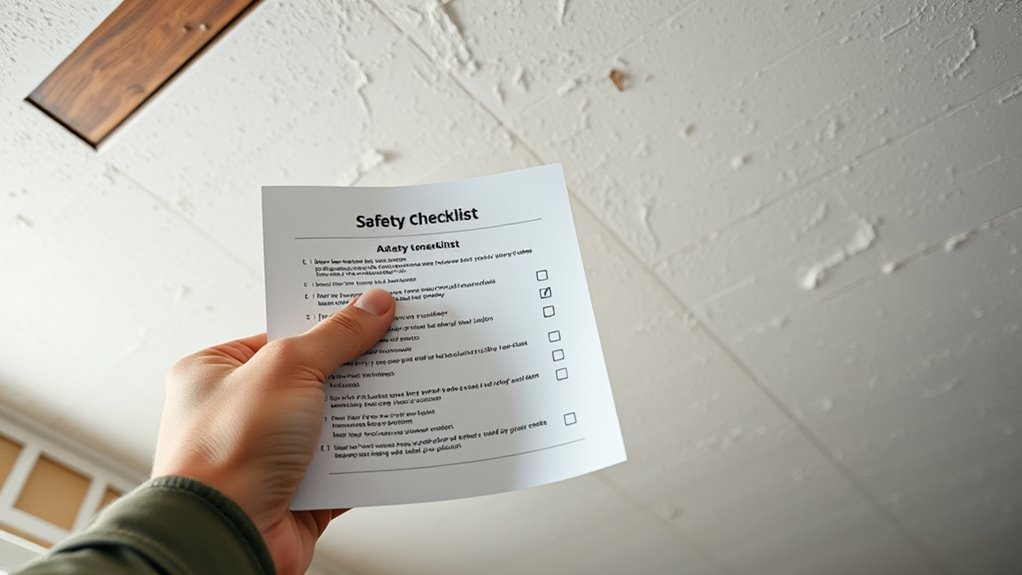
Review Manufacturer Instructions and Safety Guidelines
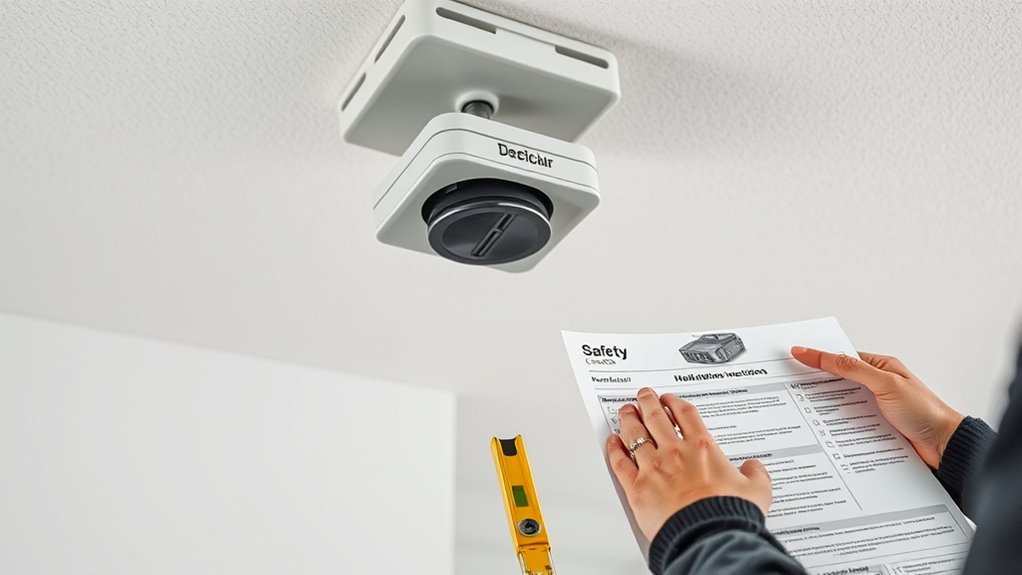
Always start by thoroughly reviewing the manufacturer’s instructions and safety guidelines before beginning your ceiling mount installation. This step is vital for guaranteeing proper installation safety and following manufacturer guidelines. To help you get started, focus on these key points:
Begin your ceiling mount project by carefully reviewing the manufacturer’s instructions and safety guidelines for secure, proper installation.
- Read the entire manual carefully to understand specific hardware requirements and installation steps.
- Identify any safety precautions, such as weight limits or electrical considerations, to prevent accidents.
- Check for recommended tools and materials to assure compatibility and secure mounting.
Frequently Asked Questions
How Do I Determine the Maximum Weight My Ceiling Can Support?
You determine your ceiling’s weight capacity by checking the ceiling strength and existing fixtures. Look for joists or beams using a stud finder, and confirm they can support the weight of your ceiling mount and equipment. Refer to the manufacturer’s specifications for the mount’s weight capacity, and verify it doesn’t exceed your ceiling’s load limits. If unsure, consult a professional to assess the ceiling’s structural integrity for safe support.
What Are Common Signs of Structural Damage Before Mounting?
You notice ceiling cracks or a sagging ceiling—danger signals that structural damage might be lurking. These signs suggest the ceiling’s support system could be compromised, risking a collapse if ignored. Don’t dismiss small cracks or uneven areas; they can worsen over time. Inspect carefully, and if you see these warning signs, consult a professional before mounting anything. Acting now can prevent accidents and guarantee your safety.
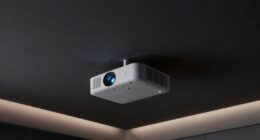
Can I Mount a Ceiling Projector Without Professional Help?
You can attempt a DIY installation of your ceiling projector if you’re confident in your skills and follow safety guidelines carefully. However, for maximum safety and proper setup, it’s often better to seek professional assistance. Professionals can ensure the mount is secure, the projector is properly aligned, and electrical connections are safe, reducing the risk of damage or accidents. Always assess your experience level before deciding on a DIY approach.
How Do I Identify if My Ceiling Has Hidden Electrical Wiring?
To identify hidden electrical wiring in your ceiling, start with an electrical inspection—look for signs like warm spots, buzzing sounds, or flickering lights. Use a wire detector or stud finder with wire detection to scan the area, revealing concealed wiring. Be cautious, as wiring concealment varies, and some wires may be behind drywall or insulation. Always prioritize safety and consider consulting a professional if you’re unsure about wiring locations.
What Safety Precautions Should I Take During Installation in High Ceilings?
When installing in high ceilings, prioritize ladder safety by making certain it’s stable and on level ground. Use personal protective equipment like gloves, goggles, and a helmet to protect yourself from debris or falling objects. Always have a spotter if possible to help stabilize the ladder. Take your time, avoid rushing, and double-check your tools and surroundings to prevent accidents. Safety comes first to ensure a secure and successful installation.
Conclusion
Once you’ve completed this checklist, you’re laying a strong foundation like a sturdy anchor, ready to support your project. Each step acts as a guiding star, illuminating your path to safety and success. Remember, a well-prepared mount is like a solid bridge—trustworthy and secure. When you prioritize safety and preparation, you’re building not just a mount, but a safe passage that holds your ambitions high and steady.