
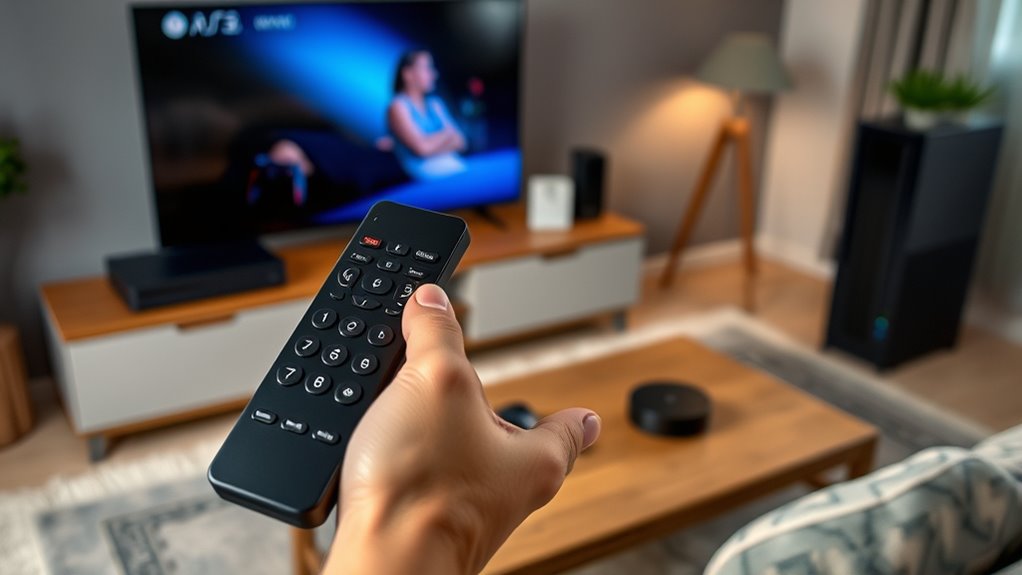
If your remote isn’t working, start by checking and replacing the batteries with fresh ones, ensuring they’re correctly aligned. Make sure there’s a clear line of sight between the remote and device sensors, free from obstructions or interference. Reset or reprogram the remote if needed, and inspect it for physical damage or dirt. Testing it on other devices can help identify issues. For more solutions, you’ll find helpful tips to restore your remote’s performance.
Key Takeaways
- Check and replace dead or corroded batteries, ensuring correct placement and contact.
- Clear obstructions and maintain a direct line of sight between remote and device sensor.
- Clean remote buttons and sensors to prevent signal blockage and dust buildup.
- Verify remote-device compatibility, re-pair if necessary, and update firmware or software.
- Inspect remote for physical damage, reset or reprogram it, or replace if issues persist.

Duracell 2032 Lithium Battery, 4 Count (Pack of 1), Child Safety Features, Compatible with Key Fob, Tea Light Candles and Other Devices, CR2032 Battery
LONG-LASTING BATTERIES DESIGNED FOR DEPENDABILITY: Duracell Lithium Coin CR2032 3 Volt batteries deliver long-lasting power and performance you…
As an affiliate, we earn on qualifying purchases.
As an affiliate, we earn on qualifying purchases.
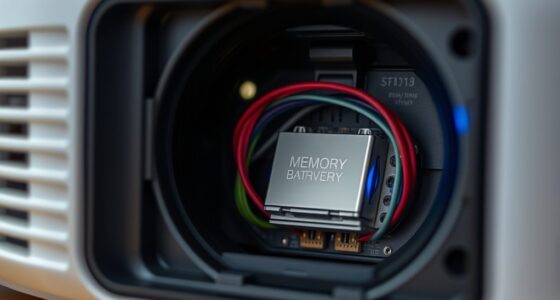
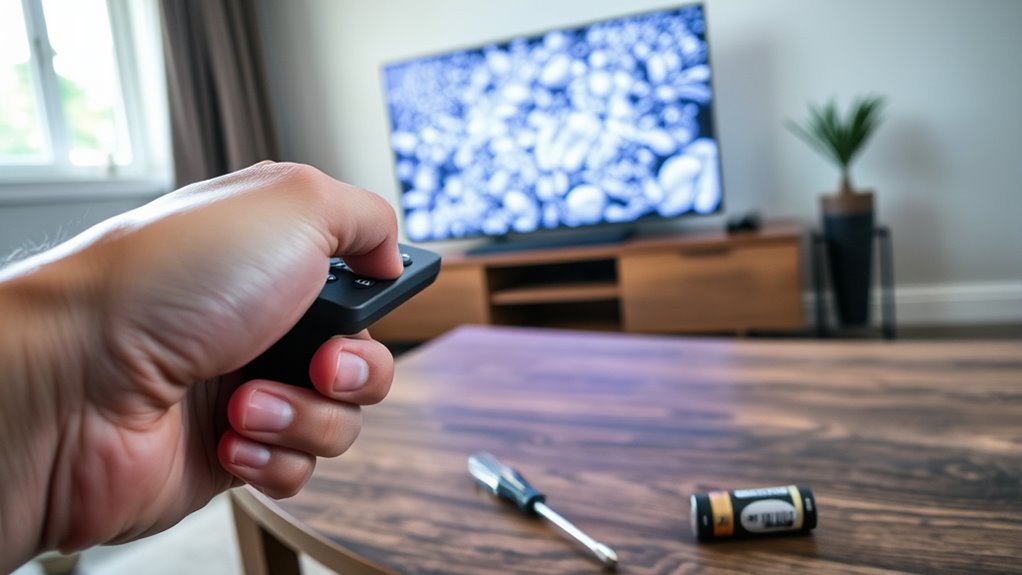
Checking and Replacing the Batteries

If your remote control isn’t responding, the first thing to check is the batteries. Low or dead batteries can easily cause your device to stop working. When inspecting, consider the remote control aesthetics—make sure the battery compartment is clean and free of corrosion. Good remote control ergonomics mean the controls should be easy to access and operate, so replacing batteries shouldn’t be complicated. Remove the back cover carefully and examine the batteries’ placement, ensuring they’re aligned correctly. If they look old or corroded, replace them with fresh, high-quality batteries. This simple step can restore functionality without needing to replace the entire remote. Properly fitted batteries also maintain good contact, improving performance and prolonging your remote’s lifespan. Additionally, understanding the industrial juice manufacturing process can remind you of the importance of quality components, which is similar to using high-quality batteries for optimal remote performance.

Zacro 24mm Full Frame Sensor Cleaning Swab*8 + 20ml Sensor Cleaner for DSLR SLR Digital Camera CMOS Sensor Cleaning, Compatible with Nikon Sony Canon (Add: 8*Cotton Swabs + 1*Cleaning Cloth)
8Pcs 24mm Sensor Cleaning Swabs: Specifically designed for the full frame sensor. Each swab features a lint-free, ultra-fine…
As an affiliate, we earn on qualifying purchases.
As an affiliate, we earn on qualifying purchases.
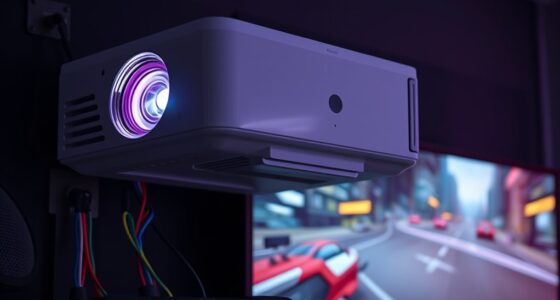
Ensuring a Clear Line of Sight
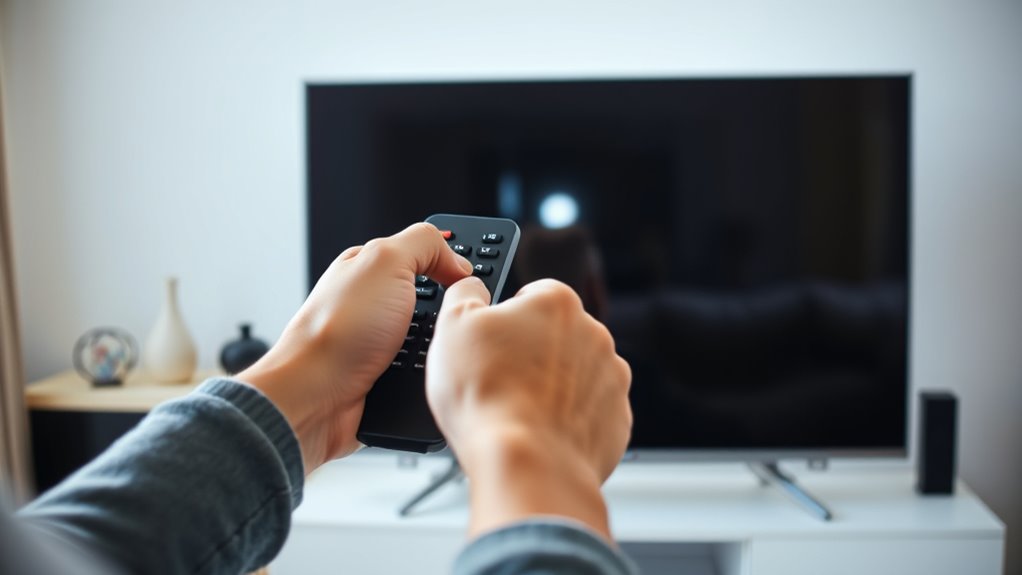
Make certain nothing blocks the remote or sensor’s view, as obstructions can prevent signals from passing through. Check that the remote’s emitter lines up directly with the device’s sensor for a clear connection. Removing any objects in the way helps ensure your remote works smoothly.
Remove Obstructions Effectively
Obstructions between your remote control and the device can considerably reduce signal strength, leading to malfunction. Even small objects like furniture or decorative items can block the infrared or RF signals. Verify a clear line of sight to prevent issues, especially when using voice commands or dealing with signal interference. To remove obstructions effectively, clear the path between the remote and sensor. Keep remote sensors unobstructed and avoid placing objects in front of the device’s receiver. Use the following table to understand common obstructions:
| Obstruction Type | Impact | Solution |
|---|---|---|
| Furniture, decor | Block signals, cause malfunctions | Rearrange or move items |
| Glass, reflective surfaces | Cause signal interference | Remove or reposition surfaces |
| Pets or people | Interrupt line of sight | Keep clear during use |
Additionally, familiarity with remote control technology can help in troubleshooting and ensuring optimal performance.
Verify Remote and Sensor Alignment
Ensuring that your remote and sensor are properly aligned is essential for reliable operation. Start by pointing the remote directly at the sensor, avoiding any obstructions that could block the signal. Check that the buttons are paired correctly; sometimes, re-pairing the remote can resolve communication issues. Be aware of potential signal interference from nearby electronic devices like routers, cordless phones, or fluorescent lights, which can disrupt the remote’s signals. Keep the remote and sensor within the recommended range, usually a few feet, for optimal performance. If the remote still doesn’t respond, test it with another device or replace the batteries. Proper alignment, combined with minimizing signal interference, ensures your remote functions smoothly. Additionally, understanding lifestyle factors like remote work habits can help you create a more comfortable and efficient space for troubleshooting and everyday use.

LEDGlow Replacement Wireless Remote for Motorcycle LED Lighting Kits
Replacement Wireless Remote for your LEDGlow Motorcycle LED Lighting Kit
As an affiliate, we earn on qualifying purchases.
As an affiliate, we earn on qualifying purchases.
Resetting or Reprogramming the Remote
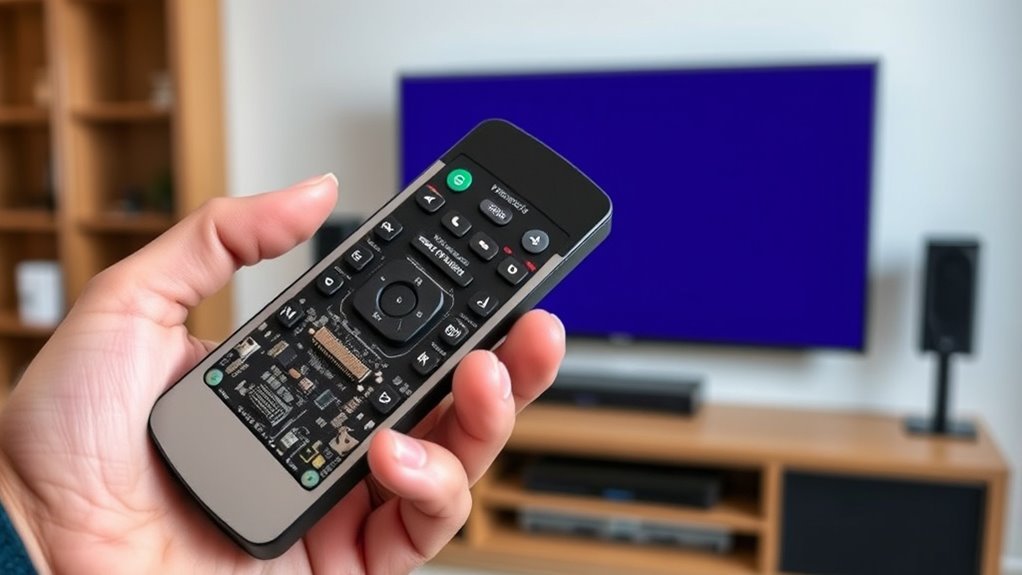
If your remote isn’t working properly, resetting or reprogramming it might fix the issue. You can reprogram remote codes or reset the settings to restore functionality. This process often solves common problems and gets your remote working like new. Ensuring your remote is compatible with your device’s projector technology can also improve its effectiveness.
Reprogram Remote Codes
Sometimes, your remote may need to be reprogrammed or reset to work properly again. To do this, you’ll need to perform remote programming to establish proper code synchronization between your remote and device. First, locate the correct code for your device model, often found in the user manual or online. Then, follow the manufacturer’s instructions to input the code into your remote. This process ensures that the remote’s signals match what your device expects, restoring full functionality. If the initial code doesn’t work, try alternative codes for your device. Reprogramming your remote is a straightforward way to fix unresponsive buttons or malfunctioning controls without replacing the remote entirely. Proper code synchronization is key to getting your remote functioning smoothly again. Additionally, ensuring that your remote is compatible with your device, such as using diverse designs and materials, can prevent future issues.
Reset Remote Settings
When your remote stops responding properly, resetting its settings can often restore normal function. Start by removing the batteries and checking the remote control aesthetics—look for any dirt or damage that might interfere with buttons. Reinsert the batteries, ensuring they’re properly aligned, and consider resetting the remote control packaging if it has a reset button or instructions. Many remotes have a specific reset process, like pressing and holding certain buttons or using a small pin to press a reset hole. This clears any stored codes or settings that could be causing issues. After resetting, reprogram or pair the remote as needed. Resetting the remote often solves unresponsive buttons and restores smooth operation, saving you from replacing the entire remote. Additionally, understanding remote control protocols can help troubleshoot compatibility issues.

Cable Matters Infrared Remote Extender Cable – 6ft, IR Repeater Kit Cable, IR Extender, USB Infrared Remote Blaster Cord Up to 15ft Signal Range, NOT Compatible with RF Signals
IR Remote Control Cable: This IR remote control cable extends the signal to a video source like a…
As an affiliate, we earn on qualifying purchases.
As an affiliate, we earn on qualifying purchases.
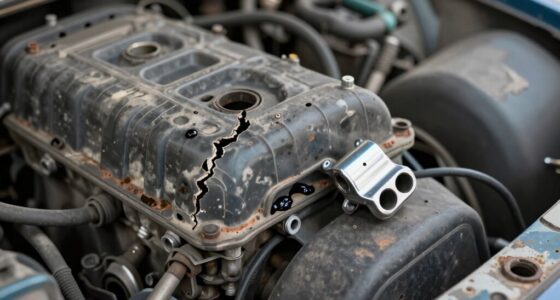
Inspecting for Physical Damage
Before delving into troubleshooting, it’s essential to visually inspect your remote control for any signs of physical damage. Look for cracks, dents, or loose buttons that could interfere with operation. Check the remote’s casing for any broken or missing parts. Damaged physical components can disrupt internal wiring, preventing signals from reaching your device properly. Open the battery compartment to see if corrosion or corrosion-related damage has affected the internal wiring. If you notice any exposed or frayed wires inside, this could be the root of the problem. Addressing physical damage early can save you time and effort later. Additionally, understanding the importance of quality assessment can help determine whether your remote needs repair or replacement to ensure reliable performance.
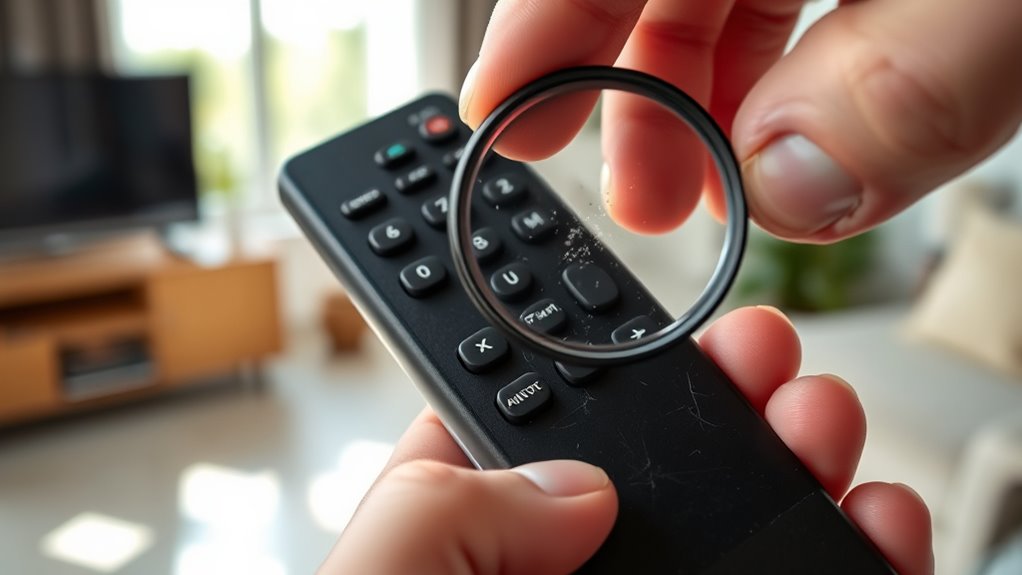
Cleaning the Remote Control and Sensors

After checking for physical damage, the next step is to clean your remote control and its sensors. Over time, dirt and grime accumulate on the remote control design, affecting button responsiveness. Also, dust on sensors can block signals. Use a soft, slightly damp cloth to wipe the remote’s surface, paying attention to buttons and crevices. For stubborn dirt, a cotton swab lightly dipped in rubbing alcohol works well. Keep in mind the remote control aesthetics; a clean remote looks better and works more efficiently. Here’s a quick guide:
| Step | Action | Tips |
|---|---|---|
| Surface Cleaning | Wipe with microfiber cloth | Avoid harsh chemicals |
| Button Cleaning | Use cotton swab with rubbing alcohol | Be gentle to prevent damage |
| Sensor Cleaning | Carefully clean sensor area | Prevent signal blockage |
| Final Check | Ensure buttons are responsive | Re-test remote functionality |
Additionally, ensure the remote’s infrared or Bluetooth sensor is free from obstructions, as signal interference can prevent proper operation.
Testing the Remote With Different Devices
To determine whether your remote control is functioning properly, you should test it with different devices. This helps you assess remote control compatibility across various electronics. Point the remote at each device and press buttons to see if it responds. If it works with some devices but not others, you might face remote signal interference from nearby electronics or obstacles blocking the signal. Make sure there’s a clear line of sight and no other devices emitting IR signals that could cause interference. If the remote isn’t working universally, it suggests a problem with the remote itself rather than the devices. Testing with multiple gadgets helps narrow down whether the issue is with the remote or the specific device you’re trying to control. Additionally, consider whether your remote’s design incorporates gears and mechanical elements, which can sometimes affect its internal infrared components and overall functionality.
Updating Device Firmware or Software
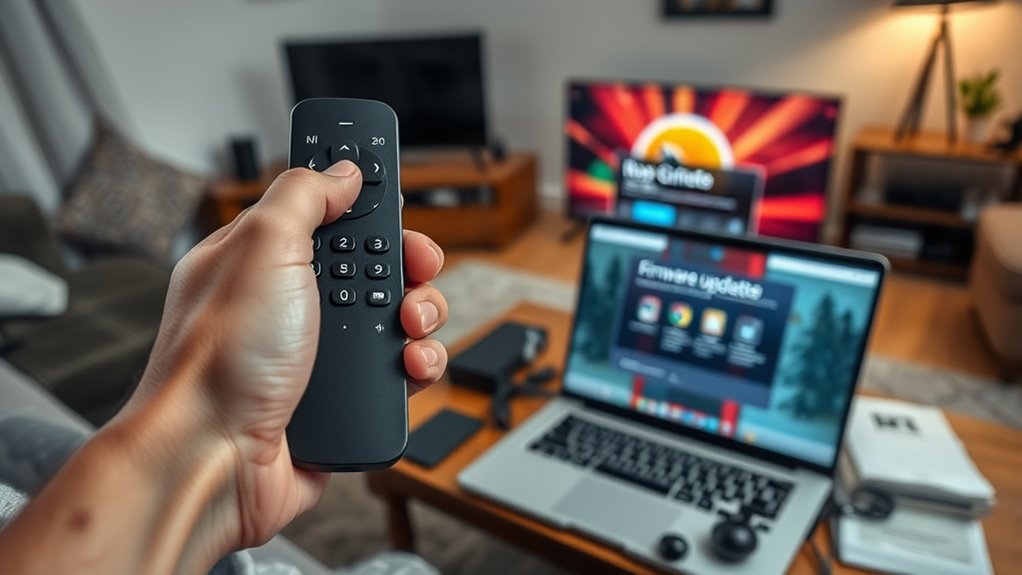
Updating the firmware or software on your device can often resolve remote control issues by fixing bugs or improving compatibility. When your device’s software is outdated, it may not communicate properly with your remote, leading to unresponsiveness or limited functionality. Performing a software update guarantees your device is running the latest version, which enhances device compatibility and smooth operation. To do this, visit the manufacturer’s website or access the device’s settings menu, where updates are typically available. Follow the instructions carefully to install the latest firmware or software. Regular updates help prevent issues caused by outdated software and guarantee your remote functions correctly with your device. Keep your device current to maintain ideal performance and avoid unnecessary troubleshooting.
Considering Replacement Options

Sometimes, despite updating your device’s firmware or software, remote control problems persist. If that’s the case, it’s time to contemplate replacement options. Universal remotes are a popular choice because they can control multiple devices with a single unit, reducing the need for several remotes cluttering your space. If your current remote is old or broken beyond repair, replacing it might be the simplest solution. You can choose a universal remote compatible with your devices or opt for a brand-specific replacement. When shopping, consider features like voice control, backlit buttons, or smart home integration. Replacing your remote can quickly restore functionality and improve your overall experience, especially if troubleshooting doesn’t resolve the issues.
Frequently Asked Questions
How Do I Program a Universal Remote for Multiple Devices?
To program a universal remote for multiple devices, start with the multi device setup by pressing the device button (like TV or DVD). Then, enter the programming code from the remote’s manual or use auto-search. Press and hold the setup button until the indicator lights, then release and press the device button again. Follow prompts to complete programming, ensuring your remote controls each device smoothly.
What Should I Do if the Remote’s Buttons Are Sticky or Stuck?
Your remote buttons feel like they’ve been glued shut, but don’t worry—this is a sticky remote fix! First, try remote button cleaning with a soft cloth and a little rubbing alcohol to loosen grime. For stubborn stickiness, carefully remove the battery cover and spray a small amount of electronic cleaner or isopropyl alcohol on a cloth, then gently wipe the buttons. This simple fix can make your remote work smoothly again!
Can Environmental Factors Interfere With Remote Signal Transmission?
Environmental factors like electromagnetic interference from nearby electronics or physical obstructions can disrupt your remote’s signal transmission. You might notice your remote stops working or responds intermittently. To fix this, move closer to the device and make certain no objects block the line of sight. Keep electronic devices that emit electromagnetic interference away from your remote and receiver to improve signal clarity and maintain smooth operation.
How Do I Troubleshoot a Remote That Only Works Intermittently?
If your remote only works intermittently, start by checking the battery connection to verify it’s secure and fresh. Then, examine the remote sensor for any obstructions or dirt that could block signals. Test the remote close to the device to rule out sensor issues. Replacing batteries or cleaning the sensor often fixes these problems, restoring consistent operation. If issues persist, consider testing with another remote to identify hardware faults.
Are There Specific Remote Controls Compatible With Smart Home Devices?
Imagine your smart home as a symphony, needing the right conductor. Many remote controls are like skilled conductors, designed for compatibility with specific devices. When choosing remote control compatibility, look for ones labeled for smart home integration—these seamlessly connect with your smart devices. Opt for universal remotes or dedicated remotes from your device’s brand to guarantee smooth harmony, making controlling your smart home effortless and intuitive.
Conclusion
When your remote finally responds after checking batteries, clearing obstacles, and cleaning sensors, it feels like a small victory—like catching the perfect sunset just as the clouds part. Sometimes, all it takes is a simple reset or a quick firmware update to bring your devices back to life. Keep these tips in mind, and you’ll be surprised how often a little troubleshooting can turn frustration into a seamless, almost effortless, TV experience.