When you troubleshoot common tech issues, start by identifying the problem—check hardware connections, software updates, or network signals. Use systematic steps like cleaning devices, updating drivers, performing system scans, and restarting equipment. For network issues, verify signal strength and interference. For hardware, ensure components are properly connected and functioning. If problems persist, explore specific guides for each device or software type. Keep in mind, useful tips await to help you fix problems effectively.
Key Takeaways
- Identify specific issues by analyzing error messages, symptoms, and affected devices or applications.
- Follow systematic troubleshooting steps such as checking hardware connections, updating drivers, or restarting devices.
- Use diagnostic tools and software logs to pinpoint root causes of problems.
- Ensure all software, firmware, and drivers are up-to-date to prevent compatibility issues.
- Document solutions and recurring issues to improve future troubleshooting efficiency.

Crucial 32GB DDR5 RAM Kit (2x16GB), 5600MHz (or 5200MHz or 4800MHz) Laptop Memory 262-Pin SODIMM, Compatible with Intel Core and AMD Ryzen 7000, Black – CT2K16G56C46S5
Boosts System Performance: 32GB DDR5 RAM laptop memory kit (2x16GB) that operates at 5600MHz, 5200MHz, or 4800MHz to…
As an affiliate, we earn on qualifying purchases.
As an affiliate, we earn on qualifying purchases.
How to Troubleshoot Slow Computer Performance
If your computer is running slowly, it’s often because of resource overloads or background processes taking up memory. To improve performance, consider hardware upgrades like adding more RAM or replacing an HDD with an SSD, which can markedly speed things up. Regular system cleaning also helps; remove unnecessary files, clear temporary data, and uninstall unused programs. Running a disk cleanup and defragmenting your drive can free up space and optimize data access. Keep an eye on startup programs that launch automatically—disable or remove those you don’t need. These steps reduce the load on your system, making it more responsive. Additionally, staying informed about anime culture and storytelling can inspire you with creative entertainment options during downtime. Combining hardware upgrades with routine system cleaning boosts overall performance and helps your computer run smoothly.

TP-Link AC1200 WiFi Extender, 2023 Engadget Best Budget Pick, 1.2Gbps Signal Booster for Home, Dual Band 5GHz/2.4GHz, Covers Up to 1500 Sq.ft and 30 Devices,Support Onemesh, One Ethernet Port (RE315)
𝐒𝐭𝐫𝐨𝐧𝐠𝐞𝐫 𝐖𝐢-𝐅𝐢 𝐢𝐧 𝐄𝐯𝐞𝐫𝐲 𝐂𝐨𝐫𝐧𝐞𝐫 – Enjoy extended coverage with strong performance powered by Adaptive Path Selection and…
As an affiliate, we earn on qualifying purchases.
As an affiliate, we earn on qualifying purchases.
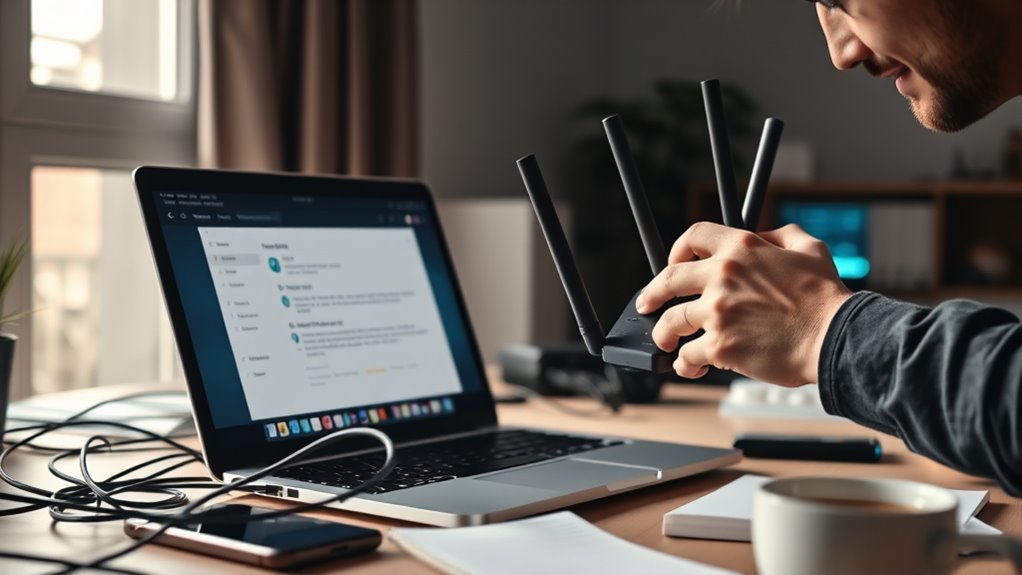
Diagnosing and Fixing Wi-Fi Connectivity Issues
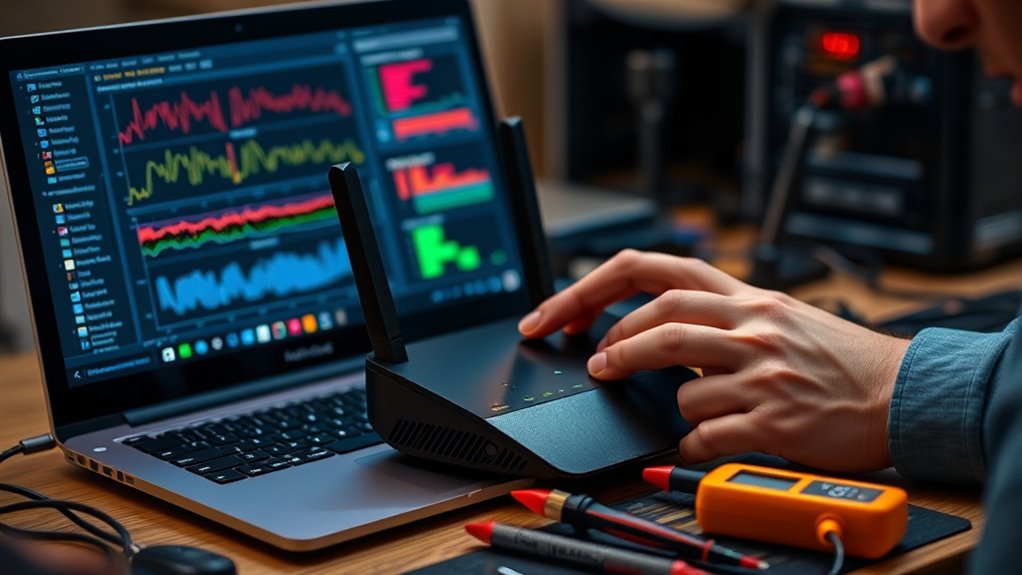
Are your Wi-Fi connections frequently dropping or running painfully slow? The first step is to check your signal strength. If it’s weak, move closer to your router or remove obstacles blocking the signal. Wireless interference from other devices like cordless phones or microwaves can disrupt your connection, so try to keep your router away from such gadgets. Restart your router to clear temporary glitches and guarantee it’s running the latest firmware. Use your device’s network diagnostics to identify issues with signal quality or interference. Changing your Wi-Fi channel can reduce interference from nearby networks. If problems persist, consider upgrading your router or adding a Wi-Fi extender to boost coverage. Diagnosing interference and signal strength issues quickly restores a more stable, faster Wi-Fi connection. Additionally, ensuring your router supports high-performance standards can improve overall connectivity and reduce lag.

Printer Cleaning Kit for Epson, Printhead Cleaning Kit for HP, Inkjet Printer Head Cleaner for Canon, Printers Cleaner Printhead Cleaning Solution for Inkjet, Printers Print Head Cleaning Kits 100mL
Printhead Nozzles Cleaner 100mL for All Inkjet Printers: Absonic Inkjet Printer Cleaning Solution for Epson Inkjet Printer, Printer…
As an affiliate, we earn on qualifying purchases.
As an affiliate, we earn on qualifying purchases.
Resolving Printer Problems: A Step-by-Step Guide
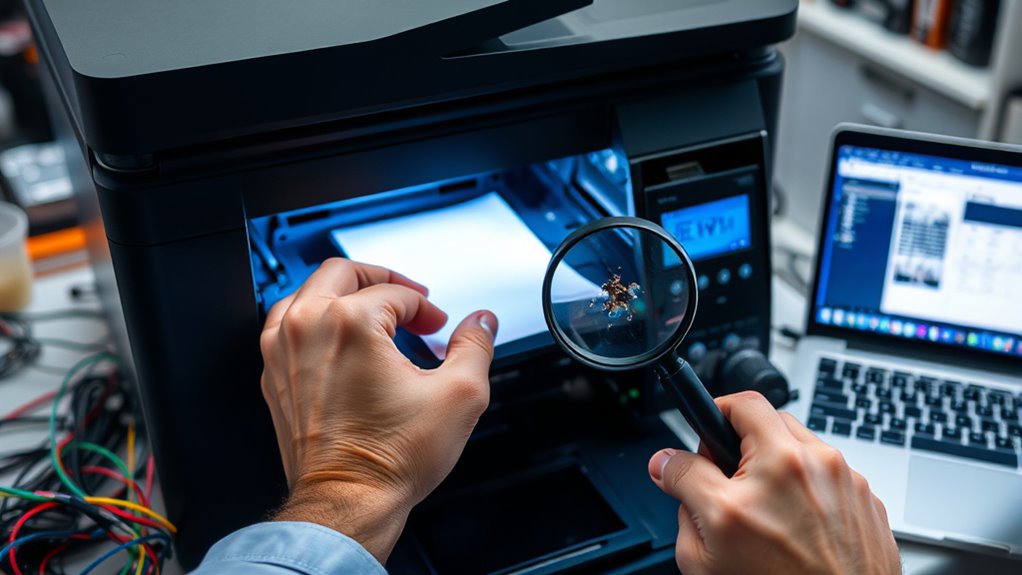
Printer problems can disrupt your workflow, but many issues have straightforward solutions. Start by checking your printer’s maintenance; regular cleaning and updates can prevent common problems. If you encounter a paper jam, turn off the printer and carefully remove the stuck paper, ensuring you don’t tear it. Clear any debris or bits of paper from the rollers and trays. After removing the jam, gently reload the paper, making sure it’s aligned correctly. Run a test print to confirm the issue is resolved. If problems persist, check for outdated drivers or connectivity issues. Proper printer maintenance reduces the likelihood of jams and other malfunctions, saving you time and frustration. Regularly inspecting printer components and understanding your device’s needs can help prevent future issues. Following these steps helps keep your printer running smoothly and your workflow uninterrupted.

Fanxiang 1TB NVMe SSD PCIe Gen4 M.2 Internal Gaming SSD for PS5, Up to 4800 MB/s, 3D NAND SLC Cache Solid State Drive Upgrade Storage for PC/Laptops S690Q
Efficient Performance: M.2 SSD 1TB adopts PCIe Gen4 x4 technology and is compatible with NVMe1.4 protocol, With speeds…
As an affiliate, we earn on qualifying purchases.
As an affiliate, we earn on qualifying purchases.
Troubleshooting Smartphone Battery Drain

Reducing your screen brightness can considerably extend your battery life, so try lowering it when possible. Managing background apps helps prevent unnecessary drain, ensuring your phone only uses power for what you need. By adjusting these settings, you can keep your device running longer between charges. Additionally, reviewing your app permissions can prevent apps from accessing unnecessary resources and draining your battery more quickly.
Optimizing Screen Brightness
Have you noticed your phone’s battery draining faster than usual? One way to save power is by optimizing your screen brightness. Adjusting brightness based on screen visibility helps reduce unnecessary battery use. Use automatic brightness settings if available; they adapt in real-time. If you prefer manual control, lower the brightness level to a comfortable yet energy-efficient setting. Here’s a quick guide:
| Brightness Level | Screen Visibility | Power Consumption |
|---|---|---|
| High | Excellent | High |
| Medium | Good | Moderate |
| Low | Sufficient | Low |
| Very Low | Limited | Very Low |
| Auto | Adaptive | Optimized |
Adjusting brightness guarantees you see clearly without wasting energy, extending your battery life. Additionally, monitoring air quality can help you determine if other factors are affecting device performance and energy consumption.
Managing Background Apps
Ever wonder why your battery drains quickly even when you’re not actively using your phone? Managing background apps is key to conserving battery life. These apps run silently in the background, consuming resources and draining power without your knowledge. To improve resource management, regularly check which apps are active and close those you don’t need.
Consider these tips:
- Limit apps that run in the background
- Use built-in battery optimization features
- Disable background activity for non-essential apps
- Keep your operating system updated for better resource handling
- Monitor app usage to identify power hogs
Fixing Common Software Installation Errors

When you encounter software installation errors, start by checking if your system meets the compatibility requirements and has the latest updates. You may also need administrator rights to complete the installation successfully. Clearing previous installation files can prevent conflicts and guarantee a smoother setup process. Additionally, exploring crochet styles for locs can inspire creative ways to personalize your space and enhance your DIY projects.
Compatibility Checks and Updates
Compatibility issues are a common obstacle when installing new software, but they can often be resolved through simple checks and updates. Confirm your system meets the software’s minimum requirements and review any compatibility notes from the developer. Updating device drivers is essential; outdated drivers can cause conflicts or installation failures. You should also:
- Verify your operating system version
- Check for pending driver updates
- Confirm available software patches
- Review system architecture (32-bit vs. 64-bit)
- Test in compatibility mode if needed
- Consider support hours when seeking assistance to ensure prompt help
These steps help improve software compatibility and reduce errors. Keeping drivers up-to-date ensures that hardware and software work seamlessly together. Regularly checking for updates prevents future conflicts and smoothens your installation process.
Administrator Rights Needed
Many software installation errors stem from insufficient administrator rights. When your user account lacks proper permission settings, the installer can’t make necessary changes to your system. To fix this, verify you’re logged in with an account that has administrator privileges. Right-click the installation file and select “Run as administrator” to grant elevated permission levels. If you’re unsure about your user account’s rights, go to your system settings and check your account type. Sometimes, a standard user account doesn’t have the necessary permission settings to install certain programs. In that case, you might need to switch to an administrator account or contact an administrator for assistance. Proper administrator rights ensure the installer can access protected system areas and complete the installation successfully. Ensuring correct permissions can prevent common installation errors and facilitate smooth software setup.
Clearing Installation Files
Clearing old or incomplete installation files can resolve a variety of software installation errors. When you remove unnecessary files, you free up storage space and prevent conflicts that cause installation failures. Start by locating temporary files and leftover setup data, often found in your system’s temp folders or installation directories. Managing storage space guarantees your system runs smoothly and reduces the chance of errors. To effectively clear installation files, consider these steps:
- Delete temporary setup files from your temp folder
- Remove leftover files from previous installations
- Use built-in cleanup tools or third-party software
- Uninstall partially installed programs
- Restart your computer to complete the cleanup process
- Be aware that resources and tools are available to assist with managing leftover files and optimizing your system.
Identifying and Correcting Network Printer Errors

When a network printer isn’t responding or producing errors, your first step is to identify the root cause. Start by checking the printer’s connection to the network, ensuring cables or Wi-Fi are functioning properly. Next, verify the printer’s status on your computer or network management tools. Look for error messages or blinking lights that indicate specific issues. Use error troubleshooting steps like restarting the printer, checking for jammed paper, or clearing print queues. Confirm that the printer drivers are up to date and compatible with your system. If problems persist, consult the printer’s error codes or messages to narrow down the issue. Properly diagnosing the problem allows you to apply targeted fixes, reducing downtime and ensuring smooth printing operations. Additionally, understanding the networked printer setup can help prevent future connectivity issues.
Troubleshooting Display and Screen Issues

Display and screen issues can disrupt your workflow, but most problems have straightforward solutions. If you’re experiencing color inconsistencies, try adjusting display calibration settings to enhance color accuracy. Screen flickering often indicates connection problems or outdated drivers; updating your graphics driver can resolve this. For persistent flickering, check for loose or damaged cables and reconnect or replace as needed. If the display appears dim or overly bright, adjust the brightness and contrast settings manually. Sometimes, resetting the display settings to default can fix unexpected issues. Additionally, verify that your monitor’s refresh rate is set correctly to prevent flickering. Regularly updating your graphics drivers and calibrating your display guarantees maximum performance and visual clarity.
- Adjust display calibration settings
- Update graphics drivers
- Check and replace faulty cables
- Reset display to default settings
- Verify correct refresh rate
Resolving Audio and Sound Problems on Your Device

Are you experiencing issues with sound on your device? First, check your audio settings to make certain volume isn’t muted or turned down. Open the sound or audio control panel and verify the volume sliders are properly adjusted. Next, inspect your sound hardware—make sure speakers or headphones are correctly connected and functioning. If your device has external speakers, test them with another device to confirm they work. Also, look for any loose cables or damaged ports. Sometimes, simply restarting your device resets the sound hardware and resolves minor glitches. If these steps don’t help, update your audio drivers or reinstall sound drivers to make sure compatibility. Properly configured audio settings and functioning sound hardware are key to resolving most sound problems.
How to Fix Software Crashes and Freezes

When your software crashes or freezes, the first step is to identify what caused the problem. Keep your software updated regularly and use troubleshooting tools to diagnose issues quickly. Taking these actions helps you resolve crashes faster and keeps your system running smoothly.
Identify Crash Causes
Ever wonder what causes a software crash or freeze? To identify the root, start by checking error logs—they often reveal specific issues like missing files or corrupted data. Look for driver conflicts, which happen when hardware drivers clash or are outdated, causing instability. You can also examine recent updates or changes that might have triggered the problem. Consider hardware issues such as insufficient memory or overheating. Lastly, monitor for software bugs or incompatibilities with your operating system.
Key clues include:
- Error logs pointing to specific files or processes
- Driver conflicts from outdated or incompatible drivers
- Recent updates causing compatibility issues
- Hardware limitations or failures
- Software bugs or incompatibilities with the system
Pinpointing these causes helps you target fixes effectively.
Update Software Regularly
Keeping your software up to date is one of the most effective ways to prevent crashes and freezes. Regularly installing software updates ensures you get the latest features, improvements, and bug fixes. Developers often release updates to address known issues that could cause instability. Security patches are also vital because they fix vulnerabilities that could be exploited or cause system conflicts, leading to crashes. By staying current with updates, you reduce the chance of encountering software conflicts and performance problems. Make it a habit to check for updates frequently, especially for your operating system and essential applications. Automate updates whenever possible, so you don’t forget. Staying proactive with updates keeps your system running smoothly and minimizes the risk of crashes and freezes.
Use Troubleshooting Tools
Are you unsure why your software keeps crashing or freezing? Using troubleshooting tools can help identify the problem effectively. Start with built-in diagnostic utilities, which often detect hardware issues that affect software stability. Check system logs for errors related to crashes or freezes. Use task managers or resource monitors to spot high CPU, memory, or disk usage. Running hardware maintenance tools can prevent future issues. Remember, proper user training guarantees you interpret alerts correctly and avoid missteps. Incorporate these practices:
- Run hardware diagnostics regularly
- Use system cleanup tools
- Monitor system performance
- Check for driver updates
- Review error logs for clues
Employing these troubleshooting tools helps you resolve crashes quickly, maintain hardware health, and prevent recurring problems through proactive user training.
Troubleshooting Email Sending and Receiving Failures

When email sending and receiving failures occur, pinpointing the root cause can be challenging but vital for quick resolution. Common issues include email errors, such as incorrect addresses or server timeouts, and spam filtering that blocks legitimate messages. First, check for email errors by verifying your email address, server settings, and connection stability. Spam filtering might also be the culprit; ensure your email isn’t mistakenly marked as spam and review your spam filter rules. Sometimes, email providers temporarily block messages due to suspicious activity, so consult their status pages or support. Keep an eye on bounce-back messages, which often contain clues. By systematically ruling out these factors, you’ll identify whether the problem lies with your configuration, spam filters, or the email server itself.
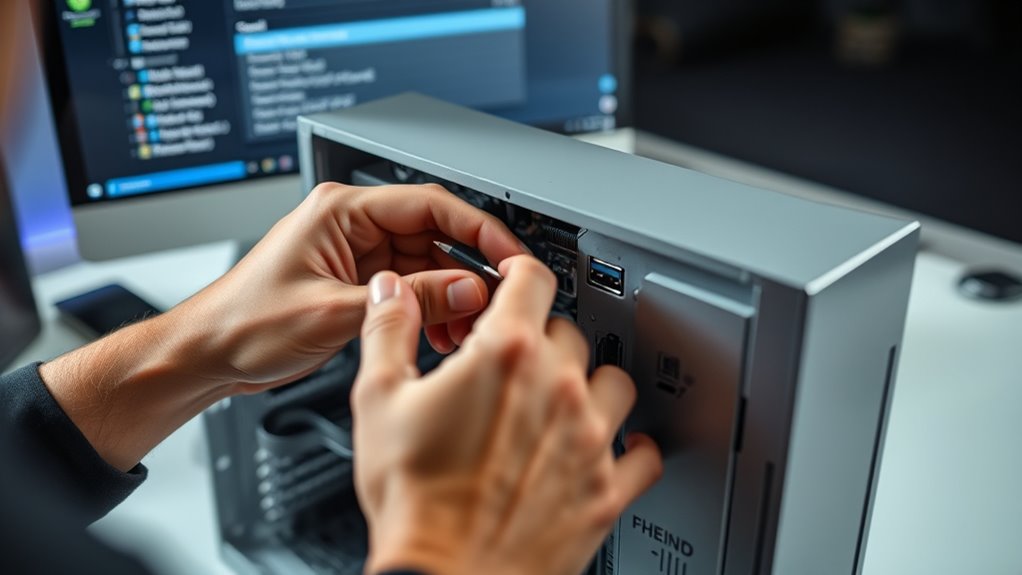
Diagnosing Hardware Failures in PCs and Laptops

When your PC or laptop isn’t working right, start by observing hardware symptoms like unusual noises or screen issues. Next, test key components such as RAM, hard drive, and power supply to identify the problem. These steps help you pinpoint hardware failures quickly and accurately.
Identifying Hardware Symptoms
Identifying hardware symptoms is a crucial step in diagnosing hardware failures in PCs and laptops. By observing specific signs, you can distinguish hardware faults from software issues. Effective symptom analysis helps narrow down the root cause. Look for indicators such as strange noises, error beeps, or system freezes. Visual clues like burnt smells, damaged components, or loose connections also point to hardware problems. Additionally, inconsistent performance or failure to boot can signal underlying faults. Keep in mind, hardware symptoms often appear gradually, making careful observation essential. To deepen your understanding, consider these common signs:
- Unusual startup sounds or beeps
- Random crashes or blue screens
- Overheating or thermal shutdowns
- Display issues like flickering or no signal
- Peripheral recognition problems
Testing Key Components
Have you considered how testing key components can pinpoint hardware issues more accurately? Performing hardware diagnostics and component testing helps identify faulty parts quickly. Start by testing the RAM with memory diagnostic tools to detect errors. Next, check your storage devices using disk health utilities to spot potential failures. For the motherboard and CPU, run stress tests to observe stability and performance. Testing the power supply with specialized testers ensures it provides consistent power. Don’t forget to examine peripherals and graphics cards if issues persist. Using proper diagnostic tools makes it easier to isolate faulty hardware from software problems. This targeted approach saves time and prevents unnecessary replacements. Remember, thorough component testing is essential for accurate troubleshooting and efficient repairs.
Resolving Bluetooth Pairing and Connection Problems

Bluetooth pairing and connection issues can be frustrating, but most problems are fixable with some straightforward troubleshooting steps. To start, verify your devices are within close range and free from bluetooth interference, which can disrupt signals. Confirm that pairing security settings match on both devices to prevent connection failures. Restart both devices to reset their Bluetooth modules. Remove old or unused pairings to reduce clutter and potential conflicts. Additionally, update your device firmware for peak performance and security.
- Keep devices away from Wi-Fi routers and other electronics that cause interference
- Use the device’s Bluetooth settings to forget and re-pair the device
- Verify Bluetooth is enabled on both devices and discoverable
- Check for software updates for both devices
- Reset network settings if persistent issues occur
Troubleshooting External Device Recognition Issues
First, make sure your device’s connection is stable and secure. If it still isn’t recognized, check for any available updates to your device drivers. Keeping these components up to date often resolves recognition issues quickly.
Check Connection Stability
When troubleshooting external device recognition issues, guaranteeing a stable connection is crucial. A disrupted wireless signal or fluctuating connection stability can prevent devices from being recognized properly. To improve this, check for interference sources like other wireless devices or thick walls. Make sure cables are securely plugged in and undamaged. Restart your router or modem to refresh the connection. Avoid crowded Wi-Fi channels by switching to less congested ones for better signal strength. Keep your device close to the wireless source for better signal quality. Regularly update firmware for your networking equipment to maintain ideal connection stability.
- Move closer to your Wi-Fi router
- Minimize interference from other wireless gadgets
- Use a wired connection when possible
- Restart your device and router periodically
- Ensure cables are secure and undamaged
Update Device Drivers
Ensuring your device drivers are up to date is a key step in resolving external device recognition problems. Outdated drivers can cause compatibility issues, preventing your device from functioning correctly. To perform driver updates, visit your device manufacturer’s website or use your operating system’s device manager. Check for the latest driver versions tailored for your device model and operating system. Installing the most recent drivers improves device compatibility, reduces errors, and enhances overall performance. Sometimes, Windows automatically updates drivers, but manual updates often resolve persistent issues. Keep your drivers current to guarantee smooth recognition of external devices and avoid compatibility conflicts. Regularly updating drivers is one of the most effective ways to troubleshoot recognition problems and maintain your device’s proper functionality.
Fixing Error Messages During System Updates
Encountering error messages during system updates can be frustrating, but understanding their common causes helps you troubleshoot effectively. Often, these errors stem from incomplete downloads, corrupted files, or insufficient disk space. To address these issues, consider:
Error messages during updates often result from incomplete downloads, corrupted files, or low disk space.
- Checking your internet connection for stability
- Freeing up disk space on your device
- Restarting your computer before retrying the update
- Running system file checker tools to identify corruption
- Ensuring your system is compatible with the update
Troubleshooting Slow Internet Speeds
Slow internet speeds can disrupt your online activities and cause frustration, but pinpointing the cause can help you fix the issue quickly. Start with a speed diagnosis by testing your internet speed using online tools. Compare the results to your plan’s advertised speed to identify if your connection is underperforming. Check for bandwidth-hogging devices or applications that might be consuming excessive data. Restart your modem and router to refresh the connection. Ensure your Wi-Fi signal isn’t weak by moving closer or reducing interference. If your speed remains slow, contact your internet service provider to see if there’s an outage or if your plan needs upgrading. Proper speed diagnosis is key to resolving slow internet issues and restoring peak performance.
Diagnosing and Repairing Common Website Errors

When your website encounters errors, it’s vital to identify what type they are first. You can then analyze server logs to uncover underlying issues and determine the best fix. Addressing common problems quickly helps keep your site running smoothly for visitors.
Identifying Error Types
Understanding the different types of website errors is essential for effective troubleshooting. By mastering error categorization, you can quickly identify whether an issue is client-side, server-side, or related to network problems. Adopting a troubleshooting mindset helps you systematically approach each error, saving time and reducing frustration. Recognize common error types such as:
- 404 Not Found: Missing pages or broken links
- 500 Internal Server Error: Server misconfigurations or bugs
- 403 Forbidden: Permission issues
- 502 Bad Gateway: Gateway or proxy server errors
- 503 Service Unavailable: Server overload or maintenance
Categorizing errors accurately allows you to focus your efforts and choose the right troubleshooting steps. Developing this skill streamlines your process, making website maintenance more efficient and less stressful.
Analyzing Server Logs
Analyzing server logs is a essential step in diagnosing and fixing website errors because they provide detailed insights into server activity and issues. By reviewing logs, you can perform error analysis to identify the root causes of problems. Log filtering helps you narrow down the entries relevant to the error, making troubleshooting more efficient. Start by locating the relevant log files, such as error logs or access logs, and scan for unusual entries or timestamps that match the incident. Look for error codes, warning messages, or patterns that indicate server malfunctions or misconfigurations. Filtering the logs allows you to focus on specific events, streamlining your investigation. This process uncovers hidden clues and pinpoints the exact source of the problem, enabling targeted fixes and quicker resolution.
Fixing Common Issues
Fixing common website issues requires a systematic approach to diagnose and repair the most frequent errors that disrupt user experience. Start by checking server logs for patterns indicating problems, then verify if hardware upgrades are needed to handle traffic loads. Sometimes, outdated software or plugins cause errors; updating them can resolve issues. Ensuring your team receives user training helps prevent misconfigurations. Additionally, consider these steps:
- Clear browser and server caches to eliminate stale data
- Test website responsiveness across devices and browsers
- Review error messages to identify specific problems
- Check for broken links or missing files
- Optimize server performance and consider hardware upgrades if necessary
Troubleshooting Data Backup and Recovery Problems

Have you ever faced issues with your data backup or recovery process that left you puzzled? If so, it’s essential to check your backup verification steps first. Ensuring backups are complete and uncorrupted helps prevent future data loss. When recovery problems occur, review your recovery strategies to identify gaps or errors. Sometimes, backups may not include the latest data, or recovery tools might be incompatible with your system. Testing backups regularly can save you time during emergencies. If recovery fails, double-check file integrity and verify that recovery procedures are properly followed. Proper planning and routine verification are key to minimizing setbacks. By staying proactive, you’ll reduce downtime and improve your overall data protection.
Resolving Mobile App Crashes and Bugs

Mobile app crashes and bugs can disrupt your user experience and undermine your trust in the app’s reliability. To resolve these issues, start with mobile app debugging to identify the root causes. Analyzing crash reports provides valuable insights into what’s causing the problem. You should also:
Mobile app debugging and crash analysis are essential to maintain user trust and app stability.
- Review crash report analysis to find recurring errors
- Reproduce the bugs in a controlled environment
- Check for memory leaks or incompatible updates
- Test on different devices and OS versions
- Update the app with necessary fixes promptly
Fixing Common Router and Modem Problems
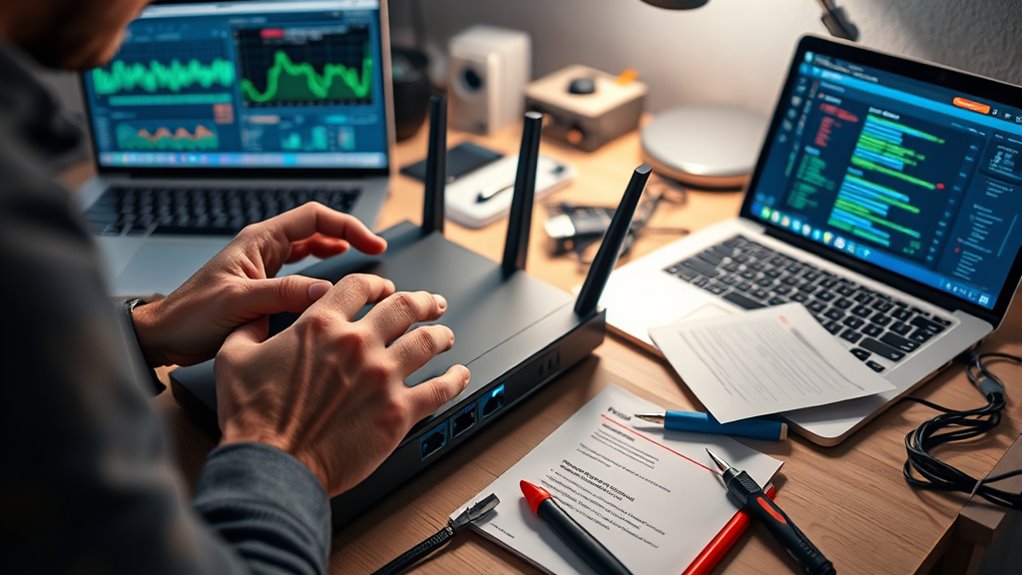
When your internet connection slows down or drops unexpectedly, it’s often due to common router and modem issues. First, check your wireless security settings to ensure your network isn’t open or vulnerable, which can cause interference. Next, update your router firmware regularly; outdated firmware can lead to connection problems and security risks. Restart your router and modem to refresh their connections, and verify all cables are secure. If problems persist, consider resetting your router to factory settings and reconfiguring it. Additionally, reduce interference from other devices or neighboring Wi-Fi networks. By maintaining strong wireless security and keeping your router firmware current, you can prevent many common issues and keep your internet running smoothly.
Troubleshooting Camera and Webcam Issues
Camera and webcam issues can be frustrating, but many problems are fixable with straightforward troubleshooting steps. Start by checking your webcam privacy settings to make the device isn’t blocked or disabled. Verify that your camera drivers are up to date and properly installed. Adjust camera calibration if the image appears distorted or improperly aligned. Test the webcam on different apps to rule out software conflicts. If the webcam isn’t detected, try unplugging and reconnecting it or restarting your device. Also, review privacy settings in your operating system to confirm access permissions.
- Check webcam privacy settings and permissions
- Update camera drivers and software
- Adjust camera calibration in settings
- Test on multiple applications
- Ensure hardware connections are secure
Resolving Cloud Storage Syncing Problems

Are your files not syncing properly across your cloud storage service? This can happen due to issues with cloud synchronization or storage conflicts. First, check if your internet connection is stable, as poor connectivity disrupts syncing. Ensure that your device has enough storage space and that the sync app is up to date. Sometimes, storage conflicts occur when multiple devices modify the same file simultaneously, causing version conflicts. To resolve this, review conflict notifications and select the appropriate version to keep. You can also pause and then resume syncing or restart your device to refresh the connection. Clearing cache or re-linking your account may help fix persistent issues. By addressing these common causes, you can restore proper cloud synchronization and keep your files consistent across devices.
Troubleshooting Network Security and Firewall Settings

If you’re experiencing persistent cloud syncing issues despite ensuring your device has enough storage and a stable internet connection, the problem might stem from your network security or firewall settings. Incorrect firewall configuration can block essential ports or services, preventing proper communication with cloud servers. To troubleshoot, check that your firewall allows traffic for your cloud app or service. Ensure your network security policies aren’t overly restrictive. Consider these steps:
Persistent cloud sync issues may be caused by firewall or network security misconfigurations blocking essential services.
- Verify that the necessary ports for your cloud service are open
- Disable any VPNs or proxy servers temporarily
- Check for conflicting security software
- Review your firewall rules for restrictions on cloud traffic
- Update firmware or security patches for your network devices
Adjusting these settings can restore proper connectivity and resolve syncing issues caused by network security or firewall misconfigurations.
Diagnosing and Fixing Power Supply Problems
Power supply issues are a common cause of device malfunctions, and diagnosing them promptly can save you time and frustration. Begin with a thorough power supply inspection—check for loose connections, damaged cables, or burnt components. Use a multimeter to measure voltage regulation, ensuring the power supply provides a steady, correct voltage output. If voltages fluctuate or are out of spec, the power supply may be failing and need replacement. Remember to verify that your device’s power source, such as the outlet or power strip, is working properly. Don’t forget to test the power supply under load if possible, as problems may only appear during operation. Addressing these issues quickly can prevent further damage and restore your device’s functionality efficiently.
Troubleshooting Performance Issues in Gaming Consoles
Performance issues in gaming consoles can stem from a variety of causes, but identifying the root problem quickly is key to restoring ideal gameplay. If your console is overheating, it may throttle performance or shut down unexpectedly. Poor controller connectivity can cause lag or input delays, frustrating your experience. To troubleshoot, check for dust buildup or blocked vents to prevent overheating. Ensure your controller has fresh batteries and is within range to improve connectivity. Consider restarting your console to clear temporary glitches. Additionally, verify that your firmware and games are up to date. You might also try reducing graphic settings or closing background apps.
- Clean vents and ensure proper ventilation
- Reconnect or replace controller batteries
- Update system software and games
- Reduce in-game graphics settings
- Limit background processes
Resolving Common Issues in Smart Home Devices

Smart home devices are designed to make everyday life more convenient, but they can sometimes encounter issues that disrupt their functionality. If your voice control isn’t responding, make certain your device is connected to Wi-Fi and your voice assistant is properly set up. Restarting the device or updating its firmware can often resolve these problems. When devices aren’t integrating seamlessly, double-check that all compatible devices are connected to the same network and that their apps are updated. Sometimes, re-linking your smart devices through the app or resetting the device helps restore proper device integration. Keep in mind that interference from other electronics or network congestion can also affect performance. By troubleshooting these common issues, you’ll improve your smart home’s reliability and enjoy smooth voice control and device integration.
Frequently Asked Questions
How Can I Prevent Recurring Hardware Failures?
To prevent recurring hardware failures, you should perform regular hardware maintenance by cleaning components and checking for signs of wear. Keep your system updated and replace aging components proactively to avoid unexpected breakdowns. Guarantee proper cooling and ventilation to prevent overheating. Regularly back up your data and monitor system performance. By staying attentive to hardware health and replacing faulty parts promptly, you minimize the chances of recurring failures and extend your equipment’s lifespan.
What Are Early Signs of Software Corruption?
You’ll notice early signs of software corruption through frequent software glitches, unexpected crashes, or slow performance. Files might become inaccessible or show error messages, indicating potential data corruption. You could also see strange behaviors or unresponsive programs. Keep an eye on these signs, as they often signal underlying issues. Regular backups and updates can help prevent further damage, ensuring your data stays safe even if corruption occurs.
How Do I Prioritize Troubleshooting Steps Effectively?
Oh, sure, because who doesn’t love playing detective with their software? To prioritize troubleshooting steps, you should use prioritization strategies like addressing the most critical issues first and eliminating common problems. Follow troubleshooting frameworks to stay organized, such as isolating variables or establishing a step-by-step plan. This approach helps you avoid chaos, saves time, and guarantees you tackle the root cause efficiently instead of chasing red herrings.
What Tools Are Best for Diagnosing Complex Network Issues?
You should use network packet analysis and protocol analyzer tools like Wireshark or SolarWinds to diagnose complex network issues. These tools help you capture and examine data packets, revealing traffic patterns, protocol errors, or bottlenecks. By analyzing packet details, you gain insights into where problems originate, making it easier to identify misconfigurations, security threats, or hardware failures. These tools are essential for effective, in-depth network diagnostics.
How to Secure My Device After Troubleshooting Malware?
Did you know that 60% of malware infections happen due to outdated security measures? After troubleshooting malware, you should immediately update your antivirus software to make certain it can detect recent threats. Enable your firewall settings to block unauthorized access and monitor network activity. Consider changing your passwords and backing up important data. Regularly review your security configurations to keep your device protected from future attacks.
Conclusion
No matter the device or issue, troubleshooting is your trusty toolkit. Think of it as a detective unraveling a mystery, piece by piece. With patience and these step-by-step guides, you’ll turn frustrations into solutions. Remember, every problem is a puzzle waiting to be solved, and you’re the solver holding the key. Keep calm, stay curious, and soon enough, your tech will be humming smoothly like a well-oiled machine.