
To optimize projector placement in a multi-purpose living room, wall mounting is ideal to keep the space tidy and ensure stable, precise alignment. Position the projector at the correct height and angle to avoid distortion and achieve a sharp image. Consider the room setup, placing the screen at eye level when seated and minimizing ambient light with blackout measures. Cable management and flexible positioning help maintain functionality and aesthetics—continue exploring for detailed tips on creating the perfect setup.
Key Takeaways
- Mount the projector securely at an appropriate height and angle to ensure a clear, undistorted image in the multi-purpose space.
- Position the screen at eye level when seated, considering room multifunctionality and ambient lighting for optimal viewing.
- Use retractable or movable screens to adapt to different activities and minimize clutter when not in use.
- Minimize ambient light with blackout curtains and strategic placement to maintain image brightness across various room functions.
- Conceal cables within walls or along moldings for a tidy environment, ensuring easy access for adjustments and maintenance.
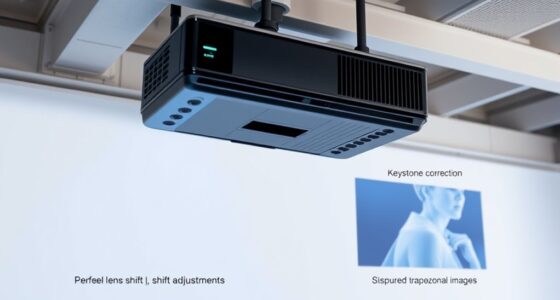
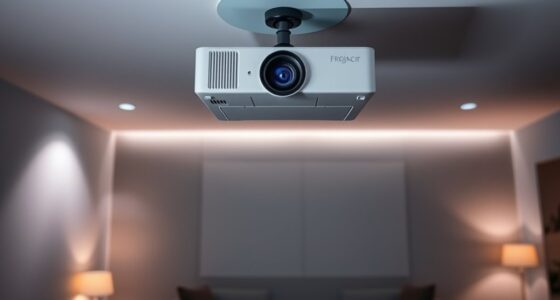
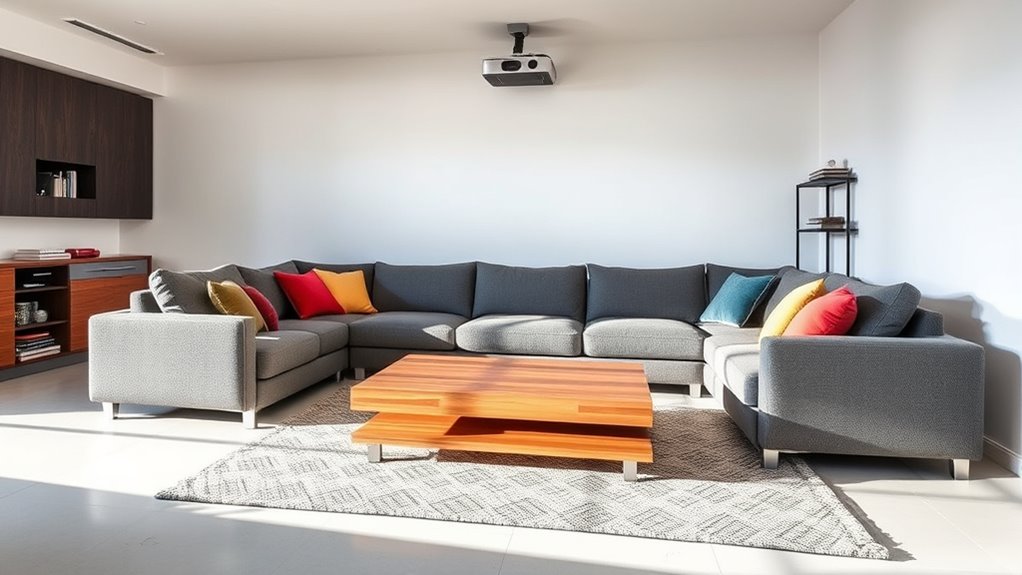
Setting up a projector in your living room can transform your space into a home theater, but proper placement is vital for the best viewing experience. The way you position your projector, including considerations like wall mounting and screen placement, makes all the difference in picture quality and comfort. Wall mounting your projector offers a sleek, space-saving solution that keeps the device out of the way and reduces clutter. When you choose to wall-mount, make certain the projector is securely attached at the correct height and angle, so the image aligns perfectly with your screen. This prevents distortion or keystone effects that can occur if the projector is improperly aligned. Wall mounting also provides stability, minimizing vibrations or movement that could compromise picture clarity during your movie nights.
Wall mounting your projector ensures stable positioning and perfect image alignment for an optimal home theater experience.
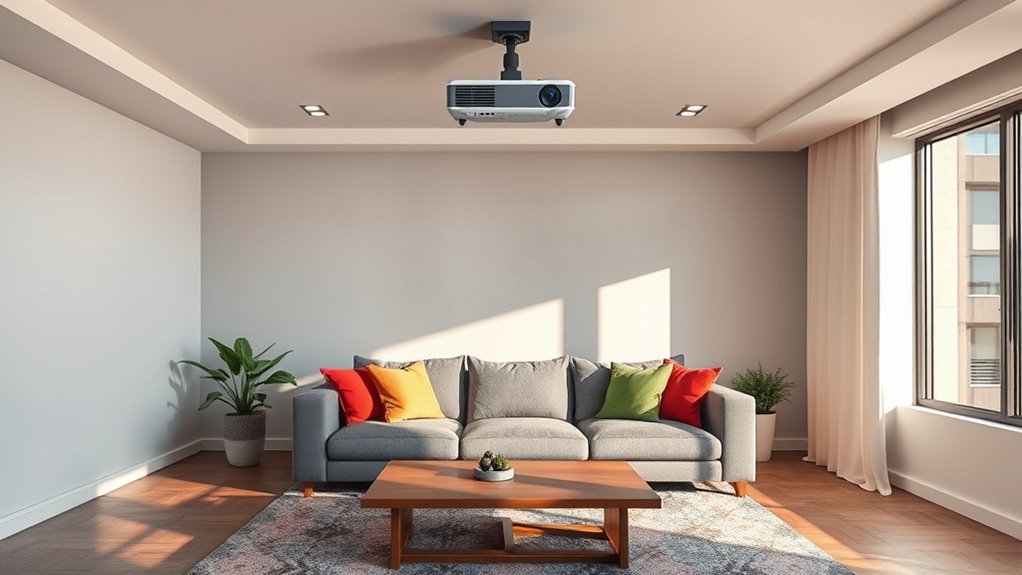
Screen positioning is equally critical. You want your screen at eye level when you’re seated, which means you’ll need to carefully measure the ideal height and distance from the projector. If the screen is too high or too low, it can cause neck strain or distort the viewing experience. Additionally, the distance between your projector and the screen determines the image size. Too close, and the picture might be too small; too far, and you risk losing sharpness or brightness. Many projectors have a specified throw ratio—use this to calculate the best placement. If your room is multi-purpose, consider a retractable screen or a wall that can accommodate multiple uses, so the space remains flexible.
Lighting is another factor to contemplate when planning your screen positioning. You want to minimize ambient light that washes out the image. Position your screen on a wall that isn’t exposed to direct sunlight or bright lamps. Blackout curtains or shades can help control lighting conditions, ensuring the projected image stays vivid and clear. When wall mounting, double-check that the wall surface is flat and smooth enough to support the projector securely. An uneven wall can cause the projector to sit at an odd angle, affecting image alignment. Additionally, choosing the right projector placement ensures optimal image quality and reduces the need for frequent adjustments.
Finally, think about accessibility and cable management. Wall mounting allows you to hide wires within the wall or along molding, creating a clean look. Make sure your projector’s placement doesn’t obstruct pathways or furniture, and that all cables are safely routed and accessible for adjustments. Proper screen positioning combined with effective wall mounting elevates your viewing experience, turning your living room into a true home theater sanctuary.

BAISHUN Projector Stand, Wall and Mini Ceiling Mount with 1/4-Inch Thread, 360-degree Rotation, Adjustable Tilt & Swivel, Foldable, Easy Setup Compatible with Most Projectors for Home, Office, White
Stable & Durable: Made of high-quality metal, supports up to 4.4 lbs (2 kg), this wall mount delivers…
As an affiliate, we earn on qualifying purchases.
As an affiliate, we earn on qualifying purchases.
Frequently Asked Questions
What Are the Best Projector Brands for Multi-Purpose Living Rooms?
You should consider brands like Epson, Optoma, and BenQ for your home theater setup in a multi-purpose living room. They offer high projector resolution options, ensuring clear, vibrant images whether you watch movies or give presentations. These brands are known for durability and excellent image quality, making them perfect choices for versatile spaces. Their projectors seamlessly adapt to various lighting conditions, giving you the best viewing experience in your multi-purpose living room.
How Do I Hide Projector Cables Effectively?
Hiding projector cables is like giving your setup a magic trick—clean and seamless. To achieve this, use cable concealment strategies like running wiring solutions through walls, ceilings, or behind furniture. You can also opt for cable raceways or conduits that blend into your decor. Secure cables neatly along edges or behind devices, making sure they’re out of sight and safe, transforming your living room into a clutter-free cinematic haven.
Can I Install a Projector Without Professional Help?
Yes, you can definitely do a DIY installation if you’re comfortable with basic tools and follow clear instructions. Consider your budget, as DIY projects often save money compared to professional help. Make sure to research your specific projector model‘s mounting options and placement requirements. Take your time to plan cable management and guarantee the surface is suitable for mounting. With patience and care, you can achieve a professional look on your own.
What Maintenance Is Required for Home Projectors?
You need to regularly clean the lens to guarantee clear images, using a soft, lint-free cloth. Keep an eye on the projector bulb, replacing it when it starts to dim or flicker, usually every 2,000 to 3,000 hours of use. Additionally, vacuum the air vents to prevent overheating. Proper maintenance keeps your projector functioning smoothly and extends its lifespan, so stay attentive to these tasks.
How Does Ambient Light Affect Projector Image Quality?
Ambient light particularly affects your projector’s image quality by lowering contrast and making the picture appear washed out. When there’s too much ambient light, you’ll notice less vibrant colors and reduced detail. To improve image quality, you should minimize ambient light by dimming lights or using blackout curtains. This helps your projector maintain ideal contrast, resulting in clearer, more vivid images perfect for your multi-purpose living room.
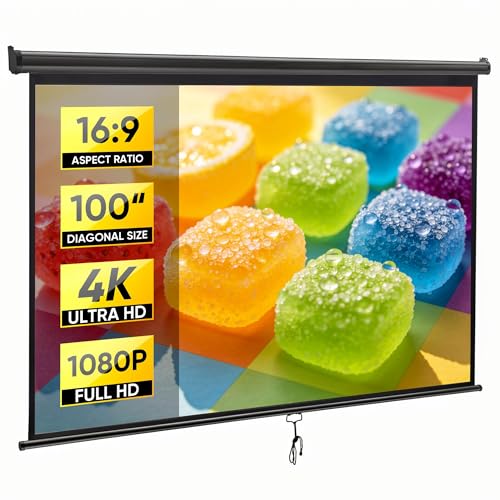
ZENY Projector Screen Pull Down 100 Inch 16:9 HD, Manual Projection Screen Home Theater, Portable Indoor Outdoor Retractable Movie Screen Ceiling Wall Mount
PREMIUM QUALITY: Constructed with PVC polyester fabric in a three-layer configuration, the wrinkle-free material maintains a smooth, professional…
As an affiliate, we earn on qualifying purchases.
As an affiliate, we earn on qualifying purchases.
Conclusion
Imagine the glow of your projector casting a warm, inviting light across your living room, transforming it into a cozy cinema. When you find the perfect placement, every movie night feels like stepping into a different world—stories unfolding on your wall, laughter echoing through the space. With thoughtful positioning, your living room becomes a haven where memories are made, and every flicker of the screen sparks joy and connection.
NICETOWN Grey Full Shade Curtain Panels, Pair of Energy Smart & Noise Blocking Out Blackout Drapes for Dining Room Window, Thermal Insulated Guest Room Lined Window Dressing(Gray, 52 x 84 inch)
Complete blackout curtains block light and reduce noise for better sleep – 2 layer construction with blackout lining
As an affiliate, we earn on qualifying purchases.
As an affiliate, we earn on qualifying purchases.

ZIIYAN 163 PCS Cable Management Kit, 3 Wire Organizer Sleeve, 8 Self Adhesive Cable Holder, 25 Cord Clips, 20+2 Roll Reusable Cable Straps and 100 Fastening Cable Ties for Computer TV Under Desk
Package Contents: 3 Cable Sleeves, 8 Self-adhesive Anti-slip Soft Cable Holders, 20+5 Plastic Cable Clips, 5 Cable Zip…
As an affiliate, we earn on qualifying purchases.
As an affiliate, we earn on qualifying purchases.