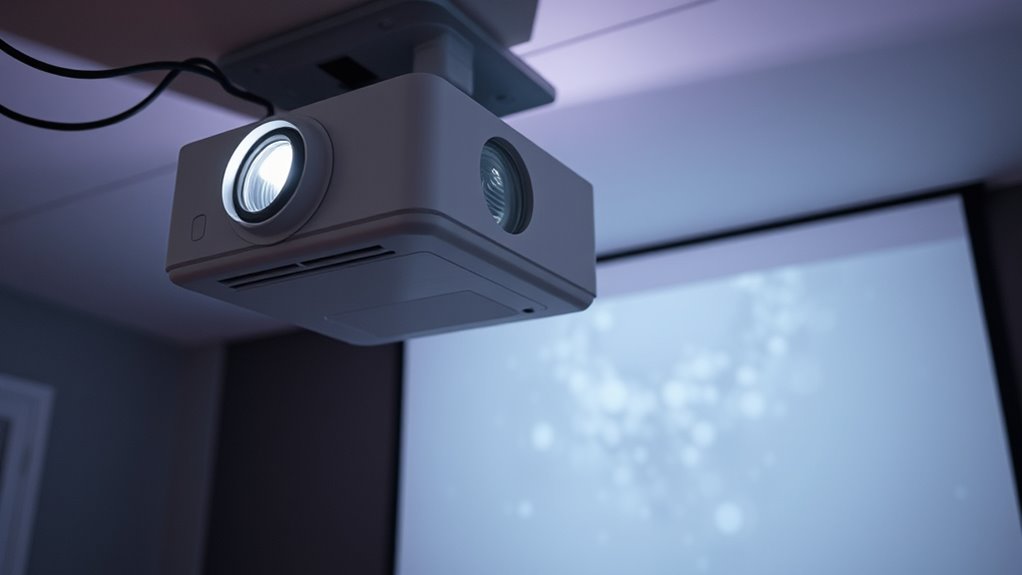

If your projector isn’t displaying 4K, start by checking your HDMI cables to make certain they’re rated for 4K and firmly connected. Confirm that your source device outputs 4K resolution and that your projector supports it, updating firmware if needed. Adjust display settings to explicitly select 4K output and review the projector’s menu for resolution options. If issues persist, inspecting hardware compatibility and consulting support can help you achieve the full 4K experience. Keep exploring for detailed troubleshooting tips.
Key Takeaways
- Verify all HDMI cables and connections support 4K and are securely plugged in.
- Ensure the source device outputs 4K resolution and is configured correctly.
- Check projector settings to confirm resolution is set to 4K and disable automatic scaling.
- Update projector firmware and confirm all hardware components support 4K signals.
- Test with different cables, sources, and configurations to identify potential hardware limitations.

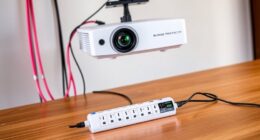
A 4K projector can deliver stunning visuals, but when you encounter display issues, it can be frustrating. If your projector isn’t displaying in full 4K resolution, the problem often boils down to connection issues or improper calibration settings. First, you should check all your connections. Use high-quality HDMI cables rated for 4K to guarantee the signal isn’t being downgraded. Sometimes, a loose or damaged cable can cause your projector to default to a lower resolution. Plugging and unplugging the cables while the projector and source device are off can help reseat the connections properly. Also, verify that your source device, like a Blu-ray player or streaming box, is set to output at 4K resolution. Many devices have display settings that default to lower resolutions to ensure compatibility, so double-check that 4K is enabled and active.
Check all connections and ensure source device outputs 4K for optimal projector display.
Next, examine your projector’s calibration settings. Incorrect calibration can cause the display to appear blurry or scaled down, even if the input signal is 4K. Access your projector’s menu and navigate to the image or display settings. Look for options related to resolution, aspect ratio, and scaling. Make sure the resolution is set to 3840 x 2160 or the equivalent 4K setting. If your projector has a dynamic or automatic aspect ratio setting, disable it temporarily to see if manual adjustments improve the display. Many projectors also have a “zoom” or “scale” setting that can inadvertently reduce the visible resolution; verify these are set to their defaults or ideal values. Additionally, color accuracy plays a significant role in ensuring the image quality meets expectations, so consider calibration for optimal visuals.
Sometimes, the source device’s output settings override your projector’s capabilities, so you should verify those as well. For example, if you’re streaming from a device that defaults to 1080p, your projector might automatically downscale. Access the device’s display or video settings and select 4K output explicitly. If you’re using an AV receiver or splitter, ensure it supports 4K and doesn’t downgrade the signal.
Finally, update your projector’s firmware if possible. Manufacturers release updates to fix bugs and improve compatibility, which can resolve resolution issues. If after checking connections, adjusting calibration, and verifying source settings your projector still won’t display in 4K, consult the user manual or contact customer support. Sometimes, the problem could be a hardware limitation or defect that needs professional diagnosis. By systematically troubleshooting connection issues and calibration settings, you’ll have a better chance of restoring your projector’s full 4K display capabilities.
Frequently Asked Questions
Can My Projector Display 4K Content via HDMI 1.4?
Your projector with HDMI 1.4 can technically display 4K content, but you’ll face limitations due to HDMI compatibility and resolution scaling. HDMI 1.4 supports 4K at 30Hz, so expect potential downscaling or lower frame rates. To get the best quality, make certain your source device is set to 4K and check if your projector can handle resolution scaling properly. Keep in mind, for smoother 4K playback, HDMI 2.0 or higher is preferable.
Does a Longer HDMI Cable Affect 4K Resolution?
Ever wonder if a longer HDMI cable affects your 4K picture? Yes, it can. As cable length increases, signal degradation may occur, leading to lower resolution or flickering. To prevent this, choose high-quality, longer cables with good shielding or consider signal boosters. Keep in mind that beyond certain lengths, even the best cables might struggle to transmit 4K smoothly, so test your setup for ideal performance.
How Do I Update My Projector’s Firmware for Better 4K Support?
To improve your projector’s 4K support, start by checking the manufacturer’s website for a firmware update. Download the latest firmware and follow the instructions carefully to install it. This update often includes image enhancement features that can optimize 4K display quality. Make sure your projector is connected to a stable power source and follow the on-screen prompts during installation. Regular updates guarantee your projector stays compatible with new content and features.
Is My Laptop Compatible With 4K Output to the Projector?
Surprisingly, your laptop might be 4K-ready, but only if its graphics can handle that resolution. Check your laptop’s graphics specs and verify your resolution settings are set to 3840×2160. If your graphics card supports 4K output, connecting to the projector should work seamlessly. Otherwise, you’ll need a compatible graphics card or an external 4K adapter. Don’t forget to update your graphics drivers for peak performance!
Can External Devices Improve 4K Display Quality on My Projector?
Yes, external devices can improve your 4K display quality on your projector. Make sure your external device is compatible with your projector’s input ports and supports 4K resolution. Using display enhancement accessories like HDMI splitters, signal boosters, or advanced HDMI cables can enhance image clarity and reduce downscaling. These accessories optimize signal transmission, giving you a sharper, more vibrant 4K experience, provided they match your projector’s capabilities and input requirements.
Conclusion
Remember, troubleshooting your projector is like tuning a fine instrument—you need patience and attention to detail. I once had a client whose 4K projector kept downgrading to 1080p; a simple firmware update fixed it, restoring pristine clarity. Don’t let technical hiccups dim your experience. With methodical checks and a bit of persistence, you’ll soon enjoy your content in stunning 4K, just like a perfectly played symphony—clear, sharp, and engrossing.