
If you notice lines or bands on your screen, start by checking all cables and connections to make sure they’re secure and undamaged. Try updating your device’s firmware or drivers, as software glitches can cause display issues. If the problem persists, inspect for any physical damage or dust buildup inside the unit, which can disrupt image quality. Persistent issues often point to hardware failure, so exploring further can help you identify the root cause.
Key Takeaways
- Check and reseat internal ribbon cables and connectors for secure, consistent connections.
- Use built-in diagnostic modes to identify error codes or display anomalies.
- Inspect for physical damage or cracks in the panel and internal components.
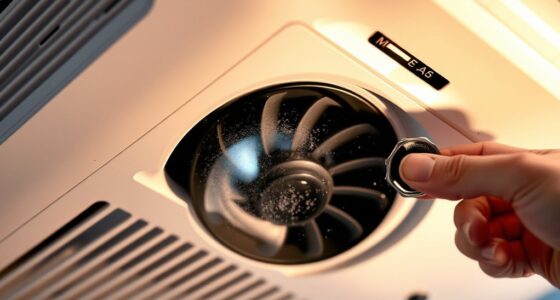
- Clean optical components and interior parts to remove dust or dirt buildup that may cause flickering.
- Update firmware or drivers and verify power supplies to ensure proper operation and stability.
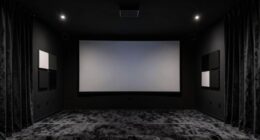
If you’re noticing lines or bands appearing on your screen, it can be frustrating, but many issues are fixable with some basic troubleshooting. These lines often affect the color uniformity across your display, making images look uneven or distorted. You might also observe intermittent flickering, which can be distracting and impact your viewing experience. Understanding the root causes can help you determine whether the problem stems from the display panel itself or from other components like the video source or connections.
Lines or bands on your screen can cause color issues and flickering, often fixable with basic troubleshooting.
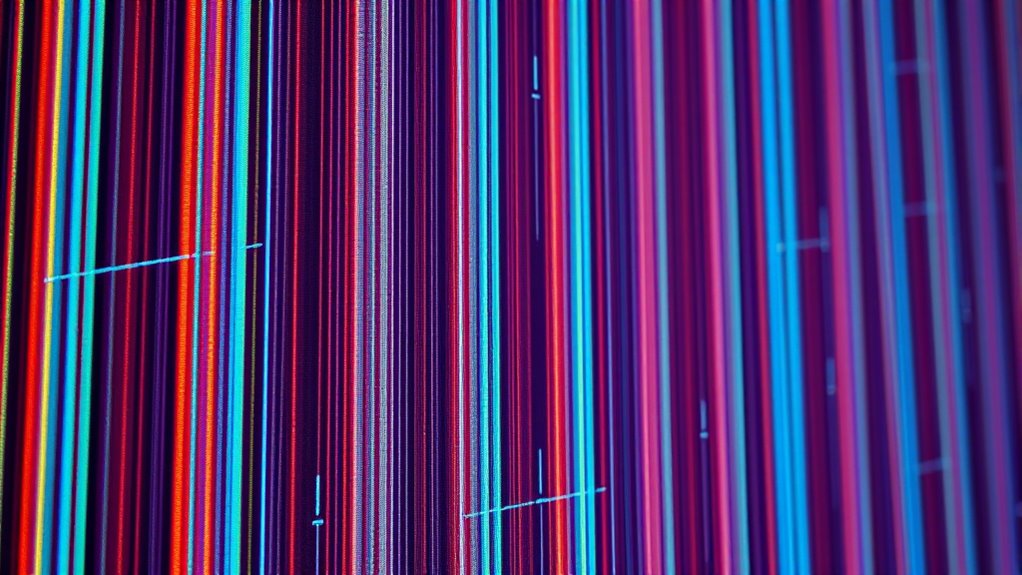
One common cause relates to the internal circuitry or connections within the display panel, especially in LCDs or DLP DMD projectors. For example, if the color uniformity is compromised, it can cause visible lines or bands that interrupt the smooth gradation of colors. Sometimes, this issue occurs because of a loose or damaged ribbon cable or connector, which can lead to inconsistent signals reaching the pixels. If the image flickers along with these lines, it might be due to a failing backlight or power supply instability, which disrupts the consistent illumination needed for clear images.
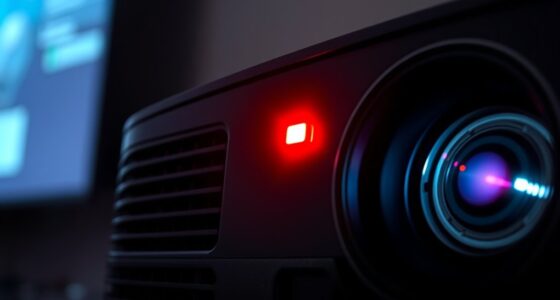
Another frequent cause involves the control board or the video processing hardware. Over time, electronic components can degrade, resulting in irregular signal transmission. If your display has a built-in diagnostics mode, use it to check for error codes or anomalies. In some cases, updating the firmware or drivers can resolve issues related to image flickering and improve color uniformity, especially if the problem started after a software update.
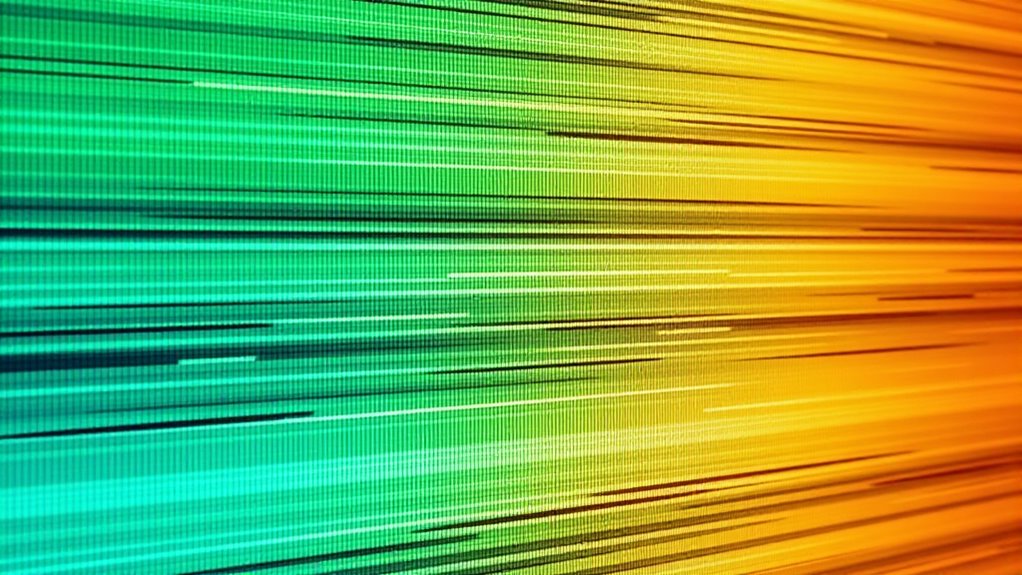
Physical damage can also be a culprit. If you’ve recently dropped or hit your device, internal components may have shifted or become damaged, causing persistent lines or bands. In LCD panels, for example, cracked or damaged pixels can create visible artifacts, affecting overall color consistency. For DLP projectors, dust or dirt buildup on the DMD chip or optical components can cause irregularities and flickering, which might be mistaken for lines.
Finally, consider the environment and usage conditions. Excessive heat or humidity can accelerate component failure, leading to visual issues. If your display has been exposed to such conditions, it might be time for a professional inspection or replacement of affected parts. Sometimes, simple steps like cleaning the connections, reseating cables, or adjusting settings can improve image quality and reduce flickering. However, persistent or worsening issues usually require expert diagnosis and repair to restore proper color uniformity and eliminate distracting lines or bands from your screen.

Genverdix for iPhone 11 Screen Replacement 6.1, 3D Touch LCD Display Repair kit, Digitizer Assembly with Tools Set, Tempered Glass, Waterproof Frame Adhesive
PREMIUM QUALITY: Crafted with a high-definition display and responsive touch technology, the Genverdix screen is exclusively designed for…
As an affiliate, we earn on qualifying purchases.
As an affiliate, we earn on qualifying purchases.
Frequently Asked Questions
Can Screen Lines Be Caused by Power Supply Issues?
Yes, screen lines can be caused by power supply issues. Power fluctuations and voltage instability can disrupt the proper functioning of your projector’s internal components, leading to lines or bands appearing on the screen. When the power supply isn’t stable, it can affect the DLP DMD or LCD panel’s performance. To fix this, make certain your power source is steady and consider using a surge protector to prevent further issues.
Are There Specific Cleaning Techniques for DLP DMD Panels?
Yes, there are specific cleaning techniques for DLP DMD panels. You should perform optical cleaning by gently using a soft, lint-free cloth or a specialized lens cleaning wipe to remove dust and debris. Always inspect the panel carefully beforehand to identify any stubborn dirt or smudges. Avoid harsh chemicals, and never scrub the surface. Proper panel inspection ensures you don’t damage delicate components while maintaining ideal image quality.
How Long Does a Typical Repair Process Take?
Imagine your projector’s heart beating back to life; the repair timeline varies based on troubleshooting steps needed. Usually, it takes a few hours to a day, but complex issues might extend it. You can expect technicians to carefully diagnose, replace, or realign parts. Trust that experienced hands work swiftly, but precise repairs guarantee your display shines brightly again. Patience ensures a flawless revival of your projector’s vibrant imagery.
Do Screen Lines Indicate a Need for Complete Device Replacement?
If you see lines on your screen, it doesn’t necessarily mean you need a complete device replacement. Often, component aging or calibration issues cause these lines. Try recalibrating your device first; if that doesn’t work, professional repairs can address specific faulty parts. Replacing the entire device is usually a last resort, as targeted repairs can often resolve the issue without the need for full replacement.
Can Software Updates Fix Screen Band Problems?
Like a knight with a trusty sword, you can often fix screen band problems with a software update. A firmware patch may resolve display issues caused by glitches or outdated software. Before considering hardware replacement, verify your device has the latest firmware installed, as this can often eliminate bands or lines on the screen. Keep your system current, and many display issues can be resolved swiftly and effectively.

Hd27 Color Compatible with HD27 DLP Projector Repair Parts
Lightweight structure, impact resistant design, suitable for frequent mobile use.
As an affiliate, we earn on qualifying purchases.
As an affiliate, we earn on qualifying purchases.
Conclusion
So, there you have it—your screen’s rebellious lines and bands have met their match. With a little patience and some troubleshooting tricks, you’ll be back to enjoying crisp images in no time. Remember, these issues are just your projector’s way of saying, “Hey, I need a little TLC!” So, roll up your sleeves, get friendly with those panels, and turn your tech chaos into a clear, flawless picture. Happy troubleshooting!

Kaisiking 11 PCS Screen Suction Cup Kit LCD Screen Opening Tools Screen Replacement Tools for iPad, iMac, MacBook, Tablet, Laptop, iPhone, Samsung, Huawei, Etc.
High Quality & Super Suction– Screen suction cup is made of durable ABS and natural rubber materials, and…
As an affiliate, we earn on qualifying purchases.
As an affiliate, we earn on qualifying purchases.

risingsaplings 10P 9.8FT 3 Meters 10 Wire Rainbow Ribbon Cable 1.27mm Pitch for 2.54mm Connectors 9.8 Feet IDC Flat Ribbon Cable Wire
Pin Number: 10 Pin
As an affiliate, we earn on qualifying purchases.
As an affiliate, we earn on qualifying purchases.