
If your projector lamp won’t turn on, start by checking the power source and connections to guarantee everything is secure and functioning. Inspect the lamp for damage or burnout, and verify it’s installed properly with all contacts secure. Reset the projector and test different outlets. Also, examine internal fuses or circuitry and update the firmware if needed. External factors like temperature and lighting can affect startup; explore these factors further for a complete fix.
Key Takeaways
- Check the lamp’s physical condition for damage or burnout, and ensure it is properly seated and locked in place.
- Verify the power supply, remote batteries, and that the projector is receiving power with no blown fuses or electrical issues.
- Confirm the replacement lamp matches the projector model and is installed according to manufacturer instructions.
- Inspect internal components and circuit connections for damage, loose wires, or blown fuses that could prevent startup.
- Ensure environmental factors like room temperature and lighting are within recommended ranges to avoid overheating or ignition problems.
Checking the Power Source and Connections

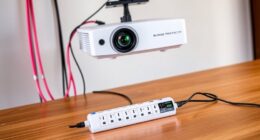
Before assuming the lamp is faulty, you should verify that the projector is properly connected to a power source. Check the power cord and ensure it’s securely plugged into both the projector and the wall outlet. If you’re using a remote control to turn on the projector, make sure the remote has fresh batteries and is functioning correctly. Sometimes, ambient lighting can interfere with the remote’s signal, so avoid bright lights aimed at the projector or remote sensor. Confirm that the projector’s power indicator lights up when plugged in. If it still won’t turn on, try plugging the projector into a different outlet to rule out power issues. Ensuring proper connections and a clear remote signal can often resolve power problems before considering other causes. Additionally, inspecting the pinball machines in your entertainment setup can help identify any electrical issues that might affect overall device performance.
Inspecting the Lamp for Burnout or Damage

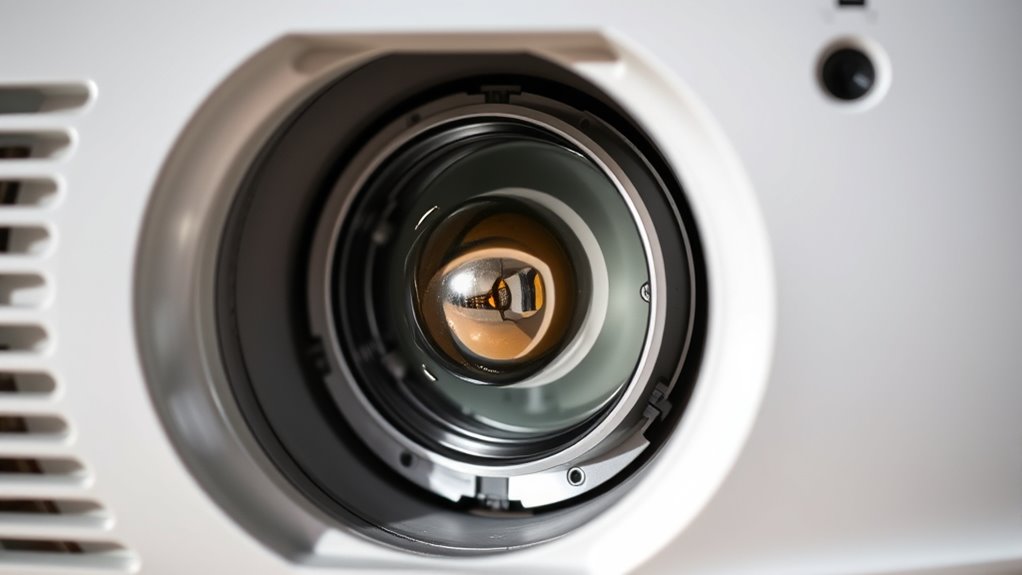
If your projector still won’t turn on after checking the power source, inspecting the lamp for burnout or damage is the next step. Carefully remove the lamp cover and take out the lamp assembly. Look for signs of lamp burnout, such as darkened or blackened areas, or a broken filament. Also, check for physical damage like cracks, dents, or shattered glass. Damage to the lamp can prevent it from igniting or cause it to fail unexpectedly. Handle the lamp gently to avoid further damage, and always wear gloves to prevent oils from your skin from affecting the bulb. If you notice any signs of burnout or physical damage, replacing the lamp is likely necessary to restore proper operation. Additionally, ensure that the lamp connection is secure, as loose connections can also cause the projector not to turn on.
Ensuring Proper Lamp Installation
Make sure the lamp is properly placed in its socket and seated firmly. Check that you’ve securely locked the lamp in position to prevent loose connections. Also, verify that the replacement lamp matches your projector’s model to avoid compatibility issues. Additionally, ensure the lamp installation process adheres to the manufacturer’s instructions to prevent improper setup.
Correct Lamp Placement
Ensuring the lamp is properly installed is essential for your projector to turn on. Start by checking the lamp positioning to make sure it’s correctly seated in its socket. Improper placement can prevent the projector from recognizing the lamp, causing it not to power on. Confirm the correct orientation; most lamps have specific alignment marks or tabs that need to match up with the projector’s housing. Gently but firmly insert the lamp, ensuring it clicks into place without forcing it. Double-check that all connectors are securely attached and that the lamp is flush with the housing. Proper lamp placement not only helps the projector turn on but also prolongs the lifespan of the bulb and prevents future issues. Additionally, inspecting the lamp connection, including wires and contacts, can help identify any loose or damaged components that might hinder startup.
Securely Lock Lamp
Once the lamp is correctly seated, you need to securely lock it in place to prevent any movement or disconnection. Proper locking guarantees the lamp housing stays stable during operation. Use the locking mechanism, often a latch or screw, to firmly secure the lamp. If the lamp isn’t locked properly, it may disconnect or cause poor contact, preventing the projector from turning on. Check that the locking mechanism engages fully and feels secure. To help, consider this quick reference:
| Locking Mechanism Type | Proper Locking Tip |
|---|---|
| Latch or clip | Confirm it clicks into place |
| Screw lock | Tighten firmly but avoid over-tightening |
| Sliding lock | Ensure it slides fully into position |
Always double-check that the lamp housing is locked securely before powering on.
Verify Compatibility
Before installing a new lamp, you should verify that it’s compatible with your projector model. Compatibility issues often arise when the lamp doesn’t match the specific model specifications, leading to the projector not turning on. Check your projector’s manual or manufacturer’s website to confirm the exact model number and required lamp type. Using an incompatible lamp can cause installation problems or damage your device. Make sure the replacement lamp’s part number aligns with your projector’s specifications. Avoid generic or counterfeit lamps, as these may not fit properly or function correctly. Ensuring compatibility helps prevent issues and guarantees your projector operates smoothly. Taking the time to verify model specifications before installation saves you troubleshooting time later. Compatibility is essential for safe and effective projector operation.
Resetting the Projector and Power Cycle
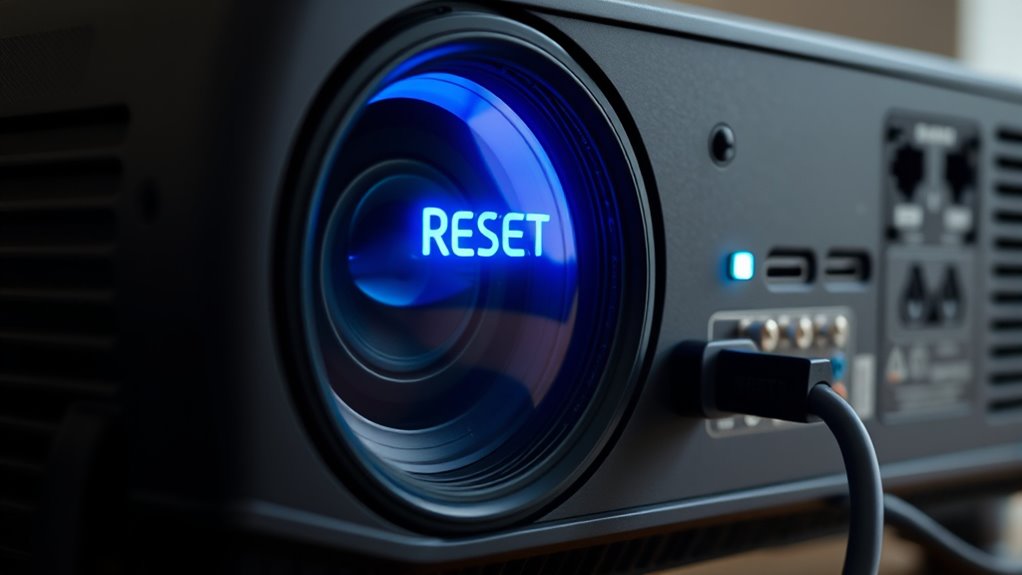
Start by turning off your projector and unplugging it from the power source. Wait for about 30 seconds to let any residual charge dissipate. Then, plug it back in and turn it on to see if the lamp powers up. Consistent messaging across your device can also help maintain its proper functioning over time.
Power Off Device
Sometimes, simply turning off the projector and performing a power cycle can resolve issues with the lamp not turning on. To do this, use the remote control or the power button on the device to power it down completely. Make sure the projector has shut off and wait a few seconds before unplugging it from the power source. This helps reset any internal components that might be causing the problem. During this process, consider the ambient lighting in the room; bright lights can sometimes affect the projector’s sensors or remote control signals. Once unplugged, wait a moment, then plug it back in and turn the projector on. This reset can clear minor glitches and improve the chances of the lamp turning on properly. Additionally, ensuring the power cycle process is performed correctly can prevent further issues and prolong the lifespan of your projector.
Unplug and Wait
Unplugging the projector and waiting before turning it back on is a simple yet effective way to reset its internal components. This power cycle clears temporary glitches that could prevent the lamp from turning on. If remote troubleshooting isn’t working, resetting the device can help. Refer to your user manual for specific unplugging instructions, but generally, you should disconnect the power cord and wait at least 60 seconds. During this pause, the internal capacitors discharge, resetting the projector’s electronics. Proper power management ensures your projector resumes normal operation after a reset. Use the table below to guide your process:
| Step | Action |
|---|---|
| 1 | Power off and unplug the projector. |
| 2 | Wait 60 seconds or more. |
| 3 | Plug the projector back in. |
| 4 | Turn it on normally. |
This reset often resolves minor electrical issues preventing lamp activation.
Turn On Again
After waiting for a minute or more, plug the projector back in and turn it on as you normally would. This simple power cycle can often resolve minor issues causing your lamp not to turn on. If you’re using a remote, try troubleshooting it first—check the batteries, ensure there’s a clear line of sight, and press the power button firmly. If the projector still doesn’t respond, consult your user manual for specific reset instructions, as some models require a particular sequence. Performing a reset or power cycle can clear temporary glitches affecting the power supply. Remember, sometimes the problem lies with the remote, not the projector itself. Proper troubleshooting and following the manufacturer’s guidelines can often restore normal operation without further repairs. Additionally, understanding electrical safety precautions is crucial when handling electronic devices to prevent damage or injury.
Examining the Projector’s Internal Fuses and Circuitry

To determine if internal fuses or circuitry issues are causing your projector not to turn on, start by carefully inspecting the device’s fuse box and circuit pathways. Check the internal fuse, usually located near the power supply or on the circuit board, for any signs of damage or a blown filament. If the fuse is broken or burnt out, replacing it can restore power. Next, examine the circuit board for any visible burned components, loose connections, or damaged traces. Use a multimeter to test continuity and ensure that electrical signals are flowing properly through the circuitry. Remember, internal fuses act as safety devices; if they keep blowing, it indicates an underlying issue that needs addressing before replacing the fuse. Additionally, understanding AI’s role in automation can help in diagnosing complex electronic failures that might involve smart circuitry or integrated safety features.
Updating or Replacing the Projector Firmware

Updating or replacing your projector’s firmware can resolve software glitches that prevent the device from turning on. A firmware update can fix bugs, improve performance, and restore functionality. If the update causes issues, a firmware rollback allows you to revert to a previous version.
Before updating, check your projector model’s support page for the latest firmware. Follow manufacturer instructions carefully to avoid bricking the device. Use a stable power source and ensure the firmware file is authentic. Sometimes, a failed update can worsen the problem, so proceed with caution.
| Key Point | Explanation |
|---|---|
| Firmware update | Fixes bugs and improves performance |
| Firmware rollback | Reverts to a previous version if issues occur |
| Important precaution | Follow instructions to avoid damaging the projector |
| Backup before updating | Save current firmware settings to prevent data loss |
Considering External Factors and Environmental Conditions
External factors and environmental conditions can greatly impact whether your projector lamp turns on. For example, high ambient lighting can cause your projector to overheat or struggle with cooling, potentially preventing it from powering up properly. Additionally, room temperature plays a vital role; excessive heat or cold can interfere with the projector’s internal components, including the lamp. If your room is too hot, the projector’s thermal sensors may shut it down to prevent damage, while cold temperatures can affect the lamp’s startup process. To guarantee ideal operation, keep the room temperature within the manufacturer’s recommended range and minimize ambient lighting that causes heat buildup. Creating a stable, moderate environment helps your projector function smoothly and reduces the chances of lamp issues.
Frequently Asked Questions
Can a Faulty Remote Control Prevent the Projector From Turning On?
Yes, a faulty remote control can prevent your projector from turning on. Remote control issues, like dead batteries or damaged buttons, may stop signals from reaching the projector. Additionally, power button problems on the remote could be the culprit. If you suspect this, try turning on the projector directly with the physical power button. If it works, the remote is likely the problem. Replacing batteries or repairing the remote usually solves this issue.
How Do I Identify if My Projector Lamp Is Genuinely Burned Out?
You can tell if your projector lamp is burned out by checking its lifespan, which usually lasts around 2,000 to 4,000 hours. Perform a visual inspection for signs like a dark or blackened inside of the lamp or visible damage. If the lamp has exceeded its lifespan or shows these signs, it’s likely burned out and needs replacement. Always follow your projector’s guidelines for safe handling and replacement.
Are There Specific Environmental Conditions That Can Affect Projector Power?
Yes, ambient temperature and humidity levels can impact your projector’s power. If the room’s too hot or humid, it may cause overheating or electrical issues, preventing the projector from turning on. Keep the environment cool, ideally between 50-80°F, and maintain humidity levels around 40-60%. Proper ventilation also helps prevent dust buildup, ensuring your projector operates smoothly and reduces the risk of power problems.
What Safety Precautions Should I Take When Inspecting Internal Components?
When inspecting internal components, you should always prioritize electrical safety and proper component handling. Before opening the projector, unplug it completely and wait for the internal parts to cool down. Use insulated tools to avoid electrical shocks, and handle delicate parts carefully to prevent damage. Wearing anti-static gloves or wrist straps can also protect sensitive electronic components. Always follow the manufacturer’s safety guidelines to guarantee safe and effective inspection.
How Often Should Projector Firmware Be Updated for Optimal Performance?
Updating your projector firmware is like giving it a regular tune-up; you should do it when updates are available, typically every few months or as recommended by the manufacturer. Firmware updates enhance performance and fix bugs, making them an essential part of projector maintenance. Keep an eye on manufacturer notifications, and don’t delay updating—doing so guarantees your projector runs smoothly and stays compatible with new features and devices.
Conclusion
If your projector lamp refuses to turn on, don’t despair—these troubleshooting steps can save you from a tech disaster. By carefully checking the power, inspecting the lamp, and ensuring proper installation, you might prevent your home entertainment from turning into a blackout. Remember, a simple fix could be the key to reigniting your projector’s brilliance. With patience and precision, you’ll restore your device’s glow, turning a frustrating glitch into a minor hiccup in your cinematic journey.