To fix color distortion and tints, check your camera’s white balance settings and adjust them to match your lighting conditions, or use a gray card for accuracy. In editing software, correct unwanted tints by adjusting hue, saturation, and color balance, and fine-tune your overall tones. Calibrating your monitor guarantees consistent viewing. Learning these steps helps you improve your color accuracy—continue exploring to master perfect results.
Key Takeaways
- Use white balance correction tools to neutralize color casts and restore natural hues.
- Adjust hue and saturation settings to fix specific color distortions and unwanted tints.
- Apply color grading and balancing techniques in post-processing for consistent, accurate colors.
- Calibrate your display regularly to ensure editing reflects true colors and avoids further distortions.
- Maintain consistent shooting practices, including proper lighting and camera settings, to prevent color issues from the start.
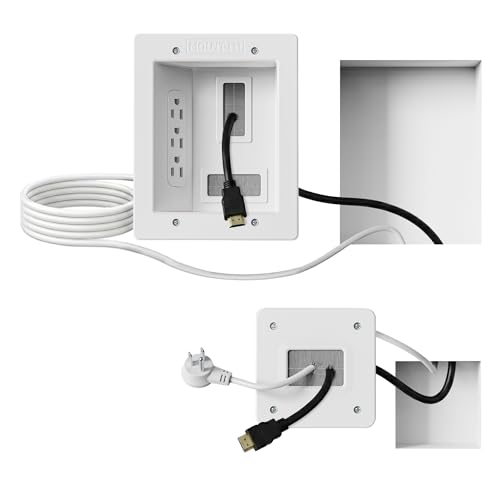
Mount-It! in-Wall TV Cable Concealer Kit with Recessed Power – Triple Outlet, 9ft Cord, and Hand Saw – Easy, Safe Cable Management for Organized TV and Home Theater Setups
Organized home theater setup – Eliminate messy wires and give your entertainment area a clean, modern look. This...
As an affiliate, we earn on qualifying purchases.
Identifying Color Distortion and Unwanted Tints
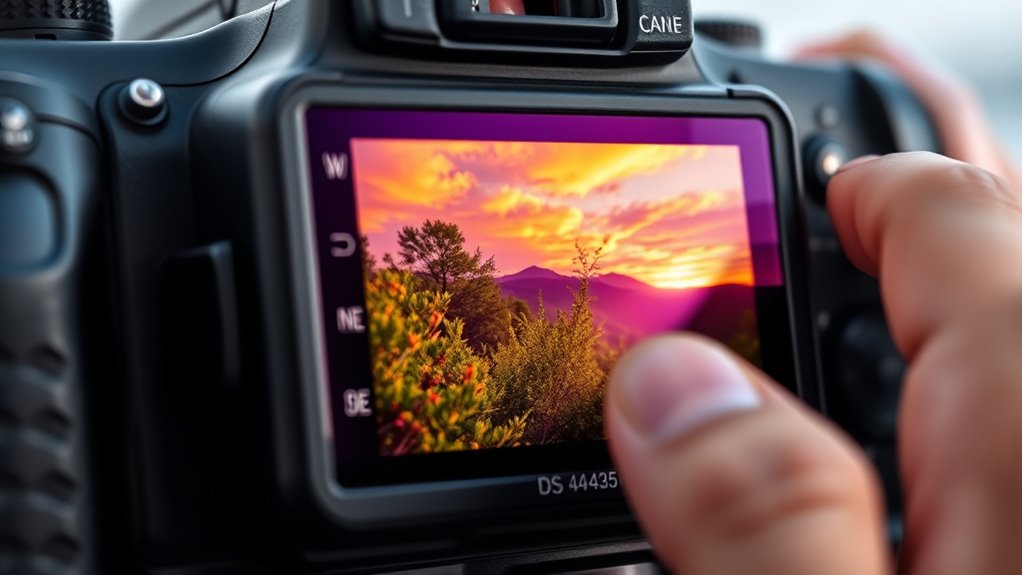
To effectively address color distortion and unwanted tints, you need to learn how to identify them quickly. Start by examining your photos for any unnatural hues or shifts in color. A common sign of color cast is when images appear overly warm or cool, indicating an imbalance in color temperature. Look closely at white or neutral areas; if they have a tinted hue—like a bluish or yellowish tint—you’re dealing with a color cast. Recognizing these signs early helps you determine whether the issue stems from incorrect lighting, camera settings, or post-processing. By developing a keen eye for subtle color shifts, you’ll be better prepared to correct these distortions and achieve more accurate, true-to-life images. Additionally, understanding the HEPA filtration technology in air purifiers can help you maintain a cleaner environment that minimizes airborne particles that may affect your visual perception and image quality.

Furman M-8Dx Merit X Series 8 Outlet Power Conditioner & Surge Protector with LED Voltmeter & Dual Lights Plus Hosa 18 Gauge Electrical Extension Cable
Digital Voltmeter Displays Incoming Line Voltage
As an affiliate, we earn on qualifying purchases.
Adjusting Camera Settings for Accurate Colors
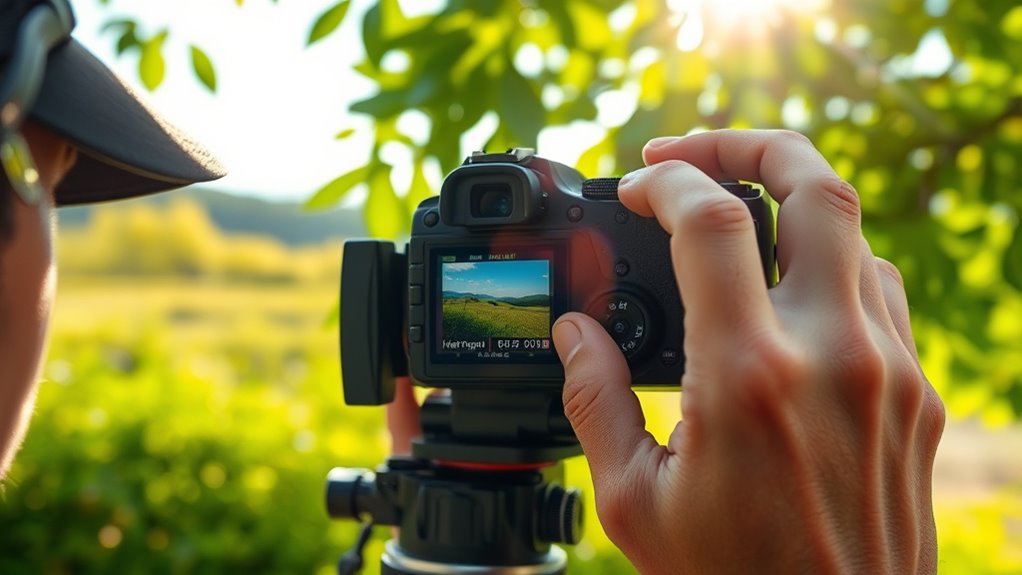
To get true-to-life colors, you need to fine-tune your camera settings. Start by calibrating the white balance to match your lighting conditions, and then manage ISO to prevent grainy images. Finally, adjust exposure levels to make sure your photos aren’t too dark or too bright. Additionally, understanding color accuracy can help you achieve more realistic images that reflect actual tones and shades.
Calibrate White Balance
Calibrating your white balance is essential for capturing accurate colors in your photos. When you adjust the white balance, you ensure that whites appear truly white under different lighting conditions, which improves overall color calibration. To do this effectively, set your camera to the appropriate white balance preset or use a custom setting. For best results, use a gray card or a neutral-colored object in the scene for calibration. This helps your camera recognize the true color temperature and modify accordingly. Proper white balance prevents unwanted color tints and ensures that your photos have natural, vibrant tones. Additionally, understanding color accuracy in your projector setup can significantly enhance your viewing experience. Take the time to calibrate your white balance regularly, especially when lighting conditions change, to maintain consistent color accuracy in your images.
Manage ISO Settings
Managing your ISO settings is essential for capturing accurate colors in your photos, especially in varying lighting conditions. Adjusting ISO sensitivity helps you maintain color fidelity without introducing unnecessary noise. A lower ISO (like 100 or 200) minimizes noise and preserves true colors in bright environments. Conversely, increasing ISO allows you to shoot in dimmer light but may introduce noise, impacting color accuracy. Use noise reduction settings to smooth out grainy areas without sacrificing detail. Consider the table below to understand how ISO sensitivity impacts your images:
| ISO Setting | Effect on Noise & Colors |
|---|---|
| Low (100-200) | Less noise, better color accuracy |
| Medium (400-800) | Balanced, some noise possible |
| High (above 1600) | More noise, potential color distortion |
| Use noise reduction | Minimize grain, improve color clarity |
Additionally, understanding how AI detection can influence image authenticity is becoming increasingly important in digital photography.
Adjust Exposure Levels
Adjusting exposure levels is essential for capturing true-to-life colors in your photos. Proper exposure ensures your images aren’t too dark or washed out, which can distort hues and introduce unwanted tints. To do this effectively, consider the lighting conditions—bright sunlight may require lowering exposure, while indoor or low-light situations might need increased exposure. Keep in mind that lens quality also impacts exposure accuracy; a high-quality lens can help you achieve more precise results. Use your camera’s exposure compensation or manual settings to fine-tune brightness. Proper adjustment prevents color distortion caused by overexposure or underexposure, helping your images display accurate, vibrant colors. Additionally, understanding essential oils for color correction can inspire creative ways to balance tones and hues in your photography. When done correctly, your photos will reflect the true tones and hues you see with your eyes.

Furman AC-215A Compact Power Conditioner with Auto-Resetting Voltage Protection - Black
Furman's exclusive SMP Technology provides the highest level of surge & spike protection available..Amperage : 10 amps
As an affiliate, we earn on qualifying purchases.
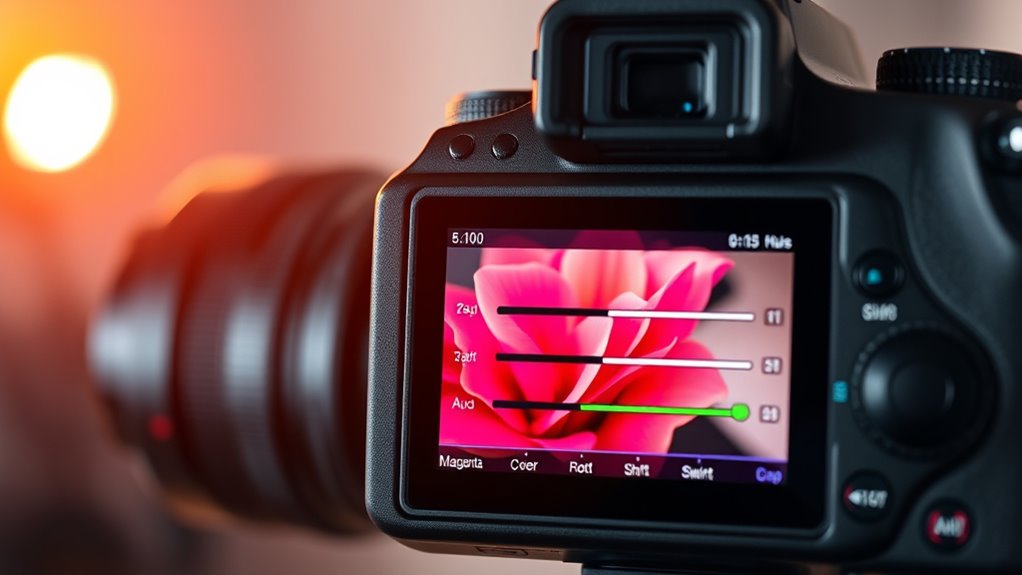
Using Editing Software to Correct Color Issues
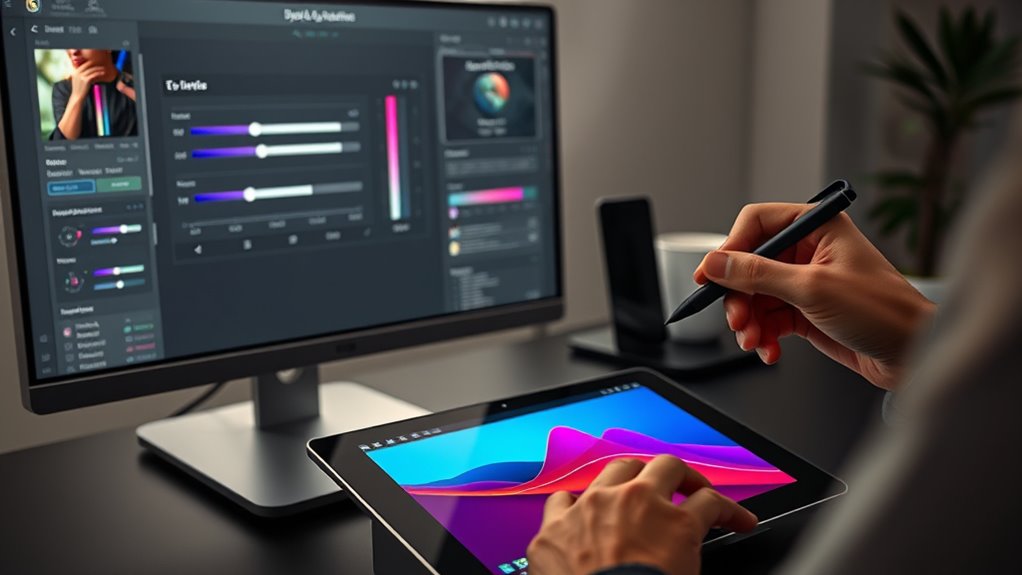
When you notice color distortions or unwanted tints in your photos, using editing software can effectively restore accurate colors. Start with color grading to balance overall tones, ensuring natural skin tones or true-to-life hues. Adjust saturation to enhance or tone down vividness, eliminating overpowering tints. Use the following table to guide your corrections:
| Step | Action |
|---|---|
| Identify color issues | Spot areas with distortion or tints |
| Use color grading | Balance overall tone |
| Adjust saturation | Control color intensity |
| Fine-tune hue | Correct specific color shifts |
| Preview and finalize | Compare before and after edits |
These tools help you achieve a natural look, removing unwanted tints and improving overall color accuracy.

Tripp Lite LS606M Power Conditioner for Audio Equipment, Appliances, Home Theater & More | 600W, 120V, 6 Outlets, Voltage Regulator (AVR), EMI/RFI Filter, Line Conditioner, 720 Joule Surge Protector
600W LINE CONDITIONER: Corrects voltage output for sensitive electronics by boosting undervoltages by 13.4% and reducing overvoltages by...
As an affiliate, we earn on qualifying purchases.
Calibrating Your Display for True Color Representation
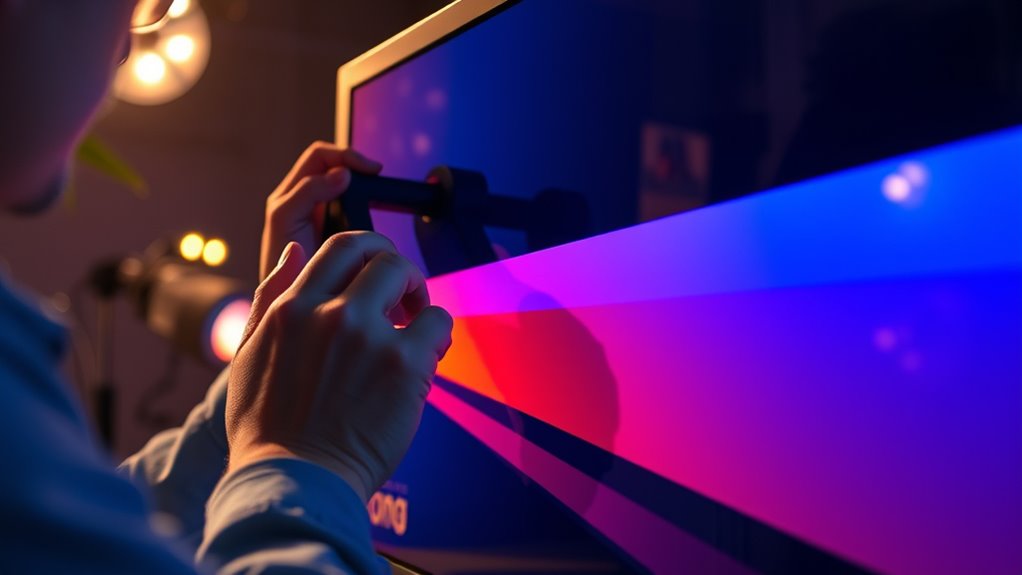
Calibrating your display is essential to guarantee that the colors you see on your screen match the true colors of your photos. By understanding color theory, you can better grasp how colors interact and appear to the eye, which helps in fine-tuning your monitor for accurate reproduction. Modern display technology varies, so calibration guarantees your device accurately reflects these differences. Use calibration tools or software to adjust brightness, contrast, gamma, and color balance, aligning your display with industry standards. Proper calibration minimizes color distortion and tints, providing a reliable foundation for editing. Remember, a well-calibrated monitor ensures your edits translate correctly across devices and print, maintaining consistency and authenticity in your images. Additionally, being aware of cookie categories and their purposes can help you understand how device settings might influence your viewing experience.
Applying Filters and Color Correction Tools

Applying filters and color correction tools allows you to refine your images and achieve the desired visual impact. These tools enable precise adjustments to color balance, saturation, and contrast, helping you correct tint issues and enhance overall image quality. With color grading, you can establish a specific mood or style, making your visuals more cohesive and striking. Whether you’re working on photos or videos, these techniques give you control over how colors appear, allowing you to fix unwanted tints or distortions. By experimenting with different filters and correction settings, you can transform dull or off-color images into vibrant, balanced visuals. Mastering color grading tools empowers you to elevate your content, ensuring colors look accurate and visually appealing across various devices and displays. Embracing visual storytelling helps create emotional connections that make your visuals more memorable and impactful.
Preventing Future Color Problems in Photos and Videos
To prevent future color problems in your photos and videos, it’s essential to establish consistent shooting and editing practices. Understanding color theory helps you choose complementary colors and maintain balance, reducing unwanted tints. Pay attention to lighting conditions, as they directly influence the accuracy of colors captured. Shooting in natural light or using consistent artificial lighting minimizes color shifts. When editing, stick to standardized color profiles and avoid over-adjusting saturation or hue, which can introduce distortions. Calibrating your monitor regularly guarantees your screen displays true colors, helping you make precise edits. Planning your shoots around predictable lighting and applying consistent post-processing techniques will help preserve accurate colors and prevent unwanted tints in your future media. Additionally, consulting retail hours can help you schedule shoots at times when lighting conditions are optimal and stores are open for any on-site support.
Frequently Asked Questions
What Are the Common Causes of Color Distortion in Images?
You might notice color distortion caused by improper color calibration or mismatched color profiles. When your device’s display isn’t calibrated correctly, colors can appear inaccurate or off-tone. Using incorrect or outdated color profiles also leads to color shifts. To prevent this, verify your monitor is properly calibrated and that your software uses accurate color profiles. These steps help maintain consistent, true-to-life colors in your images.
How Do Different Lighting Conditions Affect Color Accuracy?
Lighting conditions can make or break your photo’s color accuracy. When you change ambient lighting, it’s like adding a new coat of paint; the colors can shift unexpectedly. Color temperature plays a key role—warmer light adds yellow tones, while cooler light brings blue hues. To keep your colors true, shoot in consistent lighting and adjust your camera settings accordingly, so your images stay vibrant and accurate regardless of the environment.
Can Hardware Issues Cause Persistent Color Tints?
Yes, hardware malfunction can cause persistent color tints. If your monitor or display suffers from calibration issues or has faulty components, it might consistently show incorrect colors. These hardware problems can lead to uneven color distribution or unwanted tints that don’t go away, even after software adjustments. To fix this, you may need to replace faulty parts or perform a proper calibration, ensuring your display accurately reproduces colors.
Are There Specific Camera Models More Prone to Color Problems?
Some camera models are more prone to color problems, acting like sensitive artists easily affected by their environment. You might find that older or budget models often struggle with sensor calibration, leading to color issues. To keep your camera in tune, regularly check for firmware updates, which can fix bugs and improve color accuracy. Investing in higher-end cameras usually means fewer color problems, but maintenance is key for all models.
How Can I Test My Monitor’s Color Accuracy at Home?
You can test your monitor’s color accuracy at home by performing a quick color calibration using free tools like DisplayCAL or online test images. First, run display profiling to create a custom color profile that matches your monitor. Then, compare your screen’s colors with professional test images or calibration targets. Adjust your monitor settings as needed to guarantee accurate color reproduction, improving your overall viewing experience.
Conclusion
So, after all that effort to fix color distortions, you might think your photos are perfect now. Ironically, the real challenge is preventing these issues in the first place. Sometimes, no matter how much you adjust or calibrate, a little tint sneaks in—reminding you that even the best tools can’t guarantee flawless colors. But don’t worry; with a little practice, you’ll master the art of keeping your images vibrant and true, every time.