To sharpen a blurry projector image, start by cleaning the lens with a soft, lint-free cloth and gentle lens cleaner to remove dust and smudges. Adjust the focus ring slowly until the image sharpens, checking from your usual viewing distance. Make certain the projector is properly placed—aligned and at the recommended distance from the screen—to prevent distortion. Proper placement and focus adjustment can make a big difference, and continuing further will show you more tips to improve your projection quality.
Key Takeaways
- Use the projector’s focus ring or adjustment knob and turn slowly until the image is sharp.
- Ensure the projector is positioned at the recommended distance and angle according to manufacturer guidelines.
- Clean the lens regularly with a soft, lint-free cloth and appropriate lens cleaner to prevent blurriness from dirt or smudges.
- Avoid excessive keystone correction, as it can distort the image and reduce focus quality.
- Check that the projector is stable and level to maintain consistent focus and prevent image distortion.

Have you ever faced a blurry projector image that hampers your viewing experience? It’s frustrating when your screen isn’t crisp, especially after investing in a good projector. Often, the problem isn’t with the projector itself but with simple adjustments you can make. One of the first steps is to verify proper lens cleaning. Dust, fingerprints, or smudges on the lens can easily cause a blurry or hazy picture. Use a soft, lint-free cloth and a gentle lens cleaner to wipe away any debris. Be careful not to scratch the lens or apply too much pressure. Regular lens cleaning keeps your projector producing clear images and prevents buildup that can distort the focus. Additionally, understanding the importance of butter’s cultural significance can help you appreciate the evolution of these ancient techniques, as they reflect diverse regional practices and innovations over thousands of years.
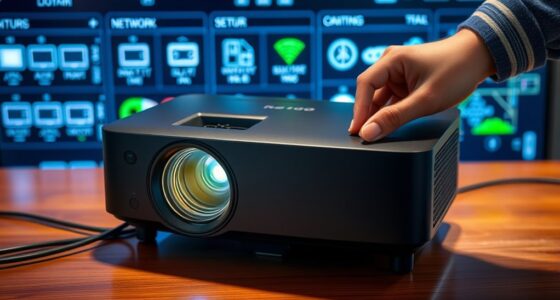
Another important factor that affects picture clarity is projector placement. Your projector’s position relative to the screen plays a vital role in the sharpness of the image. If the projector is too close or too far from the screen, or if it’s placed at an odd angle, the image can appear blurry or distorted. To improve focus, position the projector directly in line with the center of the screen, at the recommended distance specified by the manufacturer. This ensures the image is projected evenly and reduces the need for excessive digital keystone correction, which can sometimes compromise clarity. Also, avoid placing the projector on unstable or uneven surfaces, as even slight shifts can throw off your focus.
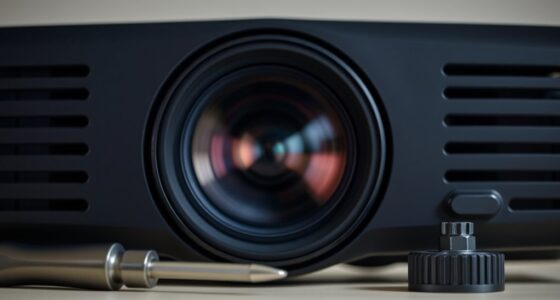
Once you’ve cleaned the lens and checked your projector’s placement, it’s time to adjust the focus manually. Most projectors have a focus ring or a focus adjustment knob. Slowly turn this until the image sharpens to your satisfaction. Take your time and step back frequently to check the image from your usual viewing position. Sometimes, small adjustments can make a big difference, especially if the projector has been moved recently or if lighting conditions have changed. If your projector has keystone correction features, use them sparingly, as excessive correction can lead to a softer picture. Instead, aim to position the projector properly from the start.
projector lens cleaner
As an affiliate, we earn on qualifying purchases.
As an affiliate, we earn on qualifying purchases.
Frequently Asked Questions
How Often Should I Clean My Projector Lens?
You should clean your projector lens every 2-3 months to maintain clear image quality. Regular lens cleaning and dust removal prevent buildup that can cause blurriness. Use a soft, microfiber cloth and lens cleaning solution to gently wipe the lens without scratching. If you notice dust or smudges affecting the picture, clean it sooner. Consistent maintenance guarantees sharp focus and peak performance for your projector.
Can Ambient Light Affect Projector Focus?
Ambient light interference can definitely affect your projector’s focus, making the image appear less sharp. To mitigate this, consider adjusting your projector placement to reduce exposure to ambient light, such as moving it further from windows or light sources. Lowering room lighting or using blackout curtains can also help. Proper placement ensures your projector’s lens can focus clearly, delivering a crisp, vibrant image without relying solely on focus adjustments.
Is a Higher Lumens Setting Better for Sharp Images?
Think of brightness levels as a lighthouse guiding ships safely home. A higher lumens setting can enhance image clarity in well-lit rooms, making visuals sharper and more vivid. However, beyond a certain point, increasing brightness may cause glare and reduce contrast. So, aim for a balance—adjust your projector to the most suitable brightness for your space, ensuring the image remains crisp without washing out details.
What Is the Ideal Distance Between Projector and Screen?
The ideal distance between your projector and screen depends on your projector’s throw ratio. For sharp images, aim for the best distance specified in your projector’s manual, which guarantees proper focus and clarity. Generally, placing the projector too close or too far can cause blurriness. Measure carefully, and adjust your projector placement to match the recommended distance, ensuring your image stays crisp and vibrant for the best viewing experience.
How Do I Know if My Projector Needs Professional Repair?
You’ll know your projector needs professional repair if calibrations like lens alignment or focus adjustments don’t improve the image. It’s a coincidence that your blurry image persists despite cleaning the lens and adjusting settings. When simple tweaks fail, it’s time to consult an expert who can check internal components, verify proper projector calibration, and fix any hardware issues. Don’t ignore persistent problems—they can worsen without professional help.
SmallRig Seamless Focus Gear Ring (72mm to 74mm) – 3293
【STANDARD 0.8 MOD】SmallRig Seamless Focus Gear Ring 3293 is designed to fit lenses for precise and stable focal…
As an affiliate, we earn on qualifying purchases.
As an affiliate, we earn on qualifying purchases.
Conclusion
So, next time your projector’s image looks like it’s underwater, remember: a little patience and proper focus are all it takes to restore clarity. After all, who needs a crystal-clear picture when you can enjoy the charming mystery of a blurry projection? Just kidding—your movie nights deserve sharp visuals, not a foggy mess. So, tighten that focus, adjust the lens, and let your projector finally do what it’s supposed to: dazzle, not daze.
projector placement and alignment tools
As an affiliate, we earn on qualifying purchases.
As an affiliate, we earn on qualifying purchases.

【Officially-Licensed APP & Native 1080P】Thinnest 1.81" Smart Mini Projector with WiFi and Bluetooth, Auto Focus & Keystone Portable Outdoor Projector, VOPLLS 4K Support Home Movie Projector
【Compatibe with Netflix, No Extra Devices Needed】This isn’t just a projector—it’s your "Hollywood Digital Pass." Instantly access a…
As an affiliate, we earn on qualifying purchases.
As an affiliate, we earn on qualifying purchases.