Zoom lenses on projectors let you adjust the image size without changing the projector’s position, giving you more placement flexibility. This means you can position your projector closer or farther from the screen while still achieving the perfect image size. It’s especially useful in tight spaces or irregular rooms. By mastering zoom lens capabilities, you can optimize your setup easily and avoid compromises. Keep exploring to discover more tips for maximizing your projector’s placement options.
Key Takeaways
- Zoom lenses allow fine-tuning image size without moving the projector, expanding placement flexibility within the throw ratio range.
- They enable achieving desired screen size from a wider range of distances, reducing installation constraints.
- Adjustable zoom helps compensate for slight room dimension variations or miscalculations during setup.
- Combining zoom with lens shift maximizes placement options while maintaining image quality.
- Proper understanding of zoom lens capabilities prevents distortion and ensures optimal image clarity across different distances.

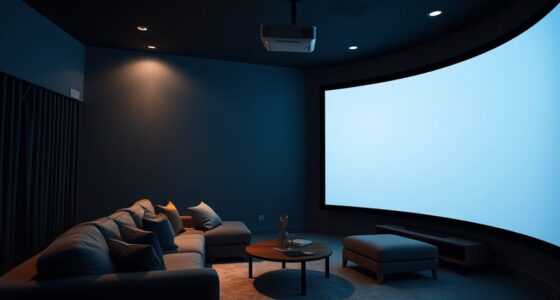
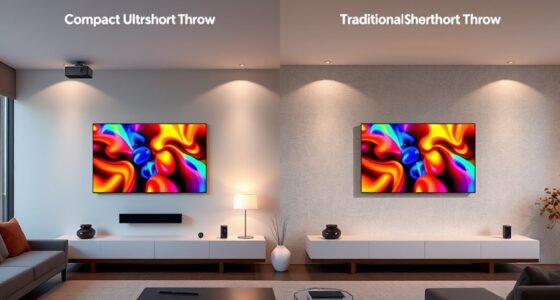
Ever wonder how to choose the perfect projector throw ratio for your space? It all comes down to understanding how different throw ratios impact your projector’s placement and image size. The throw ratio determines how far your projector needs to be from the screen to produce a specific image size. If you have limited space, a short-throw projector might be ideal because it can project a large image from a short distance. Conversely, long-throw projectors require more distance but are often better for large venues or auditoriums. Knowing your room dimensions and desired image size helps you pick the right throw ratio, but it’s equally important to consider lens compatibility and installation tips to ensure a smooth setup.
When selecting a projector, check the lens compatibility carefully. Not all projectors have interchangeable lenses, and some may only support fixed lenses designed for specific throw ratios. If you plan to use zoom lenses, verify that your projector supports them and whether the lens can be easily swapped or adjusted. Compatibility issues can lead to installation challenges or suboptimal image quality, so it’s worth investing time in understanding your projector’s lens options beforehand. This way, you can ensure flexibility in positioning and achieve the desired image size without sacrificing clarity or focus.
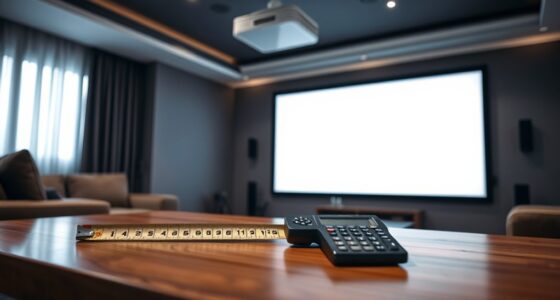
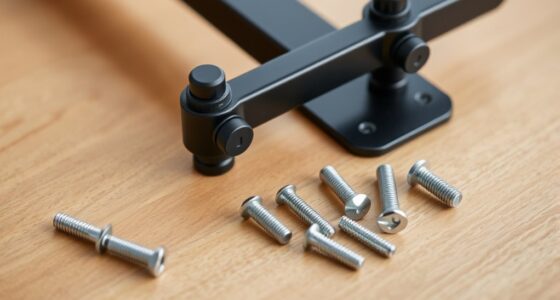
Installation tips go hand-in-hand with understanding throw ratios and lens compatibility. First, measure your space accurately—know the distance from where you’ll place the projector to the screen. Use this measurement to match your projector’s throw ratio with the room’s dimensions. When installing, consider mounting options that allow for precise adjustments—this helps you fine-tune the image size and focus after setup. Make sure your projector is level and aligned properly to avoid keystone distortion, which can ruin the viewing experience. If you’re using zoom lenses, take advantage of their adjustability during installation to fine-tune the picture without needing to move the projector physically.
Additionally, consider the room’s lighting and screen placement. Proper placement can maximize image quality and minimize shadows or glare. If your projector supports lens shift features, use them to adjust the image position without physically moving the device. This can be especially helpful in tight spaces or unconventional room layouts. Remember, a well-planned installation not only improves image quality but also extends the lifespan of your projector by reducing strain on the lens and internal components. Understanding projector specifications and how they relate to your setup can help you make more informed choices and avoid costly mistakes. Taking these installation tips into account ensures you get the most out of your projector’s zoom capabilities and throw ratio flexibility, making your setup both functional and visually impressive.
Adorama Raynox EK75-125 75-125mm f/3.5 Zoom Projection Lens
5-group 7-element Zoom
As an affiliate, we earn on qualifying purchases.
As an affiliate, we earn on qualifying purchases.
Frequently Asked Questions
How Do I Measure My Room’s Space for Optimal Projector Placement?
To measure your room’s space for ideal projector placement, start by noting the room dimensions using measurement tools like a tape measure or laser distance meter. Measure the distance from where you plan to place the projector to the screen or wall. This helps you determine the best throw ratio and whether zoom lenses can adjust the image size, ensuring clear visuals and proper alignment.
Can Throw Ratio Impact Picture Quality Besides Placement Flexibility?
Think of throw ratio as the lens’s secret handshake, silently influencing your image quality. A proper throw ratio guarantees your projector is perfectly aligned, which directly impacts image clarity and color accuracy. If it’s off, you might see blurry or washed-out images, no matter how advanced your projector is. So, yes, throw ratio can affect picture quality by ensuring your projector’s placement optimizes image sharpness and true-to-life colors.
Are Zoom Lenses Suitable for All Types of Projectors?
Zoom lenses aren’t suitable for all projectors because lens compatibility varies, and you need to confirm the lens matches your projector’s model. Additionally, they have zoom range limitations, which might restrict your flexibility in certain setups. Before purchasing, check if your projector supports zoom lenses and verify compatibility to avoid issues. Proper matching guarantees ideal image quality and smooth operation, making zoom lenses a versatile choice when compatible.
How Does Ambient Light Affect Projector Throw Ratio Choices?
Ambient light substantially affects your choice of projector throw ratio. When there’s lots of ambient light, you need a projector with higher brightness to guarantee clear images. This often means selecting a shorter throw ratio for closer placement or using a zoom lens to adapt to different distances. By adjusting for ambient light, you optimize image quality and visibility, making sure your projector performs well regardless of lighting conditions.
What Are Common Mistakes When Calculating Projector Placement?
Misjudging your measurement missteps is common when calculating projector placement. You might forget to factor in the projection distance, leading to a mismatch of image size and room space. Additionally, neglecting lens calibration can cause confusion, as the zoom lens alters throw ratio. Always double-check your calculations, measure precisely, and calibrate your lens correctly to guarantee ideal placement and a crisp, clear picture.

ViewSonic PS502X 4000 Lumens XGA HDMI Short Throw Projector for Education and Office
Short Throw DLP Lamp Projector: XGA (1024x768p) resolution with a 0.6 throw ratio and 4,000 ANSI lumens for…
As an affiliate, we earn on qualifying purchases.
As an affiliate, we earn on qualifying purchases.
Conclusion
Now that you know the secrets of projector throw ratios and how zoom lenses expand your placement options, you can confidently choose the perfect setup. Understanding throw ratios helps you optimize space, enhance image quality, and customize your viewing experience. Whether you’re setting up for home cinema or a professional presentation, mastering these secrets empowers you to make smarter, more flexible choices. With knowledge, versatility, and confidence, you can transform any space into a perfect viewing environment.

XGIMI HORIZON 20 4K RGB Triple Laser Home Projector, 3200 ISO Lumens, Google TV with Licensed Netflix, Optical Zoom & Lens Shift, IMAX Enhanced, Dolby Vision, 300" Display, 240Hz, 1ms Input Lag
Powered by RGB Triple Laser: The X-Master RGB triple laser engine delivers 3200 ISO lumens and a 100,000:1…
As an affiliate, we earn on qualifying purchases.
As an affiliate, we earn on qualifying purchases.

Aurzen Ceiling Projector Mount Bracket, 360° Rotation & 90° Tilt, Adjustable 9"-15" Length, ¼-Inch Screw, Compatible with TMY, HAPPRUN, Yaber, Epson & Most Projectors
Note: Not compatible with Aurzen D1 MAX
As an affiliate, we earn on qualifying purchases.
As an affiliate, we earn on qualifying purchases.