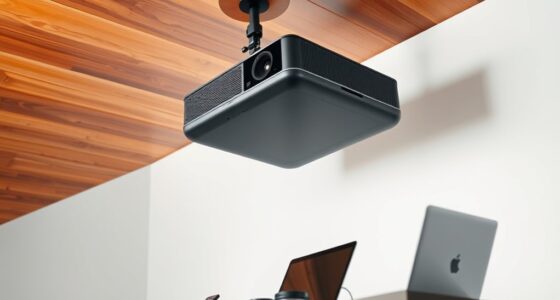

To use lens shift without causing setup problems, start by positioning your projector close to its ideal spot. Use small, controlled adjustments with the lens shift controls, avoiding pushing beyond their limits. Make precisely targeted, incremental moves to align the image properly, and reserve keystone correction for minor tweaks. This approach keeps your image sharp and distortion-free. If you want to learn more tips for a smooth setup, keep going.

Get business pricing on your home office setup
- Business-only prices and quantity discounts
- Tax-exempt purchasing
- Multiple users, one account, clear invoices
Key Takeaways
- Start with the projector positioned close to the desired setup location before using lens shift adjustments.
- Make small, incremental adjustments to avoid strain on the lens shift mechanism.
- Use lens shift primarily for large positional corrections, reserving keystone correction for minor tweaks.
- Do not push lens shift controls beyond their specified limits to prevent damage or image distortion.
- Confirm image clarity and alignment after each adjustment to ensure setup stability and quality.
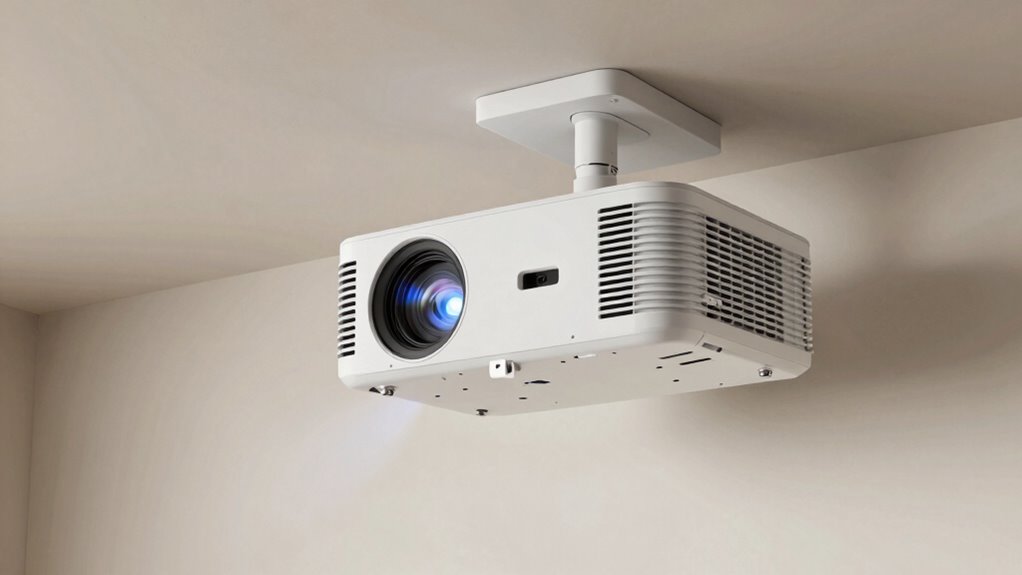
If you’ve ever struggled to get a perfect image on your projector without moving it out of place, lens shift is a feature you’ll want to understand. It allows you to adjust the position of the projected image vertically or horizontally without physically moving the projector itself. This capability is especially useful when you’re trying to achieve proper projection alignment, as it helps you fine-tune the image without disturbing the setup. Instead of repositioning the entire projector or relying solely on keystone correction, lens shift provides a smooth way to center or align the image precisely where you want it on the screen.
Using lens shift effectively begins with understanding your projector’s adjustment controls. Most projectors with this feature have dedicated dials or buttons that allow you to shift the lens vertically or horizontally. When you activate these controls, the image moves inside the projector’s fixed optical path, preserving focus and image quality. This means you can avoid the common problems associated with keystone correction, which often introduces distortions or reduces clarity. With lens shift, you can keep your image crisp and true to the original aspect ratio, making your viewing experience much better. Additionally, knowing the projection geometry of your setup helps you make more precise adjustments while using lens shift. A good understanding of how your projector’s optical components work can greatly improve your overall setup process.
Most projectors with lens shift have dedicated controls to adjust the image without losing clarity or causing distortion.
Keystone correction is a helpful tool for quick adjustments, but it’s best used sparingly. Over-reliance on keystone correction can lead to distorted images and decreased resolution. Instead, aim to use lens shift first to achieve the desired projection alignment. Once your image is properly aligned, you can use keystone correction for minor tweaks—if necessary—without sacrificing image quality. This approach ensures your setup remains sharp and distortion-free, providing a professional look whether you’re presenting in a conference room or setting up a home theater. Recognizing the limitations of keystone correction can help you avoid unnecessary image distortions and maintain clarity.
When adjusting your projector, start by positioning it as close to the ideal location as possible. Use lens shift to fine-tune the image rather than moving the entire projector. This preserves the integrity of your setup and minimizes the risk of knocking the projector out of alignment. Be cautious not to push the lens shift controls beyond their limits, as this can strain the mechanism or cause uneven image shifts. Always aim for small, incremental adjustments to keep everything stable and consistent. Additionally, understanding the contrast ratio of your projector can help you optimize image quality while making adjustments. Proper knowledge of your projector’s features, including lens shift, allows for more precise and damage-free adjustments. Being familiar with your projector’s adjustment controls can help you avoid unnecessary troubleshooting later on.
As an affiliate, we earn on qualifying purchases.
Frequently Asked Questions
Can Lens Shift Cause Image Distortion?
Lens shift can cause image distortion if not used correctly, especially if the lens isn’t properly aligned. When you shift the lens, it moves the image without changing the projector’s physical position, which can introduce keystone or trapezoidal distortion. To prevent this, make certain your lens is well aligned and adjust the shift gradually. Proper lens alignment ensures you get a clear, undistorted image without compromising quality.
Is Lens Shift Effective for All Projector Models?
Like a versatile artist, lens shift is effective for many projector models, but not all. You’ll find it enhances projection alignment and offers mounting flexibility, making setup smoother. However, some projectors lack this feature, limiting your options. Before choosing a projector, check if it supports lens shift to guarantee you get the flexibility needed for perfect image placement without complicated adjustments.
How Often Should I Recalibrate After Using Lens Shift?
You should recalibrate your projector after using lens shift if you notice alignment issues or image distortion. Generally, calibration frequency depends on how often you move the lens; if you frequently adjust the lens shift, check the alignment adjustments regularly. It’s a good idea to recalibrate every few months or after any significant repositioning, to ensure superior picture quality and prevent long-term setup problems.
Does Lens Shift Affect Image Brightness?
Think of lens shift as a gentle breeze guiding your projector image; it usually doesn’t affect image brightness much. However, excessive lens shift can hit its limitations, causing a slight dimming or uneven brightness. While minor adjustments won’t substantially change image brightness, pushing the lens shift to its maximum might reduce light output, so it’s best to stay within recommended limits for crisp, bright visuals without compromising image quality.
Can Lens Shift Be Used Simultaneously With Keystone Correction?
Yes, you can use lens shift simultaneously with keystone correction. Lens shift helps with projection alignment by moving the lens vertically or horizontally, keeping the image straight without distortion. Keystone adjustment, on the other hand, corrects the trapezoidal shape caused by projection angles. Using both together allows you to fine-tune your image’s position and shape, reducing setup problems and ensuring a clear, well-aligned picture.
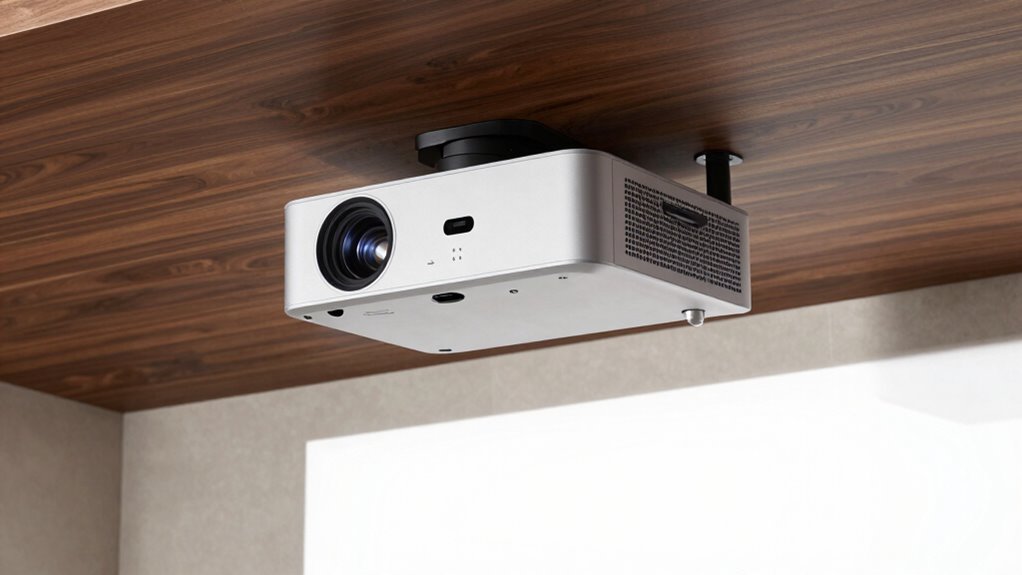
projector keystone correction adjustment
As an affiliate, we earn on qualifying purchases.
As an affiliate, we earn on qualifying purchases.
Conclusion
By mastering lens shift, you can easily align your projector without hassle or complex adjustments. Sure, it might seem tricky at first, but with a little practice, you’ll find it straightforward and worth the effort. Don’t worry about setup problems—just take your time, and you’ll enjoy a perfectly aligned picture every time. Once you get the hang of it, lens shift becomes an effortless tool for a seamless viewing experience.
home theater projector setup tools
As an affiliate, we earn on qualifying purchases.
As an affiliate, we earn on qualifying purchases.
projector image alignment accessories
As an affiliate, we earn on qualifying purchases.
As an affiliate, we earn on qualifying purchases.
Fall Picks
fall essentials
As an affiliate, we earn on qualifying purchases.