The Complete Throw Ratio Explained Playbook helps you understand how projector distance relates to screen size, so you can choose the right setup for your space. It covers different types of throw ratios—from short to long—and shows you how to calculate the ideal one for your room’s size and lighting. By following these tips, you’ll avoid common mistakes and optimize your viewing experience. Keep exploring to learn more about making the perfect projection setup.
Key Takeaways
- Defines throw ratio as the projector-to-screen width ratio, crucial for optimal projector placement.
- Explains how different throw ratios (short, standard, long, ultra-short) suit specific room sizes and setups.
- Guides on calculating the ideal throw ratio based on desired image size and room dimensions.
- Highlights common mistakes like ignoring room size and lens compatibility in throw ratio selection.
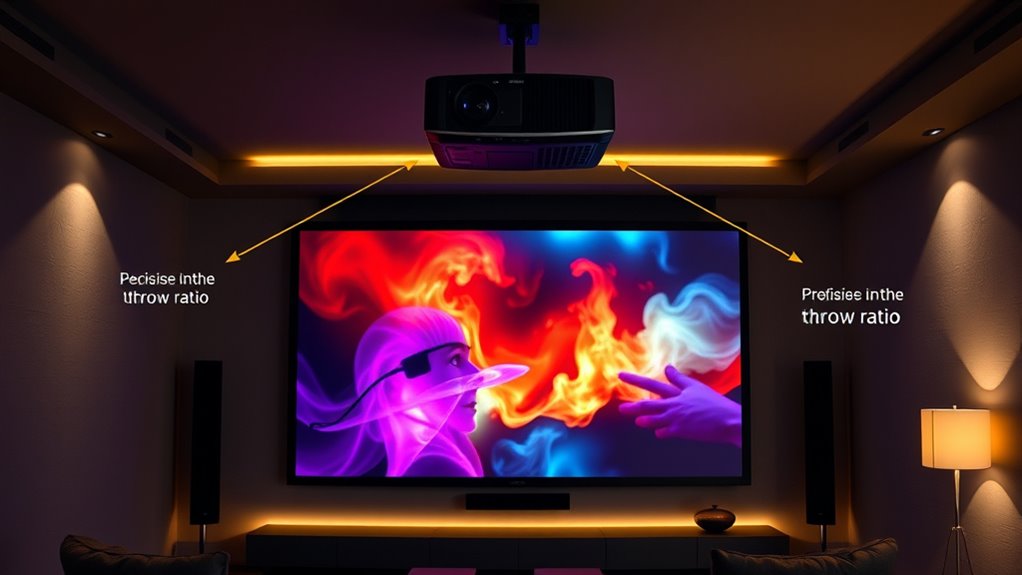
- Emphasizes the importance of precise measurement and planning for effective projection setup.
Understanding the Basics of Throw Ratio
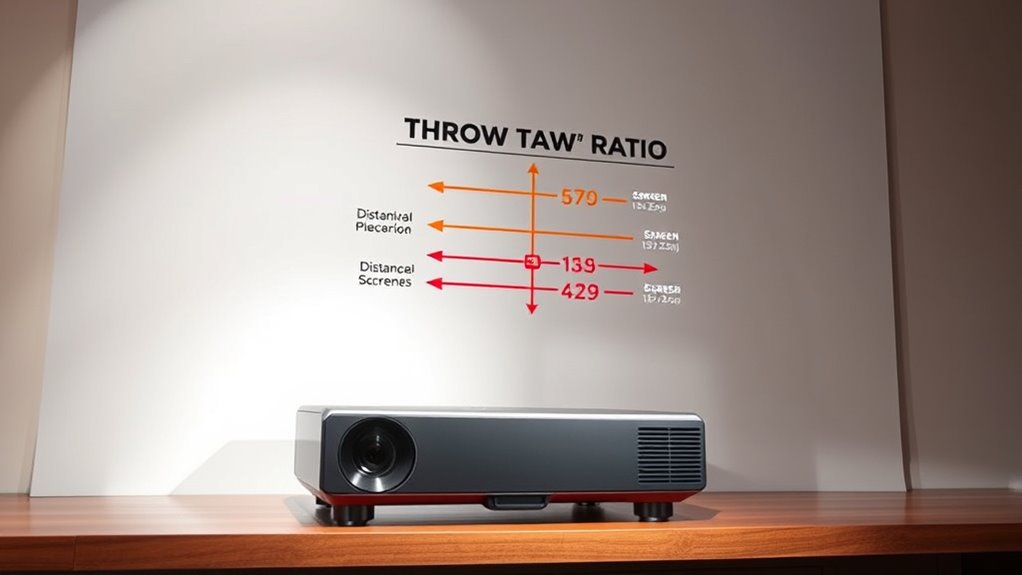
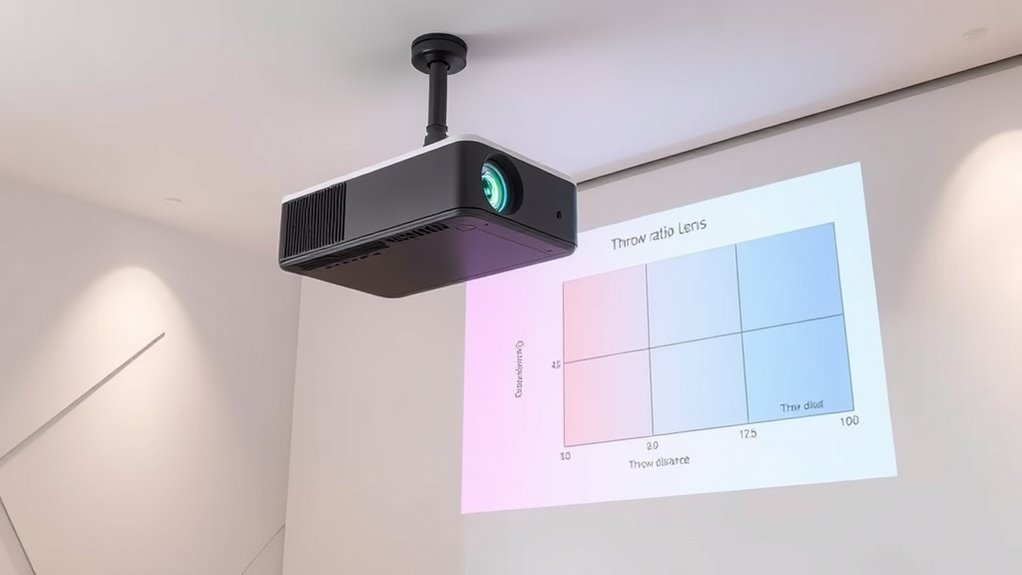
Ever wonder what throw ratio really means and why it matters? It’s a key factor in choosing a projector, especially for activities like projection mapping and managing ambient lighting. Throw ratio compares the distance between your projector and screen to the width of the image, helping you determine how big your picture will be at a given distance. A short-throw projector has a low ratio, making it ideal for small spaces, while a long-throw projector needs more room. Understanding this helps you position your projector correctly for seamless projection mapping or to avoid glare from ambient lighting. Getting familiar with throw ratio allows you to optimize your setup, ensuring crisp images and vibrant colors, no matter how much ambient light’s around.
How Throw Ratio Affects Your Viewing Space
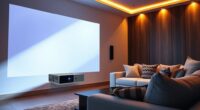
The throw ratio directly impacts how you arrange your viewing space, determining the distance needed between your projector and screen to achieve a desired image size. A lower throw ratio means you can place the projector closer to the screen, ideal for smaller rooms or tight spaces. Conversely, a higher throw ratio requires more distance, making it suitable for larger rooms. This affects your screen placement decisions, allowing you to optimize space and avoid clutter. Keep in mind that projector brightness influences your setup; brighter projectors can compensate for less-than-ideal placement by producing a clearer image even at shorter distances. Understanding how throw ratio affects your viewing space helps you create an ideal setup, balancing projector placement, room size, and image quality. Additionally, considering factors like installation planning resources can help you determine the best projector positioning for your specific space.
Different Types of Throw Ratios Explained
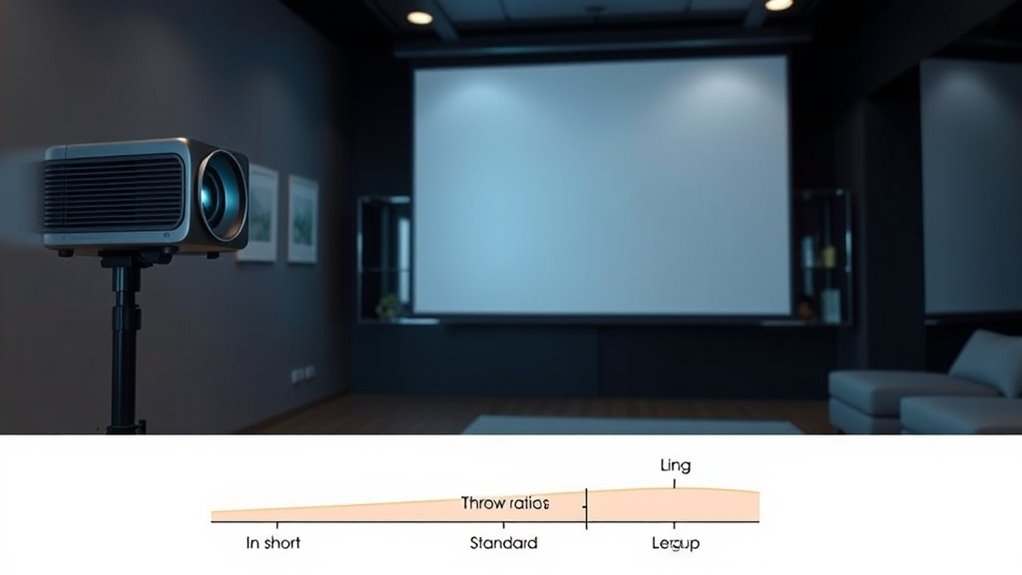
Throw ratios fall into three main categories—standard, short-throw, and ultra-short-throw—each suited for different room sizes and installation needs. Standard throw projectors have a typical ratio around 1.5 to 2.0, requiring some space between the projector and screen. Short-throw projectors have ratios around 0.4 to 1.0, allowing you to place them closer to the screen, ideal for small rooms. Ultra-short-throw models have ratios below 0.4, enabling placement almost directly on or near the screen surface. Choosing the right type impacts projector maintenance and screen calibration, as each setup demands specific adjustments for *ideal* image quality. Understanding these types helps you select the best throw ratio for your space, ensuring a clear, properly aligned projection without unnecessary hassle. Continuous monitoring of projection performance and understanding AI safety measures can also contribute to maintaining optimal device operation.
Calculating the Ideal Throw Ratio for Your Room
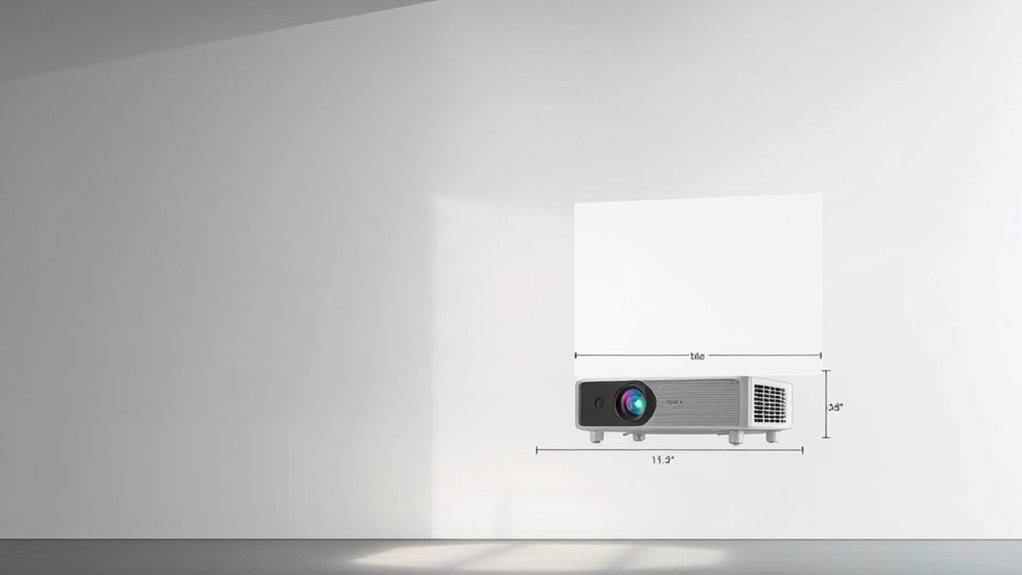
To determine the best throw ratio for your room, start by measuring the distance from your projector’s intended placement spot to the screen surface. This measurement helps you narrow down the ideal throw ratio, ensuring your projected image fits your desired screen size. Keep in mind that larger screens generally require a lower (shorter) throw ratio, especially if space is limited. Additionally, consider ambient light in your room; high ambient light may require a brighter projector and a larger screen to maintain image clarity. By balancing these factors, you can select a throw ratio that provides an ideal image size without sacrificing quality. Taking accurate measurements and evaluating your room’s lighting conditions are key to choosing the right throw ratio for your setup. Regularly monitoring projector bulb usage and maintaining proper projector bulb maintenance can also ensure consistent image quality over time.
Comparing Short-Throw and Long-Throw Projectors
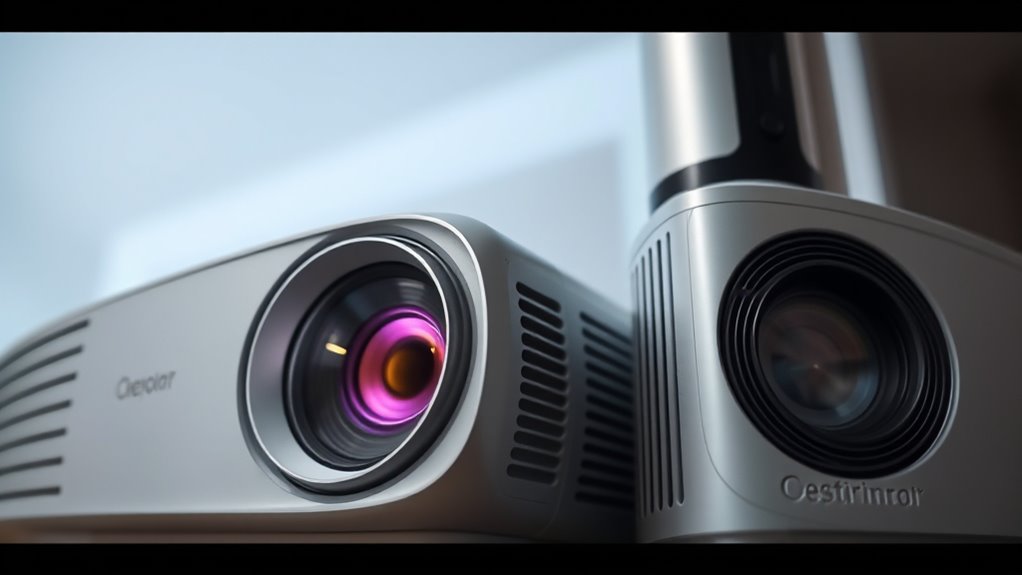
Choosing between short-throw and long-throw projectors depends on your space and how large you want the image. Short-throw models work well in small rooms with limited space, while long-throw projectors are better for larger areas. Understanding their differences helps you pick the right projector for your specific needs. Additionally, the throw ratio of a projector determines how large an image can be projected at a given distance, which is a key factor when selecting the ideal model for your setup.
Space Requirements Differences
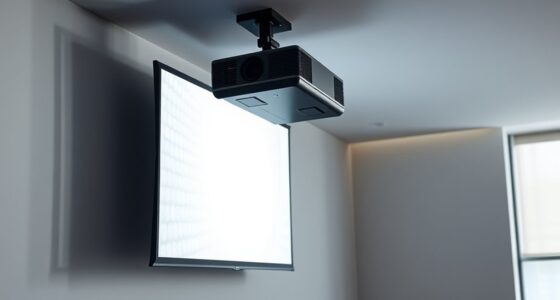
While both short-throw and long-throw projectors require space to project images effectively, their space needs differ considerably. Short-throw projectors are designed for close wall mounting, often just a few feet from the screen, making them ideal for limited spaces. They can be ceiling mounted, but their small throw ratio means you don’t need a large room to achieve a large image. Long-throw projectors, on the other hand, need more distance from the screen, requiring significant space for proper ceiling placement. You’ll need a larger room or a dedicated space to accommodate the extra distance for ideal image size. Understanding these differences helps you choose the right projector based on your available space and installation preferences. Additionally, considering the refrigeration cycle principles can help optimize projector cooling systems, ensuring consistent performance in various environments.
Image Size Variations
Have you ever wondered how much larger your projected image can get with different types of projectors? Short-throw projectors typically produce bigger images at a closer distance, ideal for small rooms, while long-throw projectors need more space but can project larger images from farther away. Keep in mind:
- Screen resolution impacts clarity regardless of size
- Higher projector brightness ensures vivid images in bright environments
- Short-throw projectors excel at close-up images, reducing shadows
- Long-throw projectors are suitable for large screens in spacious areas
- Image size varies with throw ratio and room setup
- Understanding arcade machine hardware can help optimize your gaming experience and setup choices.
Understanding these variations helps you choose the right projector for your space, ensuring maximum image size, clarity, and brightness without sacrificing quality.
Ideal Usage Scenarios
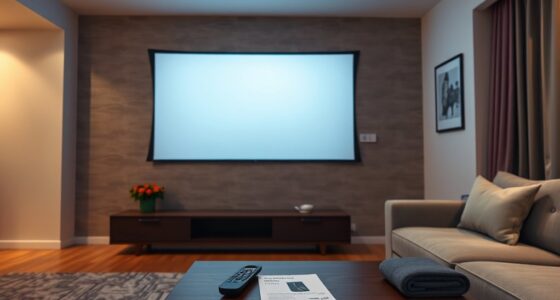
Short-throw projectors are ideal when you need a large image in a small space, such as a classroom or a conference room, where placing the projector close to the screen minimizes shadows and glare. They’re perfect for home theater setups in limited rooms, allowing you to enjoy big-screen entertainment without sacrificing space or aesthetics. Short-throw models also excel in outdoor projection scenarios, where close placement helps reduce ambient light interference and creates a clear, bright image. Conversely, long-throw projectors work better in larger venues or open areas, providing flexibility for bigger screens at greater distances. Your choice depends on your environment: for compact indoor use or outdoor use with limited setup space, short-throw is best, while long-throw suits expansive, open-air settings. Additionally, understanding projection placement can help optimize image quality and setup efficiency for your specific space.
Tips for Choosing the Right Throw Ratio
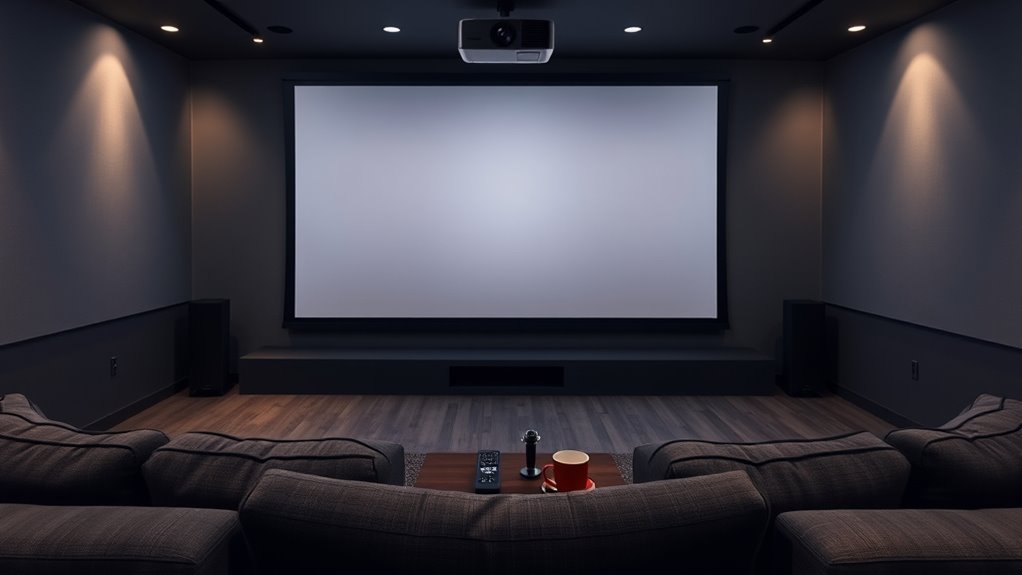
Choosing the right throw ratio is essential because it determines how close your projector needs to be to the screen for a clear image. To select the best throw ratio, consider your space and setup. For rooms with ambient lighting, opt for a projector with a shorter throw ratio to ensure brightness and clarity despite light interference. Proper projector placement is crucial; place it where it can project comfortably without crowding the room. Keep these tips in mind:
- Assess your room size before choosing
- Match the throw ratio to your projector’s placement
- Consider ambient lighting levels
- Measure the distance from projector to screen
- Opt for a versatile throw ratio if space is limited
- Remember that projector placement impacts image quality and overall viewing experience.
This approach guarantees a sharp image tailored to your environment, enhancing your viewing experience.
Common Mistakes to Avoid When Selecting a Throw Ratio
One common mistake is ignoring your room size, which can lead to choosing a throw ratio that doesn’t fit your space. You also might overlook lens compatibility, causing installation issues or poor image quality. Rushing the measurement process can result in incorrect calculations, so take your time to get accurate results. Incorporating data-driven strategies can help ensure your selection aligns with your specific needs.
Ignoring Room Size
Many people overlook the importance of room size when selecting a throw ratio, but doing so can lead to poor image placement and a compromised viewing experience. Ignoring factors like wall placement and ceiling height causes miscalculations in projector positioning. You might end up with an image that’s too small or too large, or placed awkwardly in the room. To avoid this mistake:
- Measure the distance from your projector to the wall
- Consider ceiling height and how it affects projector mount options
- Account for available wall space for screen placement
- Evaluate how furniture placement influences viewing angles
- Plan for future room modifications that could impact setup
- Additionally, understanding your lifestyle and how you use your space can help in selecting the optimal setup for comfort and productivity.
Overlooking Lens Compatibility
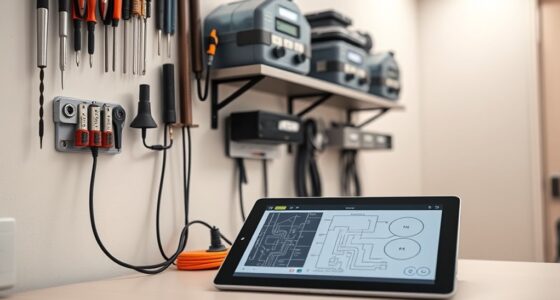
Even if you’ve accurately measured your room and selected the perfect throw ratio, overlooking lens compatibility can still cause issues. Not all projector lenses are compatible with every model, and choosing incompatible projector accessories can limit your options or distort your image. Before purchasing, check the lens compatibility to ensure it fits your projector’s specifications. Using the wrong lens can lead to blurry images, keystone distortion, or limited zoom capabilities. It’s essential to verify that any additional projector accessories, like lenses or adapters, match your projector’s make and model. Failing to do so might mean investing in upgrades that won’t work, wasting money and causing frustration. Always consult your projector’s manufacturer guidelines and compatibility charts to avoid these common mistakes.
Rushing Measurement Process
Rushing through the measurement process can lead to costly mistakes and suboptimal projector placement. When selecting a throw ratio, take your time to guarantee accuracy. Avoid hurrying, as it can result in incorrect calculations that affect your projection quality and audio integration.
To prevent errors:
- Double-check your room dimensions and throw distance
- Use precise measurement tools, not estimations
- Account for lens shift and zoom capabilities
- Consider future projection technology upgrades
- Confirm your projection surface height and position
Skipping these steps can cause distortions or poor sound synchronization, impacting your viewing experience. Carefully measuring ensures you choose the right throw ratio, optimizing both image clarity and audio integration, and avoiding costly adjustments later. Patience now saves headaches later.
Practical Examples of Throw Ratio in Action
Have you ever wondered how throw ratio impacts your actual viewing setup? It directly influences your projector’s projection angle and placement options. For example, a short throw ratio allows you to set up closer to the screen, reducing the need for extensive lens shift or adjusting your room layout. If you have a long throw ratio, you might need to position the projector farther back, which can affect the projection angle and overall image size. Understanding this helps you choose the right projector for your space, especially if you want minimal lens shift or precise image alignment. By considering throw ratio, you can optimize your setup for the best picture quality, ensuring your projection angle fits comfortably within your room’s dimensions.
Frequently Asked Questions
Can Throw Ratio Impact Image Quality Aside From Size?
Yes, your throw ratio can impact image quality beyond just size. A mismatched throw ratio may cause lens distortion, making the image look warped or unnatural. It can also affect image sharpness, especially if the projector isn’t designed for that specific ratio, leading to blurry or fuzzy visuals. Ensuring the right throw ratio helps maintain ideal image clarity and minimizes distortion, resulting in a better viewing experience.
Are There Projectors With Adjustable Throw Ratios?
Yes, you can find projectors with adjustable throw ratios, offering lens flexibility and zoom capabilities that make setup a breeze. These projectors act like a chameleon, adapting to different spaces with ease. By tweaking the zoom, you can change the image size without moving the projector, giving you more control and convenience. This flexibility guarantees you get the perfect picture, whether you’re projecting in a small room or a large hall.
How Does Ambient Light Influence the Ideal Throw Ratio?
Ambient lighting greatly impacts the ideal throw ratio because brighter rooms require a projector with a shorter throw ratio to guarantee a clear, vibrant image. If your space has a lot of ambient light, you should choose a projector with higher brightness (lumens) and a shorter throw ratio to minimize washout and maintain image quality. Adjusting your setup based on ambient lighting helps you get the perfect projection, regardless of lighting conditions.
Is a Higher Throw Ratio Better for Larger Rooms?
A higher throw ratio is perfect for giant screens in large rooms, giving you unmatched installation flexibility and an immersive viewing experience. You won’t believe how you can stretch your projector’s reach to cover massive walls with ease. It’s like having a magic wand for screen size and placement, letting you tailor the setup without sacrificing image quality. So, yes, a higher throw ratio definitely works better for larger rooms.
Can Changing the Throw Ratio Affect Projector Lifespan?
Changing the throw ratio can affect your projector’s lifespan by influencing projection distance and lens flexibility. A higher throw ratio often means the projector operates at a longer projection distance, which might reduce lens strain and prolong its life. Conversely, adjusting the throw ratio for closer projection can increase lens wear, potentially shortening lifespan. So, optimizing your projection distance with the right throw ratio helps maintain your projector’s durability.
Conclusion
Think of your projector as a skilled archer aiming for the perfect target. Choosing the right throw ratio is like selecting the right bow—too long or short, and your shot misses the mark. By understanding and applying these principles, you’ll hit your perfect viewing setup every time. With the right balance, your home theater becomes a masterpiece, and every movie feels like a shot directly to your heart.