To maximize image size safely in small rooms, ceiling mounting your projector is the best choice. Use adjustable brackets to fine-tune the angle, height, and focus for a clear picture. Measure your space carefully to set the right distance and height, ensuring the projector stays centered. Confirm your ceiling can support the weight and follow manufacturer guidelines for secure installation. Keep your setup neat and stable—more tips are waiting for you.
Key Takeaways
- Use ceiling mounts with adjustable brackets to optimize projector positioning and maximize image size safely.
- Measure room dimensions carefully to determine the ideal distance and height for projection.
- Ensure ceiling stability and compatible hardware to support the projector’s weight securely.
- Position the projector centrally to maintain a uniform, focused image without clutter or obstructions.
- Regularly check and tighten mounts to prevent misalignment and ensure safe, consistent viewing.
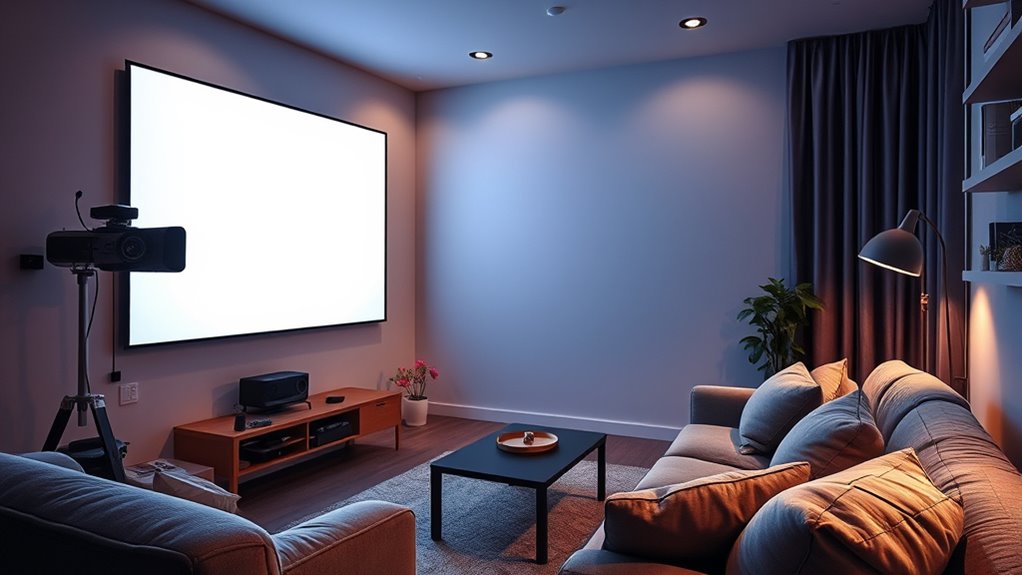
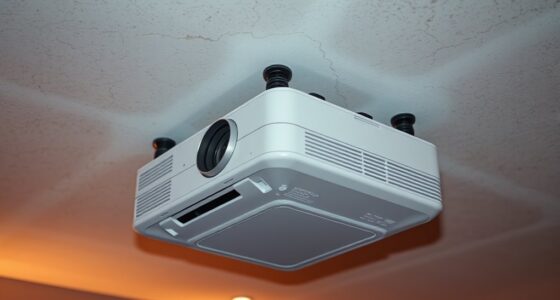
Finding the right projector placement in small rooms can be challenging, but with careful planning, you can achieve a clear, bright image without sacrificing space. One effective way to save room and ensure ideal positioning is ceiling mounting your projector. By installing it overhead, you keep valuable surface area free and minimize clutter. Ceiling mounting also provides a stable platform, reducing the risk of accidental movement or misalignment that can occur with portable setups. When choosing a mounting solution, look for adjustable brackets, which give you the flexibility to fine-tune the projector’s position easily. These brackets allow you to tilt, swivel, and rotate the projector to achieve the perfect image alignment, especially important in tight spaces where precise adjustments make all the difference.
Before you mount, measure your room carefully to determine the ideal distance from the screen and the correct height. Adjustable brackets make it easier to adapt the projector’s angle and height without the need for additional tools or complicated repositioning. This flexibility ensures your image remains centered and in focus, regardless of small changes in the room’s layout or furniture arrangement. Keep in mind that ceiling mounting also helps maintain a consistent viewing experience, as the projector remains fixed in the ideal position, avoiding the common issue of shifting or misalignment over time.
Measuring your room ensures perfect projector positioning and consistent focus.
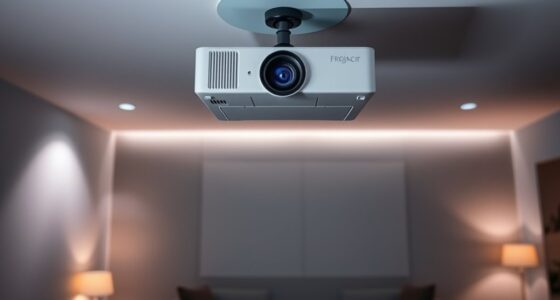
When installing, make sure the ceiling is sturdy enough to support the weight of the projector and the mounting hardware. Use secure anchors and follow the manufacturer’s instructions to prevent accidents or damage. Once mounted, you can easily adjust the projector’s position using the adjustable brackets, allowing you to maximize the image size and quality without having to reposition the entire setup. This is especially useful in small rooms where space is limited, and every inch counts.
Ceiling mounting with adjustable brackets isn’t just about convenience; it’s about maximizing your viewing experience while maintaining safety and space efficiency. It eliminates the need for long cables running across the room and reduces the risk of tripping hazards. Plus, it keeps the projector out of reach of children or pets, preventing accidental bumps or displacements. With a well-planned ceiling mount and adjustable brackets, you’ll enjoy a crisp, bright image with minimal hassle, making your small room feel like a home theater.
adjustable projector ceiling mount
As an affiliate, we earn on qualifying purchases.
As an affiliate, we earn on qualifying purchases.
Frequently Asked Questions
What Is the Ideal Projector Height for Small Rooms?
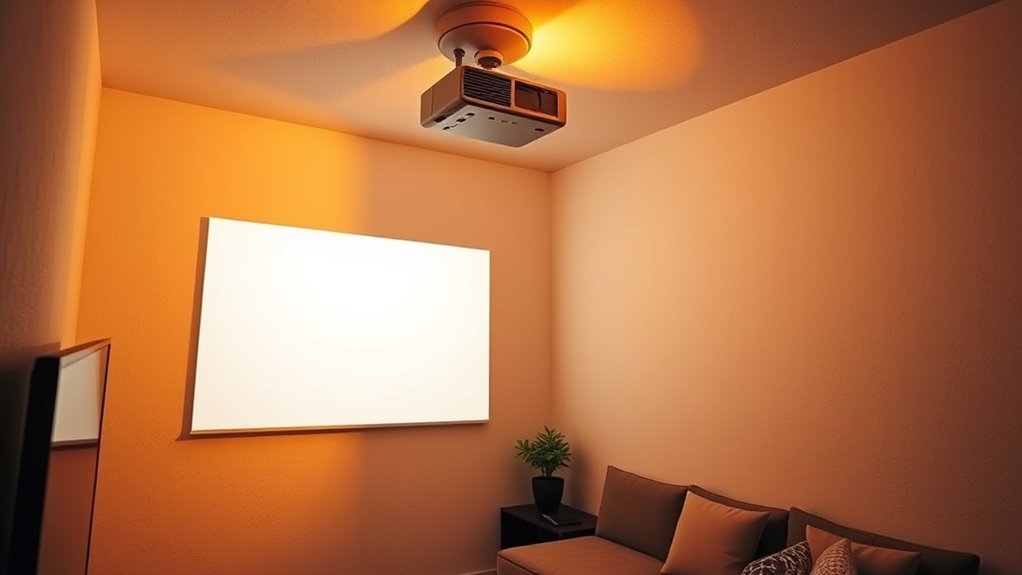
You should position your projector so that its lens is roughly at eye level or slightly above, considering the projection angle to avoid distortion. Make certain you have enough ceiling clearance to mount it securely without blocking airflow or light. Typically, a height of about 4 to 6 feet works well for small rooms. Adjust the angle and height to optimize image size while preventing keystone distortion.
How Can I Prevent Shadows on the Screen?
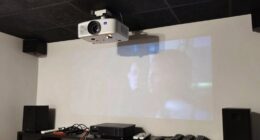
Shadows are the villains of a clear display, but you can outsmart them. To prevent shadows, position your screen where ambient lighting won’t cast glare, and keep it away from pathways. Make certain your projector is placed so your body doesn’t block the light beam. Proper screen placement and controlling ambient lighting are key, letting your images shine brightly without unwanted shadows, transforming your small room into a cinematic haven.
What Are the Best Wall Colors for Projection Clarity?
You should choose wall color options like matte gray or soft beige for better projection clarity, as they reduce glare and enhance contrast. Opt for paint finishes with a matte or eggshell finish, which minimize reflections and prevent image distortion. These choices create a better viewing experience, especially in small rooms, by ensuring your projected image remains sharp and vivid without unwanted glare or color washout.
Can Ceiling Mounts Damage My Projector?
Oh, the thrill of risking your precious projector with ceiling mounts—what could possibly go wrong? Rest assured, if you install proper projector ceiling mounts correctly, you minimize projector damage risks. However, neglecting weight limits or improper mounting can lead to accidental falls, damage, or misalignment. So, be cautious, follow manufacturer instructions, and use quality mounts to keep your projector safe and your movie nights uninterrupted.
How Do I Manage Noise From the Projector?
To manage noise from your projector, you should use noise reduction accessories like soundproofing panels or rubber feet that absorb vibrations. Additionally, consider soundproofing techniques such as sealing gaps around vents and adding insulation to reduce sound escape. Regular maintenance, like cleaning fans and ensuring proper airflow, also helps minimize noise. These steps create a quieter environment, making your viewing experience more enjoyable without sacrificing projector performance.
small room projector mount bracket
As an affiliate, we earn on qualifying purchases.
As an affiliate, we earn on qualifying purchases.
Conclusion
To make the most of your small room, choose the right projector placement carefully. Remember, placing your projector too close can cause image distortion, but proper positioning guarantees a larger, clearer picture. Did you know that over 60% of home projectors are incorrectly installed, reducing image quality? By following these tips, you can maximize your screen size safely and enjoy a cinema-like experience without sacrificing space or clarity.
projector ceiling mount kit
As an affiliate, we earn on qualifying purchases.
As an affiliate, we earn on qualifying purchases.
projector mounting hardware for small rooms
As an affiliate, we earn on qualifying purchases.
As an affiliate, we earn on qualifying purchases.