To optimize your apartment setup with short throw options, start by calculating the ideal screen size based on your room dimensions and viewing distance, which should be about 1.5 to 2.5 times the screen diagonal. Next, determine the correct throw ratio for your projector type and use it to find the right placement distance. Proper calculations guarantee sharp images without clutter. Keep exploring to learn more about precise placement and maximizing your space.
Key Takeaways
- Determine the appropriate throw ratio (0.3-0.4 for short throw) based on your room size and desired screen size.
- Calculate the optimal mounting distance using the throw ratio and screen diagonal to ensure sharp image quality.
- Select a short throw projector with a lens that matches your calculated placement distance for space-efficient setup.
- Verify projector placement aligns with the screen center and maintains proper viewing distance to prevent strain.
- Consider environmental factors like ambient lighting and room layout to optimize projection quality and space utilization.

Philoent【Google TV Included】Smart Mini Projector, Ultra Short Throw for Big Screen in Small Room, Auto Keystone Portable Proyector with WiFi Bluetooth, Support 4K Movie – Home Theater Bedroom Outdoor
🥇【Instant Full Google TV Access – No Setup Needed】 Experience the complete Google TV ecosystem directly, with no…
As an affiliate, we earn on qualifying purchases.
As an affiliate, we earn on qualifying purchases.
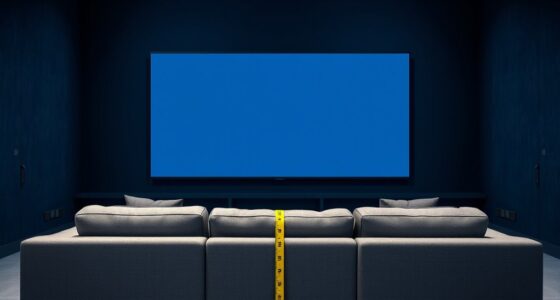
Determining the Ideal Screen Size and Viewing Distance
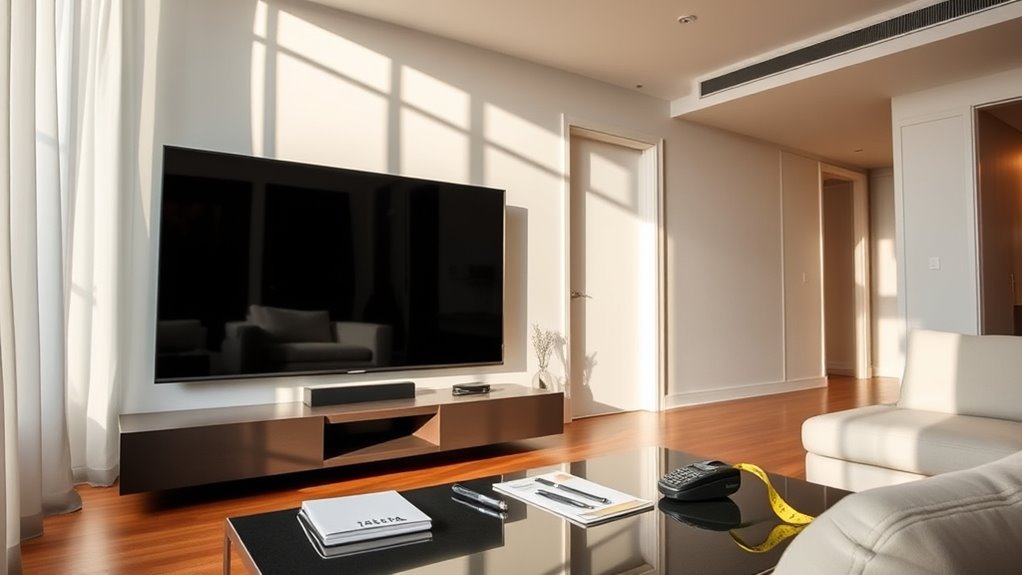
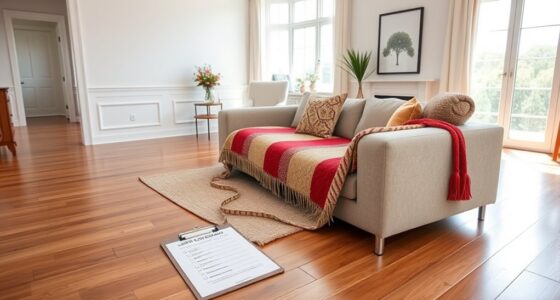
Choosing the right screen size and viewing distance is essential to maximize your apartment’s limited space and enjoy a comfortable viewing experience. The ideal screen size depends on your room’s dimensions and your seating area. A larger screen can make movies more immersive, but it requires a suitable viewing distance to prevent eye strain or distortion. Generally, for excellent clarity, your viewing distance should be about 1.5 to 2.5 times the diagonal size of the screen. Smaller spaces benefit from a compact screen that fits comfortably without overwhelming the room. Additionally, considering the contrast ratio of your projector can help ensure the images are vivid and detailed, especially in darker rooms. By selecting the right screen size and maintaining an appropriate viewing distance, you guarantee a balanced setup that enhances your viewing pleasure without sacrificing space or comfort.
![Mini Portable Projector 4K WiFi 6 BT 5.2 Upgraded Portable Projector Full HD Supported for Phone /PC /TV /HDMI /PS5 /Laptop Auto Keystone Home Theater 180° Rotation [Built-in App] White](https://m.media-amazon.com/images/I/41BENoJ6zpL._SL500_.jpg)
Mini Portable Projector 4K WiFi 6 BT 5.2 Upgraded Portable Projector Full HD Supported for Phone /PC /TV /HDMI /PS5 /Laptop Auto Keystone Home Theater 180° Rotation [Built-in App] White
1. Direct projection from iPhone/Android brings exceptional visual quality: This portable mini projector allows you to easily enjoy…
As an affiliate, we earn on qualifying purchases.
As an affiliate, we earn on qualifying purchases.
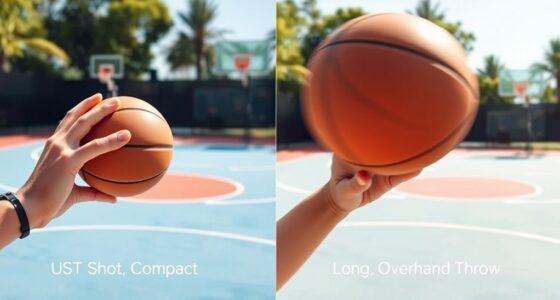
Calculating Throw Ratio and Projector Placement
Once you’ve determined the ideal screen size and viewing distance, the next step is to calculate the throw ratio and plan your projector placement. The throw ratio helps you select the right lens and decide where to mount your projector. A lower throw ratio is perfect for short throw projectors, allowing placement closer to the wall. When choosing your mounting height, verify the projector’s lens aligns with the screen center for maximum image quality. Use this table to understand throw ratios:
| Throw Ratio Range | Placement Distance (for a 100″ screen) |
|---|---|
| 0.3 – 0.4 | 3 – 4 feet |
| 0.5 – 0.7 | 4 – 7 feet |
| 0.8+ | 7+ feet |
Proper calculation ensures sharp images and saves space in your apartment. Additionally, considering projection setup considerations can help optimize image clarity and overall viewing experience.

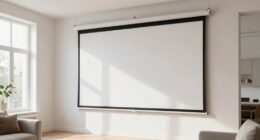
60 Inch Projector Screen, OKEDUO 4K 16:9 HD Portable Projection Movie Screen, Anti-Crease Indoor Outdoor, Simple Install, Easy Carrying Projection Screen for Camping, RVing, Outdoor Theater Nights
[Portable Design]: 60-inch foldable outdoor projector screen with a black backing, straight edges, foldable, washable, and wrinkle-free -…
As an affiliate, we earn on qualifying purchases.
As an affiliate, we earn on qualifying purchases.
Frequently Asked Questions
How Do Ambient Light Conditions Affect Short Throw Projector Choices?
Ambient light conditions directly impact your short throw projector choices because high ambient lighting reduces image contrast and clarity. You should prioritize projectors with higher lumens to combat bright environments. Additionally, investing in light control options like blackout curtains or adjustable blinds helps optimize image quality. By managing ambient lighting effectively, you guarantee your projector performs well, providing sharp visuals even in well-lit apartment spaces.
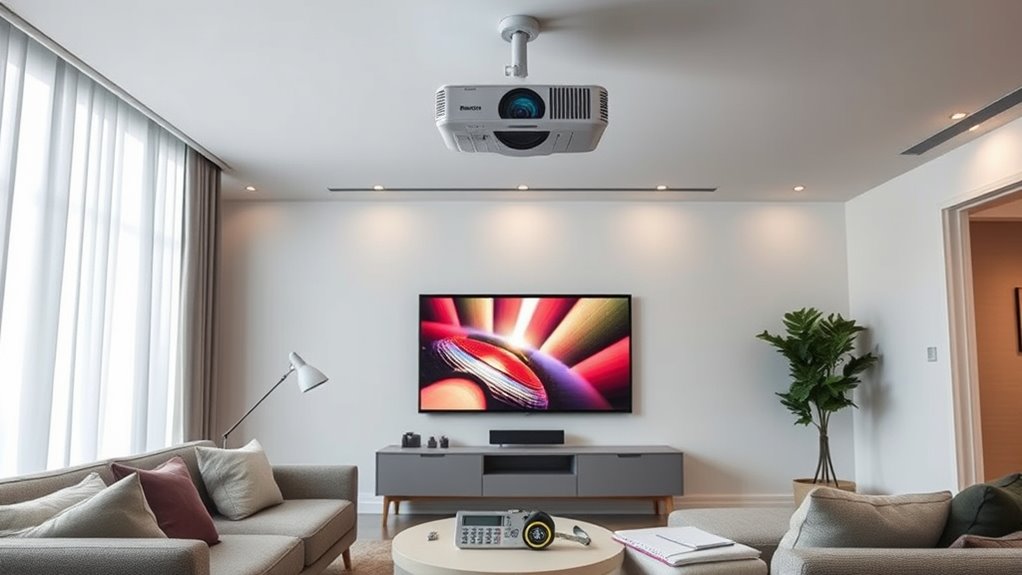
Can I Install a Short Throw Projector on a Ceiling Mount?
Like Da Vinci’s precision, you can definitely install a short throw projector on a ceiling mount. Use proper installation tips to guarantee stability and maximum performance. Check that your ceiling mount supports the projector’s weight, and position it at the correct height and angle for the best image. Secure all mounting hardware tightly and verify alignment regularly. This approach guarantees a seamless setup, combining practicality with a touch of artistic finesse.
What Are Common Troubleshooting Issues With Short Throw Projectors?
You might face common troubleshooting issues with short throw projectors like image distortion or misaligned images. To fix these, check your projector calibration to ensure the image is properly aligned and focused. If you notice blurred or distorted images, recalibrate the projector and adjust the keystone settings. Regular maintenance and proper placement help prevent these problems, guaranteeing your projector delivers a clear, crisp picture every time.
How Does Projector Maintenance Impact Image Quality Over Time?
Projector maintenance greatly influences image quality over time. Regular lens calibration guarantees your images stay sharp and properly aligned, preventing blurry visuals. Additionally, monitoring bulb lifespan helps you replace bulbs before they dim or fail, maintaining brightness and clarity. Neglecting maintenance can cause degraded image quality, flickering, or color issues. By staying on top of these tasks, you keep your projector performing at its best and prolong its lifespan.
Are There Specific Wall Colors That Improve Projection Clarity?
They say, “a picture is worth a thousand words,” so choosing the right wall color matters. For better projection clarity, go with neutral shades like matte gray or light beige. Matte paint finishes minimize glare and enhance contrast, making images sharper. Bright or glossy walls reflect light, reducing clarity. So, pick a matte finish with a subtle, neutral wall color to maximize your projection quality and enjoy vivid, clear visuals every time.

HAPPRUN 2500 ANSI Lumens Outdoor Projector with Built-in Streaming Apps, 4K Decoding Resolution, Dolby Audio, WiFi 6 and Bluetooth 5.2 for Indoor and Outdoor Home Theater
[ Built-in Streaming System ] – No extra equipment needed. This smart projector gives you direct access to…
As an affiliate, we earn on qualifying purchases.
As an affiliate, we earn on qualifying purchases.
Conclusion
Now that you’ve got the essentials down, finding the perfect short throw projector for your apartment is within reach. Just remember, a little planning goes a long way—don’t leave things to chance. By calculating your screen size, viewing distance, and throw ratio carefully, you set yourself up for success. Keep your eyes on the prize, and you’ll have a cozy home theater that hits the mark without any surprises. Happy projecting!