To quickly set up a projector tripod for temporary use, start by choosing a flat, stable surface, ensuring the ground is firm and level. Fully extend and lock the tripod legs for maximum stability, and attach the projector securely to the mount. Adjust the height and tilt for proper alignment, then tighten all locks to prevent wobbling. For added stability outdoors, use stabilizers or weights. Keep experimenting with small adjustments—there’s more to learn for a perfect setup.
Key Takeaways
- Choose a flat, stable surface and fully extend tripod legs for maximum support.
- Attach the projector securely to the tripod mount, tightening by hand to avoid damage.
- Adjust tripod height for optimal projection angle, keeping adjustments minimal for stability.
- Lock all tripod legs tightly and use stabilizers or weights if outdoors for added safety.
- Make small tilt and alignment tweaks, ensuring the setup remains stable throughout use.
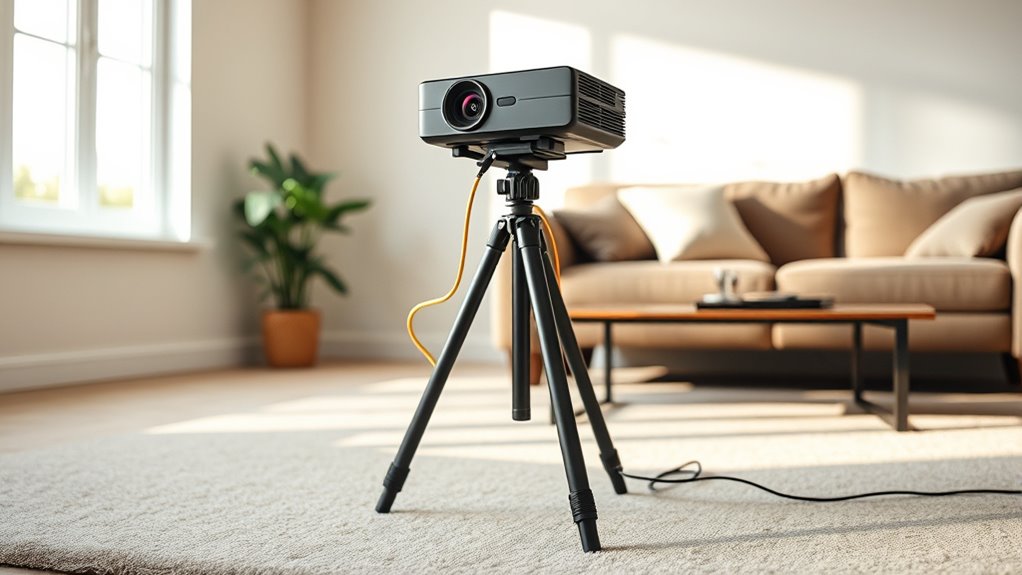
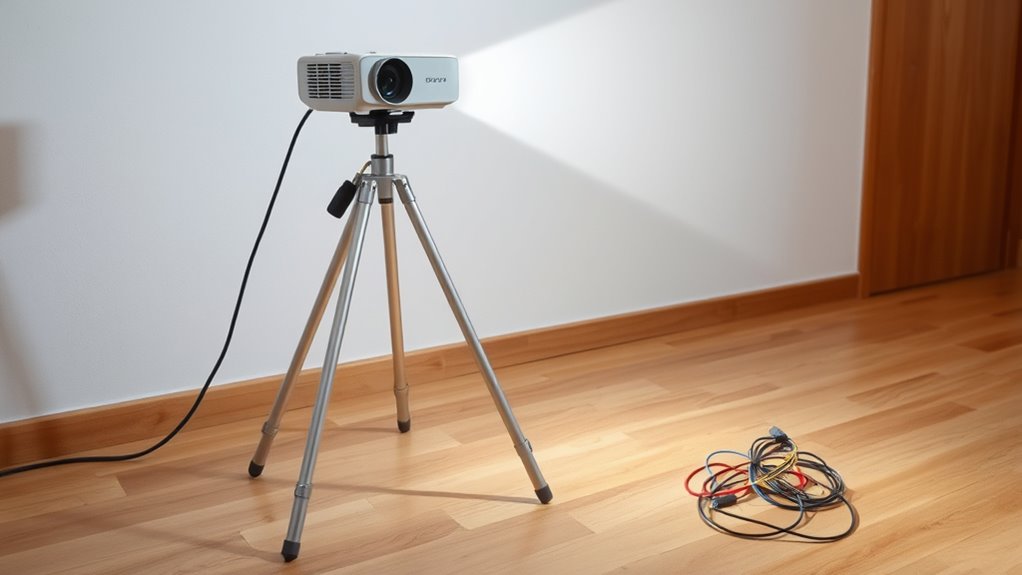
Setting up a projector tripod stand for temporary use is a straightforward process that can save you time and effort. Whether you’re setting up for a last-minute presentation, a backyard movie night, or a quick classroom setup, a portable setup allows you to get everything running smoothly without hassle. The key is to guarantee the stand is stable enough to hold the projector securely while also being easy to adjust for the perfect image alignment.
Start by choosing a level surface to place your tripod. Even a slight tilt can cause your image to appear skewed or blurry, so take a moment to find a flat area. If you’re outdoors or on uneven ground, consider using a small, portable leveling pad or adjusting the tripod’s legs to compensate. Many tripod stands come with extendable legs that lock into place; make sure each leg is fully extended and securely locked to provide a sturdy base. This initial step is vital for a portable setup, as it guarantees your projector remains steady throughout use.
Choose a flat surface and fully extend and lock tripod legs for stability.
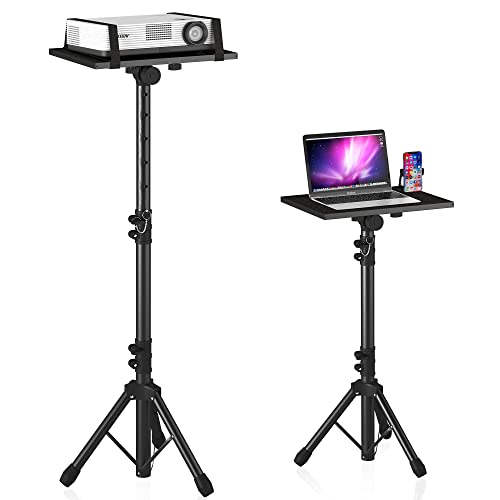
Next, attach your projector to the tripod mount securely. Most tripods feature a screw mount compatible with standard projector mounts. Carefully screw the projector onto the mount, tightening it by hand to avoid over-tightening, which could damage the threads. Once attached, adjust the tripod height so that the projector is at the desired height and angle. Many tripods have a quick-release or locking mechanism for easy height adjustments—use these to fine-tune the projection angle quickly. Keeping the setup light and portable means not overextending the legs or height, which could compromise stability.
Stability tips are essential during the setup process. To prevent wobbling or accidental tipping, ensure all tripod legs are evenly spread and locked tight. If your tripod has additional stabilizers or weight hooks, use them to add extra stability—especially if you’re outdoors or on a windy day. Also, avoid placing the tripod on loose gravel or soft ground, which can cause shifting. If you must, place a flat, solid surface beneath the tripod or use stabilizing weights to anchor it down. Additionally, considering the importance of contrast ratio in image quality, ensuring a stable setup helps maintain consistent visual clarity and sharpness.
Once your projector is mounted and the tripod is stable, make small adjustments to the tilt and orientation to align the image properly on your screen or wall. Keep an eye on the tripod’s stability throughout the setup; if you notice any wobbling, tighten the legs further or reposition the stand. With these straightforward steps, your portable setup will be secure and ready for use in minutes, giving you a reliable and efficient way to project without fuss.
projector tripod stand
As an affiliate, we earn on qualifying purchases.
As an affiliate, we earn on qualifying purchases.
Frequently Asked Questions
Can I Use a Tripod Stand Outdoors Safely?
Yes, you can use a tripod stand outdoors safely if you focus on tripod stability and outdoor safety. Make sure the stand is sturdy and designed for outdoor use, and choose a flat, stable surface. Secure the tripod with weights or stakes if needed, especially in windy conditions. Regularly check the stability during use to prevent accidents, and avoid setting up on uneven or slippery ground.
What Is the Maximum Weight Capacity of a Typical Projector Tripod?
You might wonder about the weight your tripod can handle. Typically, a standard projector tripod’s maximum weight capacity varies, but most are built to support between 4 to 8 pounds, depending on the material and design. Stronger tripod material guarantees better weight distribution, preventing tipping or damage. Always check the manufacturer’s specifications to avoid surprises and keep your setup stable, especially during outdoor or temporary use.
How Do I Adjust the Tripod for Uneven Surfaces?
To adjust your tripod for uneven surfaces, first extend the adjustable legs to level the tripod, ensuring stability. Use the tripod’s built-in leg locks to secure each height, then check surface leveling by eye or with a bubble level. If necessary, slightly adjust individual legs to improve tripod stability, preventing wobbling. Proper surface leveling is key to a steady projector setup, especially on uneven terrain.
Are There Compatibility Issues With Different Projector Sizes?
You won’t face major compatibility issues with different projector sizes if you choose a tripod with adjustable mounting options. For example, a friend used a universal tripod that easily accommodated his compact projector and larger model by adjusting the mounting bracket. Always check the tripod’s compatibility with your projector size and guarantee it offers versatile mounting options, so your setup remains stable regardless of your projector’s dimensions.
How Do I Prevent the Tripod From Slipping or Tipping Over?
To prevent your tripod from slipping or tipping over, focus on tripod stability and slipping prevention. Make certain the tripod’s legs are fully extended and locked securely. Place it on a flat, stable surface, and consider using non-slip pads or weights at the base for extra stability. Avoid overextending the central column, which can cause imbalance. Regularly check that all locks are tight to maintain steady tripod stability during use.
portable projector mount
As an affiliate, we earn on qualifying purchases.
As an affiliate, we earn on qualifying purchases.
Conclusion
Setting up a projector tripod stand is quick and straightforward, perfect for temporary needs. Even if you’re new to this, you’ll find it easy to get everything stable and aligned in minutes. Don’t worry about occasional adjustments—it’s designed for flexibility. With just a little practice, you’ll confidently set up and pack away your projector, making spontaneous presentations or movie nights hassle-free. So go ahead, enjoy your quick setup and keep the focus on your content.
Projector Stand Tripod Adjustable, Laptop Height from 23.5 to 46.5 inches with Gooseneck Phone Holder, Floor for Office, Home, Stage, Studio, DJ Racks Holder Mount, 23.5inch-46.5inch
【𝑼𝒑𝒈𝒓𝒂𝒅𝒆𝒅 𝑷𝒓𝒐𝒕𝒆𝒄𝒕𝒊𝒐𝒏 𝑫𝒆𝒗𝒊𝒄𝒆】: Projector Stands add a safety latch, which avoids the danger of falling. Laptop tripod is…
As an affiliate, we earn on qualifying purchases.
As an affiliate, we earn on qualifying purchases.
outdoor projector stabilizer weights
As an affiliate, we earn on qualifying purchases.
As an affiliate, we earn on qualifying purchases.