
To maintain your projector’s keystone correction and lens shift effectively, precise calculations are essential. You need to measure the initial image placement, adjust lens shift controls carefully for proper alignment, and then fine-tune keystone correction to avoid distortion. Over-adjusting can harm image quality and equipment. If you guarantee these calculations are accurate, your projector will perform at its best. Stay with us, and you’ll learn exactly how to keep everything perfectly calibrated.
Key Takeaways
- Accurate measurements of image displacement are essential for proper lens shift calibration and to avoid distortion.
- Calculating keystone correction impact involves assessing changes in image width, height, and aspect ratio adjustments.
- Consistent calibration with reference tools ensures minimal color inaccuracies and maintains image quality.
- Over-adjusting keystone or lens shift can cause image distortion, mechanical wear, and reduced projection lifespan.
- Regular maintenance includes verifying alignment measurements to ensure optimal setup and prevent image quality degradation.

Rapink Speed Keystone Jack Tool for 90 Degree RJ45 Keystone, Ethernet Keystone Punch Down Tool for Time-saver and Effort-saver, Cat 6 Punch Down Tool Finger-hurt-free (Only for Rapink Keystone)
【Only for Rapink Keystone】: Keystone tool is compatible only with Rapink CAT6 90 degree speed termination keystone jacks…
As an affiliate, we earn on qualifying purchases.
As an affiliate, we earn on qualifying purchases.
Understanding the Basics of Keystone Correction and Lens Shift
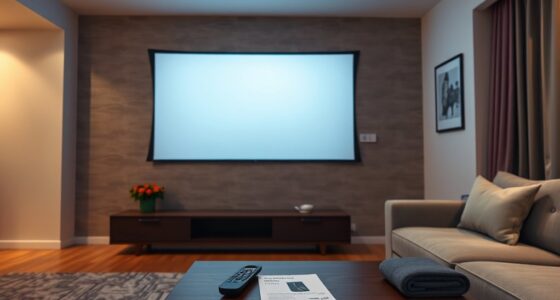
When setting up a projector, understanding the difference between keystone correction and lens shift is essential to achieving a clear, properly aligned image. Keystone correction adjusts the projection geometry digitally, making trapezoidal images rectangular but potentially compromising visual aesthetics. In contrast, lens shift physically moves the lens to reposition the image without distortion, maintaining image integrity and sharpness. Keystone correction is quick and flexible, great for temporary adjustments, but can introduce image artifacts. Lens shift offers precise control, preserving the natural aspect ratio and clarity. Recognizing these techniques helps you maintain *ideal* projection geometry, ensuring your visuals remain crisp and professional. Knowing when to use each method allows you to *maximize* image quality effortlessly, enhancing both functionality and visual appeal.

DSLRKIT Lens Focus Calibration Tool Alignment Ruler Folding Card(Pack of 2)
This compact ruler allows you to determine if your lens is auto-focusing accurately as it should. It is…
As an affiliate, we earn on qualifying purchases.
As an affiliate, we earn on qualifying purchases.
Calculating the Impact of Keystone Adjustment on Image Dimensions

When you adjust keystone, it changes your image’s width and height. Understanding how keystone corrections influence the overall image size and shape helps you maintain proper proportions. Proper calibration is essential to prevent distortion and ensure a natural viewing experience. Additionally, color accuracy can be affected if adjustments are not carefully managed, impacting the overall picture quality.
Keystone Effect on Width
Adjusting the keystone on your projector can considerably alter the width of your image, often causing it to appear distorted. When you change the keystone, it impacts the aspect ratio, leading to projection distortion. To understand this effect, consider these points:
- Vertical keystone correction mainly affects height, but horizontal adjustments influence width.
- Increasing keystone correction can cause the image to become wider or narrower, distorting the original aspect ratio.
- Precise calculations are essential to maintain the intended width without compromising image clarity or proportions.
- Incorporating AI-powered calibration tools can help automate and improve the accuracy of keystone adjustments.
Height Variations Explained
Understanding how keystone adjustments affect height is essential for maintaining accurate image proportions. When you tweak keystone to correct distortion, it can unintentionally alter the image’s height, impacting overall dimensions. This change can affect your color calibration, as a distorted image might lead to uneven color balance or misalignment. Ambient light conditions also play a role; bright environments can exaggerate the effects of height variations, making calibration more challenging. Precise calculations help you predict how much the image height will change with each keystone adjustment, ensuring your projected image stays proportionate and true to your setup. Additionally, considering AI automation can help streamline calibration processes and improve precision in complex setups. By understanding these impacts, you can better manage image quality, color fidelity, and overall presentation consistency.

Philmore Anti-Static Radio TV Alignment Trimmer Tool Set Kit, 10 Pc Kit, 63-910 by Philmore
Philmore high quality 10pc trimmer tool kit
As an affiliate, we earn on qualifying purchases.
As an affiliate, we earn on qualifying purchases.
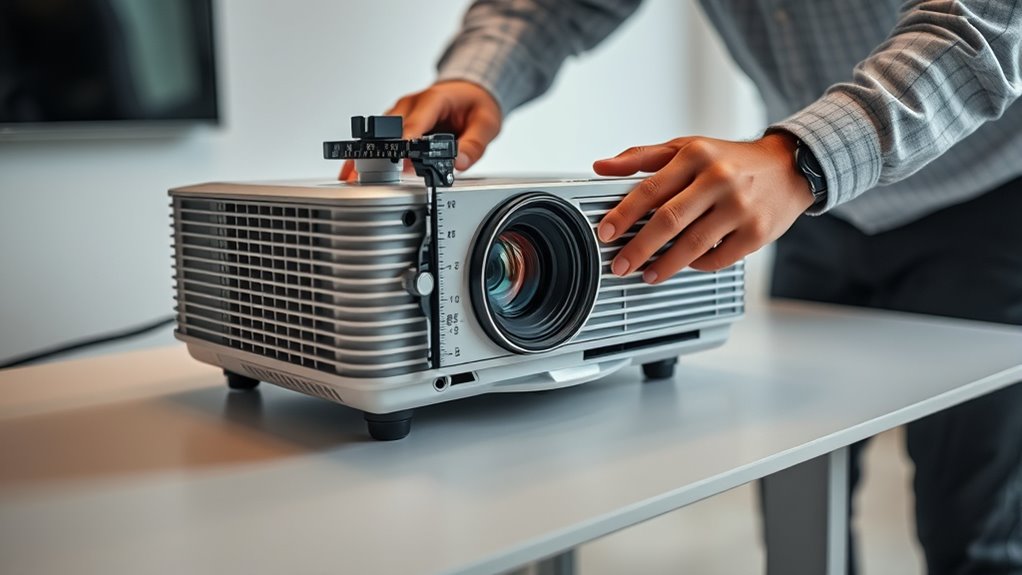
Determining the Proper Lens Shift for Accurate Image Positioning
To guarantee your image is perfectly positioned, start by measuring any shift from the intended display area. Then, calculate the necessary lens adjustment to correct this displacement. Finally, verify the alignment to confirm the image is centered and sharp. Incorporating precise measurement techniques can further enhance your setup accuracy.
Measuring Image Shift
When measuring image shift, the goal is to determine how much the projected image has moved from its ideal position. You’ll need to observe how the image aligns with your screen or reference points. To do this accurately:
- Check the image’s position relative to your screen edges.
- Note any vertical or horizontal shifts.
- Adjust the lens focus to ensure sharpness without affecting image brightness.
- Remember that consistent testing and measuring can help maintain optimal image quality over time, especially when considering factors like lens shift adjustments and their impact on image brightness. Keep in mind that lens shift adjustments can impact image brightness, so verify that your projection remains clear and bright. Use a ruler or grid overlay to measure shifts precisely. This process helps you identify the exact amount of shift needed for proper alignment, ensuring your image is perfectly centered without sacrificing focus or brightness.
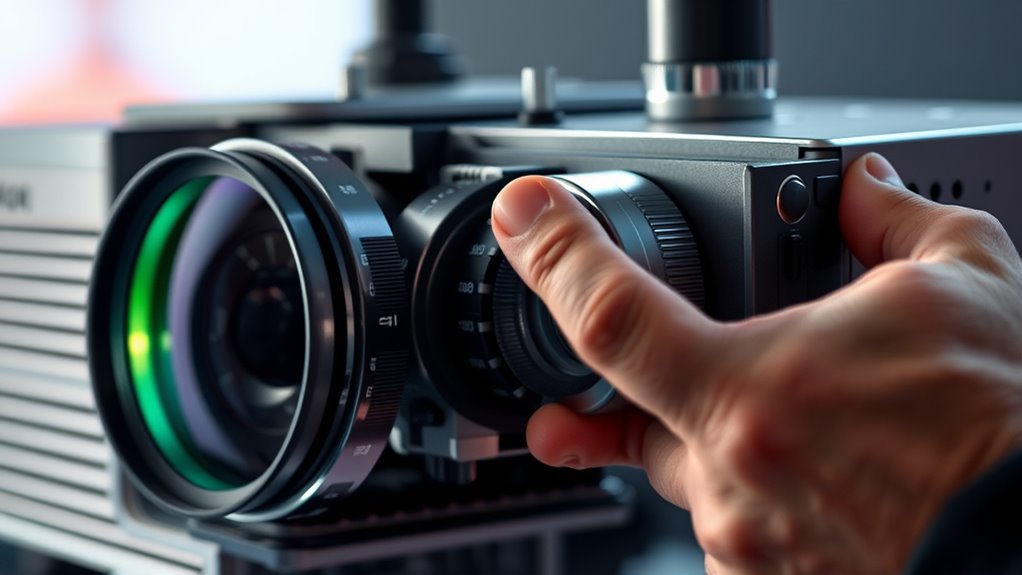
Calculating Lens Adjustment
Calculating the proper lens adjustment is essential for achieving accurate image positioning, especially after you’ve identified any shifts during measurement. To do this effectively, consider how lens shift impacts your overall setup, including color calibration, which depends on precise image placement for true color rendering. Adjusting the lens shift correctly not only improves image alignment but can also optimize power consumption by reducing the need for additional digital corrections. Start by noting the current position and compare it to your desired target area on the screen. Use the projector’s lens shift controls to fine-tune the image, ensuring it’s centered without stretching or distortion. Keep in mind that proper calculation helps maintain consistent image quality and minimizes unnecessary adjustments later. Additionally, understanding lens shift technology ensures you make adjustments within the safe operational range, preventing potential damage to your projector.
Verifying Alignment Accuracy
Verifying alignment accuracy is a crucial step to guarantee your projector’s image is correctly positioned after making lens shift adjustments. Proper verification ensures the image aligns with your screen, maintaining sharpness and color calibration. Start by checking the image’s placement in relation to the screen edges, adjusting if necessary. Then, consider ambient lighting conditions—bright rooms may require slight shifts for clarity. Finally, perform a quick color calibration check to ensure hues are accurate and uniform across the image. To confirm accuracy, focus on these points: 1. Confirm the image is centered horizontally and vertically. 2. Adjust for minimal distortion, ensuring straight lines appear true. 3. Re-evaluate color calibration under ambient lighting, making adjustments if needed. Additionally, understanding Gold IRA Rollovers can help diversify your retirement investments for long-term security. This process guarantees your image is perfectly aligned and visually excellent.

Datacolor SpyderLensCal – Optimize Your DSLR's Auto-Focus. Essential Tool for Razor-Sharp Focus and Outstanding Images
𝗠𝗔𝗫𝗜𝗠𝗜𝗭𝗘 𝗙𝗢𝗖𝗨𝗦 𝗔𝗖𝗖𝗨𝗥𝗔𝗖𝗬: Achieve razor-sharp focus and outstanding images with Spyder LensCal, the essential photo tool for optimizing…
As an affiliate, we earn on qualifying purchases.
As an affiliate, we earn on qualifying purchases.
The Risks of Over-Adjusting: Maintaining Image Quality and Equipment Safety

Over-adjusting your projector’s keystone or lens shift can seem harmless, but it risks degrading image quality and damaging your equipment. When you push adjustments beyond ideal points, you disturb proper equipment calibration, which can cause distortion or blurriness. Environmental factors, like temperature and humidity, also influence how much you should tweak these settings—overcompensating can lead to unnecessary strain on internal components. Repeated over-adjustments may wear out mechanical parts, risking costly repairs. Additionally, excessive manipulation can cause misalignment that’s difficult to correct, further impacting image clarity. To preserve both image quality and your equipment’s longevity, make precise adjustments within recommended ranges, considering environmental influences. Staying cautious helps prevent damage and ensures your projector continues to perform at its best. Proper calibration techniques are essential for maintaining overall image quality and equipment safety.
Step-by-Step Guide to Performing Accurate Keystone and Lens Shift Calculations
To guarantee your projector displays a sharp, properly aligned image, it’s essential to perform accurate keystone and lens shift calculations. Start by carefully considering your projector placement to minimize distortion. Then, follow these steps:
- Measure the distance from the projector to the screen and note the height and angle.
- Adjust the projector’s lens shift to center the image horizontally and vertically.
- Fine-tune the keystone correction to eliminate trapezoidal distortion, ensuring the image is rectangular. Additionally, understanding the Kia Tuning options can help optimize your setup for better performance and visual quality.
Tools and Techniques for Monitoring and Maintaining Optimal Settings

Having the right tools and techniques is essential for effectively monitoring and maintaining your projector’s ideal settings. Calibration tools, like colorimeters and geometric test patterns, help you fine-tune your projector’s image quality accurately. Software solutions streamline this process, offering automated calibration and real-time adjustments to keep your settings perfect. Many calibration software programs provide detailed analysis, guiding you through minor tweaks to prevent distortions or color inaccuracies. Regularly using these tools ensures your projector remains aligned with the desired specifications, especially after moving or making adjustments. Combining physical calibration tools with intuitive software solutions allows you to detect issues early and maintain peak performance, ultimately extending your projector’s lifespan and ensuring consistent viewing quality. Additionally, understanding data privacy challenges associated with calibration software can help you choose secure and compliant tools for your setup.
Frequently Asked Questions
How Often Should Keystone and Lens Shift Settings Be Recalibrated?
You should recalibrate your keystone and lens shift settings every 3 to 6 months, depending on your usage and environment. Regular calibration ensures peak image quality and prevents distortion. Adjustments should be made whenever you notice skewed images or after moving the projector to a new location. Following a consistent calibration interval and adjustment frequency keeps your projector functioning effectively, reducing the need for more extensive repairs later on.
What Are Common Signs of Misalignment After Adjustments?
You’ll notice misalignment if you see image distortion or focus issues after adjustments. These signs indicate the projector isn’t perfectly aligned, causing skewed or blurry images. You might also observe uneven edges or parts of the image cutting off. If you experience these problems, double-check your keystone and lens shift settings and make precise recalibrations to restore proper image quality and clarity.
Can Improper Settings Damage the Projector’s Internal Components?
Improper settings can be a wolf in sheep’s clothing, sneaking internal damage through calibration errors. If you ignore manufacturer guidelines, you risk stressing delicate components, which may lead to overheating or misalignment of internal parts. This damage isn’t always visible but can cause long-term issues. Always double-check your settings, follow proper calibration procedures, and avoid rushing adjustments to protect your projector from internal harm.
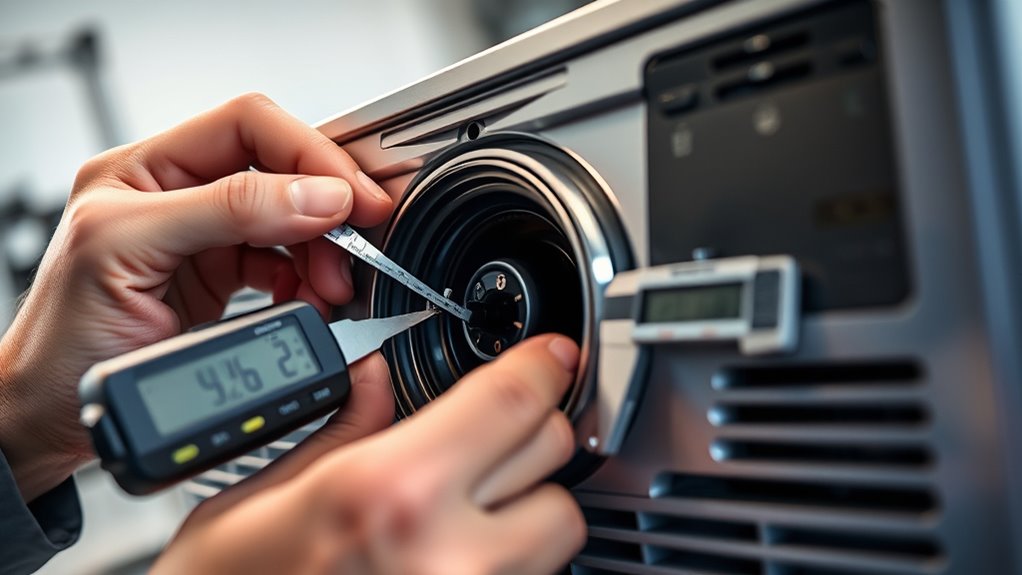
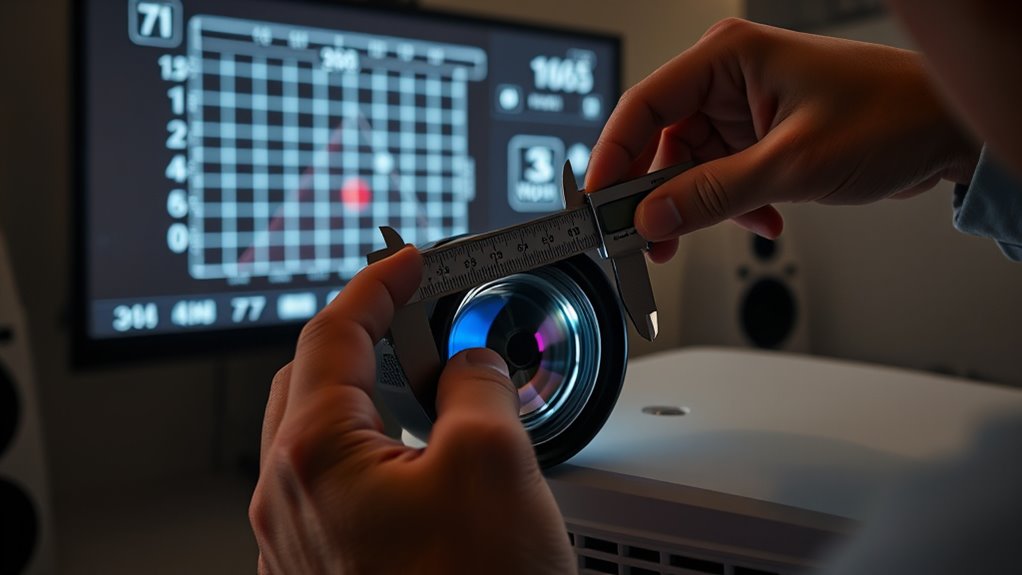
Are There Specific Tools Recommended for Precise Calculations?
Yes, there are specific tools recommended for precise calculations. You should use calibration software designed for projectors, which helps you accurately adjust settings like keystone and lens shift. Additionally, measurement tools such as laser distance meters or digital calipers can provide exact measurements for alignment. Combining these tools ensures you get accurate calculations, preventing damage and optimizing your projector’s performance. Proper calibration is essential for clear, undistorted images.
How Do Environmental Factors Affect Keystone and Lens Shift Calibration?
Environmental factors are like a rollercoaster ride, shaking up your calibration accuracy. When the environment isn’t stable—think temperature swings or humidity shifts—it can throw off your keystone and lens shift settings, making your image skewed or blurry. To keep calibration precise, you must guarantee environmental stability, minimizing fluctuations. Regular adjustments are essential because even minor changes can impact your projector’s ability to produce a perfectly aligned image.
Conclusion
By mastering keystone and lens shift adjustments, you’ll keep your setup both smooth and seamless. With a little care and attention, you can enjoy a picture that’s perfectly aligned without stressing your equipment. Think of these calculations as a gentle dance—helping you achieve clarity and balance effortlessly. Trust your tools and instincts, and soon, every viewing experience will feel just right, like a well-choreographed performance that’s easy to enjoy.