To avoid distortion, start by positioning your projector directly in front of the screen’s center and at the proper height. Adjust your projector’s distance, following the recommended throw distance, for the right image size. Use horizontal and vertical shifts to align the image properly, minimizing keystone correction. Focus on physical placement over digital tweaks whenever possible. If you want to learn more about perfect alignment techniques, keep going for detailed tips that will help you get the best image.
Key Takeaways
- Place the projector directly in front of the screen’s center at the correct height to ensure proper alignment.
- Use horizontal and vertical adjustments to center the image and minimize keystone distortion.
- Measure throw distance accurately to position the projector at the optimal distance for the desired image size.
- Utilize lens shift features when available to reposition the image without digital correction.
- Make gradual adjustments, prioritizing physical positioning over digital keystone correction for the best image quality.
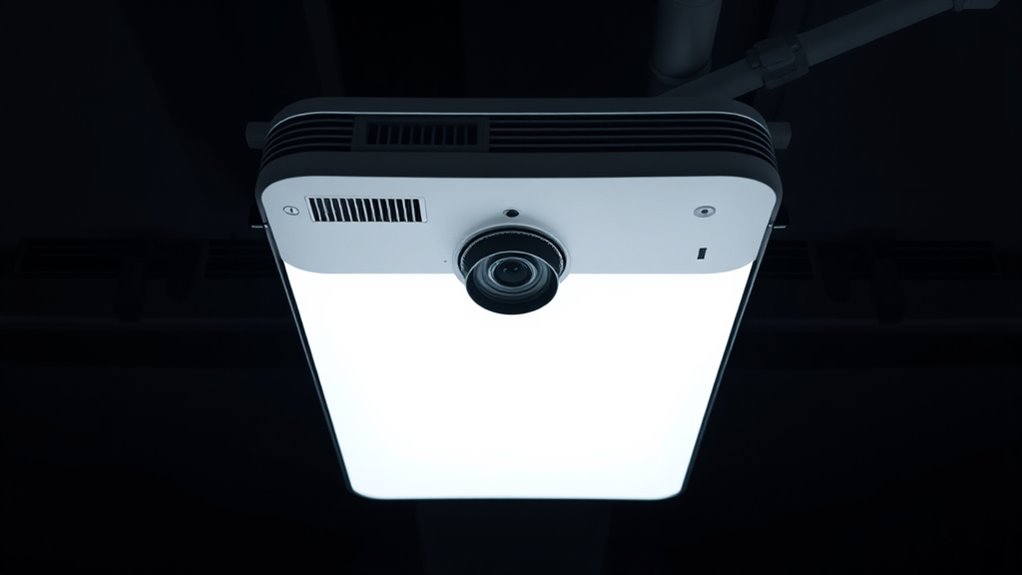
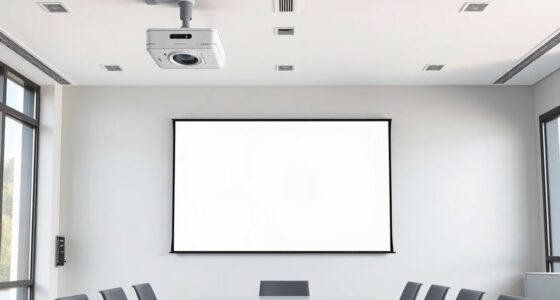
Properly centering and aligning your projector is essential for a sharp, clear image and an ideal viewing experience. When your projector isn’t properly aligned, you risk distortion, which can make the picture look skewed or stretched. To avoid this, start by understanding your projector’s throw distance—the space between the projector and the screen. This distance determines the size of your image and influences how you need to position your projector for ideal results. If you place the projector too close or too far, the image may be too small or oversized, making it difficult to achieve proper alignment. Measure the recommended throw distance specified in your projector’s manual, and position it accordingly. This ensures you get the right image size without unnecessary adjustments later.
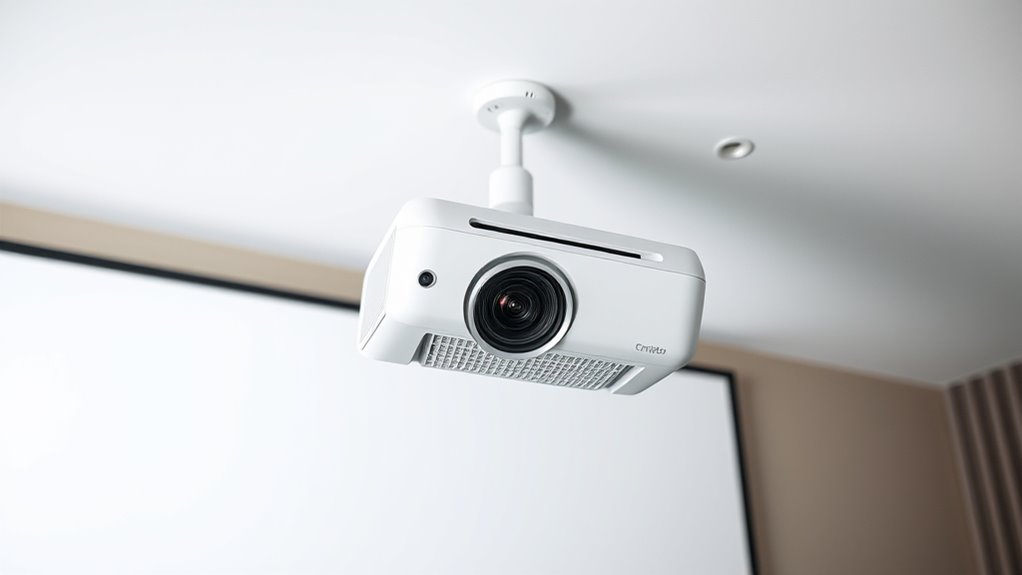
Once you have the correct throw distance, focus on centering the projector in relation to your screen. It should be placed directly in front of the center of the screen, at the right height to avoid keystone distortion. Keystone correction is a handy feature that helps fix the trapezoidal distortion caused when the projector is angled upwards or downwards. However, relying too much on keystone correction can reduce image quality, so it’s best to minimize its use by physically adjusting the projector’s position first. If you notice the top or bottom of the image appears wider than the other, try shifting the projector horizontally or vertically until the image is symmetrical. This reduces the need to correct the keystone digitally, preserving clarity.
Adjustments should be made gradually and with care. Use the projector’s lens shift feature if available, as it allows you to reposition the image without affecting focus or keystone correction. This is especially helpful in tight spaces where moving the projector physically isn’t feasible. For best results, aim to align the projector so it’s as perpendicular to the screen as possible, reducing the need for corrections and ensuring a uniform, distortion-free image. Remember, the key is to get the projector as centered and level as possible before fine-tuning with keystone correction. Proper positioning not only enhances picture quality but also prolongs your projector’s lifespan by reducing unnecessary strain on its internal components. Take your time, measure carefully, and adjust gradually to achieve the perfect setup. Additionally, understanding the importance of color accuracy can help you fine-tune your projector’s settings for optimal visual performance.
Frequently Asked Questions
How Often Should I Realign My Projector?
You should realign your projector whenever you change the screen size or throw distance. Regular checks help maintain a sharp, distortion-free image. If your picture appears skewed or blurry, it’s time to adjust the lens or reposition the projector. Even if you haven’t moved it, environmental factors like vibrations can shift alignment, so periodic realignment guarantees maximum picture quality and keeps your viewing experience consistent.
What Tools Are Best for Precise Alignment?
You should use tools like lens shift and keystone correction for precise alignment. Lens shift allows you to adjust the image vertically or horizontally without moving the projector, ensuring perfect positioning. Keystone correction helps fix trapezoidal distortion caused by angle misalignment. Combining these tools, you can achieve a sharp, centered image with minimal effort, avoiding distortion and ensuring ideal picture quality. Always fine-tune these settings for the best results.
Can Ambient Light Affect Projection Quality?
Yes, ambient light can profoundly affect your projection clarity. When there’s too much light in the room, it washes out the image, making details hard to see and colors less vibrant. To improve your viewing experience, reduce ambient light by closing curtains or turning off unnecessary lights. This helps your projector produce a brighter, clearer image, ensuring you get the best possible picture quality even in less-than-ideal lighting conditions.
How Do I Correct Keystone Distortion?
Think of keystone distortion as a crooked mirror—you need to straighten it. To correct it, use your projector’s lens correction feature to flatten the image, like pulling a stretched rubber band back into shape. Adjust the aspect ratio to make sure your picture isn’t squished or elongated. Fine-tune these settings until the image aligns perfectly, giving you a true, undistorted projection that turns your space into a seamless visual canvas.
Is It Necessary to Recalibrate After Moving the Projector?
Yes, you should recalibrate your projector after moving it, especially if you change its mounting options or projection surface. Moving the projector can alter its alignment, causing distortion or keystone issues. Recalibrating guarantees your image stays centered and properly aligned. Adjust the keystone and focus settings as needed, and verify the projection surface remains level. This way, you maintain a clear, distortion-free image regardless of your projector’s position.
Conclusion
By taking the time to properly center and align your projector, you guarantee a crystal-clear, distortion-free image that enhances your viewing experience. Remember, a well-aligned projector isn’t just about looks; it’s about creating an immersive environment where every detail counts. So, why settle for less when a simple adjustment can make all the difference? With patience and attention, you can transform your space into the perfect home theater or presentation area.