
Rear projection screens provide a space-efficient way to enjoy high-quality visuals, perfect for home theaters, presentations, or large events. They offer benefits like sharp, vibrant images, and reduce glare and distortion with the right material and setup. Proper installation involves positioning your projector correctly, selecting the right screen material, and minimizing ambient light. Taking the time to plan guarantees better image clarity and longevity of your system. If you want to learn more, there’s plenty to explore about optimizing your setup.
Key Takeaways
- Proper screen material selection enhances brightness, contrast, and image clarity for rear projection setups.
- Correct installation positioning ensures even illumination, reduces distortion, and maintains image sharpness.
- Minimizing ambient light and controlling environment improves image quality and prevents washout.
- Ensuring projector compatibility and adjusting focus optimizes brightness, color accuracy, and image clarity.
- A well-installed system provides vivid visuals, extends equipment lifespan, and offers a durable, high-quality viewing experience.
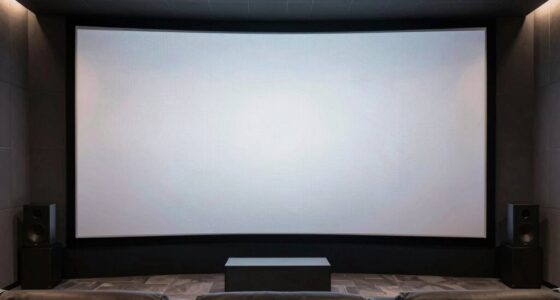
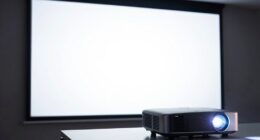
Ever wondered how rear projection screens deliver large, vibrant images without taking up much space? The secret lies in their innovative design and strategic setup. If you’re considering installing one, understanding some key installation tips and the right screen material can make a significant difference in performance and longevity. First, choose the appropriate screen material for your environment. Unlike front projection screens, rear projection screens are designed to be viewed from behind, so the material needs to be highly reflective and diffuse light evenly. Common options include rear projection-specific fabrics that maximize brightness and contrast, and some materials are designed to reduce glare and prevent image distortion. Picking the right material ensures your images remain sharp, vibrant, and clear, even in less-than-ideal lighting conditions. Additionally, proper ventilation is important to prevent overheating of the projector, which can affect image quality and device longevity. When planning your installation, pay close attention to the space where you’ll set up your rear projection system. Proper positioning is essential. You want to mount the screen so that it’s evenly illuminated by the projector, which should be placed at an ideal distance to achieve the desired image size without causing distortion. Make sure the projector and screen are aligned perfectly—any skewed angles or uneven mounting can result in poor image quality or keystone distortion. Installing the screen at the right height and ensuring it’s taut and flat prevents wrinkles or sagging that could compromise picture clarity. Use sturdy mounts and secure hardware to avoid any shifting over time. Lighting conditions are another vital factor. Keep ambient light away from the rear of the screen to prevent washout, and consider installing blackout curtains or dimmable lighting nearby. Additionally, ensure your projector is compatible with your chosen screen material to maximize brightness and color accuracy. Some screen materials perform better with specific projector types, so consulting manufacturer recommendations can help you get the best results. Finally, take the time to test your setup before finalizing everything. Adjust the projector’s focus, image size, and position to enhance clarity and brightness. Regular maintenance, like cleaning the screen and checking mounting hardware, will keep your system performing at its best. With the right installation tips and choosing the suitable screen material, you’ll enjoy crisp, vivid images that enhance your viewing experience without cluttering your space. Proper setup not only improves image quality but also prolongs the lifespan of your rear projection system, letting you enjoy stunning visuals for years to come.

60-120 Inch Portable Projection Screen 16:9 White Synthetic Polyester Fabric Projector Curtain Foldable, Anti-Reflective(84inch)
[PREMIUM MATERIAL] Crafted from high-quality synthetic polyester fabric, this projection screen offers durability and a smooth for crisp,…
As an affiliate, we earn on qualifying purchases.
As an affiliate, we earn on qualifying purchases.
Frequently Asked Questions
What Are the Ideal Room Sizes for Rear Projection Screens?
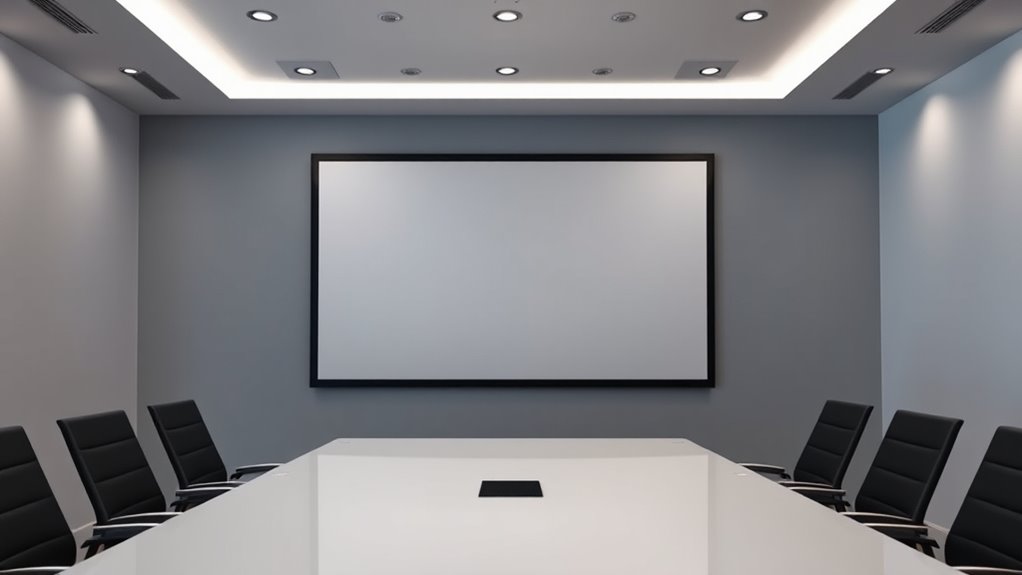
You should have a room with dimensions of at least 12×15 feet and a ceiling height of 8 feet for rear projection screens. This space provides enough room for ideal projector placement and viewing comfort. Larger rooms enhance image quality and reduce glare, while taller ceilings help prevent shadows and allow for better projector positioning. Make sure the room is also dark enough to maximize contrast and picture clarity.
How Do Ambient Light Conditions Affect Rear Projection Image Quality?
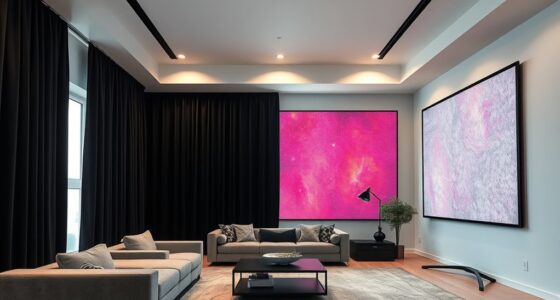
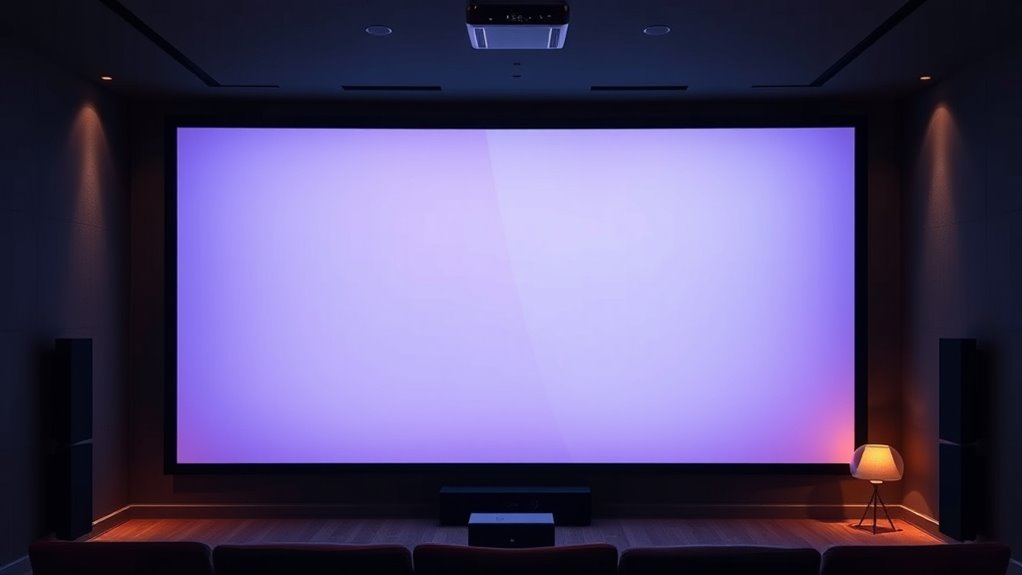
You might find that ambient light can sometimes wash out your rear projection image, reducing its vividness. To keep your picture sharp and vibrant, control ambient light levels as much as possible. Bright conditions diminish projection contrast, making images look dull. Using dimmer lights or blackout curtains can help preserve that crisp, colorful display you want, ensuring your viewing experience stays immersive and enjoyable even in well-lit rooms.
Can Rear Projection Screens Be Used Outdoors Effectively?
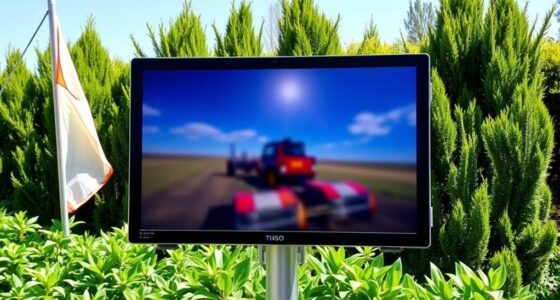
Yes, you can use rear projection screens outdoors effectively if they have outdoor durability and weather resistance. Choose a screen specifically designed for outdoor use, as it can withstand elements like rain, wind, and sun exposure. make certain you install it in a shaded area to minimize glare and damage. Proper maintenance and choosing high-quality, weather-resistant materials will help your outdoor rear projection setup last longer and perform well.
What Maintenance Is Required for Rear Projection Screens?
You should regularly clean your rear projection screen with a soft, lint-free cloth to keep the image sharp. Keep an eye on the bulb’s lifespan and replace it as needed to maintain brightness. Coincidentally, proper maintenance also involves checking for dust buildup and ensuring ventilation. By staying diligent about screen cleaning and bulb replacement, you’ll prolong your screen’s life and enjoy clear, vibrant visuals every time.
Are There Any Safety Concerns With Rear Projection Setup?
Yes, there are safety concerns with rear projection setups. You need to guarantee proper installation safety by securely mounting the screen and avoiding unstable surfaces. Also, follow electrical precautions by properly grounding equipment, avoiding frayed cords, and not overloading outlets. Always read manufacturer instructions and consider professional installation if unsure. These steps help prevent accidents, electrical hazards, and damage, ensuring a safe and enjoyable viewing experience.
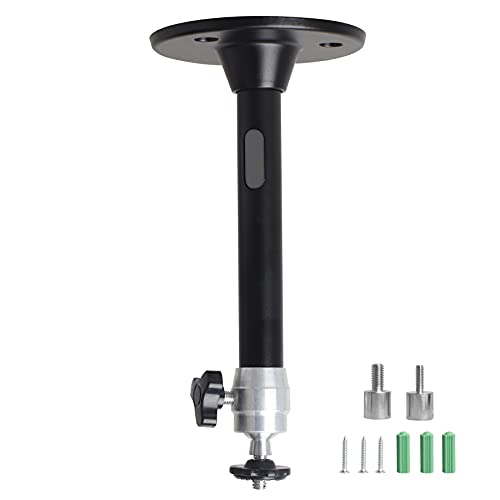
YiePhiot Mini Ceiling Wall Projector Mount Stand Compatible with QKK, DR.J, DBPOWER, Anker, VANKYO, AAXA, Jinhoo, PVO, TMY, AuKing and Most Other Mini Projector (175mm, Black)
Universal Mount: The Universal Projector Mount is compatible with most mini projectors, including CLOKOWE, HAPPRUN, ELEPHAS, NICPOW and…
As an affiliate, we earn on qualifying purchases.
As an affiliate, we earn on qualifying purchases.
Conclusion
Once you set up your rear projection screen, you’ll notice it’s like stepping into your own private cinema—crisp, vibrant images right at your fingertips. Imagine hosting movie nights where every detail pops, drawing your friends into the story like a magnet. With the right setup, you’ll find that rear projection becomes your secret weapon for stunning visuals and a cozy, immersive experience — turning your space into a true entertainment haven.

Grichril Home Theater Curtains Room Separator, Room Divider Curtains for Ceiling Track System or Rod with Hooks 52 100 120 180 inch Wide, Privacy Floor to Ceiling Curtain, 1 Panel
Home Theater Curtains:The package contains one home theater curtain panel equipped with hooks. Extra wide curtain dimensions: 180…
As an affiliate, we earn on qualifying purchases.
As an affiliate, we earn on qualifying purchases.

Projector Screen with Stand, 120 Inch Indoor Outdoor Portable Projection kit All-Metal Frame Wrinkle-Free 16:9 4K HD Front/Rear Movie Screen with Carry Bag for Home Theater Backyard Movie Night
【STABLE DESIGN ALL-METAL FRAME AND BASE】This projection screen features a sturdy all-metal frame and base. The 12" x…
As an affiliate, we earn on qualifying purchases.
As an affiliate, we earn on qualifying purchases.