To wire power safely for ceiling projectors, start by choosing a dedicated circuit with proper circuit protection like breakers or surge protectors. Confirm all wiring is secure, properly insulated, and color-coded for live, neutral, and ground connections. Mount fixtures securely and use conduit or cable management tools to keep cables organized and protected. Verify grounding and test connections before powering on to prevent electrical hazards. For detailed steps, continue exploring the key safety practices.
Key Takeaways
- Use dedicated, properly rated circuits with circuit breakers or surge protectors to handle the projector’s power load safely.
- Ensure all wiring follows local electrical codes, employing color coding and insulated wiring suitable for ceiling installation.
- Securely mount the projector with rated brackets and protect wiring with conduits or raceways for durability and safety.
- Verify grounding connections are secure and use a multimeter to test continuity and proper earthing before powering on.
- Schedule regular inspections and maintain organized wiring to prevent damage, reduce fire risk, and ensure ongoing safety compliance.
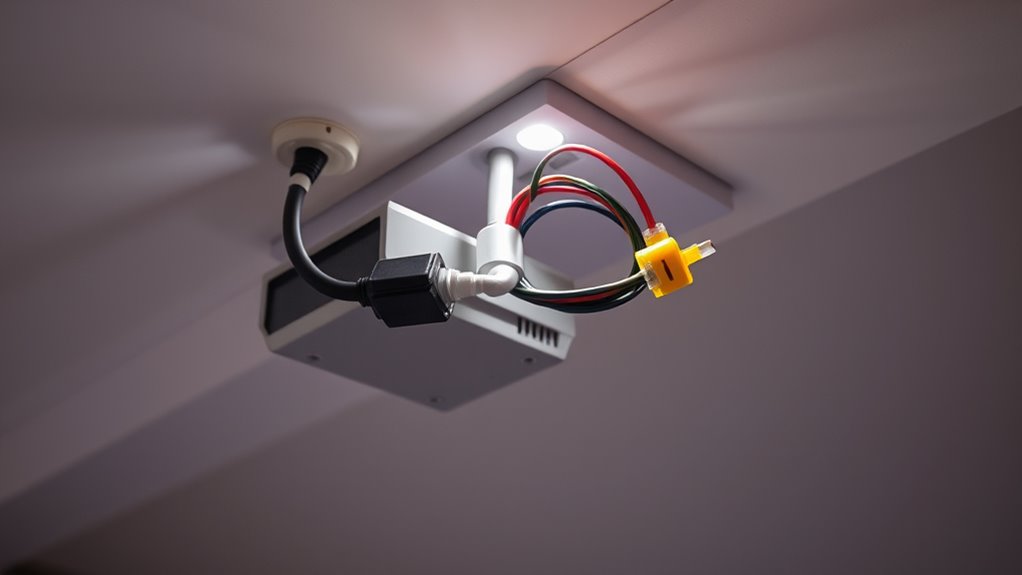
ceiling projector power extension cord
As an affiliate, we earn on qualifying purchases.
As an affiliate, we earn on qualifying purchases.
Planning Your Power Supply and Circuit Requirements
Before installing a ceiling projector, it’s essential to plan your power supply and circuit requirements carefully. Consider whether wireless power options could simplify installation, reducing messy wiring and increasing flexibility. If you’re exploring sustainable solutions, solar energy might be a viable choice—especially for outdoor or off-grid setups. Make sure your circuit can handle the projector’s power demands without overloading, and check if your electrical system supports features like surge protection. Think about the location of your power source relative to the projector’s placement to minimize cable runs. Incorporating wireless power or solar energy can streamline your setup, but always verify compatibility and safety standards. Proper planning now will prevent issues later, ensuring a safe and reliable installation. Additionally, understanding the power requirements of your projector and ensuring your electrical system can support them is crucial for a safe setup.
surge protector for projector
As an affiliate, we earn on qualifying purchases.
As an affiliate, we earn on qualifying purchases.
Choosing the Right Power Source and Circuit Protection
Choosing the right power source is essential to guarantee your ceiling projector operates safely and reliably. You need to select proper circuit protection options that prevent overloads and electrical hazards. By following safe wiring practices, you can protect your equipment and maintain a secure setup. Additionally, using dedicated circuits for high-power devices like projectors helps minimize the risk of electrical issues and ensures stable operation power management techniques.
Selecting Proper Power Sources
Selecting the right power source is essential to guarantee your ceiling projector operates safely and reliably. Start by considering power outlet placement to ensure easy access and avoid stretching cords across walkways. Proper placement reduces trip hazards and minimizes wear on cords. Always check voltage compatibility between your projector and the power source; using an incompatible voltage can damage your equipment or cause safety hazards. Use grounded outlets to provide a safe return path for electrical current and reduce the risk of electrical shocks. Confirm that the circuit can handle the projector’s power demands without overloading. Avoid daisy-chaining multiple devices on one outlet, which can lead to overloads and outages. Properly selecting and preparing your power source ensures safe, efficient operation of your ceiling projector. Additionally, understanding circuit protection devices helps prevent electrical faults and enhances safety.
Circuit Protection Options
Ensuring your ceiling projector stays safe and functional starts with proper circuit protection. You need reliable devices like circuit breakers or fuses to prevent overloads and electrical failures. Overload prevention is vital to avoid damage to your equipment and wiring. Select a circuit protection device rated correctly for your projector’s power requirements. Installing surge protectors can also shield against voltage spikes. Use the table below to compare options:
| Protection Type | Function | Benefits |
|---|---|---|
| Circuit Breakers | Automatically trips on overload | Easy to reset, dependable |
| Fuses | Blows under overload | Cost-effective, simple |
| Surge Protectors | Prevents voltage spikes | Protects against surges |
| GFCIs | Prevents electrical shock | Enhances safety |
| Dedicated Circuits | Isolates sensitive equipment | Reduces overload risk |
Choosing the appropriate circuit protection device is essential for maintaining a safe and reliable power supply for your projector.
Ensuring Safe Wiring Practices
To wire your ceiling projector safely, it’s vital to connect it to a power source that can handle its electrical demands without risking overloads or faults. Consider options like dedicated circuits to prevent overloads, especially if your projector requires high power. Wireless power solutions can reduce clutter and avoid exposed wiring, but ensure they meet safety standards and can supply consistent power. Decorative wiring adds aesthetic appeal, but it must be installed with proper circuit protection to prevent shorts or fires. Always verify that your power source and circuit protection devices are appropriate for your setup. Use grounded outlets and avoid daisy-chaining multiple devices. Proper wiring practices, including secure connections and avoiding overloading circuits, are essential for safe and reliable projector operation.
circuit breaker for high wattage projector
As an affiliate, we earn on qualifying purchases.
As an affiliate, we earn on qualifying purchases.
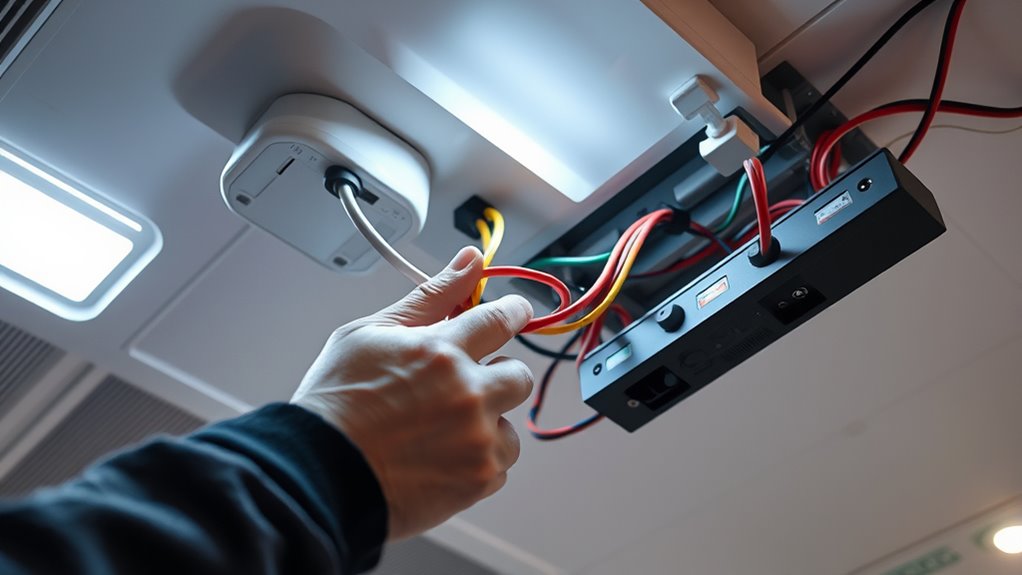
Determining the Proper Wiring Method for Ceiling Installations
Choosing the right wiring method is essential for a safe and reliable ceiling projector installation. You need to contemplate factors like color coding and insulation types to ensure proper connections. Select wiring that matches your project’s voltage and current requirements, and use color coding to differentiate live, neutral, and ground wires for safety. Insulation types should be suitable for ceiling environments, resistant to heat and humidity. Here’s a quick guide:
| Wiring Type | Best Use Case |
|---|---|
| THHN | Commercial ceilings, high durability |
| Romex (NM) | Indoor residential, easy installation |
| Metal-Clad | Areas needing extra protection, fire resistance |
| UF-B | Wet or damp environments |
| Twisted Pair | Data or low-voltage control wiring |
Choosing the proper method ensures safety and compliance. Additionally, considering the best practices for wiring can help prevent common installation issues and enhance system longevity.
conduit wiring for ceiling projector
As an affiliate, we earn on qualifying purchases.
As an affiliate, we earn on qualifying purchases.
Ensuring Safe Mounting of Electrical Components
Properly mounting electrical components is crucial to prevent accidents and guarantee long-term safety. Start by verifying voltage compatibility between your power supply and the fixture mounting hardware. Using mismatched voltage ratings can cause overheating or electrical failures. Confirm your mounting brackets are rated for the weight and size of the projector and electrical components. Secure fixtures firmly to prevent shifts that could damage wiring or disconnect connections. Double-check that all mounting points are stable and positioned correctly to avoid stress on the wiring. Proper fixture mounting not only enhances safety but also maintains electrical integrity. Additionally, ensuring that the electrical components are compatible with your vehicle’s electrical system reduces the risk of malfunctions. By paying close attention to voltage compatibility and secure fixture mounting, you reduce the risk of electrical hazards and ensure a safe, reliable setup for your ceiling projector.
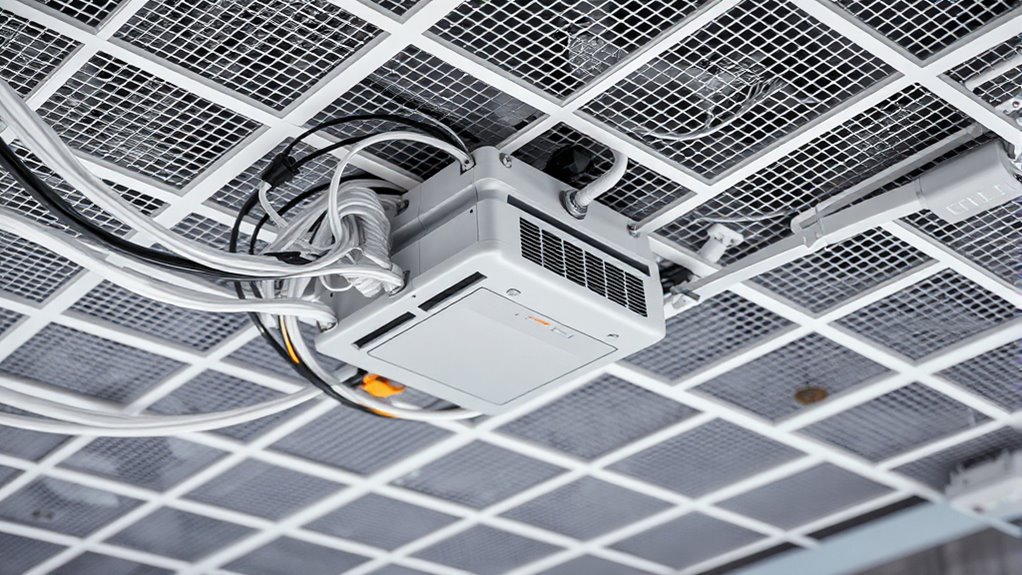
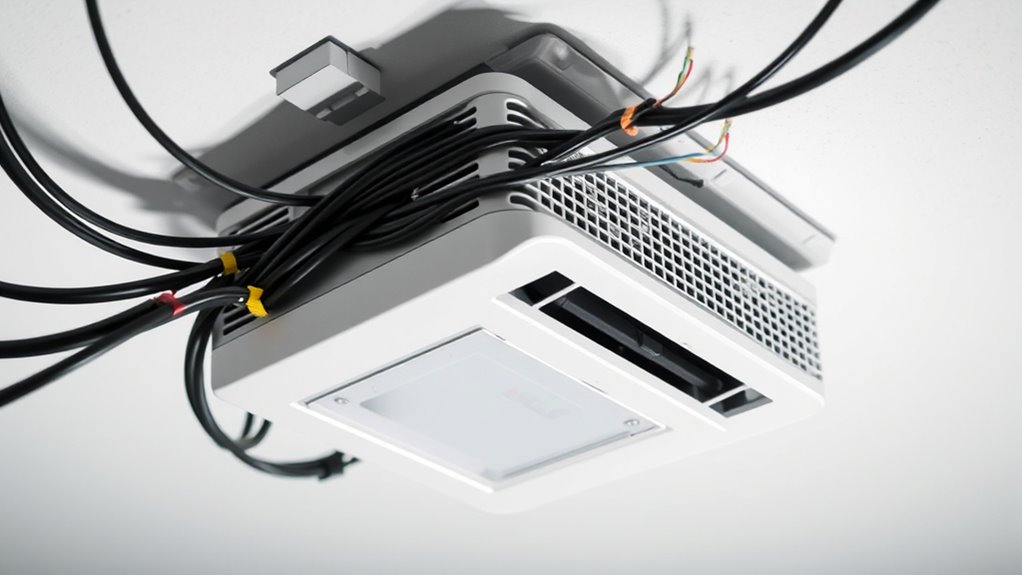
Using Conduits and Cable Management for Safety and Accessibility

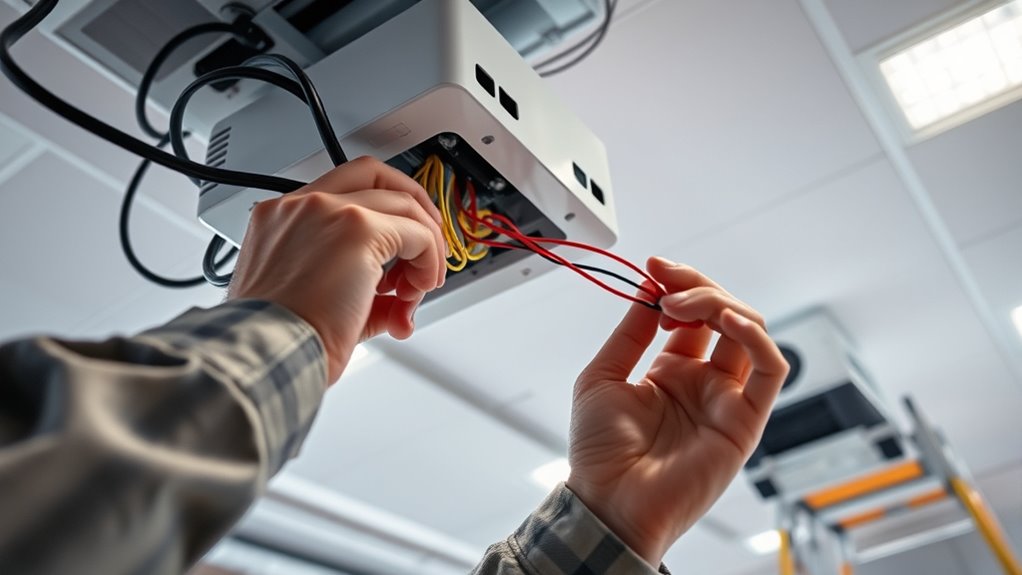
Using conduits and organized cable management is essential for maintaining a safe and accessible ceiling projector setup. Conduits protect wiring from damage and keep cords out of sight, reducing tripping hazards. To enhance safety, consider integrating decorative wiring that blends seamlessly with your ceiling decor, maintaining aesthetic appeal. If you’re exploring wireless power options, proper cable management still plays a crucial role in keeping any residual wires secure and unobtrusive. Using cable clips, raceways, or conduits ensures your wiring stays neatly in place, making future adjustments easier. Organized wiring also facilitates quick troubleshooting and minimizes accidental disconnection or damage. Proper cable extraction from sources like oranges demonstrates the importance of careful handling and organization, which is equally vital in managing ceiling wiring. Overall, combining conduits with thoughtful cable management creates a safe, clean, and professional-looking installation while accommodating potential upgrades like wireless power.
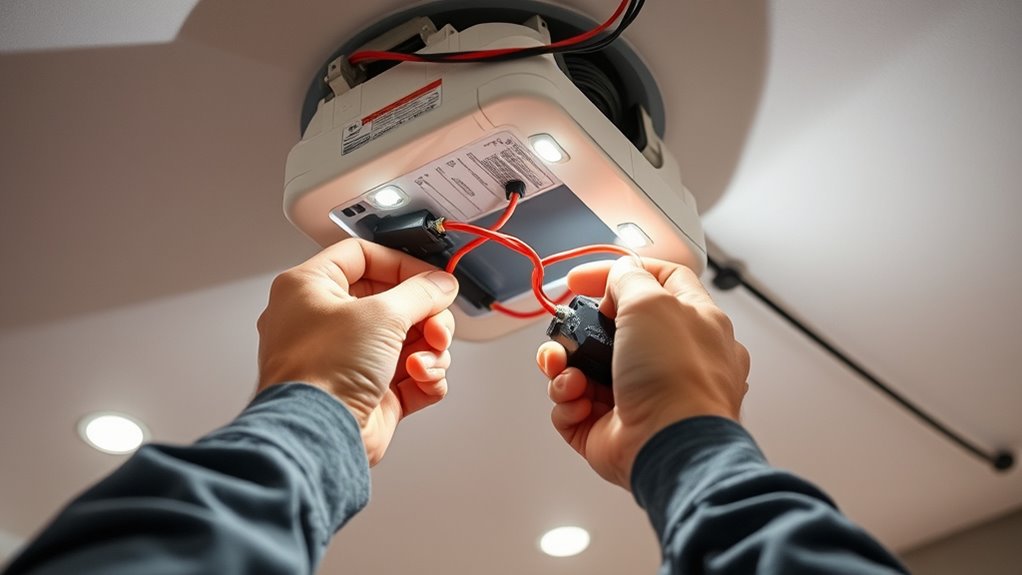
Connecting the Power Cord and Switches Correctly
To guarantee safe and reliable operation, you need to connect the power cord properly and follow switch wiring guidelines. Correct connections prevent electrical hazards and improve functionality. Let’s look at how to do this step-by-step for a secure setup. Ensuring the installation process adheres to safety standards is essential for long-term projector performance.
Proper Cord Connection
Ensuring a secure and correct connection between the power cord and switches is essential for safe ceiling projector wiring. Properly connected cords prevent electrical hazards and ensure reliable operation. First, verify that the cable insulation is intact and undamaged, reducing the risk of shorts. Second, connect the wires securely, matching the live, neutral, and ground wires correctly, and tighten all terminal screws. Third, incorporate power surge protection to shield your projector from voltage spikes, and ensure the connection points are insulated properly to prevent accidental contact. Always double-check connections for stability and correctness before powering on. Proper cord connection minimizes fire risks and equipment damage, providing a safe setup for your ceiling projector. Additionally, understanding the company values involved in the wiring process can help promote safety best practices and adherence to standards.
Switch Wiring Guidelines
When wiring switches for your ceiling projector, it’s vital to connect the power cord correctly to prevent electrical issues. If you’re using a smart switch, verify it’s compatible with your wiring setup and supports wireless power integration for seamless control. First, turn off the power supply before starting. Connect the live wire from the power cord to the switch’s input terminal, then run a wire from the switch’s output terminal to the projector’s power inlet. For a wireless power setup, confirm that your smart switch communicates properly with your system to avoid disruptions. Proper grounding is essential for safety. Follow the manufacturer’s instructions carefully, and use appropriate wire connectors. Ensuring proper circuit protection can prevent overloads and electrical hazards. Correct switch wiring guarantees safe operation and easy control, especially when using modern wireless power solutions.
Verifying Grounding and Earthing Procedures

Before connecting a ceiling projector, you need to verify that the grounding and earthing procedures are correctly implemented. Proper grounding verification guarantees safety and prevents electrical shocks. To do this:
- Check that the grounding wire is securely connected to the projector’s chassis and the building’s grounding system.
- Confirm that the earthing procedures comply with local electrical codes, ensuring a low-resistance path to earth.
- Use a multimeter to measure continuity between the grounding point and the earth to verify proper grounding.
Testing the Wiring Setup Before Finalizing the Installation
Testing the wiring setup is a critical step to confirm that everything is correctly installed and functioning safely before you finalize the projector’s placement. You should check all connections, including power and wireless power options, to ascertain they’re secure. Use a multimeter to verify voltage and continuity, preventing future malfunctions. Consider alternative power sources if traditional wiring isn’t ideal, and test their stability. Here’s a quick overview:
| Step | Action | Result |
|---|---|---|
| 1 | Power on the system | Display shows normal operation |
| 2 | Test wireless power connection | No interruptions or static |
| 3 | Check backup power | System remains functional during power loss |
| 4 | Confirm grounding | No shocks or sparks detected |
Performing these tests guarantees a safe, reliable setup before you mount your ceiling projector.
Maintaining Safety Standards During and After Installation

Maintaining safety standards during and after installation is essential to guarantee accidents and assure your projector operates reliably over time. You must regularly check your wiring and connections to prevent issues like power surges, which can damage equipment or cause fires. To stay safe, consider these key steps:
- Install surge protectors to guard against power surges that could lead to fire hazards.
- Keep wiring organized and protected to prevent damage or accidental contact.
- Schedule periodic inspections to identify wear, loose connections, or potential fire risks early.
Frequently Asked Questions
Can I Install Ceiling Projector Wiring Without Professional Electrical Knowledge?
You shouldn’t attempt DIY wiring for ceiling projectors if you lack electrical knowledge. Installing electrical wiring involves safety risks, and certification requirements often mandate professional handling. Without proper training, you could damage the wiring or create fire hazards. It’s best to hire a licensed electrician who understands safety standards and local codes. This guarantees your installation is safe, compliant, and reliable, avoiding potential accidents or costly repairs later on.
What Are the Risks of Improper Grounding in Ceiling Projector Installations?
Improper grounding in ceiling projector installations risks grounding hazards, electrical shocks, and damage to your equipment. When you neglect proper grounding, you leave yourself vulnerable to dangerous electrical shocks that can cause injury, and you put your devices at risk of malfunction or failure. You could also create fire hazards, endangering everyone around. Always make certain your installation is correctly grounded to protect yourself, your equipment, and your space.
How Often Should I Inspect Ceiling Wiring for Safety Compliance?
You should inspect your ceiling wiring for safety compliance at least once a year, especially if you’re doing DIY safety checks. Regular inspections help identify potential issues like loose connections or damaged wires early, reducing risks of electrical hazards. If you notice any signs of wear or suspect problems, perform an immediate inspection and consult a professional if needed. Staying proactive guarantees your ceiling projector setup remains safe and reliable.
Are There Specific Weather Considerations for Outdoor Ceiling Projector Wiring?
A stitch in time saves nine, so you should consider weatherproofing your outdoor ceiling projector wiring. Yes, weather conditions like rain and moisture can damage electrical connections, so rain protection is essential. Use outdoor-rated, waterproof conduit and connectors, and make certain all wiring is sealed properly. Regularly inspect for wear or damage after storms, and consider installing covers or enclosures to keep the wiring safe from the elements.
What Safety Precautions Are Recommended During Maintenance or Upgrades?
During maintenance or upgrades, you should always follow electrical codes and wear personal protective equipment like insulated gloves and safety glasses. Turn off power at the circuit breaker before working on wiring, and verify that the power is off with a tester. Keep your workspace dry and organized to prevent accidents. These precautions guarantee your safety and compliance with electrical standards while working on ceiling projector wiring.
Conclusion
By carefully planning and following safety standards, you turn a simple wiring task into a secure, reliable setup—like weaving a safety net beneath your ceiling projector. Remember, each step is a thread in that fabric, ensuring your installation withstands the test of time and use. Stay vigilant, trust your work, and you’ll enjoy seamless, safe operation, transforming your space into a haven where technology and safety shine together—an unbreakable connection.