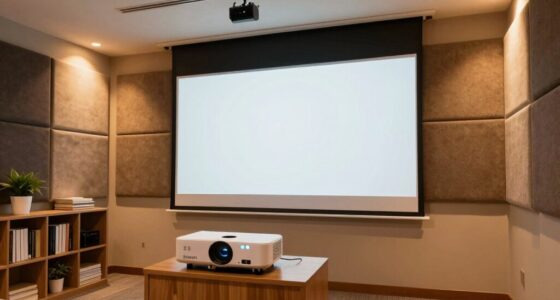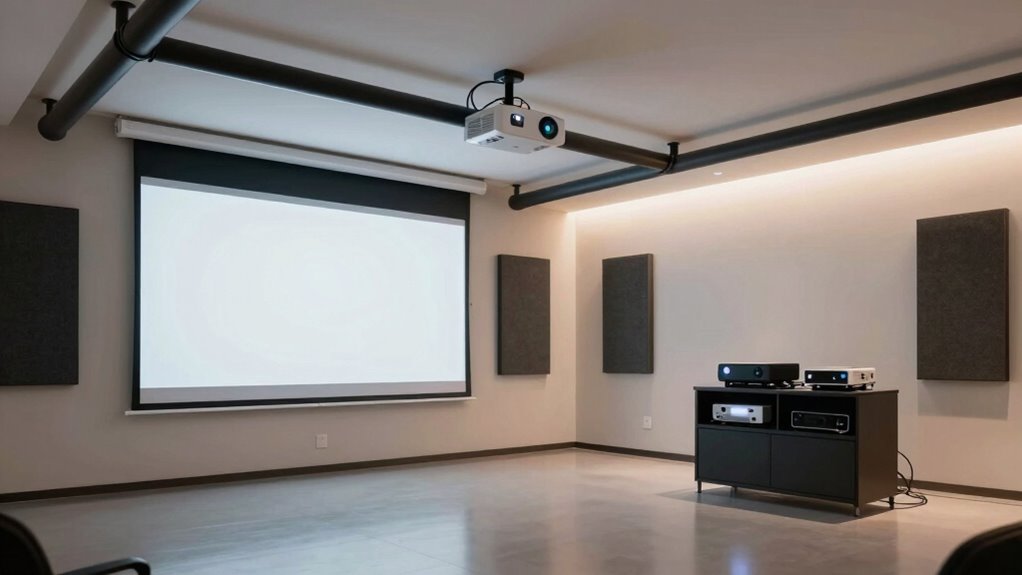
To guarantee your projector room remains future-proof, plan for flexible wiring, adjustable mounts, and compatibility with upcoming devices. Use sturdy mounts that accommodate different projector sizes and include space for upgrades like larger screens or higher resolutions. Incorporate soundproofing and lighting controls to adapt to evolving entertainment needs and enhance immersion. By considering these steps early, you create a versatile space that grows with your technology. Keep exploring to discover how to optimize your setup further.
Open a free Amazon Business account
Business pricing, bulk buying and tax-exempt orders.
As an affiliate, we earn on qualifying purchases.
Key Takeaways
- Use adjustable, compatible mounting options to easily accommodate different projector sizes and future models.
- Plan wiring and conduit systems for straightforward upgrades and additional equipment integration.
- Incorporate versatile lighting and soundproofing solutions that can be modified as technology evolves.
- Design the room layout with extra space for larger screens or higher-resolution projectors.
- Choose adaptable room features and equipment that support seamless technology updates over time.
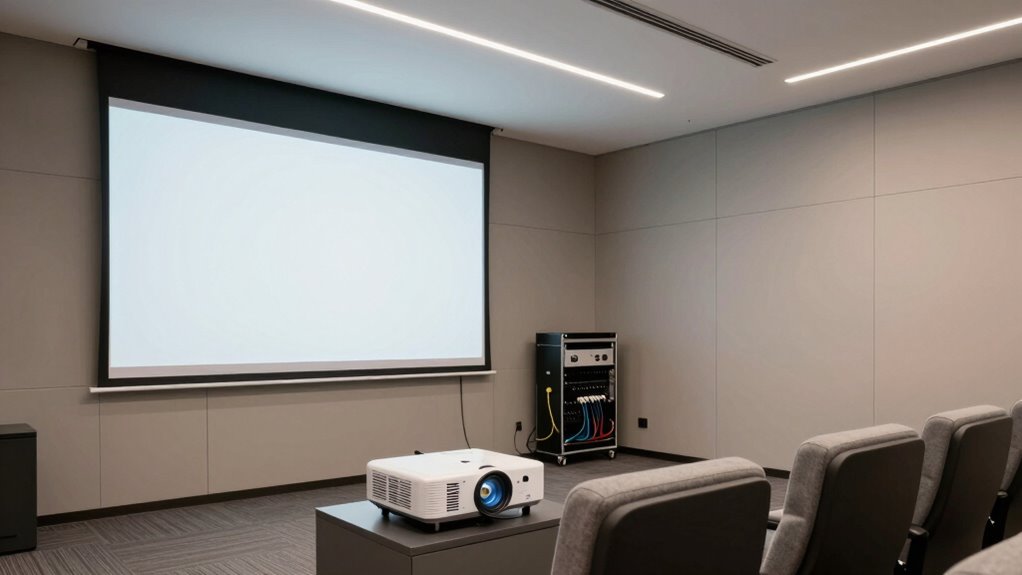
Creating a dedicated projector room can enhance your viewing experience, but careful planning is essential to get it right. As you design your space, think about how you’ll set up your projector for maximum performance now and in the future. Ceiling mounting should be a top priority because it offers a clean, unobstructed view and allows flexibility for different projector models. When installing your projector on the ceiling, ensure the mount is sturdy and adjustable, so you can fine-tune the angle and position without hassle. This setup not only saves space but also minimizes the risk of accidental damage or interference with other equipment. Incorporating future-proofing strategies during the planning process will help your setup adapt seamlessly to upcoming technology upgrades. Soundproofing materials are equally important, especially if you want to create an immersive environment free from external noise. Incorporate soundproofing panels or acoustic tiles into the walls and ceiling to absorb sound waves, reducing echo and preventing noise from leaking into other parts of your home. Using high-quality soundproofing materials guarantees that your audio remains crisp and clear, even after you upgrade your sound system or projector. Keep in mind that the room’s door and windows should also be sealed properly to block out outside disturbances, making your viewing sessions more enjoyable. When planning for future upgrades, consider the adaptability of your setup. Choose a ceiling mount that’s compatible with different projector sizes and weights, so you won’t have to replace the entire mounting system down the line. Think about space for additional equipment, such as speakers, streaming devices, or gaming consoles, and plan your wiring routes accordingly. Installing conduits or cable management systems during the initial build can save you time and effort later when adding new devices. Additionally, leave room for a larger screen or a projector with higher resolution in case your preferences or technology evolve. Proper room acoustics are also vital for an immersive experience, and considering their impact early can greatly improve sound quality. Incorporating lighting control options like dimmable fixtures is also crucial, as they allow you to customize the ambiance and adapt to various lighting conditions over time. Planning for soundproofing and ceiling mounting with future upgrades in mind creates a flexible, comfortable environment that grows with your entertainment needs. Being mindful of electrical wiring during the initial design can help prevent future complications and ensure safety as your system expands. Additionally, understanding projector compatibility can help you choose equipment that remains versatile as technology advances. When you prioritize these elements now, you set the stage for a projector room that remains functional, stylish, and immersive long after your next upgrade.
adjustable ceiling projector mount
As an affiliate, we earn on qualifying purchases.
As an affiliate, we earn on qualifying purchases.
Frequently Asked Questions
How Do I Choose a Projector That Lasts Through Upgrades?
Choose a projector with a durable build and flexible connectivity options to adapt to future upgrades. Look for models with excellent color calibration for consistent image quality over time. Consider soundproofing techniques to minimize noise disturbance, especially if you upgrade to more powerful projectors. By selecting a versatile projector, you’ll guarantee it remains functional and high-quality through multiple upgrades, saving you money and hassle long-term.
What Wiring Considerations Ensure Future-Proof Connectivity?
You should prioritize flexible wiring for future-proof connectivity by installing multiple power outlets in strategic locations, ensuring easy access for upgrades. Incorporate wireless compatibility into your setup, so you can connect devices effortlessly without relying solely on wired connections. Plan for conduit pathways during construction, allowing easy future wiring upgrades. Proper outlet placement and wireless options make your projector room adaptable, reducing hassle and maintaining functionality after future upgrades.
How Can I Design for Easy Future Equipment Upgrades?
You can make upgrades a breeze by designing your room with flexible infrastructure, like modular wiring and accessible panels. Choose neutral color schemes that adapt easily, and incorporate acoustic treatments that can be upgraded or moved without hassle. This approach keeps your space future-proof, making it feel like a high-tech fortress ready for any upgrade. Your room will stay cutting-edge, no matter how much technology evolves!
What Are the Best Materials for Long-Term Projector Room Durability?
You should choose durable materials like acoustic panels for soundproofing and high-quality, fade-resistant wall paints for long-term wear. Use soundproofing options such as mass-loaded vinyl or foam panels to minimize noise transfer, and install ambient light control solutions like blackout curtains or adjustable blinds to enhance projection clarity. These materials guarantee your projector room remains functional and comfortable, even after future upgrades.
How Do I Plan for Different Projection Sizes Over Time?
Think of your projector room as a canvas that adapts over time. To accommodate different projection sizes, plan flexible mounting options and adjustable screen placements. Consider ambient lighting that can be controlled to prevent glare, and add acoustic treatment to improve sound clarity. These strategies guarantee your space remains functional, no matter how your projection needs evolve—because a stitch in time saves nine.
soundproofing panels for home theater
As an affiliate, we earn on qualifying purchases.
As an affiliate, we earn on qualifying purchases.
Conclusion
Planning your projector room now is like planting a sturdy tree; it guarantees future growth without needing to cut down the old. By considering upgrades and flexibility, you create a space that adapts smoothly over time. Keep your design modular and your wiring accessible, so future improvements are as easy as changing a lightbulb. With thoughtful foresight, your projector room will stand tall through every upgrade, a reliable cornerstone in your entertainment setup.
As an affiliate, we earn on qualifying purchases.
dimmable lighting for home theater
As an affiliate, we earn on qualifying purchases.
As an affiliate, we earn on qualifying purchases.
Fall Picks
fall essentials
As an affiliate, we earn on qualifying purchases.