
Before starting your ceiling cable management project, you should assess your needs and goals, including aesthetic preferences and device access. Measure your cable routes carefully, considering obstacles and ceiling height. Choose the right cables, conduits, and materials that meet safety standards and local codes. Prepare your workspace with safety gear and tools, and develop a realistic timeline to keep your project organized. If you keep going, you’ll find detailed steps to help guarantee your work is safe and effective.
Key Takeaways
- Assess project needs, plan cable routes, and consider wireless options for a tidy ceiling setup.
- Select appropriate cable types, conduit, and ensure compliance with building codes.
- Prepare workspace with safety gear, clear obstacles, and turn off power before starting work.
- Gather tools, organize supplies, and develop a detailed installation schedule.
- Conduct final checks on power sources, verify circuit safety, and inspect all connections before completing.
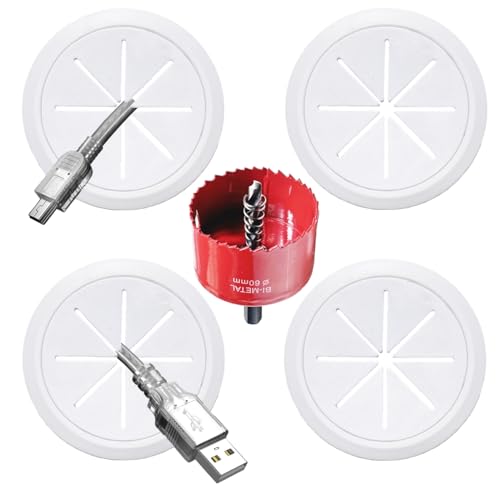
4 Pack TV Cord Hider for Wall Mounted TV, 2-3/8"(60mm Hole) Wire Hider in Wall Cable Management Kit, Includes 4 Pass Throughs and 1 Hole Saw Drill Attachment Easy to Install
Cord Hider for Wall Mount TV: Hide your cables behind the wall with this wall cable hider, you…
As an affiliate, we earn on qualifying purchases.
As an affiliate, we earn on qualifying purchases.
Assess Your Project Needs and Goals

Before beginning your ceiling cable management project, it’s essential to clearly identify your needs and goals. Consider whether you want a clean, minimalist look or are open to more visible wiring. If aesthetic considerations are high, explore wireless alternatives to reduce clutter and improve appearance. Think about the devices you’ll connect and how accessible you need the cables to be. Do you prioritize easy access or a seamless look? Knowing your goals helps determine the best approach, whether hiding cables completely or opting for smarter placement. Clarifying these points upfront guarantees you choose the right materials and methods, saving you time and effort later. Additionally, understanding space optimization can help in arranging cables efficiently and prevent clutter. Ultimately, understanding your project’s purpose guides your decisions and guarantees a result that aligns with your vision.

Prime Cable Management Conduit Cable Support Clip to Ceiling Wire, Threaded Rod & Flanges. Heavy Duty Spring Steel Clip 50 Pack
Cable clip supports conduit to threaded rod, ceiling wire or flange.
As an affiliate, we earn on qualifying purchases.
As an affiliate, we earn on qualifying purchases.
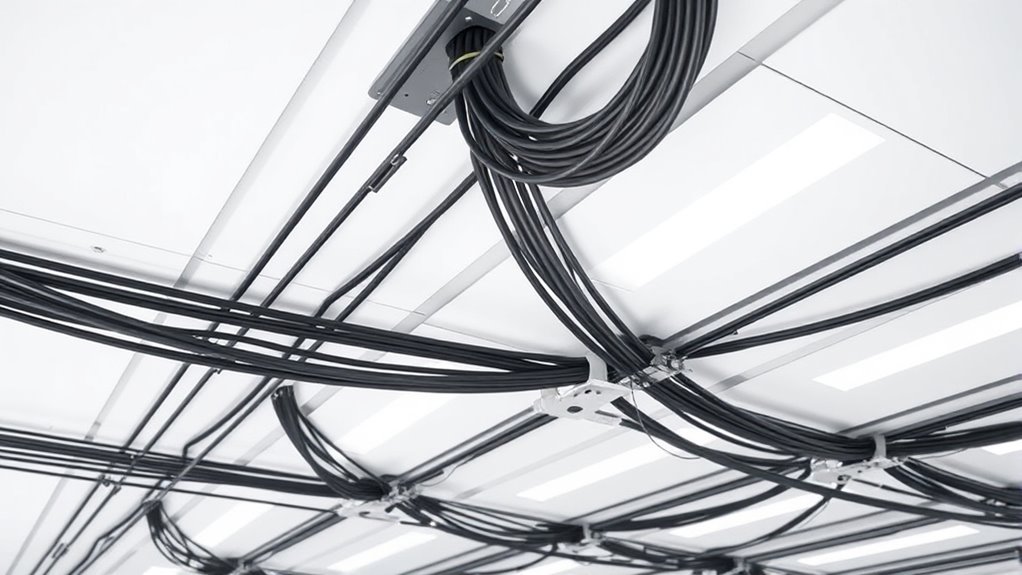
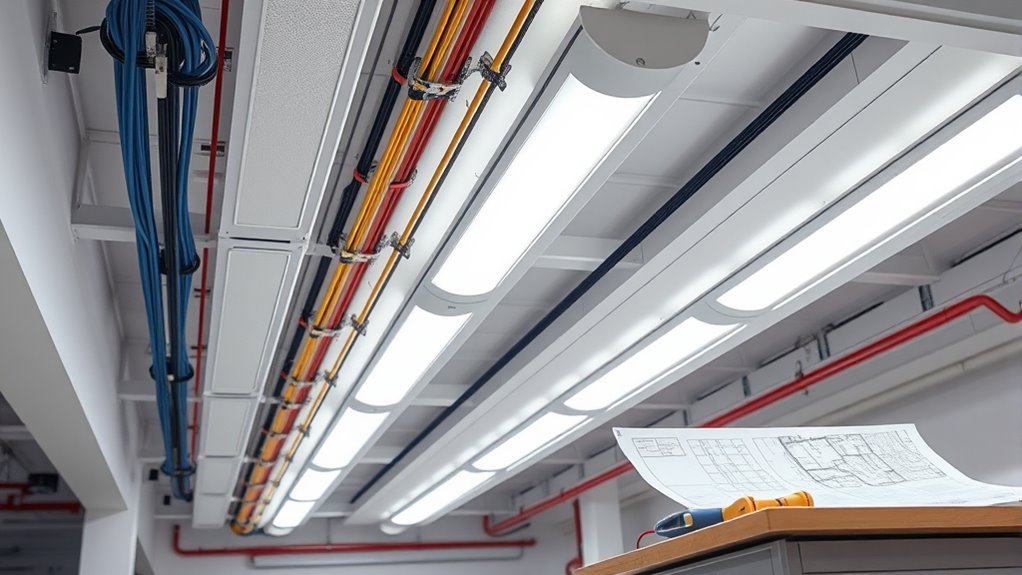
Measure and Plan Your Cable Routes
Start by mapping out your cable pathways to guarantee a smooth route. Check your ceiling height to confirm there’s enough space for your planned setup. Also, identify any obstructions that could interfere with your cables or mounting points. Considering the projector placement and its impact on image quality can help ensure optimal viewing.
Map Out Pathways
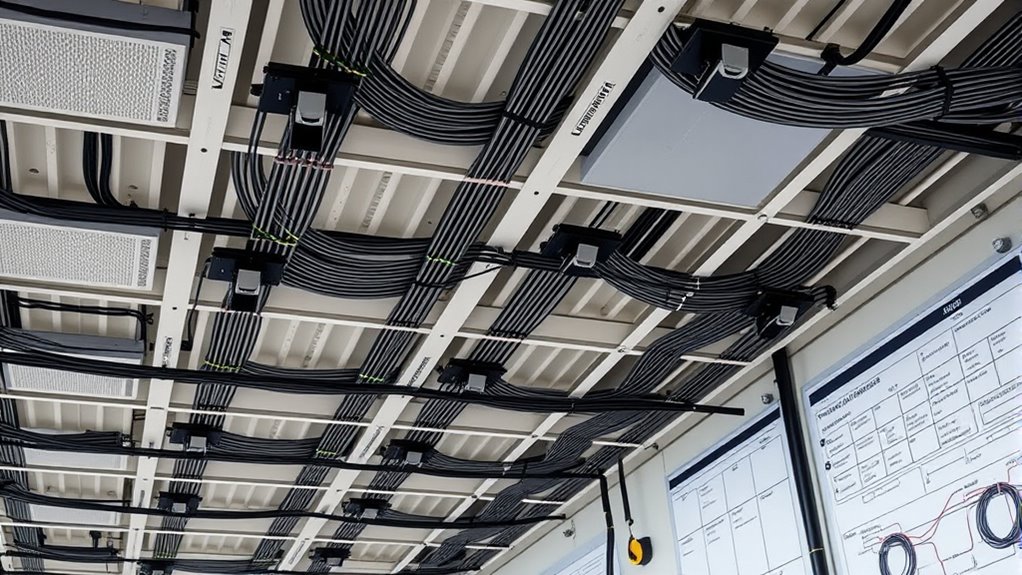
Have you ever considered how precisely planning your cable routes can make ceiling management much easier? Mapping out your cable pathways is a vital step in the process. Start by visualizing the route from your power source to each device, considering the shortest and most discreet paths. Use ceiling mapping techniques to identify the best pathways, avoiding obstacles like ducts or beams. Measure distances accurately to determine cable lengths needed, guaranteeing you don’t underestimate. Mark these routes clearly on your ceiling plan, noting where you’ll need access points or supports. This step helps prevent surprises later and keeps your installation neat and organized. Properly mapped cable pathways streamline installation and assure your ceiling remains clean, functional, and safe. Incorporating auditory processing considerations can further ensure that your setup minimizes noise disruptions and enhances overall environment comfort.
Check Ceiling Height
Knowing your ceiling height is essential for planning your cable routes effectively. Measure the ceiling height accurately to ensure your cables won’t be obstructed and meet clearance requirements. This measurement helps determine the available space for running cables along walls or across the ceiling without interference. Consider any fixtures, vents, or lighting that might affect installation. If your ceiling height is low, you may need to choose low-profile cables or alternative routing options. Ensuring proper clearance requirements are met minimizes the risk of damage or sagging over time. Take time to record precise measurements before starting installation. This step guarantees your cable management plan aligns with your ceiling’s dimensions, keeping everything neat, safe, and compliant with building codes. Additionally, understanding remote work setups can help optimize your space for better productivity and comfort.
Identify Obstructions
Before you begin routing cables, it’s crucial to identify any obstructions that could interfere with installation. Recognizing obstruction types helps you plan effectively and avoid surprises. First, check for ceiling fixtures like lights or fans that could block your path or require special adjustments. Second, look for structural elements such as beams or ductwork that might limit cable placement. Third, be aware of existing wiring or pipes that could pose hazards or cause damage if overlooked. Additionally, understanding cable management basics can help you choose the best routes and methods for a clean installation. By pinpointing these obstructions early, you can measure and plan your cable routes with confidence. This proactive step ensures a smooth installation, reduces mistakes, and keeps your project on track. Clear planning now prevents costly adjustments later.

100 PCS Adhesive Cable Clips White (Small & Large), Upgraded Wall Wire Holder for Cord Organizer Cable Management, Outdoor Light Clips Hooks for LED, Car Dash Cam, HDMI, Extension Cord
Assorted Sizes: Package include 50 pcs large cable clips and 50 pcs small cable clips. Made of eco-friendly…
As an affiliate, we earn on qualifying purchases.
As an affiliate, we earn on qualifying purchases.
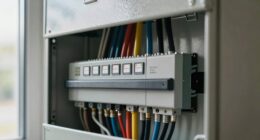
Choose Appropriate Cable Types and Materials

Choosing the right cable types and materials is essential for a safe and efficient ceiling cable management system. Start by selecting cables with appropriate cable insulation to prevent electrical hazards and ensure durability. Consider the environment—if the ceiling is exposed to moisture or temperature fluctuations, choose insulation rated for those conditions. Conduit selection is equally important; opt for conduits that match your cable type and provide adequate protection against physical damage. Rigid metal or flexible plastic conduits both have their uses, so evaluate your space and accessibility needs. Using the correct cable materials minimizes maintenance and safety risks while ensuring compliance with standards. Proper selection now sets a strong foundation for a reliable, organized ceiling cable system that lasts. Additionally, understanding Self Watering Plant Pots can offer insights into efficient systems that maintain consistent conditions, much like well-chosen cable solutions ensure system reliability.

2027 Upgrade Wireless HDMI Transmitter and Receiver 400FT/120M, LDS Antenna Low-Latency Dual-Band 5.8+2.4G, 4K Decode 10Bit 1.08 Billion Hues Display Video and Audio to Monitor from TV (Blue)
True Plug & Play with ZeroDrop Tech: No Wi-Fi, apps, or Bluetooth needed—just plug and play in under…
As an affiliate, we earn on qualifying purchases.
As an affiliate, we earn on qualifying purchases.
Check Local Building Codes and Regulations
Checking local building codes and regulations is a crucial step to guarantee your ceiling cable management system is safe and compliant. Failing to adhere to these standards can lead to safety hazards, costly fines, or the need for rework. To ensure compliance, consider these key points:
- Verify that your project meets local building code compliance and safety standards.
- Obtain necessary permits before starting work to avoid legal issues.
- Consult with local authorities or professionals to clarify specific regulations affecting cable installation.
- Be aware that improper cable management can impact the overall safety and durability of your electrical system, especially when considering factors like electric power generation and proper wiring techniques.
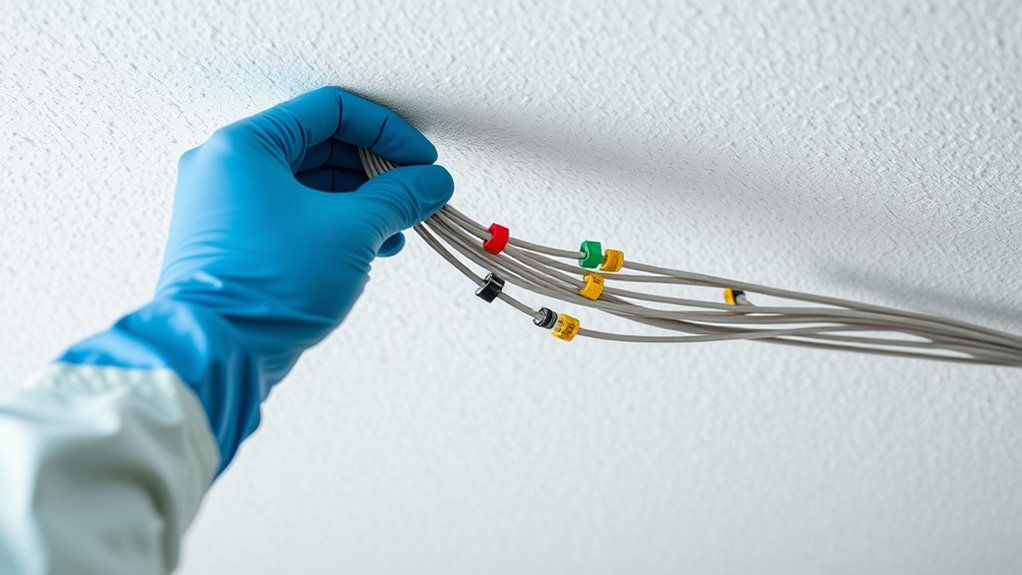
Prepare Your Work Area and Safety Equipment
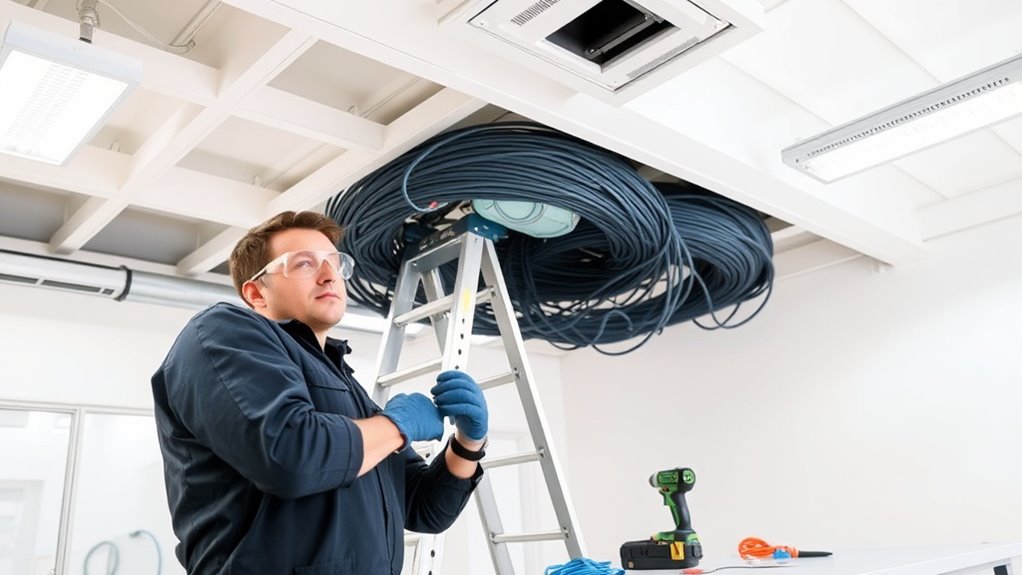
Before you start working on ceiling cables, clear your workspace to prevent accidents. Put on safety gear like gloves and goggles to protect yourself. Also, double-check all power sources to guarantee they’re turned off before handling any wiring.
Clear the Workspace
Have you prepared your work area and safety gear before starting your ceiling cable management? Clearing your workspace is essential to guarantee safety and efficiency. A clutter-free area helps you focus on cable concealment and aesthetic considerations, making the process smoother.
Here’s what you should do:
- Remove any furniture or objects that could obstruct access or cause accidents.
- Ensure your lighting is adequate so you can see every detail clearly.
- Check that all tools and safety equipment are within reach to prevent interruptions.
A tidy workspace minimizes hazards and helps you achieve a clean, professional look. When everything is in order, cable concealment becomes easier, and your ceiling’s overall appearance improves markedly.
Wear Safety Gear
To guarantee your safety during ceiling cable management, it’s crucial to wear the appropriate safety gear. Personal protective equipment, like safety glasses, gloves, and a hard hat, shields you from potential hazards. Ensure your footwear has non-slip soles to prevent falls, especially when working on ladders or elevated surfaces. Follow safety protocols by inspecting your gear before starting and replacing any damaged items. Wearing the right equipment minimizes risks from falling objects, electrical shocks, or accidental cuts. Remember, safety gear is not optional—it’s essential for protecting yourself throughout the project. By preparing your work area with proper personal protective equipment, you reduce the chance of injuries and create a safer environment for managing ceiling cables efficiently. Additionally, understanding the benefits of proper safety measures can significantly enhance your confidence and safety during the project.
Check Power Sources
Ensuring the power sources are turned off is a vital first step to prevent electrical shocks and accidents while managing ceiling cables. You must verify power source safety and circuit compatibility before starting. To do this:
- Turn off the main breaker to cut all power, guaranteeing no accidental activation.
- Test the circuit with a voltage tester to confirm there’s no live current.
- Disconnect any connected devices to prevent damage or electrical hazards.
- Always consult inspirational quotes or safety guidelines to reinforce proper procedures during your project.
These steps protect you from potential shocks and guarantee your work area is safe. Always double-check that circuits are compatible with your tools and equipment. Taking these precautions minimizes risks, making your ceiling cable management safer and more efficient. Safety isn’t just a step; it’s the foundation of your project.
Gather Necessary Tools and Supplies
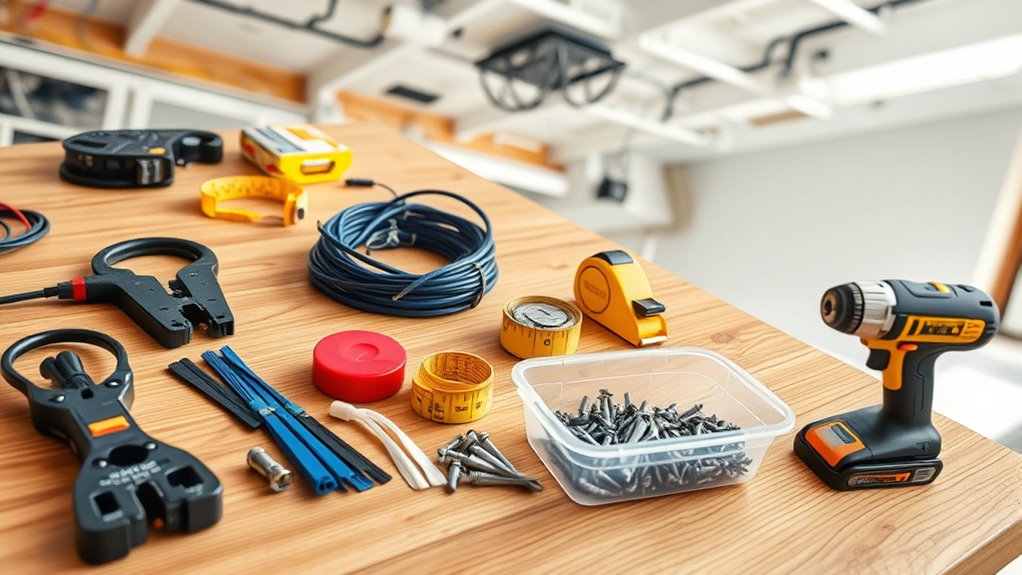
Before you start organizing your ceiling cables, it’s vital to gather all the necessary tools and supplies. First, make sure you have cable labels or markers for clear cable labeling, which helps identify connections easily. A cable cutter or wire stripper is essential for trimming and preparing cables. Keep a screwdriver set handy for securing fixtures and connectors. Don’t forget cable ties or Velcro straps to keep cables neat and prevent tangling. To maintain tool organization, use a toolbox or storage bin to keep everything accessible and sorted. Having these supplies ready minimizes delays and keeps your project efficient. Proper preparation ensures you won’t waste time searching for tools and helps you stay focused on achieving a clean, professional cable management system. Additionally, understanding cable management techniques can help you plan an effective routing system that reduces clutter and improves accessibility.
Develop a Clear Installation Timeline
Creating a detailed installation timeline helps keep your ceiling cable management project organized and on track. By planning your timeline scheduling, you can anticipate challenges and stay efficient. Focus on these key steps:
- Set specific dates for each phase, from cable labeling to final adjustments, so you stay motivated and accountable.
- Allocate ample time for labeling cables clearly, reducing confusion during installation.
- Build in buffer periods for unexpected delays, ensuring your project stays on schedule.
A well-structured timeline provides a clear roadmap, minimizes mistakes, and boosts your confidence. Staying organized with a timeline scheduling approach makes the entire process smoother and more rewarding. Remember, a disciplined plan keeps your ceiling cable management project progressing seamlessly.
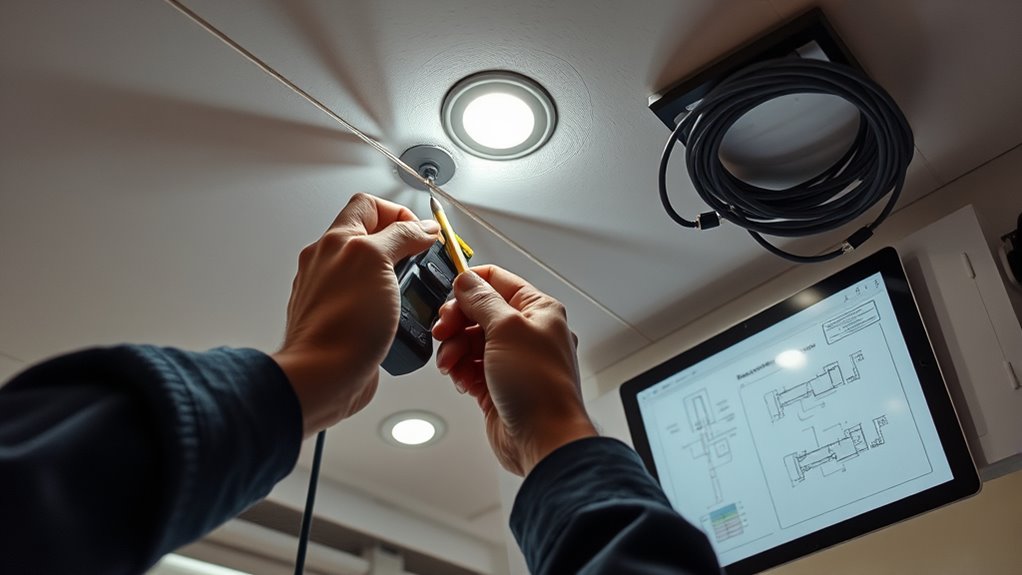
Review Wiring Diagrams and Technical Documentation
Reviewing wiring diagrams and technical documentation is a crucial step to guarantee your ceiling cable management project proceeds smoothly. By thoroughly examining these materials, you understand the existing electrical layout and identify potential challenges. This step helps you determine if wireless alternatives could reduce clutter, enhancing both safety and aesthetics. Pay attention to details like cable routes, power sources, and connections to avoid surprises during installation. Considering aesthetic considerations early allows you to plan for concealed wiring or minimal visible cables, improving the room’s overall look. Ensuring that you’re familiar with technical specifications prevents mistakes and streamlines the process. Taking the time to review documentation now saves time and effort later, making your ceiling cable management efficient, safe, and visually appealing.
Frequently Asked Questions
How Do I Prevent Cable Sagging Over Long Distances?
To prevent cable sagging over long distances, you should maintain proper cable tension and use support brackets. Keep the cables taut but not overly tight to avoid stress. Install support brackets at regular intervals to evenly distribute weight and reduce drooping. Proper tension and consistent support help your cables stay neat and functional, avoiding damage and ensuring a professional look for your ceiling cable management system.
What Are the Best Methods for Hiding Cables in Ceilings?
You can hide cables in ceilings by blending them with your decor. Use color coding to match cables with wall colors, creating a seamless look. Incorporate cable labeling to keep everything organized and easy to identify. Conceal wires behind crown molding, run them through false ceilings, or tuck them into cable raceways painted to match the ceiling. These methods hide cables effectively while keeping your space tidy and visually appealing.
How Can I Ensure Cables Are Fire-Safe and Compliant?
To guarantee your cables are fire-safe and compliant, always use cables rated for fire safety standards like UL or NFPA. Keep cables away from heat sources and avoid overloading circuits. Follow local compliance standards, such as NEC or IEC codes, and use appropriate conduit or cable trays. Regularly inspect your wiring for damage or wear, and consult a licensed electrician to verify your setup meets all safety regulations.
What Are Common Mistakes to Avoid During Ceiling Cable Installation?
Don’t bite off more than you can chew—avoid common mistakes during ceiling cable installation. Double-check wire color codes to prevent miswiring, and always measure cable length accurately to prevent slack or tension issues. Rushing through the process can lead to loose connections or damage. Remember, patience and attention to detail save time and ensure safety. Keep these tips in mind, and your installation will be smooth and compliant.
How Do I Troubleshoot Cable Issues After Installation?
If you experience cable issues after installation, first check all cable connectors to make sure they’re securely connected. Look for loose or damaged connectors, as they often cause signal interference. Also, inspect for signs of signal interference, such as flickering or loss of quality. Try repositioning cables away from sources of interference and tighten connections. If problems persist, replace damaged cables or connectors to restore peak performance.
Conclusion
As you finish planning your ceiling cable management, remember that the right preparation often leads to unexpected ease—like finding a lost tool just when you need it. By following these steps, you’ll not only create a safer, more organized space but also stumble upon solutions you hadn’t anticipated. When everything aligns perfectly, it’s no coincidence—your attention to detail turns a formidable task into a smooth, satisfying project.