
A throw calculator is a handy tool that helps you figure out the best projector placement, angle, and lens settings to get a sharp, properly-sized image on your surface. By inputting measurements like the distance from your projector to the screen and your preferred image size, it provides precise setup guidance. Using this tool can prevent common setup mistakes and guarantee your projection looks perfect—keep going to discover how to maximize its benefits.
Key Takeaways
- A throw calculator determines the optimal projector angle and lens settings for accurate image projection.
- It uses measurements like distance and desired image size to provide setup guidance.
- By planning with a throw calculator, you ensure precise placement and image focus.
- It helps avoid common setup mistakes, such as incorrect distance or improper lens adjustment.
- Using a throw calculator simplifies projector installation, especially in complex environments.
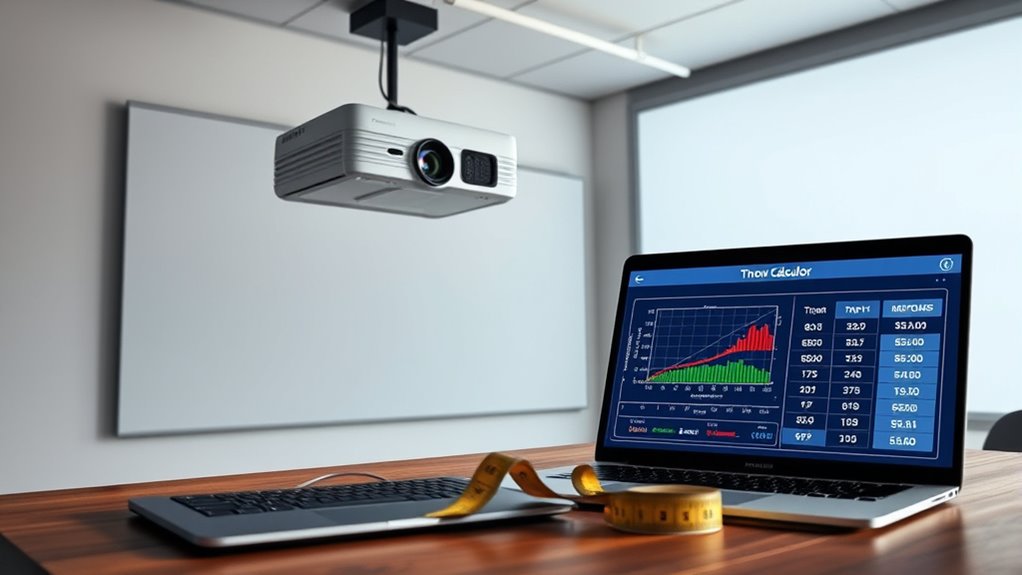
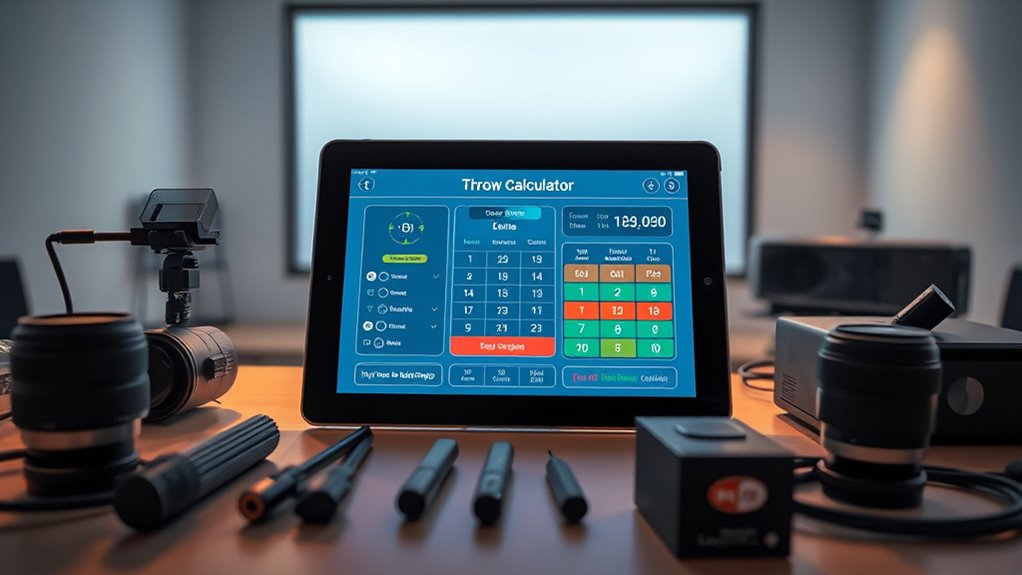
A throw calculator is a handy tool that helps you determine the ideal angle and power needed to launch an object accurately over a specific distance. Whether you’re working on a DIY project, setting up a projector, or planning an outdoor event, understanding how to use a throw calculator ensures your setup is precise and effective. When it comes to installing equipment like projectors, the correct setup can make all the difference, and a throw calculator simplifies this process by providing clear guidance on optimal placement. Additionally, being aware of the principles behind sound healing science can inspire creative approaches to optimizing your environment for better focus and relaxation during setup. To get the most out of your throw calculator, you need to pay attention to installation tips. First, measure the distance from your projector to the screen or surface where the image will be projected. Enter this measurement into the calculator along with your desired image size. The calculator then outputs the ideal throw angle and lens settings. Always double-check your measurements before inputting data, as inaccuracies can lead to blurry images or misplaced projections. Additionally, consider the environment—if you’re installing outdoors, account for factors like ambient light and potential obstructions, as these can influence your setup.
However, even with the best tools, common mistakes can hinder your setup. One typical error is misjudging the space or not accounting for zoom or lens shift capabilities of your projector. Relying solely on default settings or ignoring the calculator’s recommendations can result in poor image quality or the need for multiple adjustments after installation. Another common mistake is overlooking the importance of stable mounting. Ensure your projector is securely installed on a sturdy surface or mount to prevent shifts that could distort the projected image. Also, avoid placing the projector too close or too far from the screen, as this can cause focus issues and uneven image size.
Using a throw calculator effectively involves more than just entering numbers; it requires attention to detail and proper installation techniques. Take the time to review the calculator’s suggestions carefully, and cross-reference them with your actual setup environment. Don’t rush the installation process—double-check measurements, test the projection, and adjust as needed. If you encounter issues like distorted images or inconsistent focus, revisit your initial measurements and settings, ensuring they align with the calculator’s recommendations. Remember, small errors during installation, like incorrect measurements or insecure mounting, are common mistakes that can be avoided with patience and proper planning.
projector throw distance calculator
As an affiliate, we earn on qualifying purchases.
As an affiliate, we earn on qualifying purchases.
Frequently Asked Questions
Can a Throw Calculator Predict Image Quality?
A throw calculator can’t directly forecast image quality, but it helps you select the right projector setup by considering factors like image resolution and lens distortion. By accurately calculating throw distance and screen size, you minimize issues that could affect image clarity. Properly planning with a throw calculator ensures your projector delivers the best possible image quality, reducing distortion and optimizing resolution for a sharp, clear display.
Is a Throw Calculator Suitable for Outdoor Projectors?
Yes, a throw calculator can help you plan outdoor projector setups by considering outdoor compatibility and environmental factors. It enables you to determine the right projector distance and image size, accounting for sunlight, weather, and space. By factoring in these environmental factors, you guarantee your projector performs well outdoors. Just remember to choose a calculator that specifically includes outdoor conditions for the most accurate results.
How Accurate Are Throw Calculators for Different Projector Models?
Throw calculators are generally accurate for different projector models when you account for proper projector calibration and lens selection. They consider your specific projector’s throw ratio and adjust for variations in lens type, ensuring precise estimates. However, accuracy can vary if your projector isn’t calibrated correctly or if you choose an incompatible lens. Always double-check your settings and measurements to get the most reliable projections.
Do Throw Calculators Account for Screen Gain?
Throw calculators don’t automatically incorporate screen gain or ambient light, which can dramatically affect your projector image. Ignoring these elements is like trying to hit a bullseye in the dark without a flashlight — you miss the mark. To get precise setup results, you must manually adjust for screen gain and ambient lighting conditions. This ensures your projector’s throw distance and image quality are spot-on, no matter the environment.
Can a Throw Calculator Help With Multiple Projector Setups?
Yes, a throw calculator can help with multi projector coordination, making installation planning easier. It allows you to input different distances and angles, ensuring each projector aligns perfectly for seamless image blending. By using the calculator, you can optimize placement, avoid overlaps, and achieve consistent brightness and clarity across all screens. This tool streamlines complex setups, saving time and reducing errors during multi projector installation.

XGIMI Horizon 20 Max 4K Projector Triple Laser Home Theater, 2025 New, 5700 ISO Lumens, Google TV with Licensed Netflix, Optical Zoom Lens Shift, IMAX Enhanced, Dolby Vision, 20000:1 Contrast
Lossless Optics: Flexible lens shift and optical zoom give you more freedom in setup—without sacrificing clarity. Enjoy crisp,…
As an affiliate, we earn on qualifying purchases.
As an affiliate, we earn on qualifying purchases.
Conclusion
A throw calculator isn’t just a tool; it’s your secret weapon in perfecting your projector setup. Think of it as a compass guiding your vision, ensuring every image is sharp and every detail clear. Without it, you’re sailing blind on a vast sea of variables. So, embrace this powerful tool, and watch your space transform from ordinary to extraordinary—because with the right calculations, your perfect projection becomes inevitable, not just a distant dream.

VIVO Universal Adjustable Ceiling Projector, Projection Mount Extending Arms Mounting Bracket, White, MOUNT-VP01W
Universal Projector Mount: Fits most projectors on the market, including mini projectors. Sturdy steel design supports up to…
As an affiliate, we earn on qualifying purchases.
As an affiliate, we earn on qualifying purchases.

120inch Outdoor Projector Screen with Stand: 16:9 4K HD Portable Projector Screen Outdoor Indoor – Front/Rear Movie Screen with Carry Bag, Sandbag – Projection Screen for Backyard, Camping, Theater
Unshakably Stable Base and Support: This projection screen features a sturdy base and support—extended and reinforced—effectively addressing instability…
As an affiliate, we earn on qualifying purchases.
As an affiliate, we earn on qualifying purchases.