When setting your projector’s contrast and brightness, avoid common mistakes like ignoring ambient lighting, which washes out images. Don’t rely on high contrast or brightness settings, as they can cause loss of detail and washed-out dark or bright areas. Proper calibration of colors and testing across different scenes helps ensure balanced, vibrant visuals. Fine-tuning settings gradually and considering your environment improves picture quality. Keep these tips in mind to achieve the best picture—if you keep exploring, you’ll master perfect calibration.

Get business pricing on your home office setup
- Business-only prices and quantity discounts
- Tax-exempt purchasing
- Multiple users, one account, clear invoices
Key Takeaways
- Ensure ambient lighting is properly adjusted to prevent washout and maintain contrast.
- Calibrate color temperature and saturation for accurate, natural-looking colors.
- Avoid setting contrast and brightness to maximum; fine-tune gradually for balanced images.
- Adjust contrast and brightness incrementally while testing with various content for optimal results.
- Use real-world scenes during calibration to ensure settings perform well across different media types.
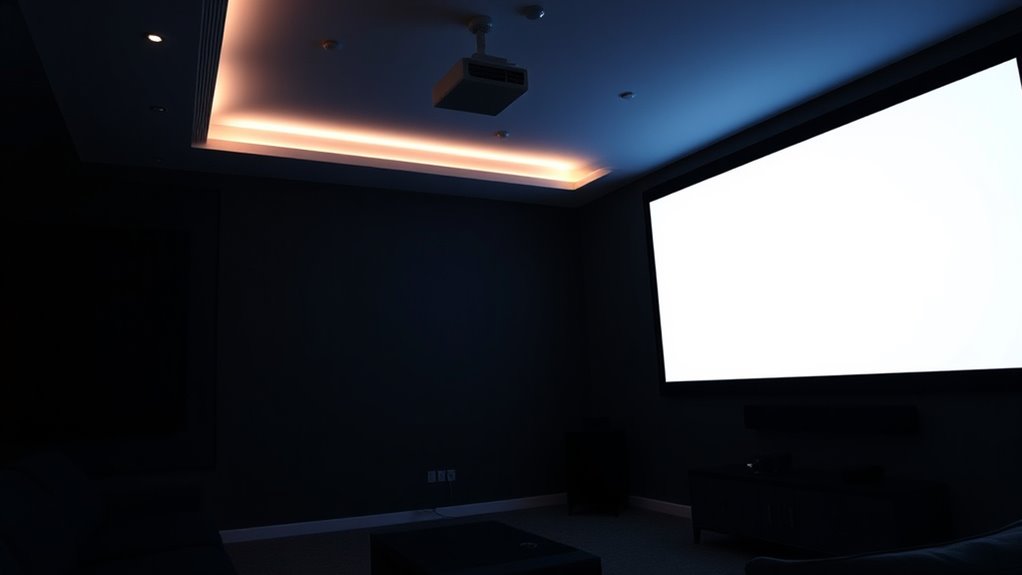
Choosing the right contrast and brightness settings is vital for achieving a clear, vibrant projected image, but many users make common mistakes that diminish picture quality. One of the biggest errors is neglecting proper lighting adjustments before tweaking the projector’s settings. You might assume that leaving the room bright will make the image pop, but in reality, excess ambient light washes out the picture. To get the best results, dim the lights or close blinds so that the projector’s light isn’t competing with external illumination. This guarantees that your contrast and brightness adjustments are effective and that colors appear true and well-defined. Additionally, understanding how projector calibration impacts image quality can help you fine-tune your settings for optimal results.
Proper lighting is essential before adjusting projector contrast and brightness for vivid, accurate images.
When adjusting contrast and brightness, many people overlook the importance of proper color calibration. Color calibration isn’t just for professionals; it’s a vital step in setting up your projector correctly. If the colors look off—either too dull or overly saturated—you’ll struggle to achieve a balanced image. Take the time to run through the projector’s color calibration process, which often involves adjusting color temperature and saturation levels. This helps ensure that the projected image reflects accurate colors, making movies, presentations, or games look more natural and engaging. Without proper calibration, even the best contrast and brightness settings can’t compensate for poor color accuracy.
Another common mistake is setting the contrast too high, which can result in loss of detail in bright areas of the image. When contrast is maxed out, highlights become blown out, causing a lack of nuance in bright scenes. Instead, you should aim for a contrast level that enhances depth without sacrificing detail. Similarly, setting brightness too high can lead to washed-out images, where dark areas lack definition. It’s tempting to crank these settings up to make images more vibrant, but doing so often results in a loss of overall picture clarity. Instead, adjust these settings gradually, and always review the image in a typical viewing environment to find the right balance.
Lastly, avoid the mistake of making constant adjustments without testing across different content types. What looks good for a nature documentary might not work for a dark thriller. Take the time to test your settings with a variety of media, ensuring your contrast and brightness are optimized for a broad range of scenes. Remember, small incremental changes combined with proper lighting adjustments and careful color calibration will give you a more accurate, vibrant, and immersive projected image.
projector contrast and brightness calibration tool
As an affiliate, we earn on qualifying purchases.
As an affiliate, we earn on qualifying purchases.
Frequently Asked Questions
How Often Should I Calibrate My Projector’s Contrast and Brightness?
You should calibrate your projector’s contrast and brightness every 6 to 12 months, depending on usage and environmental changes. Regular calibration guarantees ideal image quality and prevents adjustment impact from diminishing over time. If you notice color shifts, dimness, or uneven lighting, it’s a sign to recalibrate sooner. Consistent calibration keeps your projector performing at its best, providing clear, vibrant images whether for movies, presentations, or gaming.
Can Adjusting Contrast and Brightness Affect Projector Longevity?
Think of your projector’s lamp as a delicate flame, flickering with every contrast and brightness adjustment. When you crank up brightness or push contrast too high, it strains the lamp, potentially shortening its lifespan and affecting image quality. By fine-tuning settings gradually and keeping them balanced, you protect your projector’s longevity and enjoy crisp, vibrant images. Proper calibration isn’t just about visuals—it’s about preserving your device’s health.
What’s the Best Way to Test Optimal Contrast and Brightness Settings?
To find the ideal contrast and brightness, you should use calibration tools and test patterns. Start by displaying a test pattern, then adjust your projector’s contrast and brightness settings until you see clear, balanced images without overexposure or loss of detail. Calibration tools can help fine-tune these settings precisely, ensuring your projector performs at its best while preventing unnecessary wear and tear. Always double-check with test patterns for accuracy.
Do Different Projector Models Require Different Contrast and Brightness Adjustments?
Yes, different projector models do require model-specific calibration. You might worry that all projectors are the same, but manufacturer recommendations vary due to design differences. Always follow your projector’s specific guidelines for contrast and brightness adjustments to achieve the best picture quality. Ignoring these differences can lead to poor image clarity or eye strain. Customizing settings based on your projector’s model ensures ideal viewing experience.
How Do Ambient Lighting Conditions Influence Contrast and Brightness Settings?
Ambient light greatly impacts your contrast and brightness settings in the viewing environment. When there’s a lot of ambient light, you should increase the projector’s brightness to make the image clearer and more vibrant. Conversely, in darker rooms, lower brightness and contrast settings will prevent the image from appearing washed out. Adjust your settings based on the ambient light conditions to guarantee ideal picture quality and a better viewing experience.
ambient light sensor for projectors
As an affiliate, we earn on qualifying purchases.
As an affiliate, we earn on qualifying purchases.
Conclusion
Now that you’re aware of these common contrast and brightness mistakes, you’re one step closer to achieving perfect picture quality. But don’t assume your setup is foolproof just yet—there’s always a tweak or two that could elevate your viewing experience even further. Stay attentive, keep experimenting, and remember: the key to stunning visuals might be just one subtle adjustment away. Are you ready to release the full potential of your projector? The perfect image awaits.
As an affiliate, we earn on qualifying purchases.
As an affiliate, we earn on qualifying purchases.
Fall Picks
fall essentials
As an affiliate, we earn on qualifying purchases.