To use ISF calibration modes on your projector, first access the menu system with your remote or control panel and locate the calibration settings, often labeled “ISF” or “Advanced.” Prepare your environment by dimming lights and blocking reflections for accurate calibration. Fine-tune color, brightness, and contrast based on test patterns, then save your settings with clear labels like “Movie” or “Game.” Switching between modes is simple once presets are saved. Keep exploring to learn more detailed steps.
Key Takeaways
- Access the projector’s menu, navigate to the “Calibration” or “ISF” settings, and select the desired calibration mode.
- Prepare your environment by controlling lighting, using neutral wall colors, and ensuring a flat surface for accurate calibration.
- Fine-tune color accuracy and brightness settings within the ISF menu, using test patterns or calibration tools for precision.
- Save your calibration adjustments as presets with clear labels like “Movie” or “Gaming” for easy switching.
- Switch between saved ISF modes through the menu to optimize image quality for different content and lighting conditions.
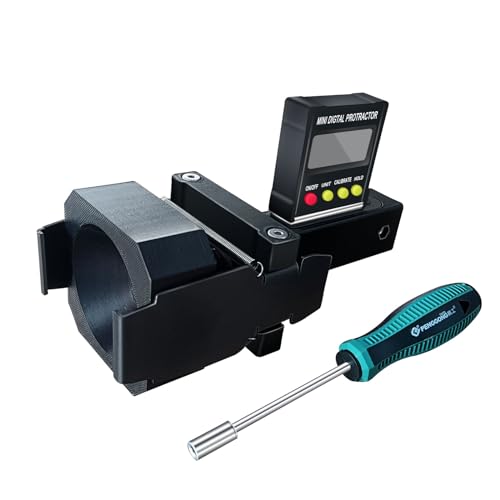
ADAS Calibration Dynamic ACC Positioning Tool for Eyeball Unit, Angso-auto Angle Leveling Tool Accessory for Auto
The ANGSO-AUTO leveling tool is designed to be powered by 2* AAA 1.5 V batteries (Please note that…
As an affiliate, we earn on qualifying purchases.
As an affiliate, we earn on qualifying purchases.
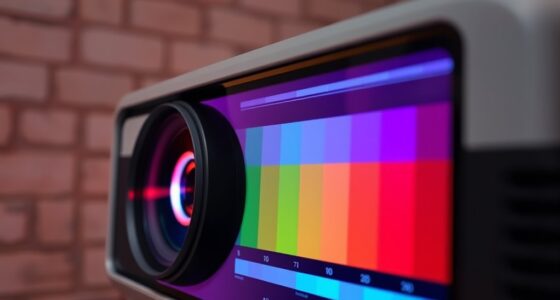
Understanding ISF Calibration Modes and Their Benefits
Understanding ISF calibration modes is essential for getting the most out of your projector’s picture quality. These modes optimize settings to improve color accuracy, ensuring that images appear true to life. They also enhance brightness control, allowing you to adjust the image for different lighting environments and preferences. By switching to ISF calibration modes, you can fine-tune your projector’s performance, reducing issues like washed-out colors or dim images. This calibration helps create a more immersive viewing experience, whether you’re watching movies or playing games. With proper use, you’ll notice sharper, more vibrant images that match professional standards. Overall, understanding these modes empowers you to tailor your projector’s display to your specific needs, maximizing its potential and delivering stunning visuals every time. Additionally, automation technologies are increasingly integrated into devices like projectors to improve user experience and performance.

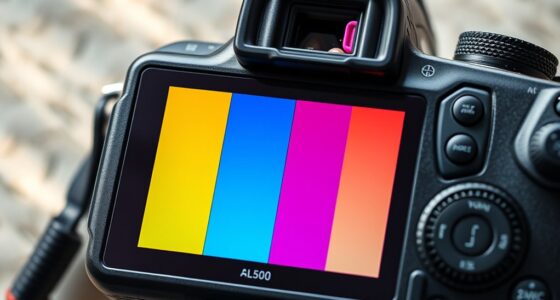
Artibetter Lens Test Chart Color Calibration Card Lens Focus Adjustment Chart Color Wheel CCTV Camera Calibration Tool Testing Card for Monitoring Systems
Paper imaging: makes cameras deliver crisp and clear images, enhancing the of monitoring systems.
As an affiliate, we earn on qualifying purchases.
As an affiliate, we earn on qualifying purchases.
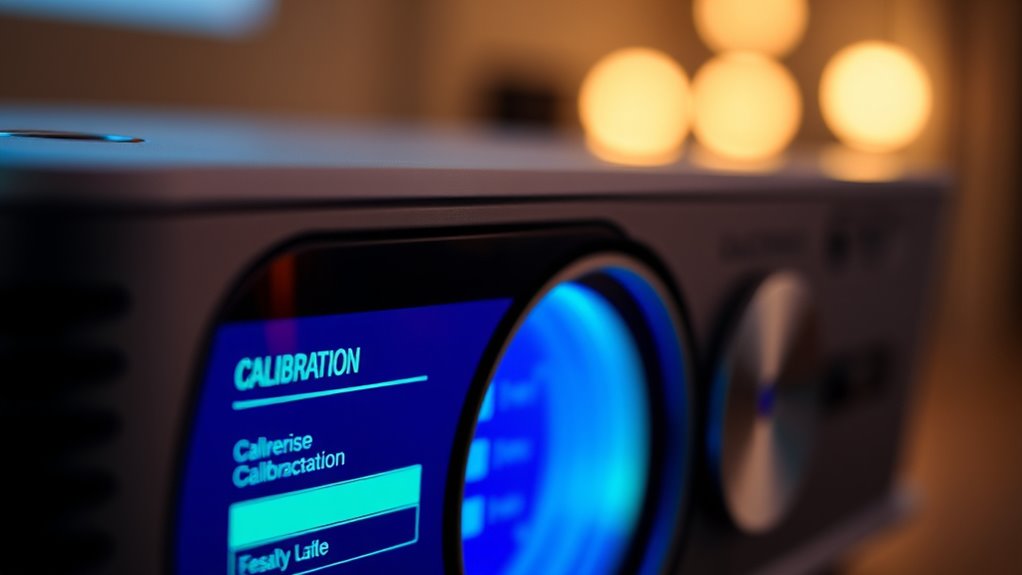
Accessing the ISF Calibration Settings on Your Projector
To access the ISF calibration settings on your projector, you’ll need to navigate through its on-screen menu system. Start by pressing the menu button on your remote or projector control panel. Look for the settings labeled “Calibration,” “Advanced,” or “ISF,” which may vary depending on your model. Once inside, you can adjust parameters like color accuracy to guarantee true-to-life hues and fine-tune brightness adjustment for ideal image clarity. These settings allow you to tailor the projector’s output to your environment and viewing preferences. Be cautious when making adjustments, as incorrect changes can impact picture quality. Take your time to explore the menu options, ensuring you’re in the right calibration mode before proceeding with detailed adjustments. Regularly monitor the projector’s bulb maintenance to ensure consistent performance during calibration.

Original Replacement Remote Control for HY320/300Pro Projector & Gimbal 3/5 – Universal Compatible with Magcubic/Xgody/Aubor/Maypug/HIPPUS/Mentech/LYNCAST Projectors, Infrared IR Remote with Buttons
✪【Precise Compatibility】 "Designed EXCLUSIVELY for HY300Pro Projector & Gimbal 3/5 models, 100% signal sync with Magcubic/Xgody/Aubor/Maypug/HIPPUS/Mentech/LYNCAST systems. ★Avoid…
As an affiliate, we earn on qualifying purchases.
As an affiliate, we earn on qualifying purchases.
Preparing Your Environment for Optimal Calibration
Creating the right environment is essential before calibrating your projector. Start by controlling room lighting to minimize glare and reflections, ideally using dim or blackout curtains. Confirm your wall color is neutral, such as matte gray or white, to prevent color distortion during calibration. A consistent, flat wall surface helps achieve accurate color and contrast adjustments. Additionally, utilizing professional voiceover techniques during calibration can help you better understand and interpret the visual adjustments for optimal results.
Muvxeznli Replacement Remote Control Compatible with Rossetta Galaxy Star Projector-RT009 for Bedroom,LED Night Light Aurora Projector,Northern Galaxy Light Aurora Projector
Our Night Lihgt Replacement Remote Controller Made of Premium Quality ABS Material is Durable,Hard to Break and Has…
As an affiliate, we earn on qualifying purchases.
As an affiliate, we earn on qualifying purchases.
Step-by-Step Guide to Adjusting ISF Settings

Begin by accessing your projector’s ISF calibration menu, which is often found within the advanced or professional settings. Once inside, locate the color accuracy options, where you can fine-tune the color balance to achieve more natural hues. Next, perform brightness adjustment by adjusting the luminance controls to match the ambient lighting and your desired image quality. Focus on balancing brightness without sacrificing detail or creating a washed-out picture. Use test patterns or calibration tools to verify your changes, ensuring colors are true to life and the brightness level is appropriate for your environment. Additionally, considering emotional support can help you stay patient and focused during the calibration process, especially if you encounter difficulties. Take your time making incremental adjustments, and review your settings before saving. This process helps you optimize image quality for a more accurate and immersive viewing experience.
Tips for Saving and Switching Between Calibration Modes
Once you’ve fine-tuned your projector’s calibration settings, saving your adjustments correctly guarantees you can easily switch between different modes for various viewing scenarios. Properly saved calibration presets ensure consistent color accuracy and simplify smooth transitions between modes like movie, gaming, or presentation. To maximize benefits:
Saving calibration presets ensures consistent color and smooth mode transitions for optimal viewing experiences.
- Save each mode with clear labels, such as “Movie” or “Gaming,” to avoid confusion.
- Use the projector’s menu to store multiple calibration presets, keeping settings for different environments.
- Regularly update your presets to maintain ideal color accuracy as your projector ages or ambient lighting changes.
- Incorporating custom calibration modes can further enhance your viewing experience by tailoring settings to specific content types or lighting conditions.
Frequently Asked Questions
Can I Calibrate My Projector Without Professional Tools?
Yes, you can do DIY calibration without professional tools, but it might not be as precise. Basic calibration tools like a calibration disc or colorimeter can help you improve picture quality. Focus on adjusting contrast, brightness, and color settings manually. While professional calibration offers ideal results, using simple calibration tools allows you to get a noticeable upgrade without investing in expensive equipment. Just follow online guides for best results.
How Often Should I Recalibrate Using ISF Modes?
You should recalibrate your projector using ISF modes every 6 to 12 months, depending on your usage and environmental changes. Incorporate calibration frequency into your maintenance schedule to keep picture quality ideal. Regular recalibration ensures consistent color accuracy and contrast, especially if you notice color shifts or image quality decline. Staying on top of this routine helps maintain your projector’s performance and prolongs its lifespan.
Are There Risks of Damaging My Projector During Calibration?
You generally won’t damage your projector during calibration if you avoid voltage fluctuations and guarantee firmware updates are properly installed. Voltage fluctuations can cause power issues, so use a surge protector. Firmware updates are essential for peak performance and safety; skip them carefully. If you follow instructions and take precautions, calibration is safe and won’t harm your projector. Always consult your user manual for specific safety tips.
Do All Projectors Support ISF Calibration Modes?
Did you know that around 60% of high-end projectors support ISF calibration modes? Not all projectors have ISF support, so calibration compatibility varies widely. Before attempting calibration, check your projector’s specifications. If it supports ISF, you can benefit from professional-grade calibration. If not, you might need to think about alternative calibration options or upgrades to guarantee the best picture quality.
Can I Customize Calibration Modes for Different Viewing Environments?
Yes, you can customize calibration modes for different viewing environments. Most projectors with ISF calibration support permit you to create and save calibration presets tailored to specific settings. This way, you can quickly switch between modes optimized for a bright living room or a dark home theater. By adjusting settings for each environment, you guarantee the best picture quality regardless of where you’re watching.
Conclusion
Mastering ISF calibration modes guarantees you get the best picture quality from your projector. By properly adjusting settings, you can enjoy vivid colors and sharp images tailored to your environment. Did you know that calibrated displays can improve image accuracy by up to 50%? Taking the time to learn and use these modes means you’ll experience a more immersive viewing experience, making every movie night or presentation truly outstanding.