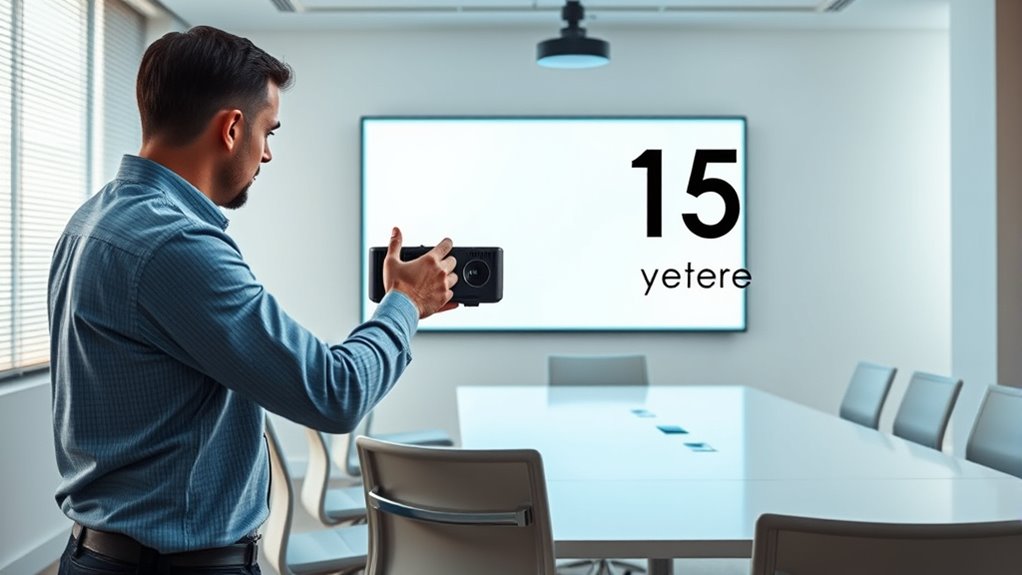
To quickly improve your projector’s image quality in 15 minutes, start by fine-tuning the focus for sharpness and adjusting the alignment to guarantee a straight image. Manage ambient light by dimming room lights or closing curtains, and clean the lens with a soft cloth to remove dust and smudges. Tweak the projector’s brightness, contrast, and color settings for vibrant visuals. Keep these tips in mind, and you’ll soon see a noticeable enhancement—there’s more to optimize if you continue exploring.
Key Takeaways
- Adjust the projector’s focus and lens to sharpen the image immediately.
- Dim ambient lighting or close curtains to boost contrast and brightness.
- Use keystone correction or lens shift for proper alignment and minimal distortion.
- Clean the projector lens with a soft cloth to prevent haziness and improve clarity.
- Select or customize a preset picture mode for optimal color and vibrancy.
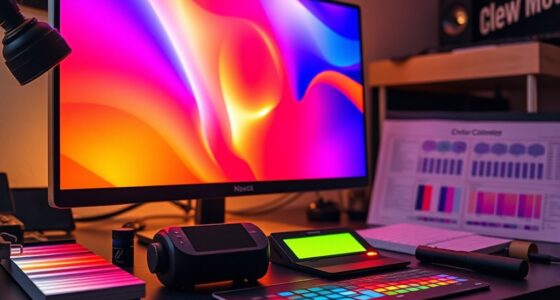
If your projector’s image looks dull or blurry, you don’t need to spend hours troubleshooting. Often, a quick adjustment to your screen calibration can make a significant difference. Start by ensuring your projector is properly aligned with the screen. If the image is skewed or distorted, use the projector’s keystone correction or lens shift features to straighten it out. Then, check the projector’s settings for brightness, contrast, and color. Many projectors have preset modes, but customizing these settings can help you fine-tune the image for clarity and vibrancy. Take a moment to access the menu, and adjust the screen calibration, focusing on sharpness and color balance. Small tweaks here can drastically improve the overall picture quality.
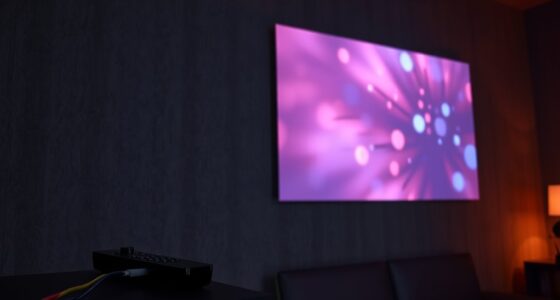
Another key factor affecting image clarity is ambient lighting. Too much ambient light can wash out the projected image, making it appear dull and hard to see. If possible, dim the lights in the room or close curtains to reduce sunlight. Switching off or lowering the brightness of other light sources can also help increase contrast and make the image pop. If you’re unable to control ambient lighting completely, consider adding a screen with a higher gain or a matte surface designed to reflect projector light more effectively. This will help maintain image brightness and contrast, even in well-lit rooms.
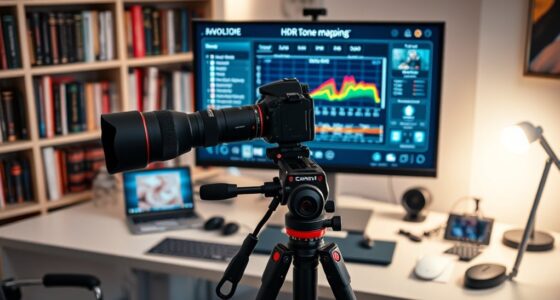
Additionally, check the projector’s focus. A blurry image often results from a misfocused lens. Use the focus ring or digital focus adjustment to sharpen the picture. It’s best to do this with the projector at the typical viewing distance, as focusing can shift if the projector is moved. Also, verify that your projection surface is smooth and free of wrinkles or unevenness, which can distort the image. If you’re projecting onto a wall, consider mounting a dedicated projection screen for a more consistent image quality.
Finally, don’t forget to clean any dust or smudges off the projector lens with a soft, lint-free cloth. Dirt can cause hazy or blurry images, especially if it’s accumulated over time. With just a few minutes of adjustment—calibrating your screen, managing ambient lighting, focusing the lens, and ensuring a clean surface—you can transform a dull, blurry image into a crisp, vibrant display. These quick wins are simple yet effective, giving you noticeably better picture quality without the need for professional help or complex setups.
projector lens cleaning cloth
As an affiliate, we earn on qualifying purchases.
As an affiliate, we earn on qualifying purchases.
Frequently Asked Questions
How Often Should I Clean My Projector Lens?
You should clean your projector lens every 1 to 3 months, depending on usage and environment. Regular lens maintenance keeps the image sharp and clear. If you notice dust, fingerprints, or smudges, clean it sooner. Use a soft, lint-free cloth and proper lens cleaner. Avoid touching the lens with your fingers, and always handle cleaning gently to prevent scratches. Consistent cleaning guarantees ideal image quality.
Can Ambient Light Affect Image Quality Significantly?
Yes, ambient light can substantially affect your projector’s image quality. Excess light causes glare reduction, washing out colors, and reducing contrast, making the picture harder to see clearly. To improve your viewing experience, control ambient light by dimming or turning off nearby lights, using blackout curtains, or adding a screen with better reflectivity. These steps help maintain vibrant, sharp images and prevent glare from diminishing your projector’s performance.
What Is the Ideal Projector Placement Distance?
Think of your projector like a camera lens, needing the perfect distance to focus sharply. You should position it so the projection angle is between 30 and 45 degrees, ensuring even image coverage. Mount it at a height that minimizes keystone distortion, usually aligned with the center of the screen. Keep the distance based on your projector’s throw ratio, but generally, 1.5 to 2.5 times the screen width works best for clear, bright images.
Are There Specific Screen Types That Enhance Image Clarity?
Yes, choosing the right screen type can substantially enhance image clarity. Opt for screens with high-quality materials, such as matte or gain surfaces, to improve display contrast and reduce glare. These materials help your projector produce sharper, more vibrant images by maximizing light reflection and minimizing distortion. Ensuring your screen matches your projector’s brightness and resolution will also optimize clarity, giving you a better viewing experience.
How Do I Calibrate Color Settings for Optimal Image Quality?
To calibrate color settings for ideal image quality, start by accessing your projector’s menu and locating the color calibration options. Adjust the primary colors—red, green, and blue—until the image looks natural and balanced. Use image enhancement features to fine-tune brightness, contrast, and sharpness. Regularly recheck and tweak these settings to maintain consistent color accuracy, ensuring vibrant, true-to-life visuals during your presentations or viewing sessions.
adjustable projector focus ring
As an affiliate, we earn on qualifying purchases.
As an affiliate, we earn on qualifying purchases.
Conclusion
Just like tuning a guitar takes only a few minutes but transforms its sound, a quick projector tweak can dramatically improve your display. Imagine showing a presentation where every image is sharp and vibrant—your audience will notice the difference. Don’t underestimate these simple steps; they’re your secret to flawless visuals in just 15 minutes. With a little effort, you’ll turn your projector into a powerhouse, making every viewing a clear, crisp experience.

Rapink Speed Keystone Jack Tool for 90 Degree RJ45 Keystone, Ethernet Keystone Punch Down Tool for Time-saver and Effort-saver, Cat 6 Punch Down Tool Finger-hurt-free (Only for Rapink Keystone)
【Only for Rapink Keystone】: Keystone tool is compatible only with Rapink CAT6 90 degree speed termination keystone jacks…
As an affiliate, we earn on qualifying purchases.
As an affiliate, we earn on qualifying purchases.
projector screen with high gain
As an affiliate, we earn on qualifying purchases.
As an affiliate, we earn on qualifying purchases.